Back On My Grind: Concrete Floor Repair and Polishing
Thanks for following along on my shed renovation journey! I’m writing this all in retrospect. At the time I was working on and living in my shed, it was technically an illegal dwelling, so I was inclined to keep it on the DL. I am not in any way endorsing building or living in a less than legal ADU, but since laws vary in different states and cities, I thought I’d share my story in hopes that it inspires and informs folks who are able to do this in a way that complies with local ordinances.
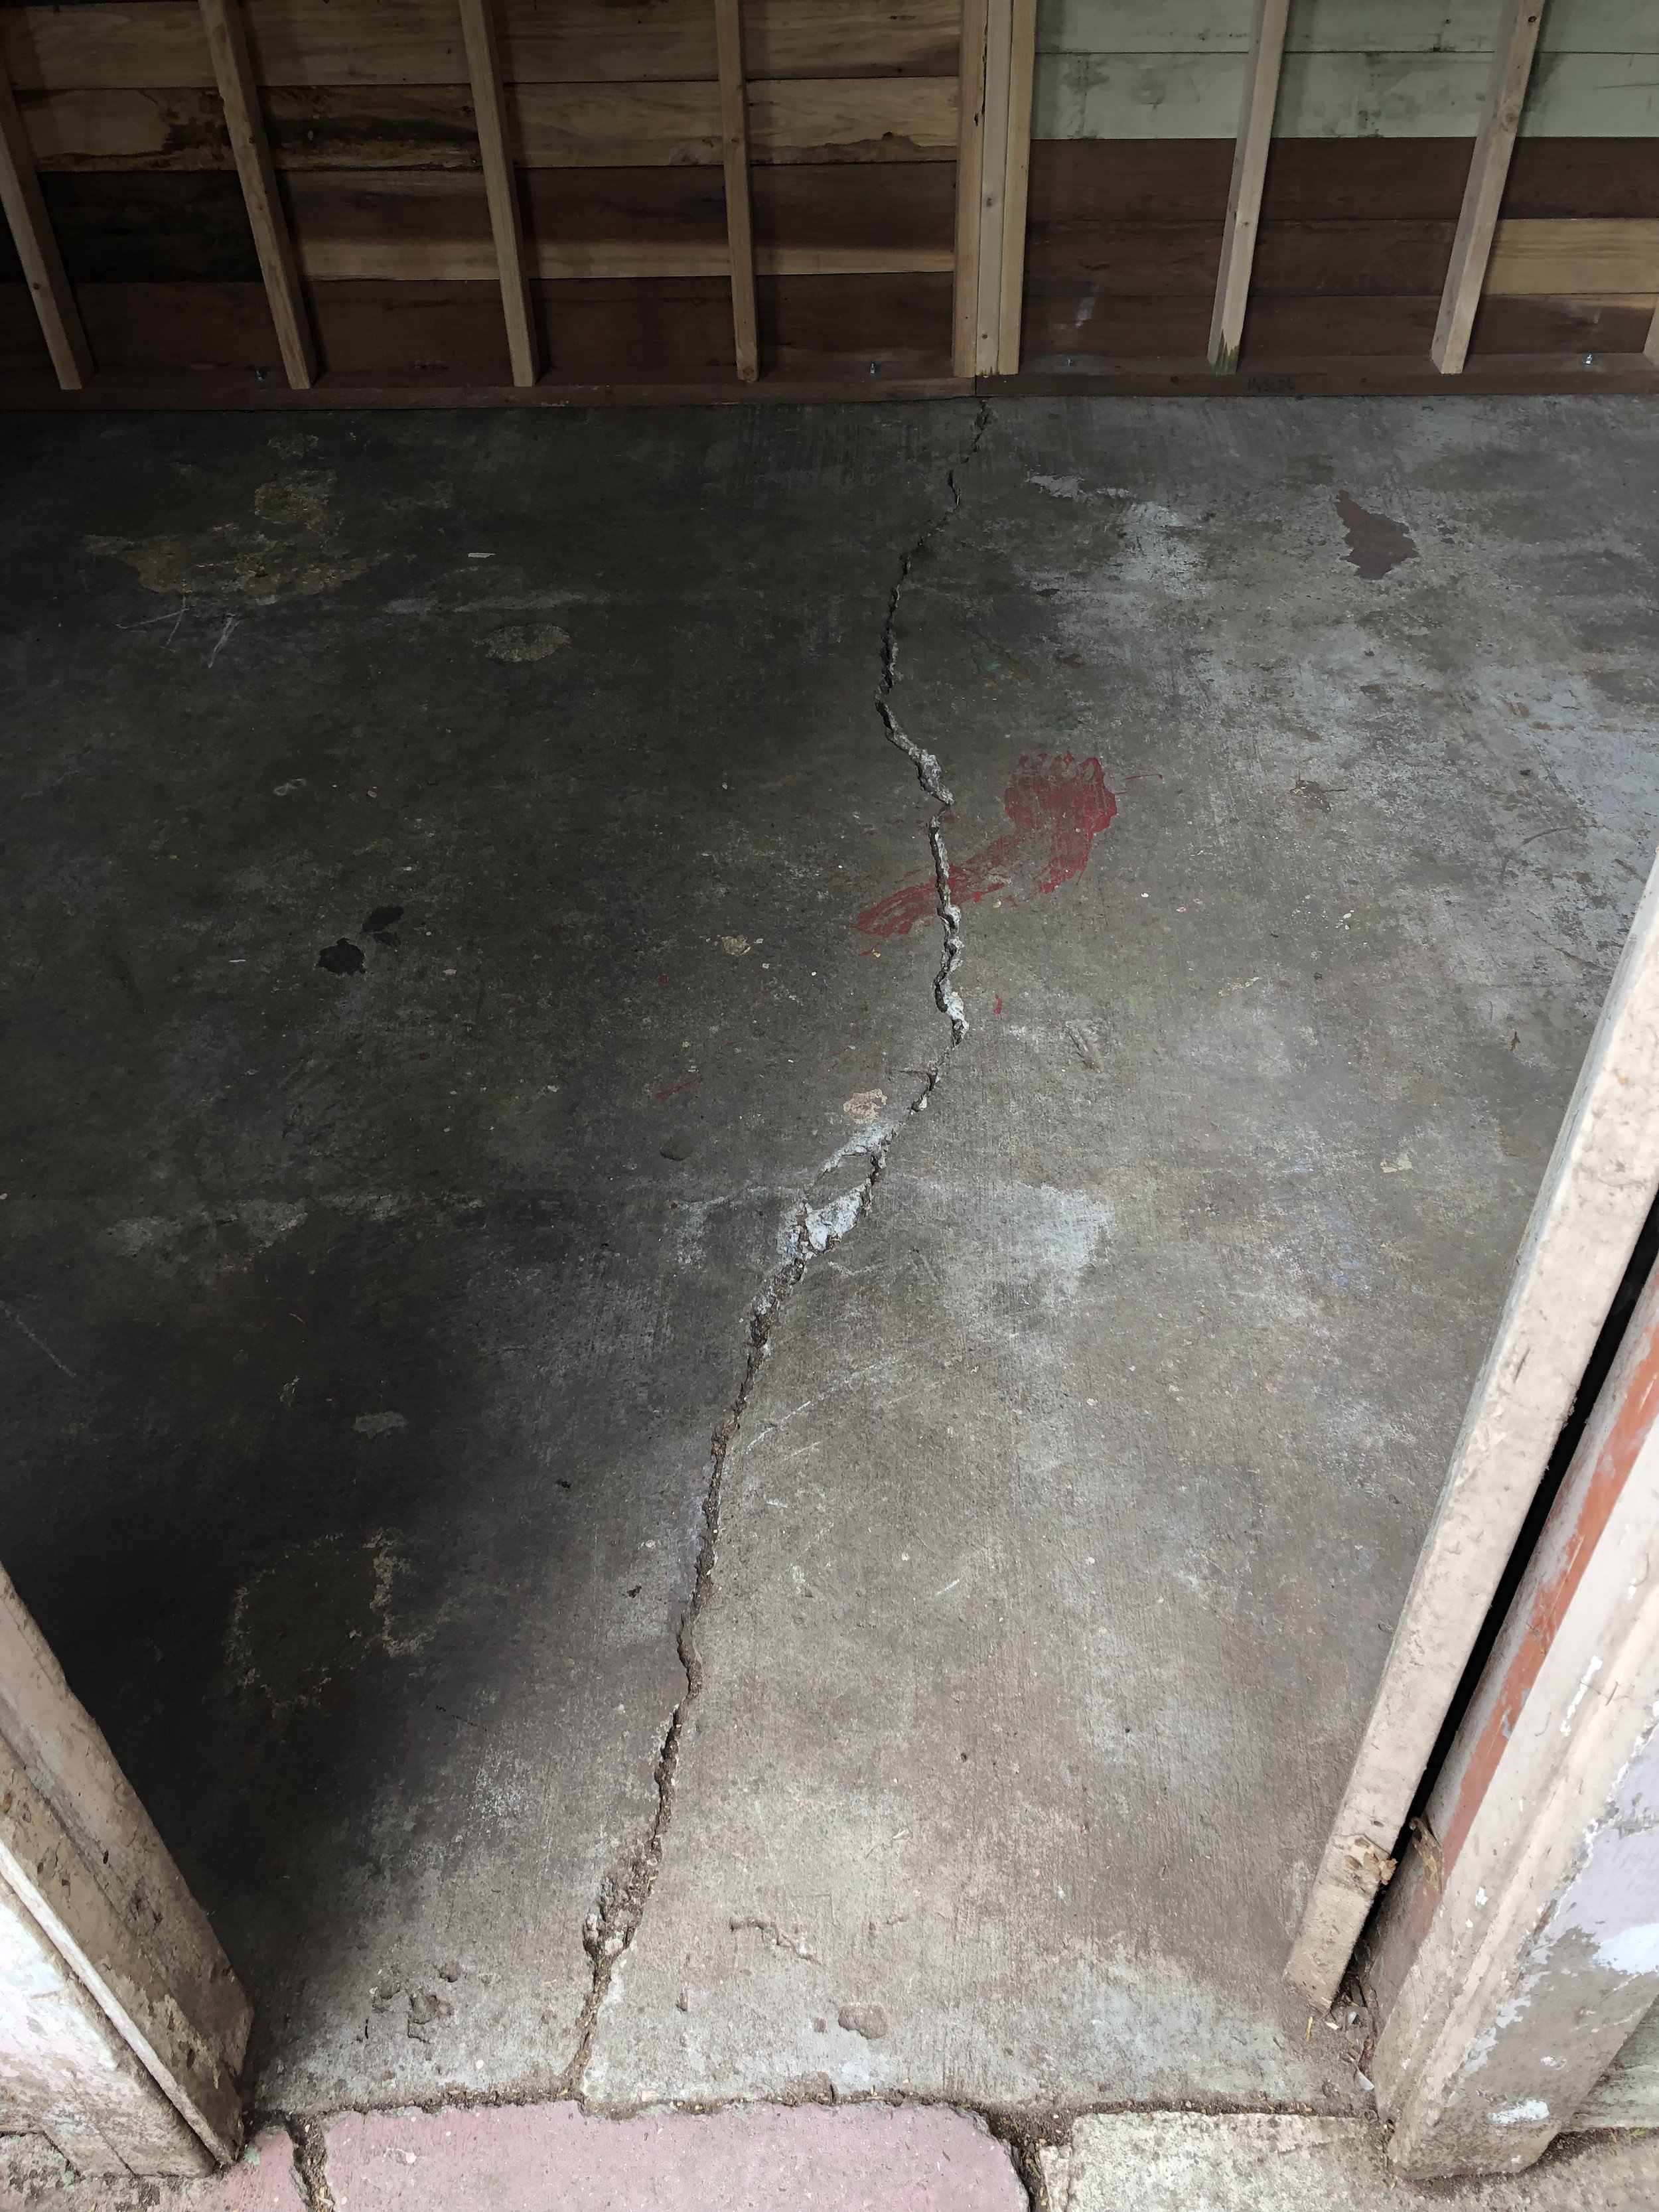
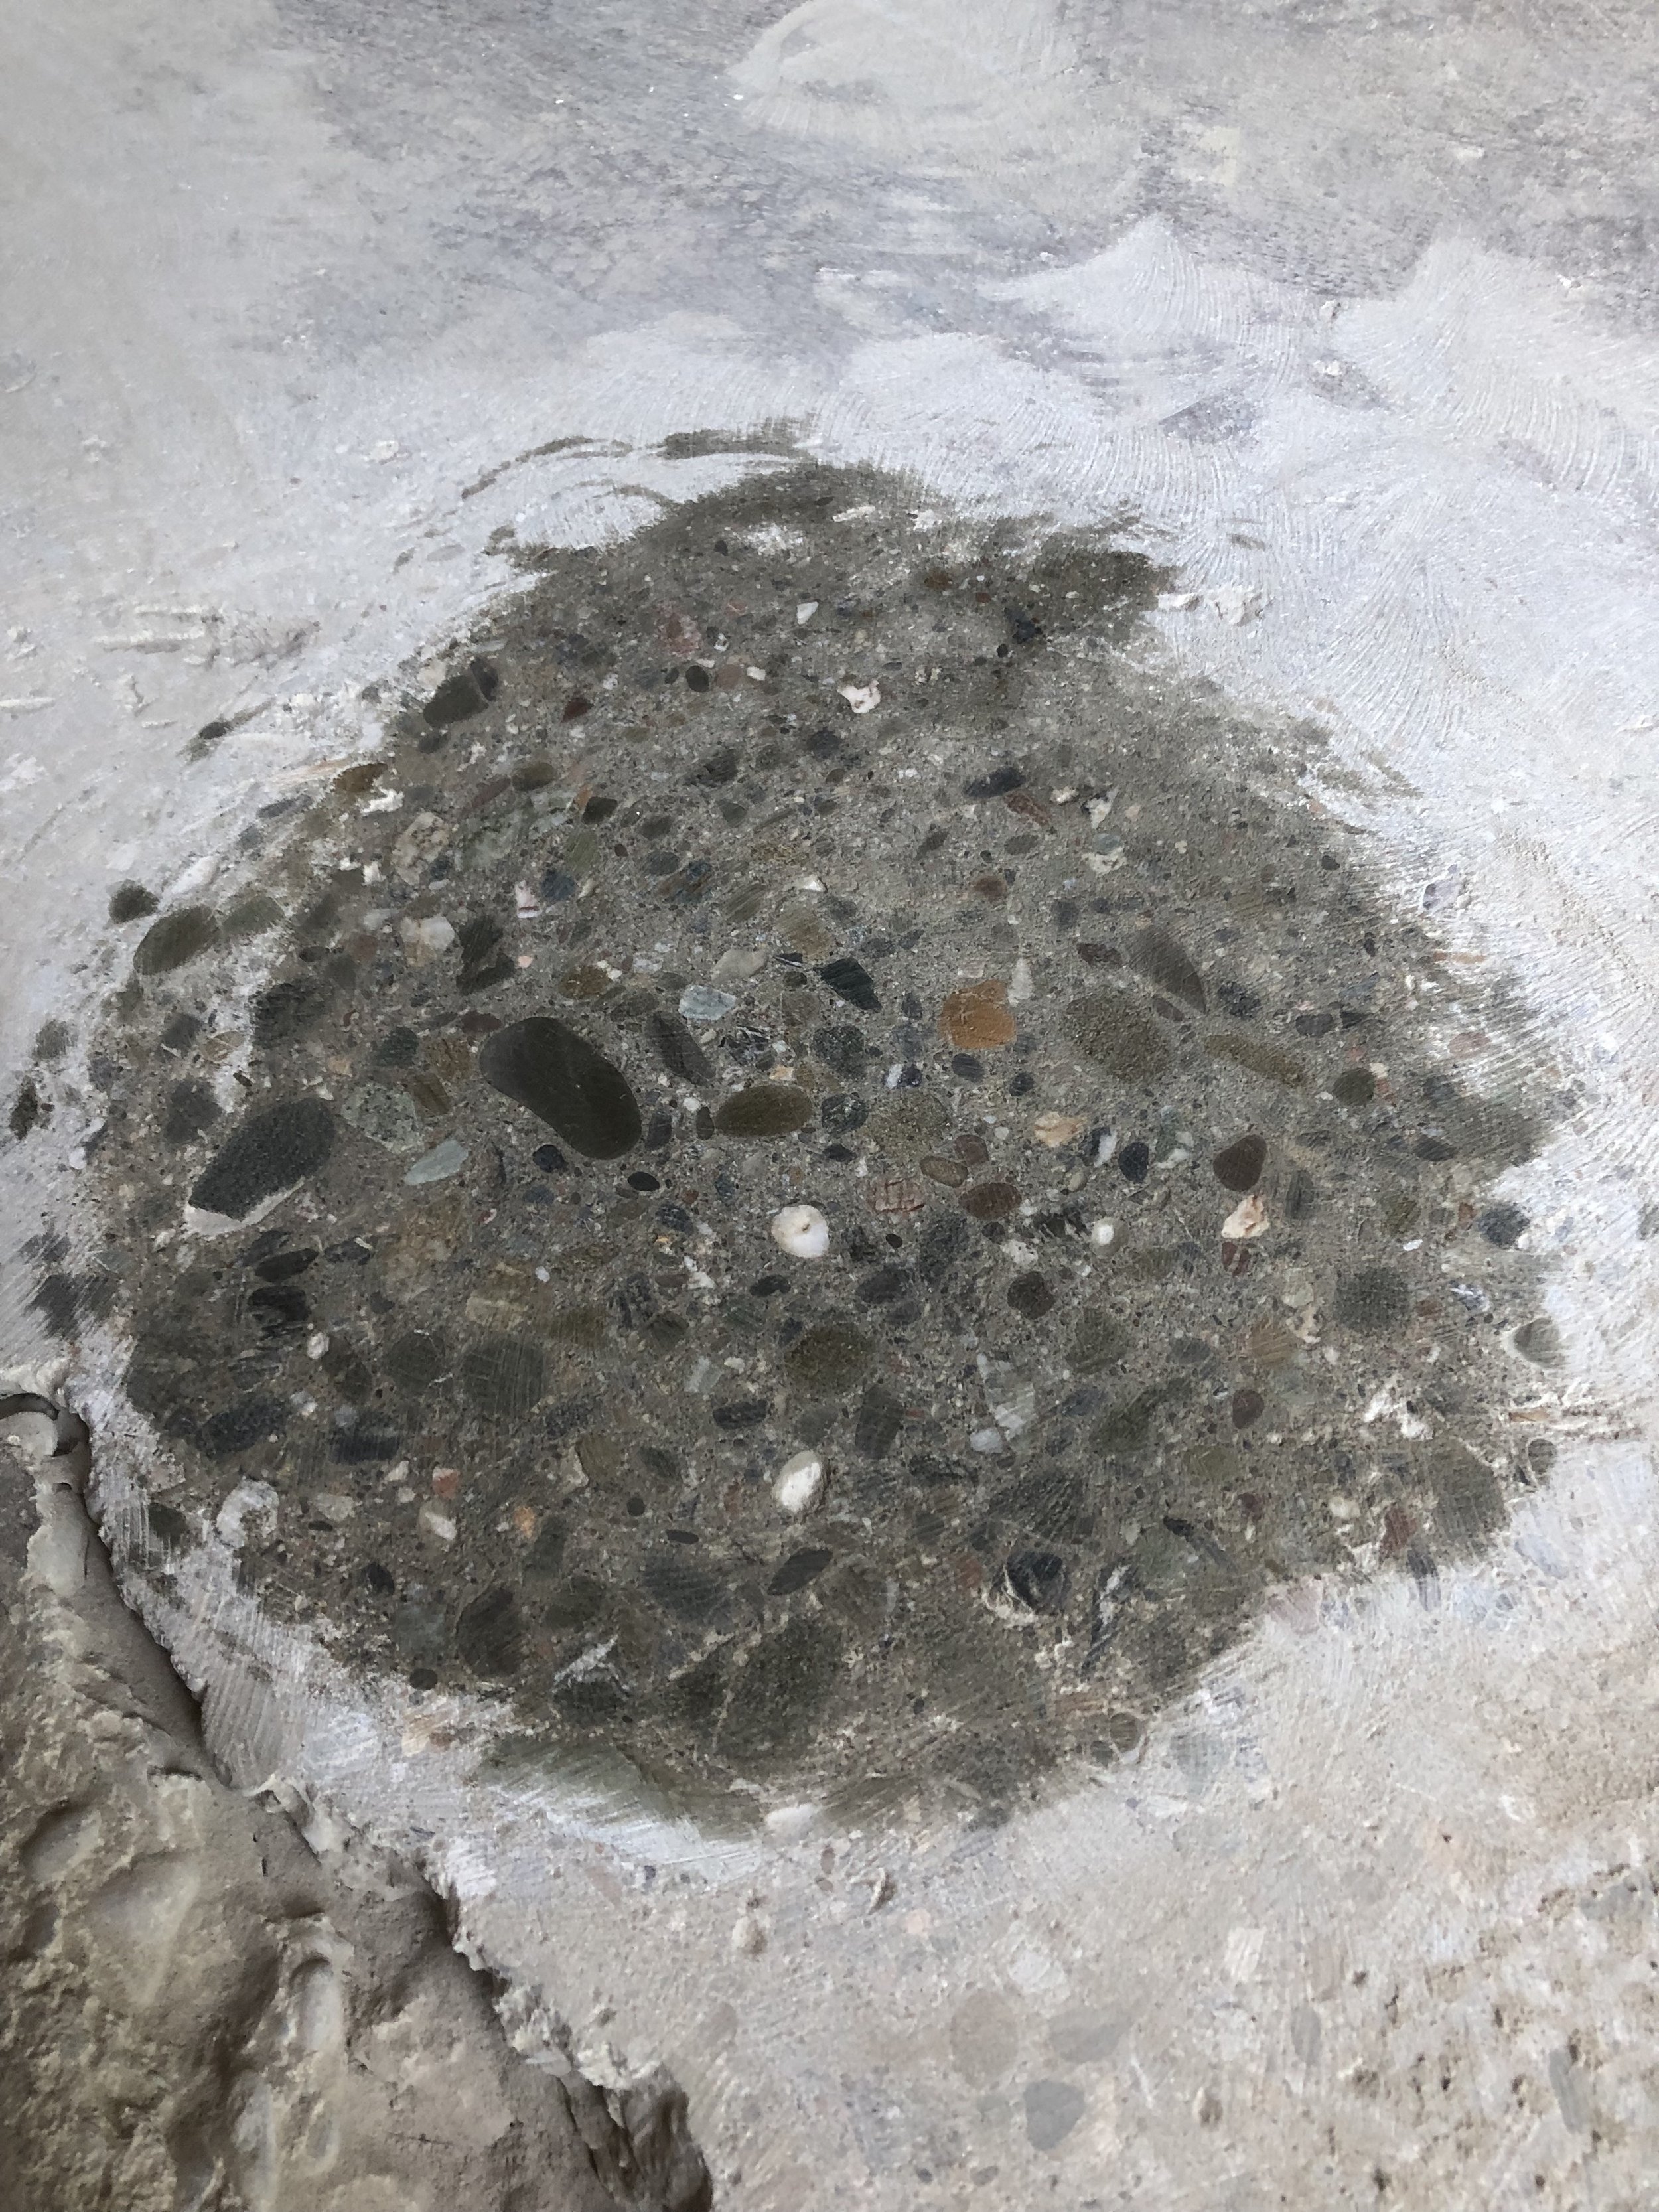
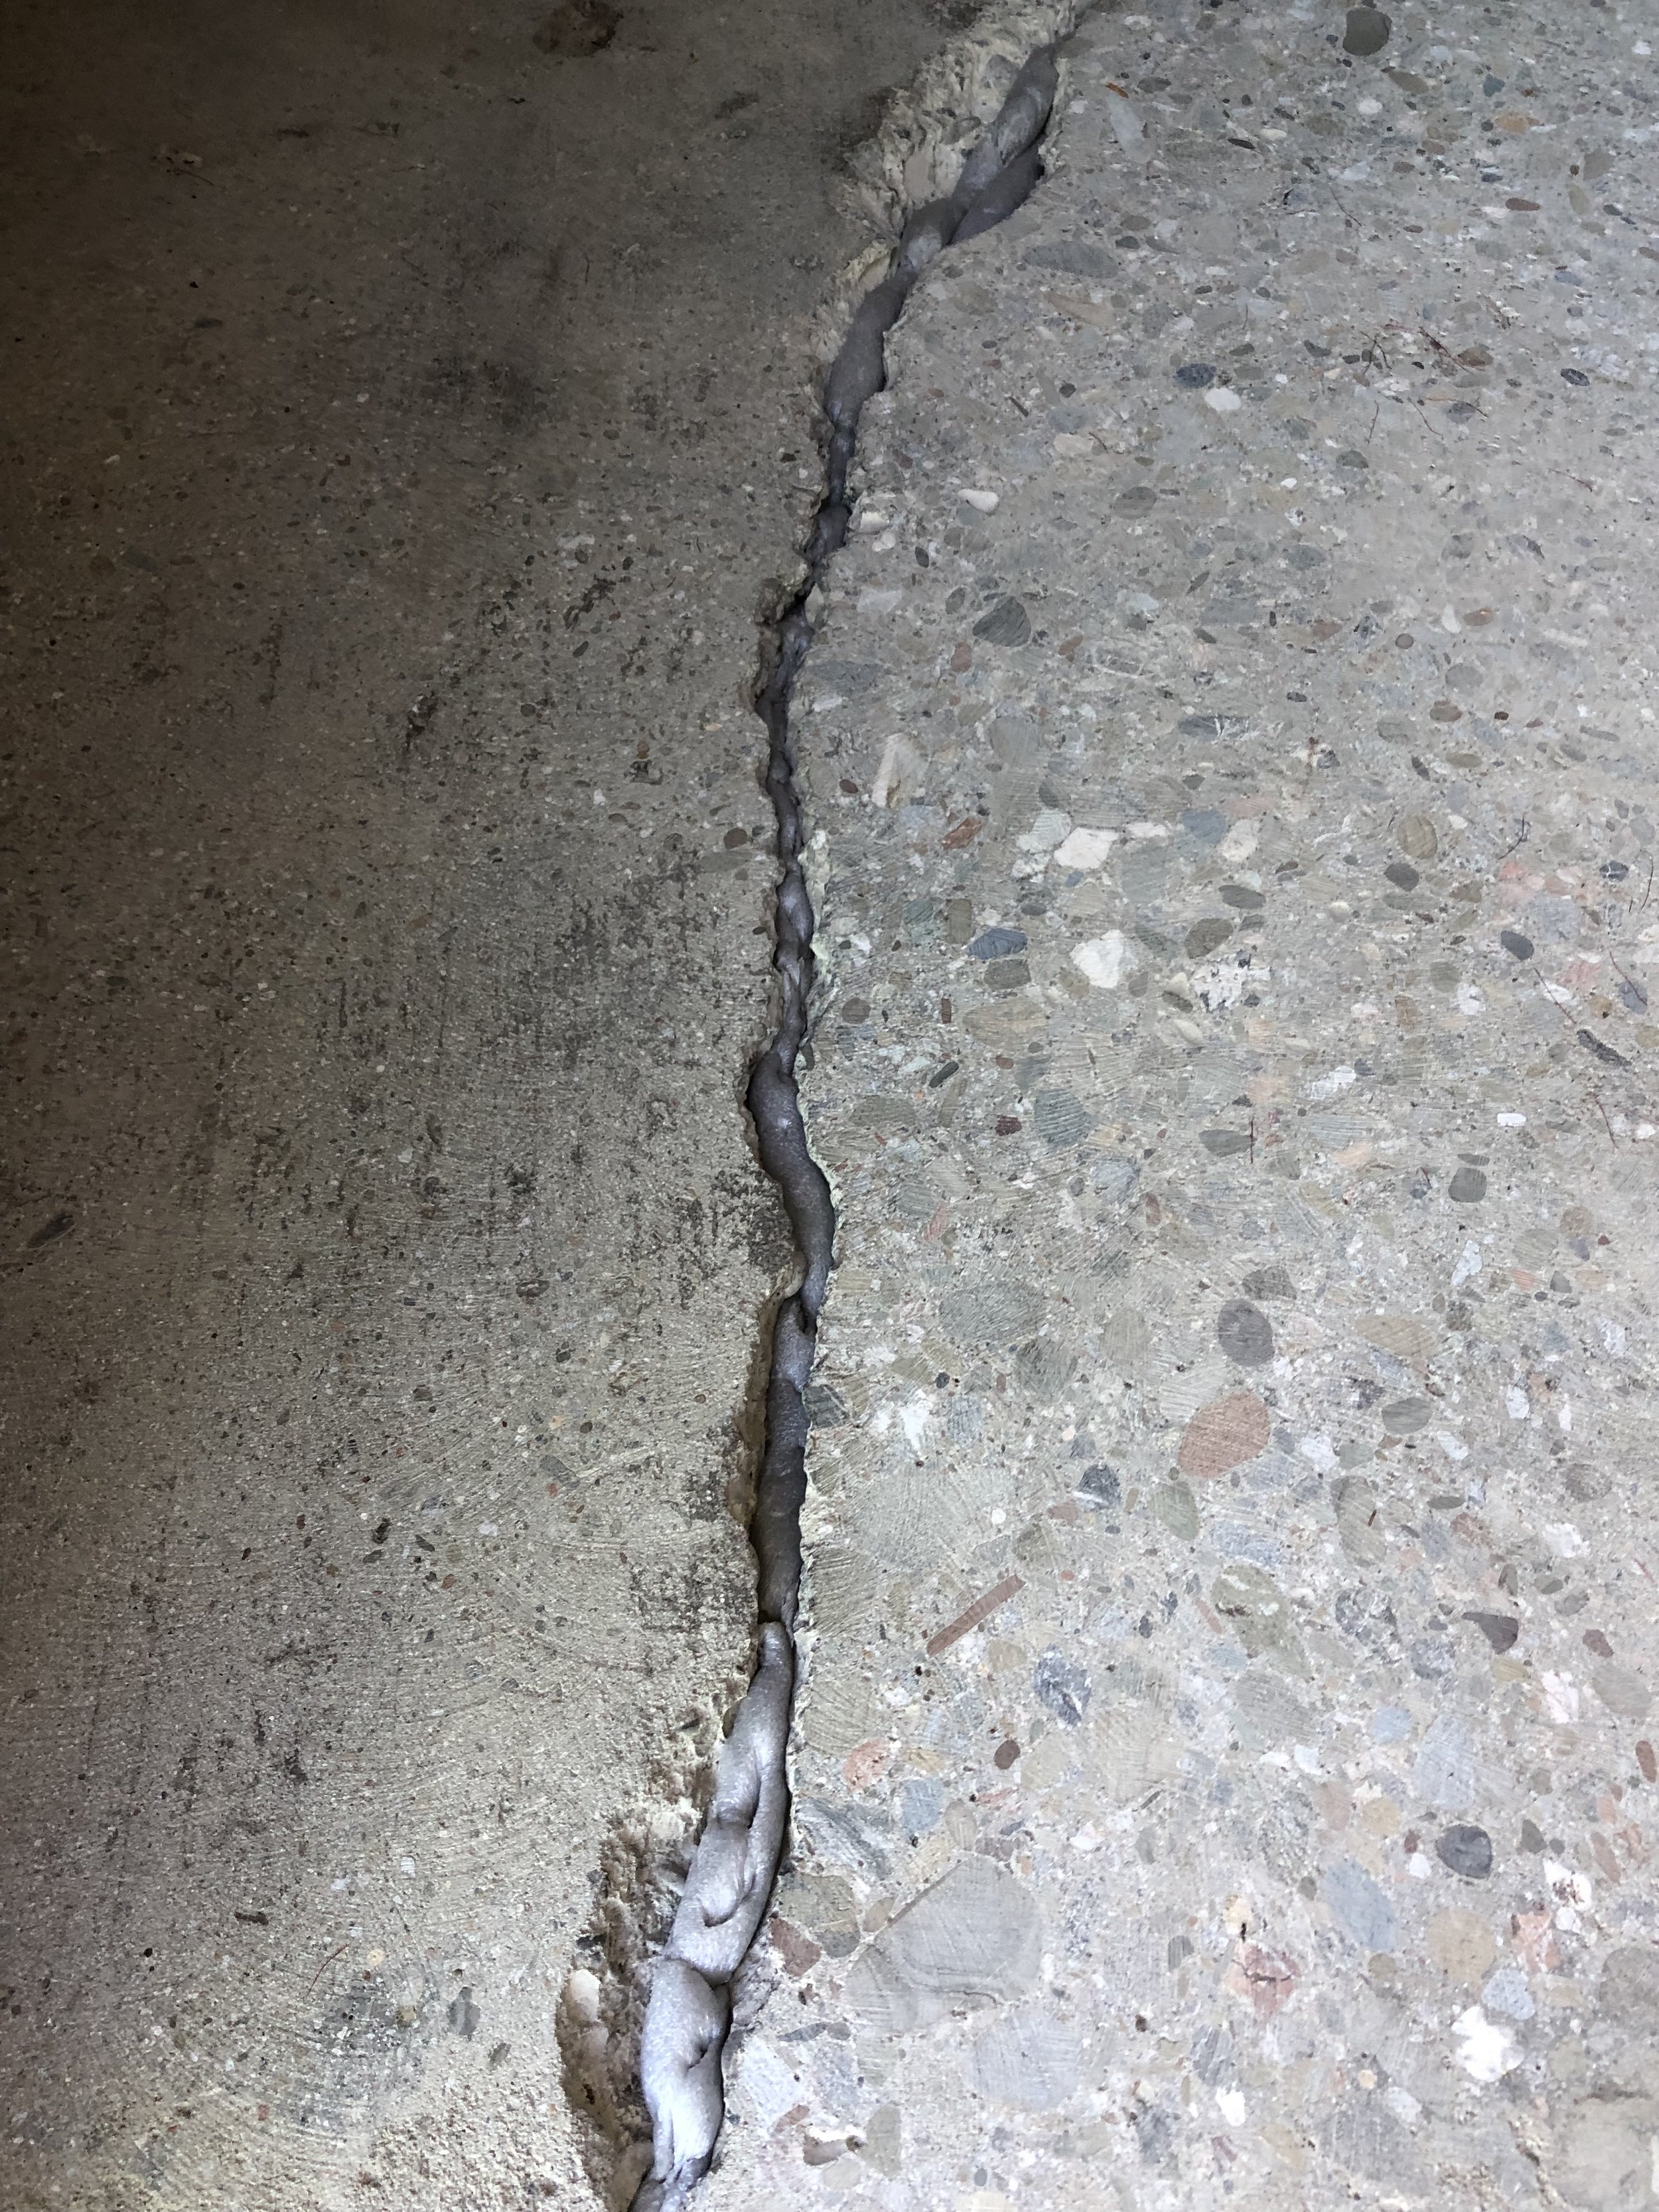
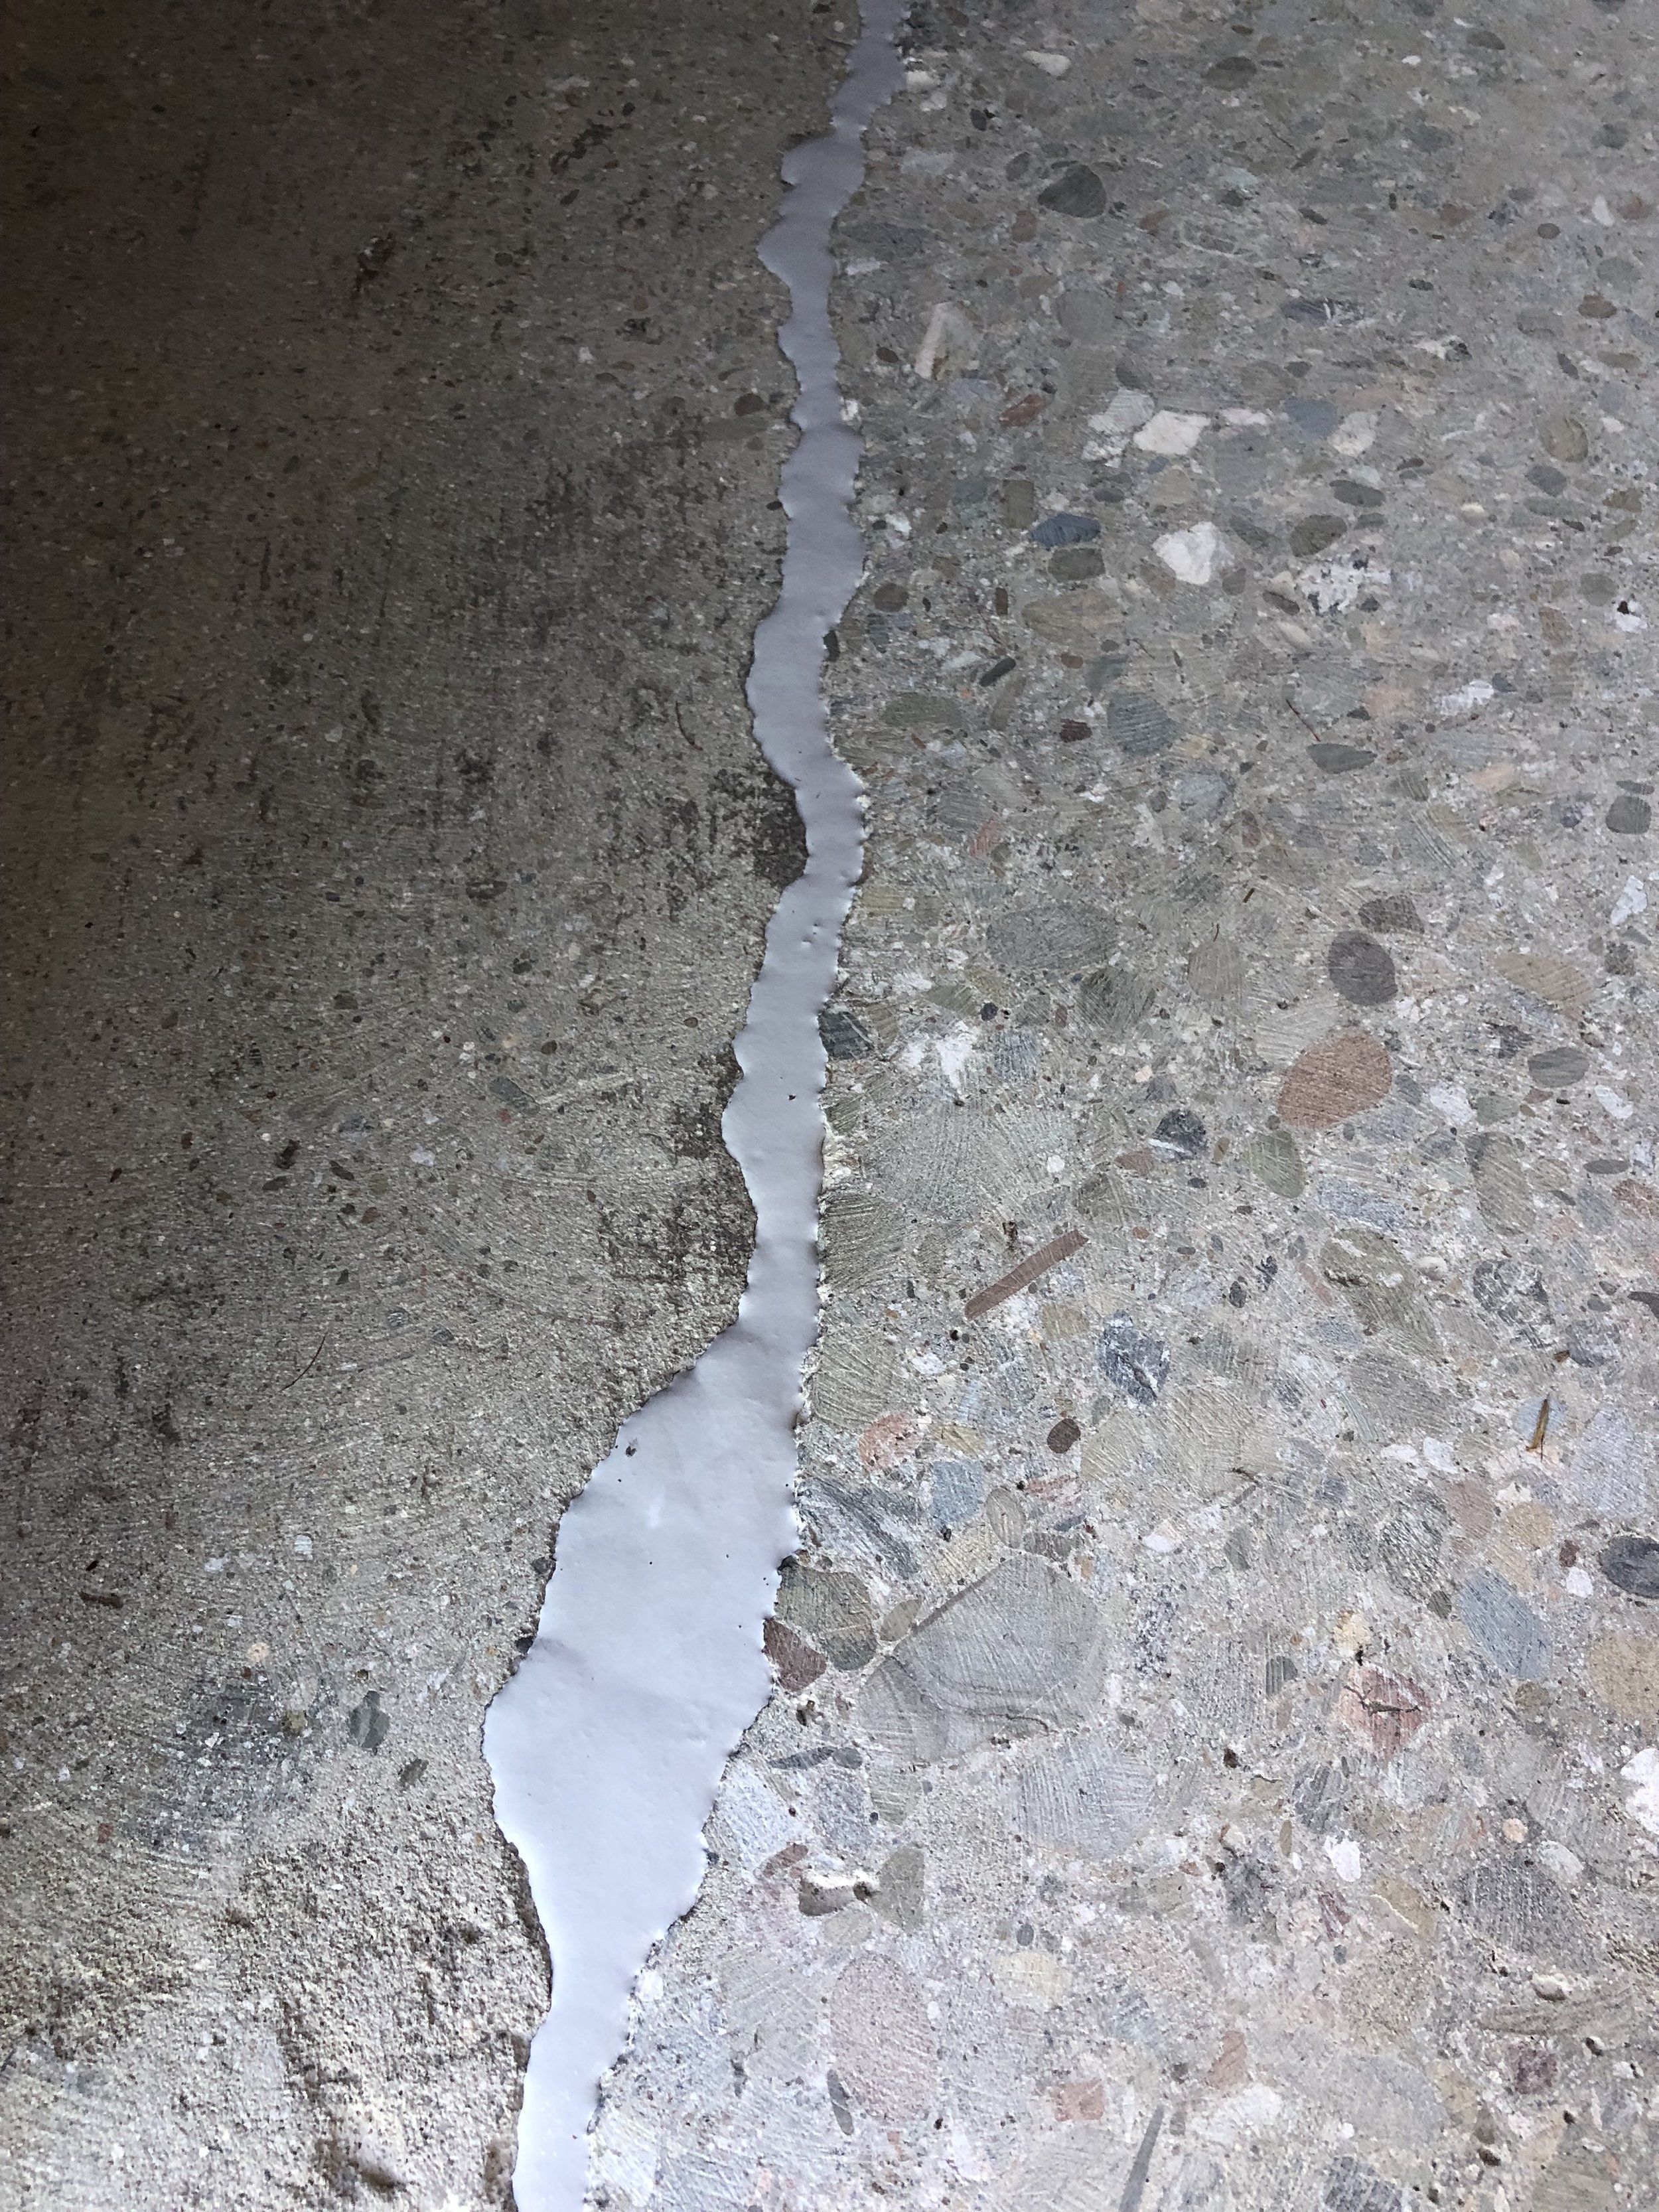
After the windows were installed, I turned my attention to the concrete floor. It was rough, stained, and had a huge crack running all the way from the front door to the back wall. I decided the best way to handle it was to grind the tectonic shift down to level and then fill it in with some caulk specifically formulated for masonry work. Here’s what it looked like before I started:

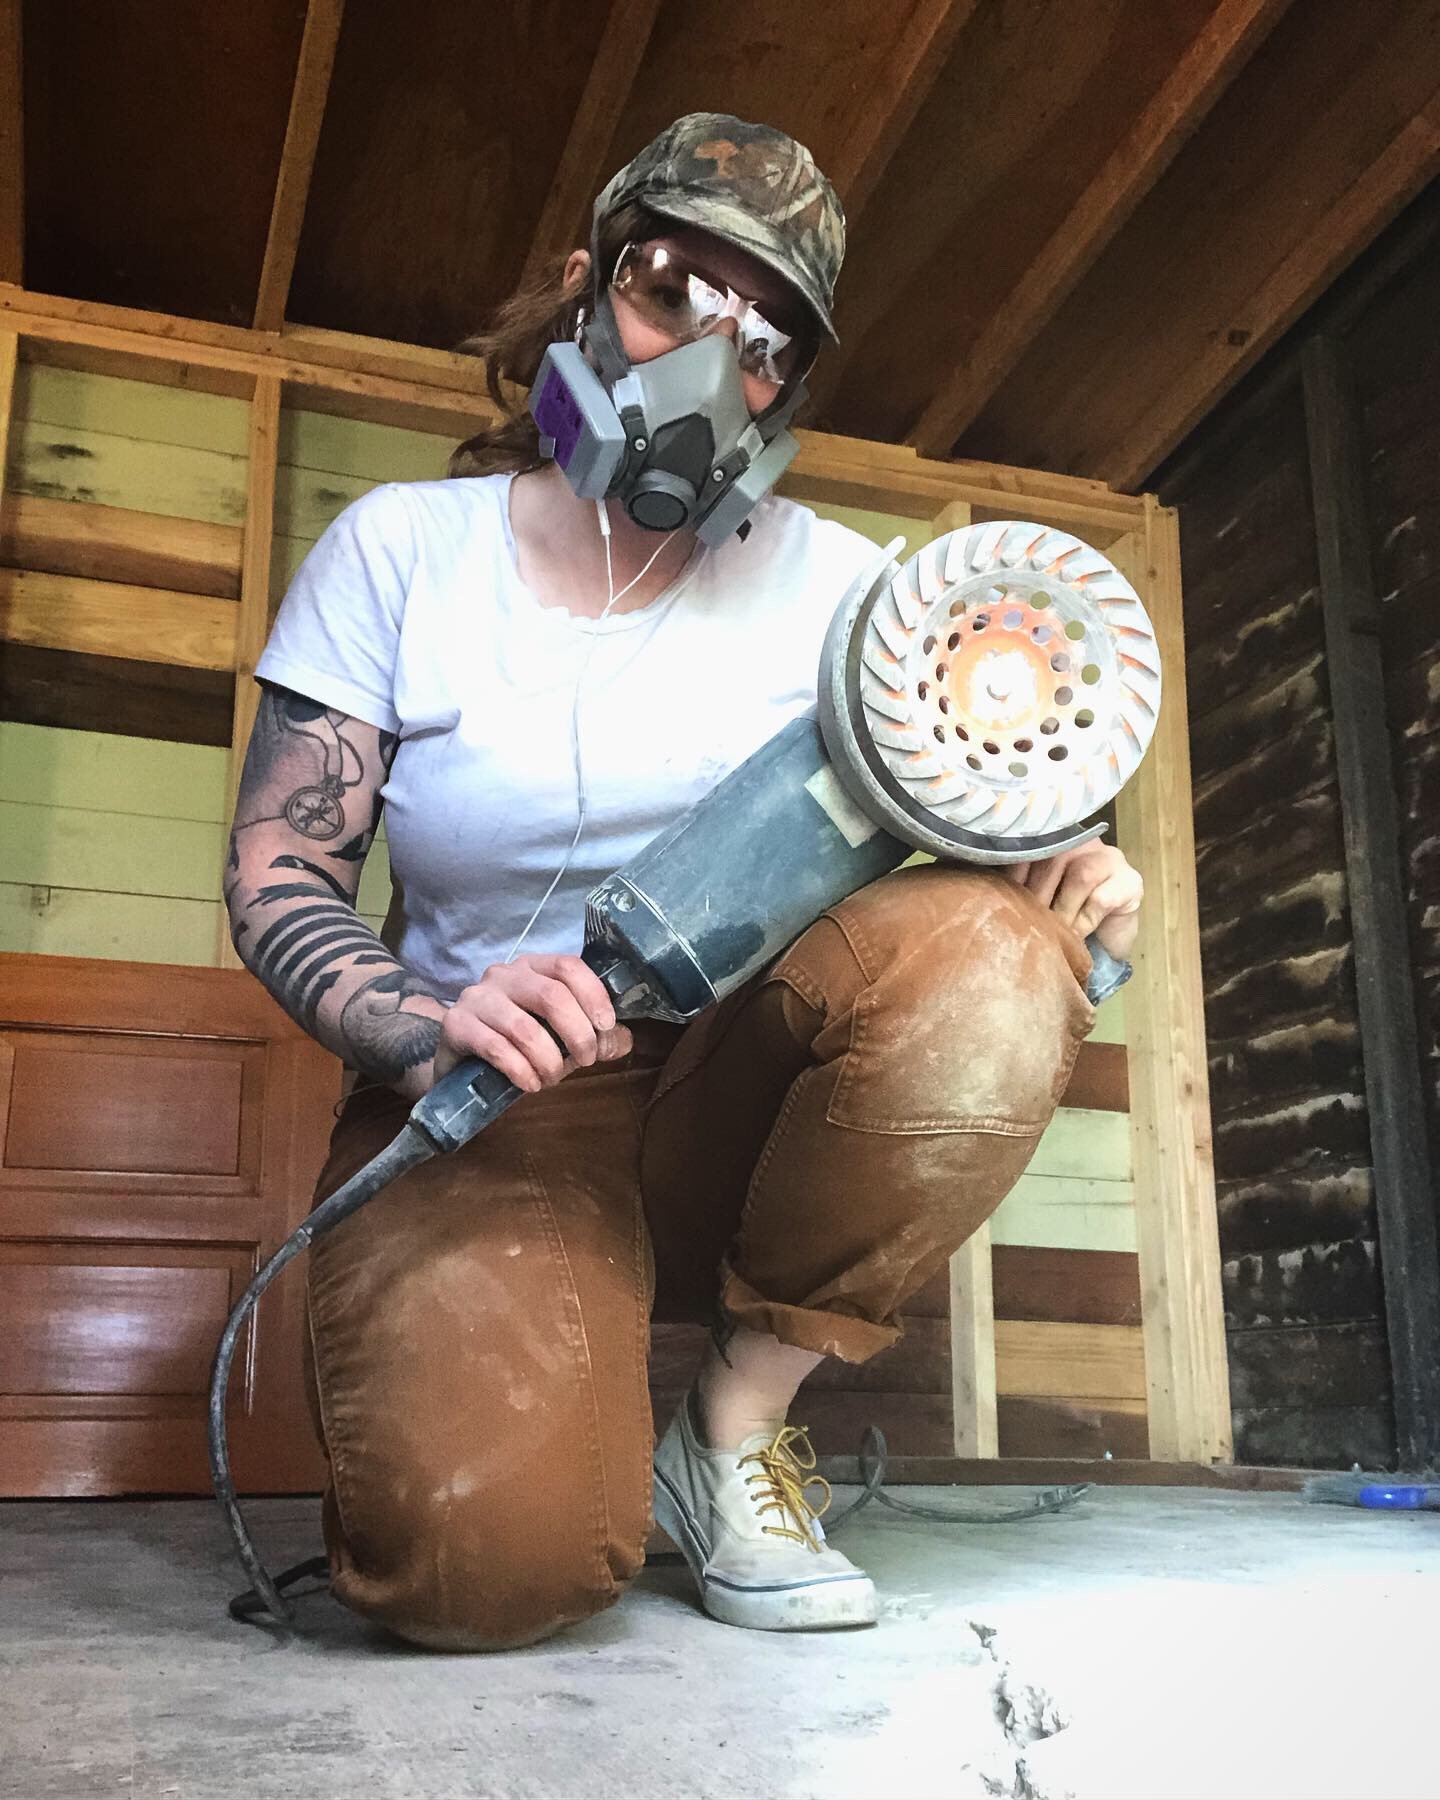
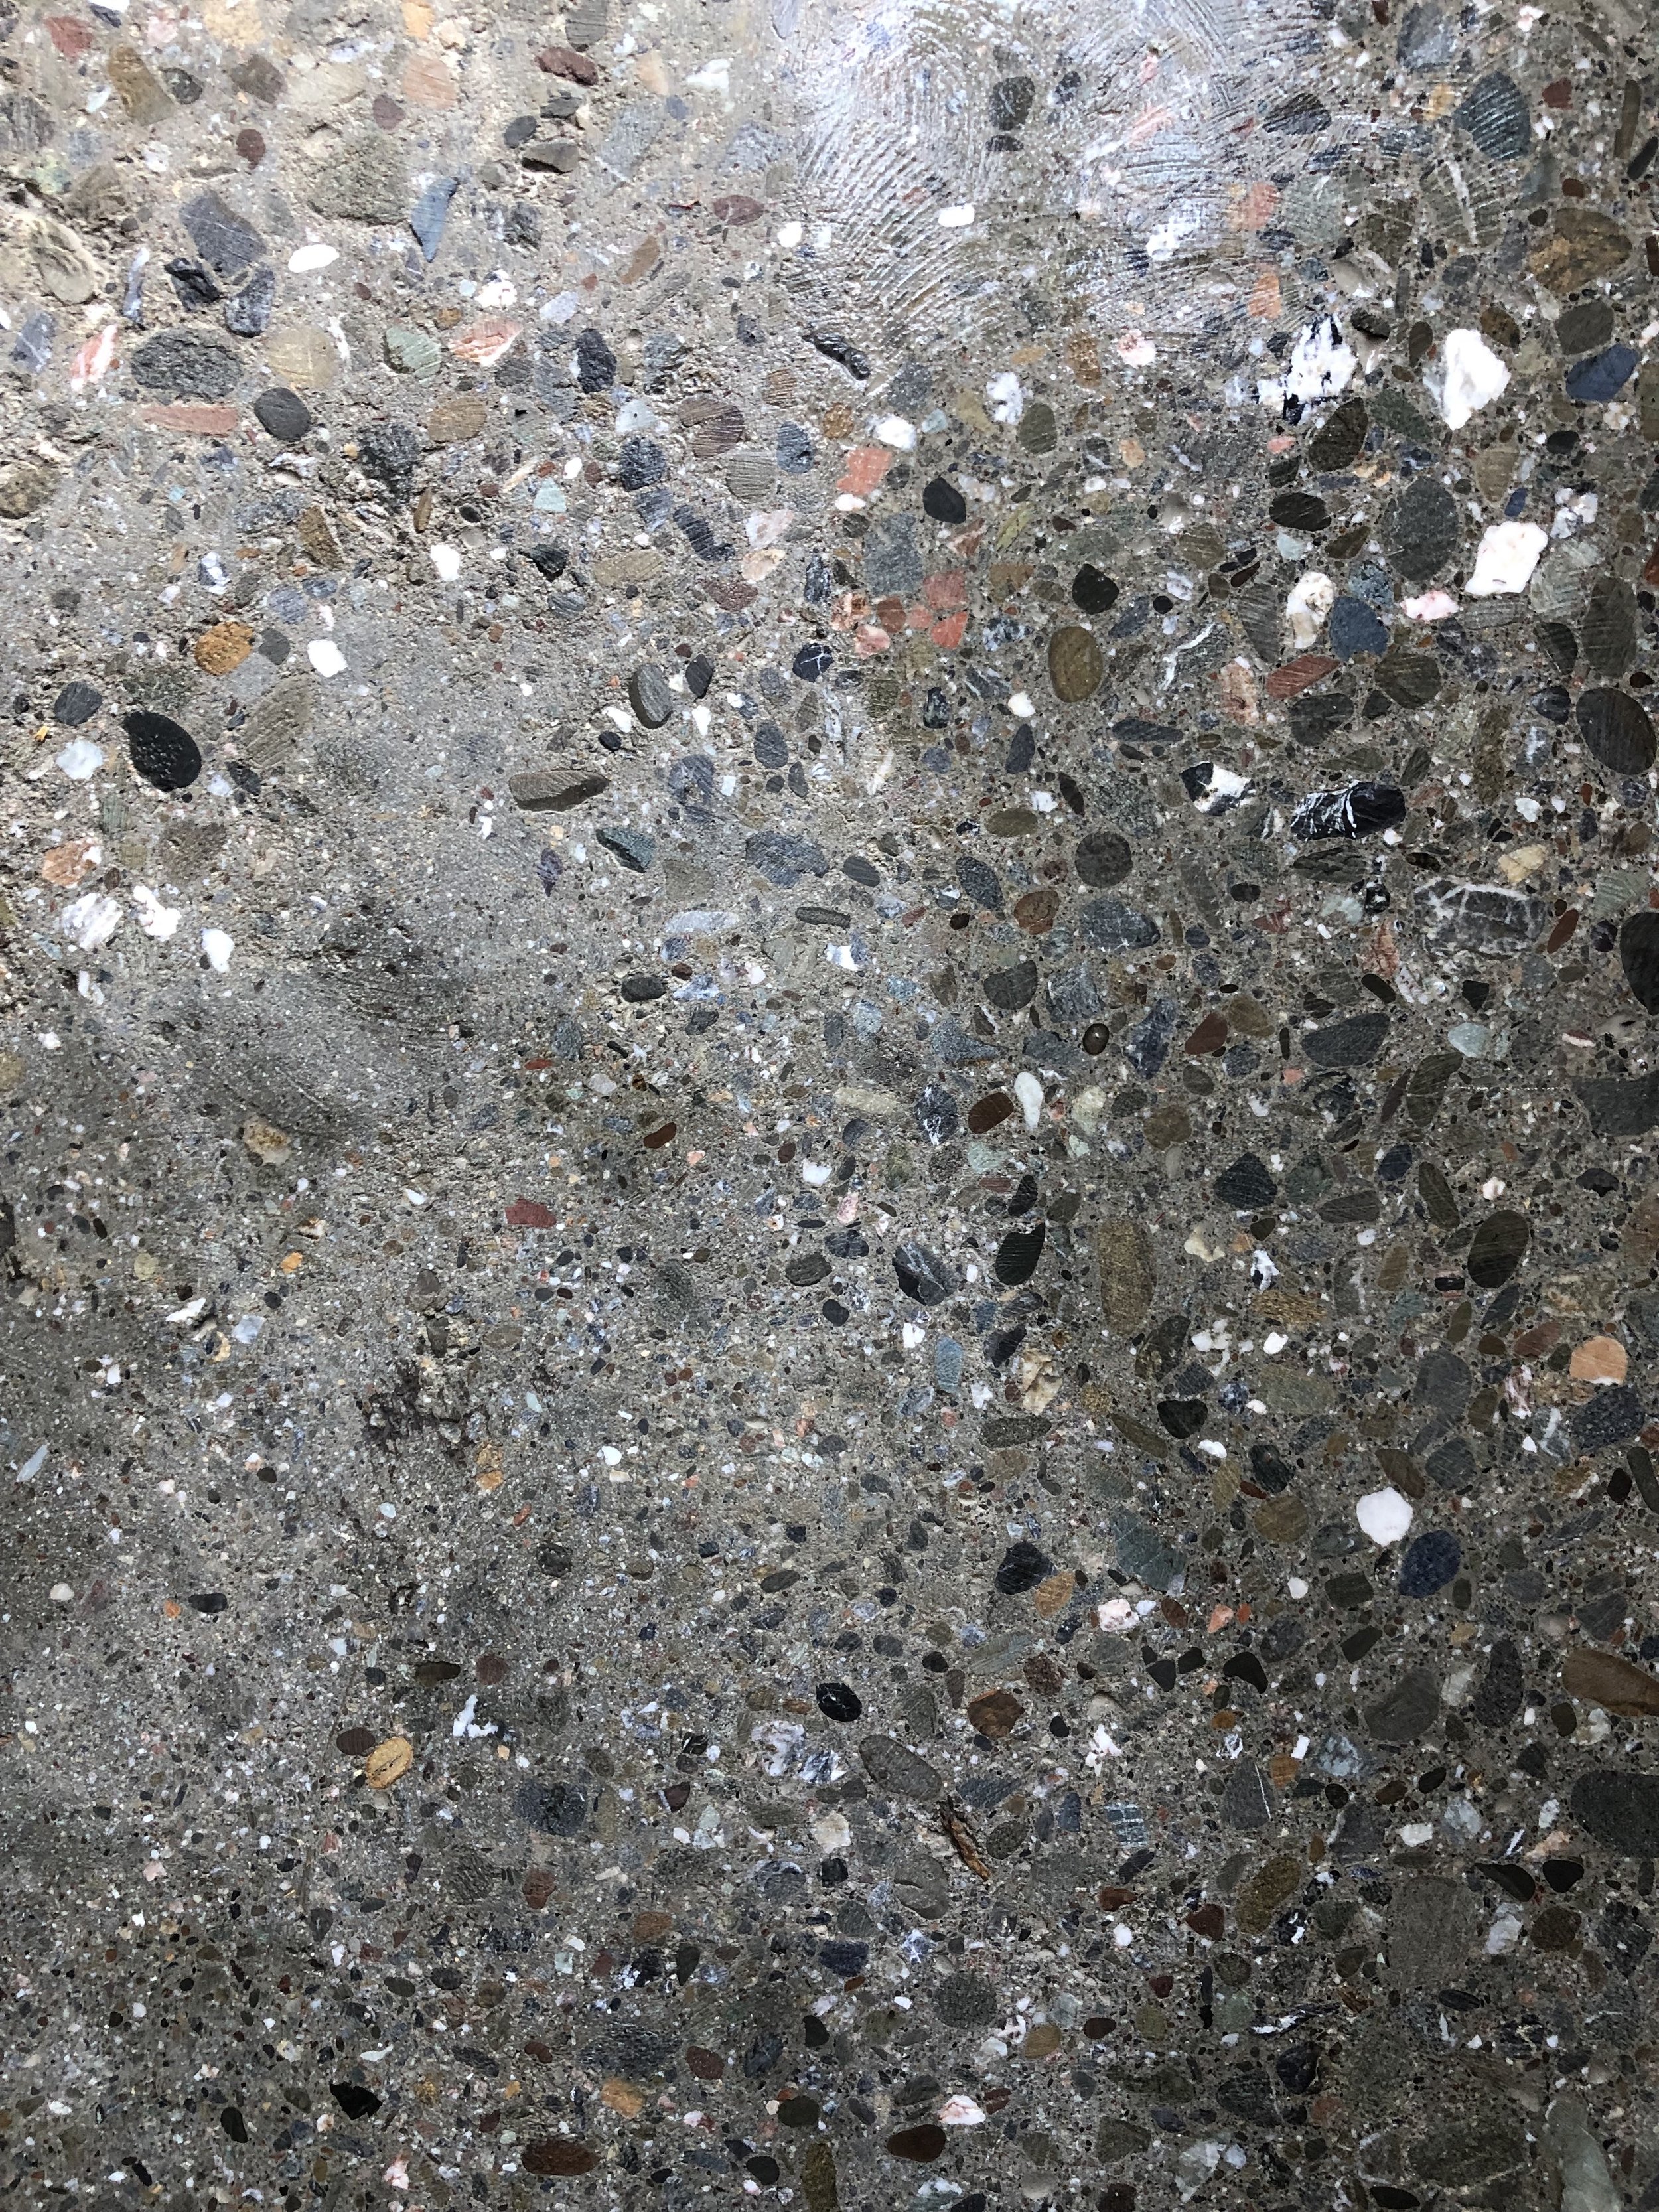
I checked out a large angle grinder from the tool library, with a diamond concrete grinding wheel, and went to work. It was extremely loud an put forth an outrageous amount of (what I assume is toxic) dust, but it got the job done. As I painstakingly peeled back the top layer of concrete, I revealed a lovely light gray cement with a pleasant pebble effect. I consulted with Chris via text message and he talked me into resurfacing the whole floor. It was a lot of extra work, but I was happy with the look and feel when I was done with it, so it was worth it.

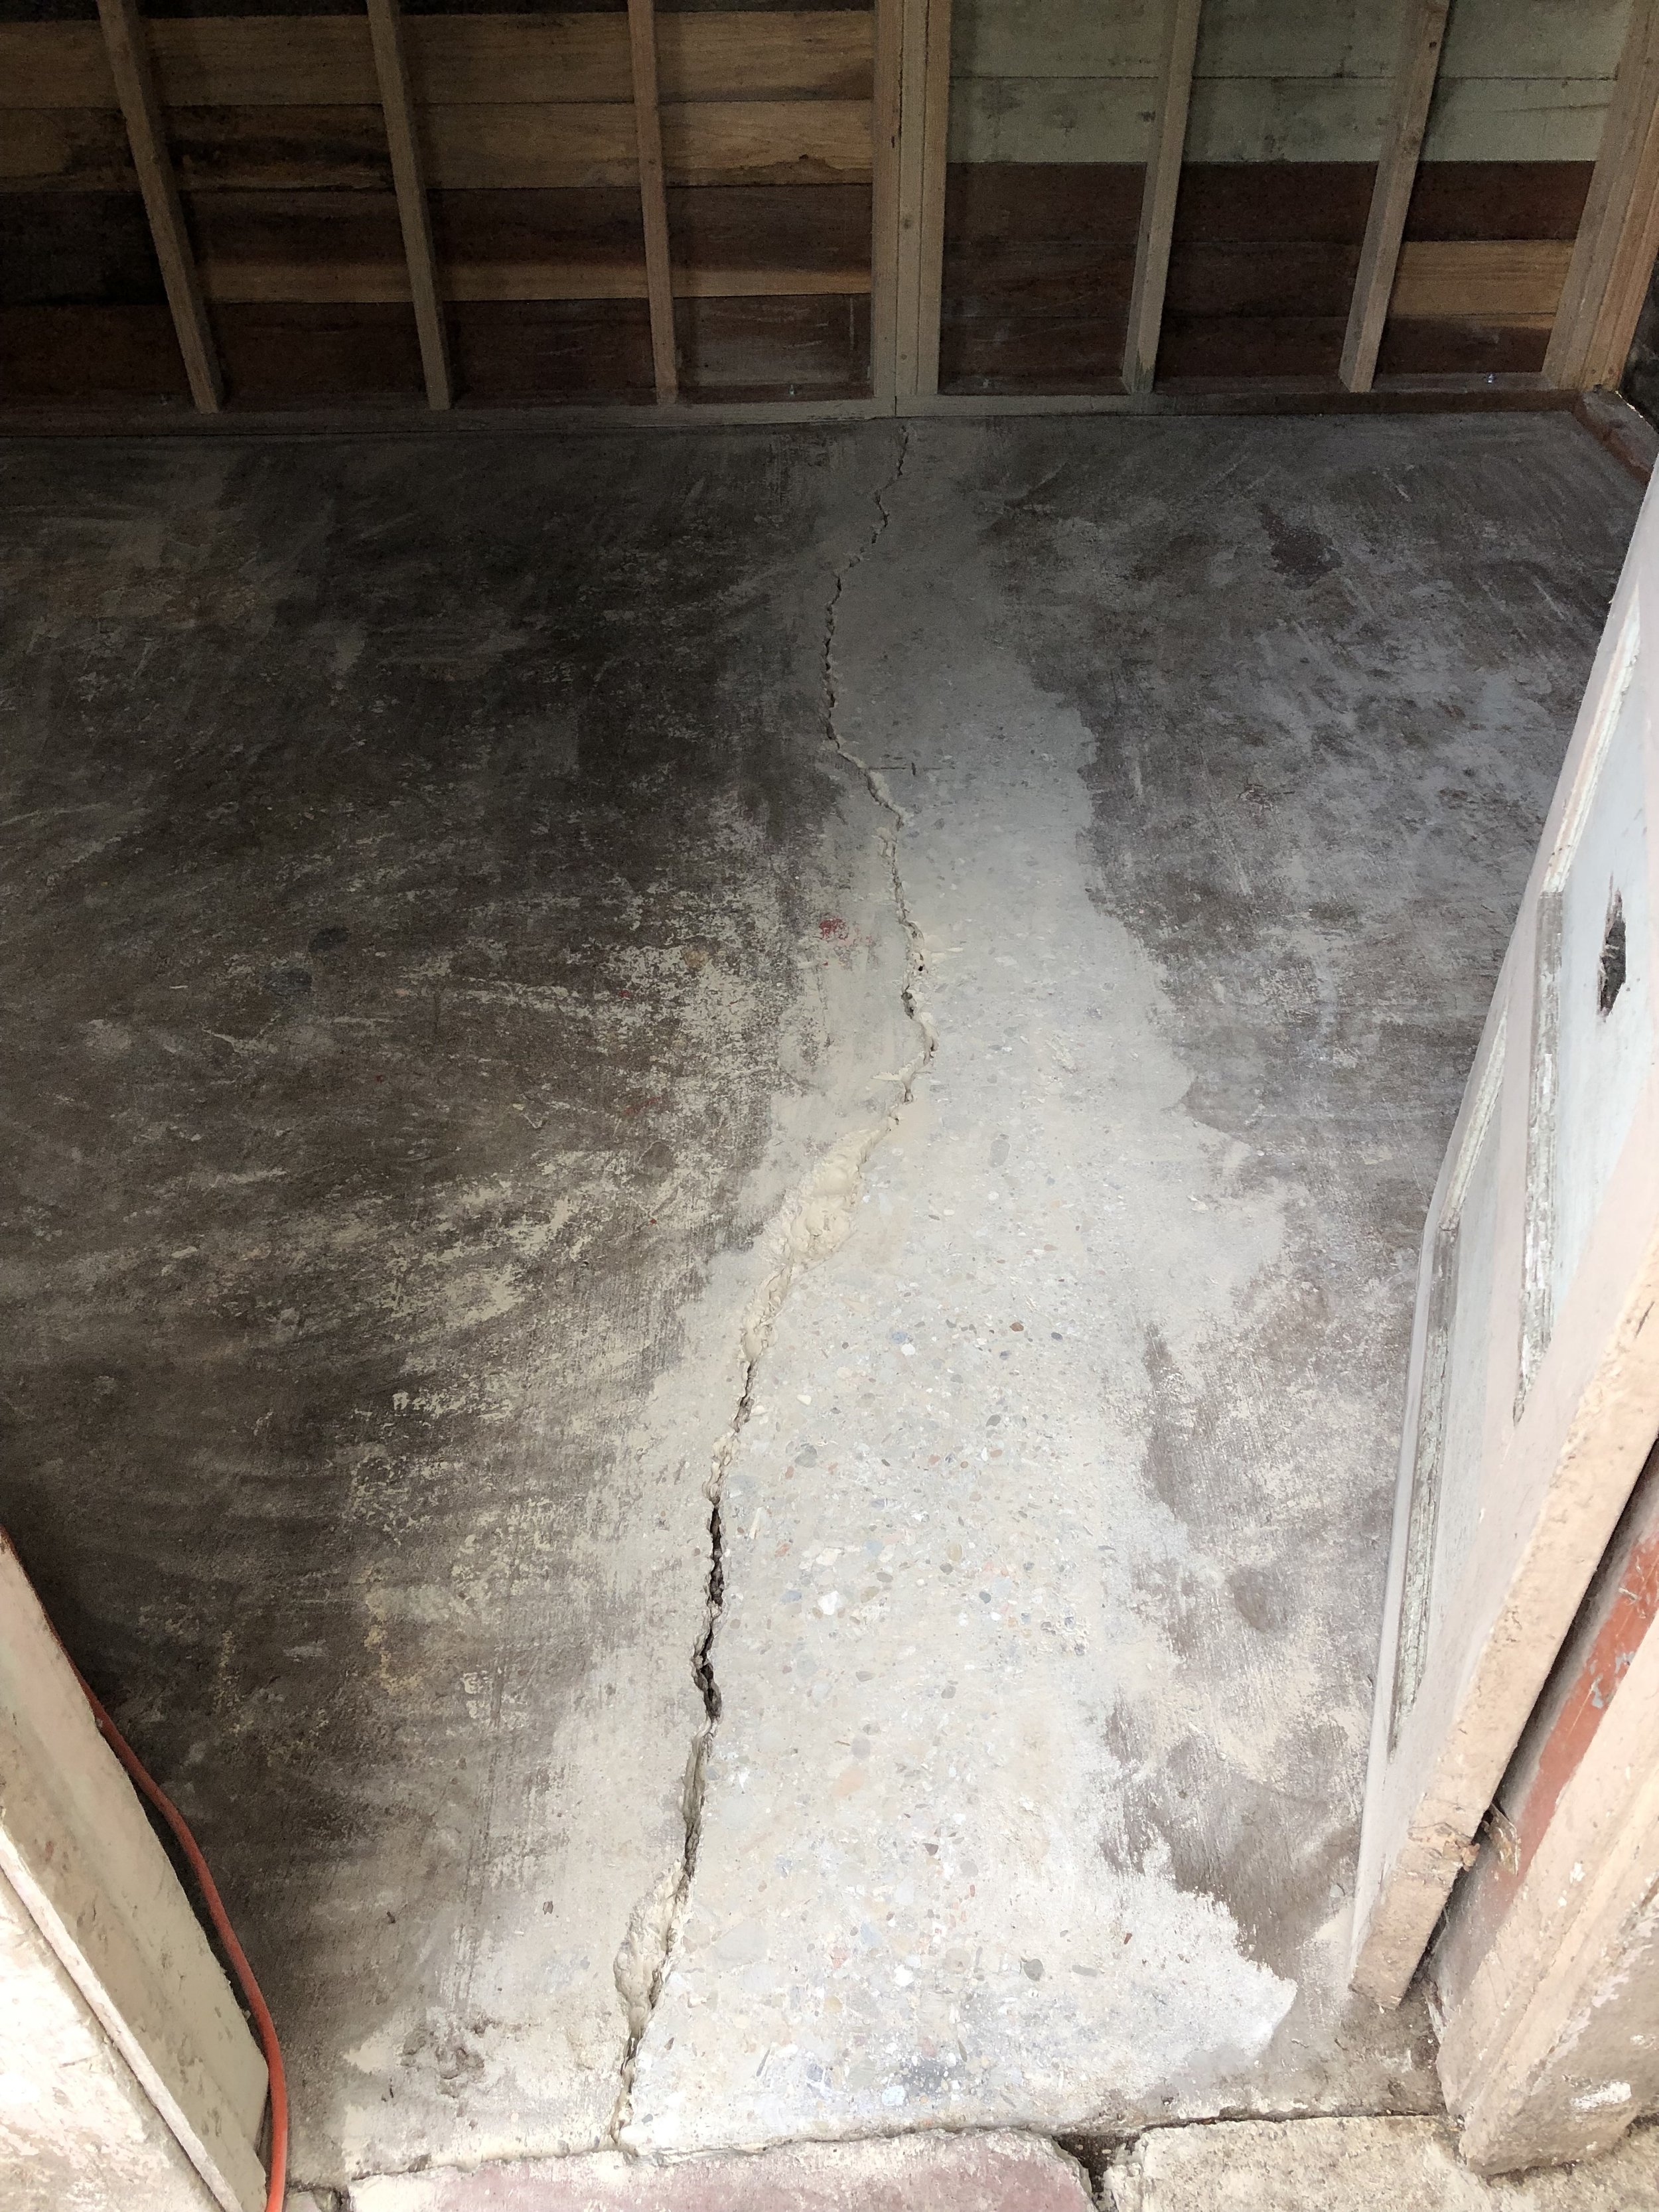
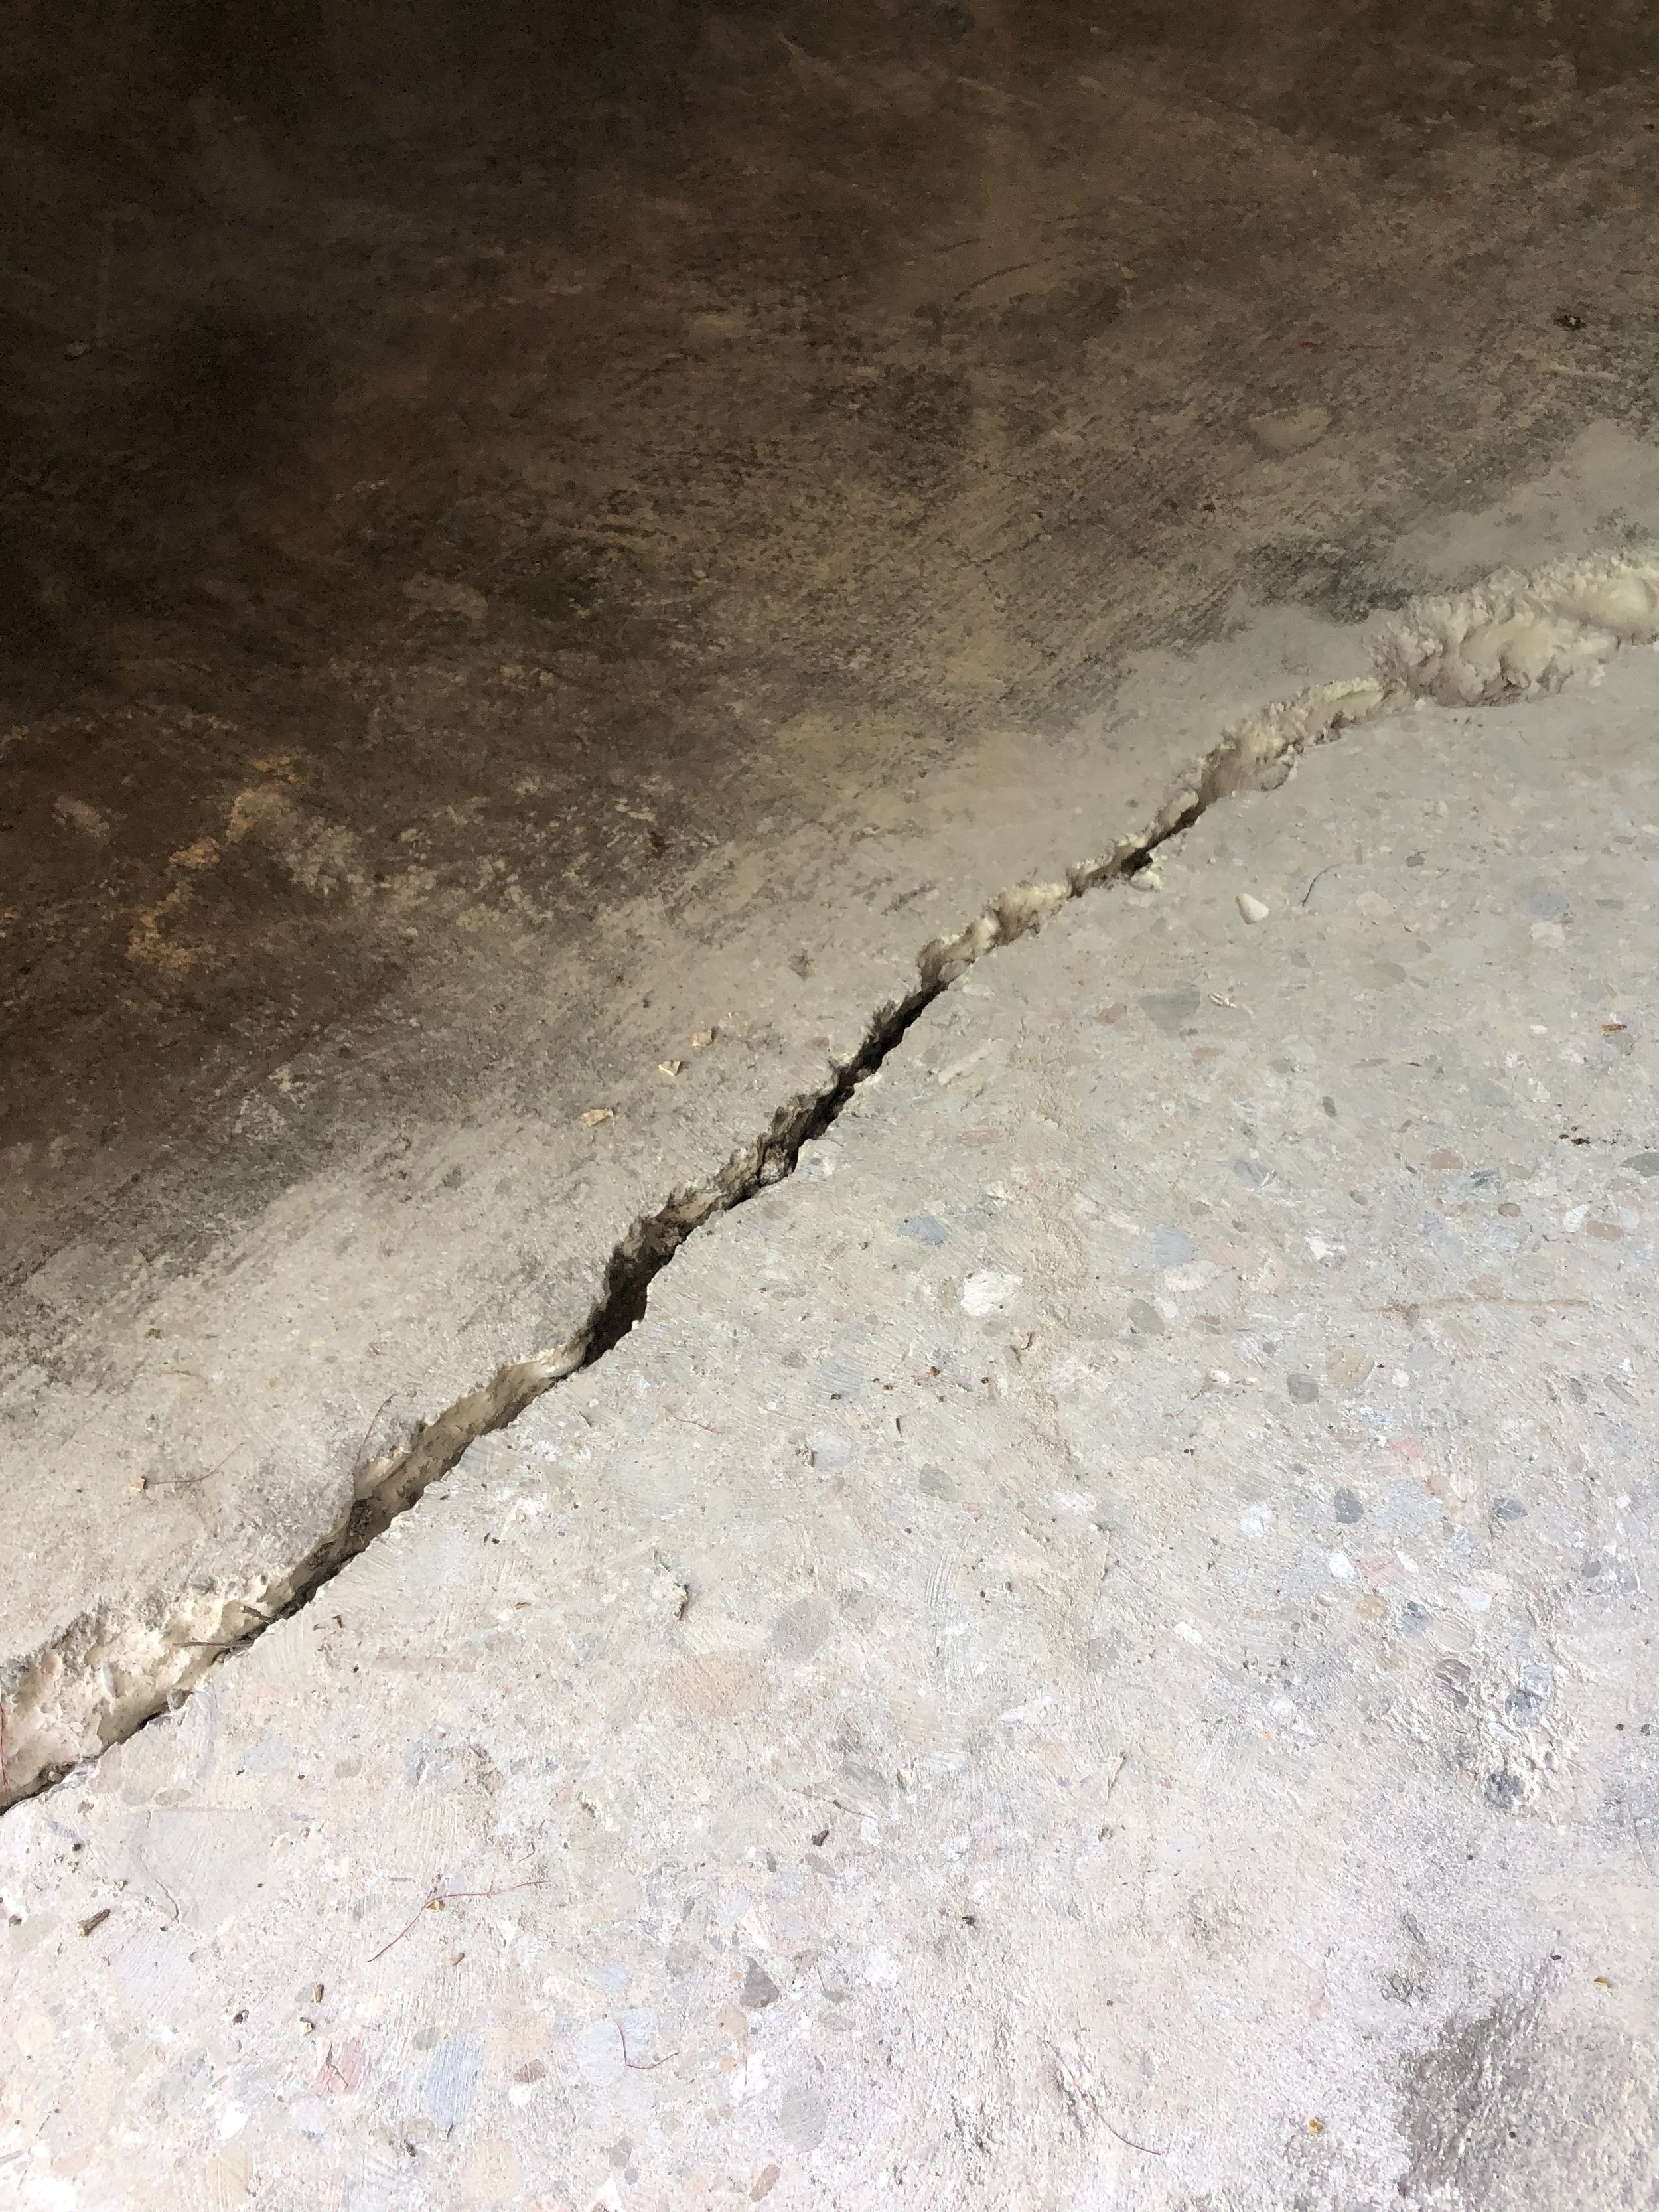
Once the concrete was resurfaced and (more or less) level, my next task was to fix the crack in the floor. I did a fair bit of research, as was the case with most of the shed projects, and landed on a combination of foam caulk backer rod and concrete crack and masonry polyurethane sealant. I used a screw driver to push the backer rod into the crack, then applied the sealant with a caulk gun. Again, lot of YouTube videos were used!
Finally, once the sealant had cured, it was time to apply a clear coat. There are way too many brands to choose from in this department. It honestly made my head spin. Ultimately I went with Glaze ‘n’ Seal, which is water-based, matte, and was in stock at Home Depot*. I applied a few coats over the course of a couple days and called it good. Apparently I didn’t take any “after” pictures of just the floor, but you’ll get to see it in later photos of the shed build!

*I know that Home Depot is problematic. As often as possible I try to shop at locally-owned hardware stores, which I love. Based on proximity and frequency of trips, HD often made the most sense for this project.