Let there be light! Window Installation

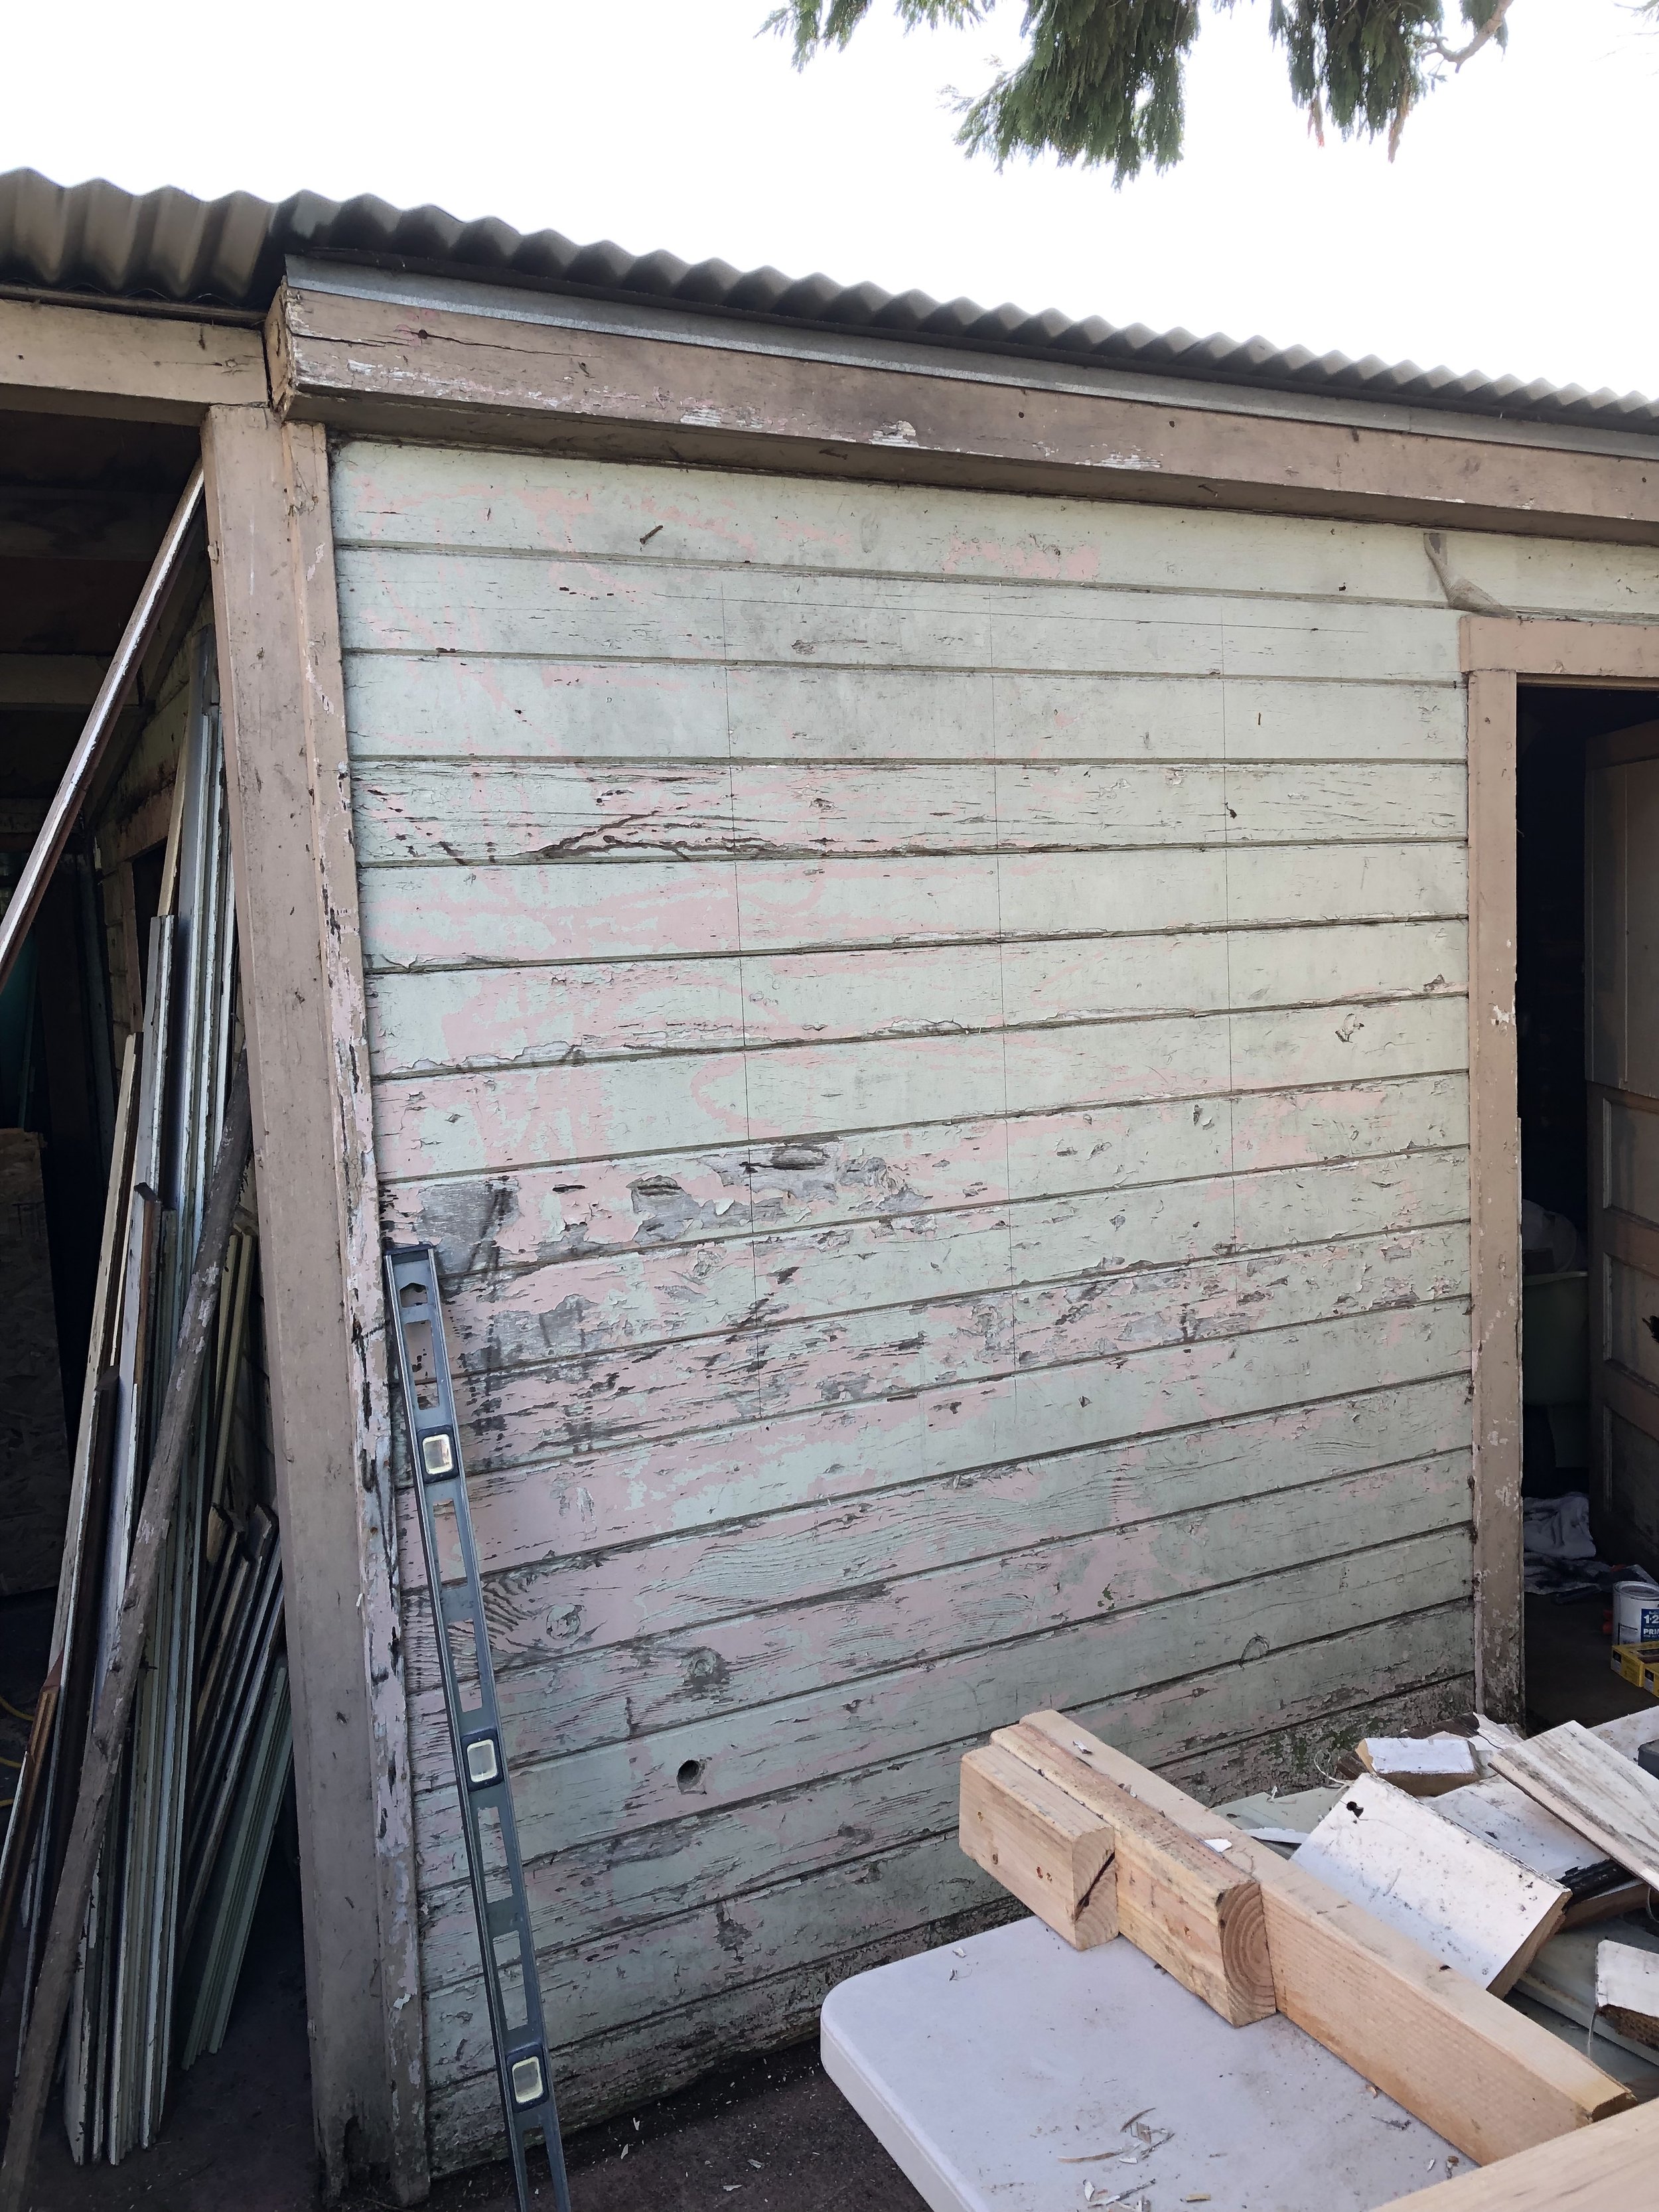
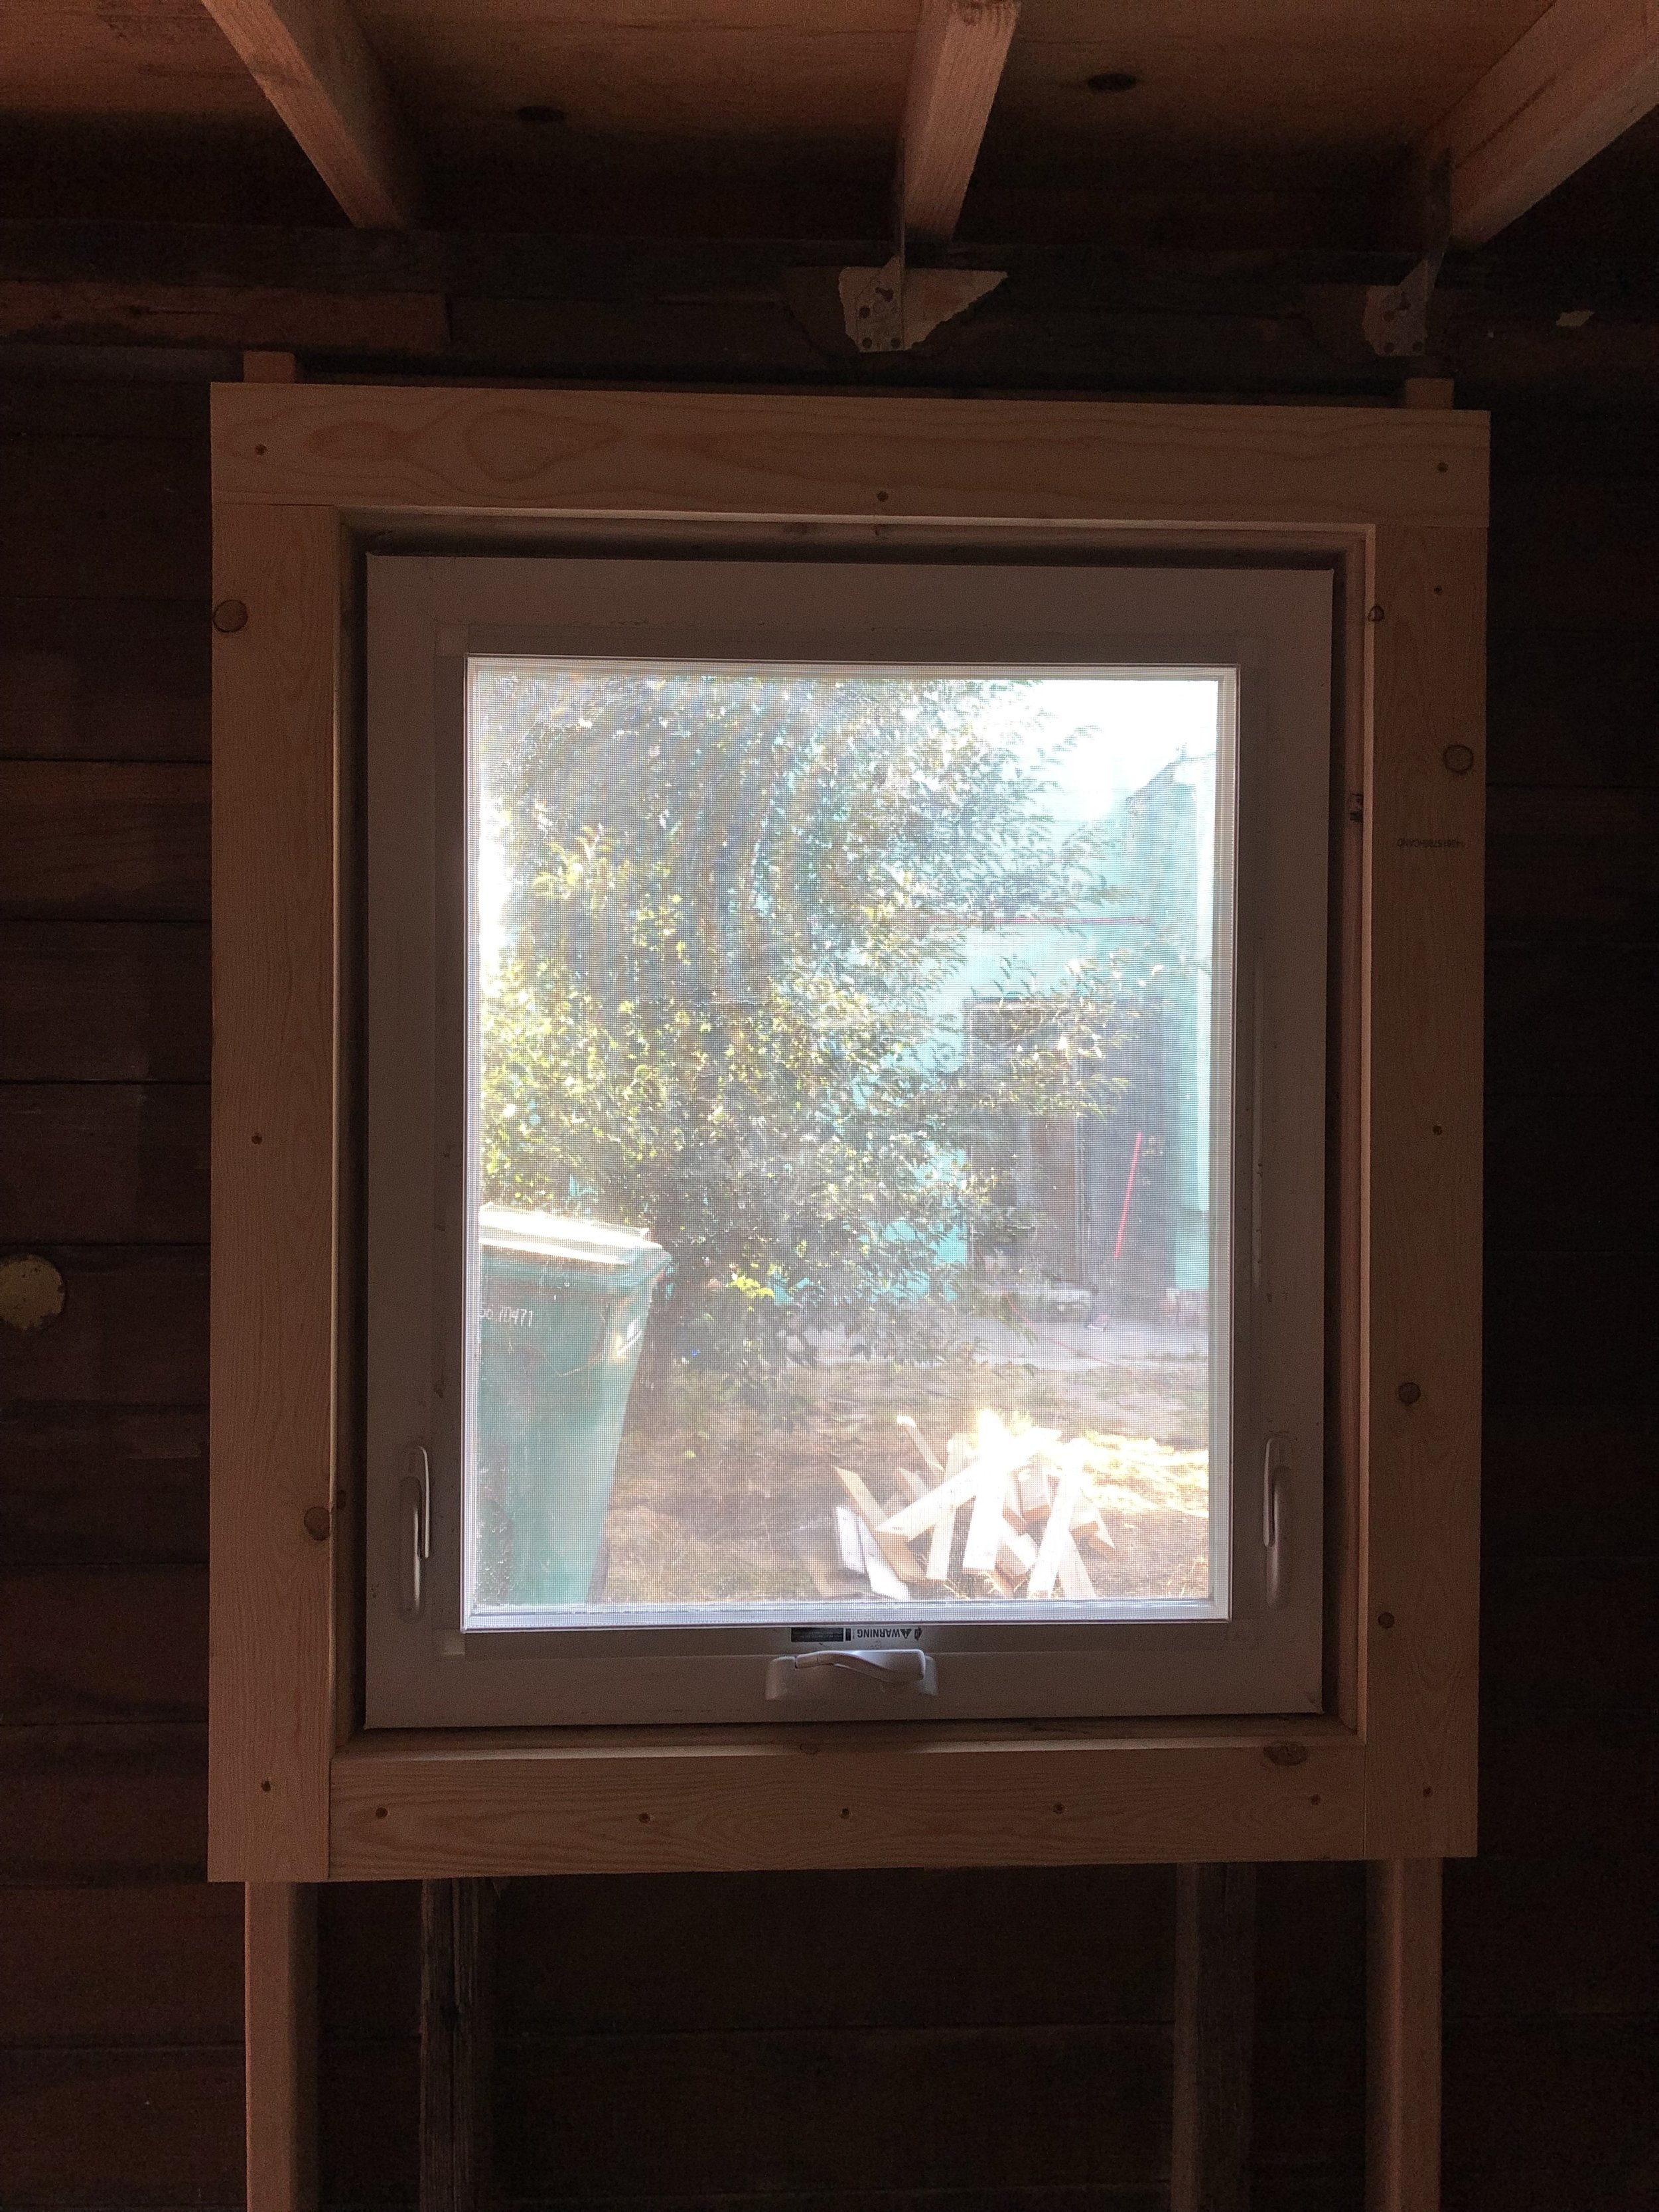
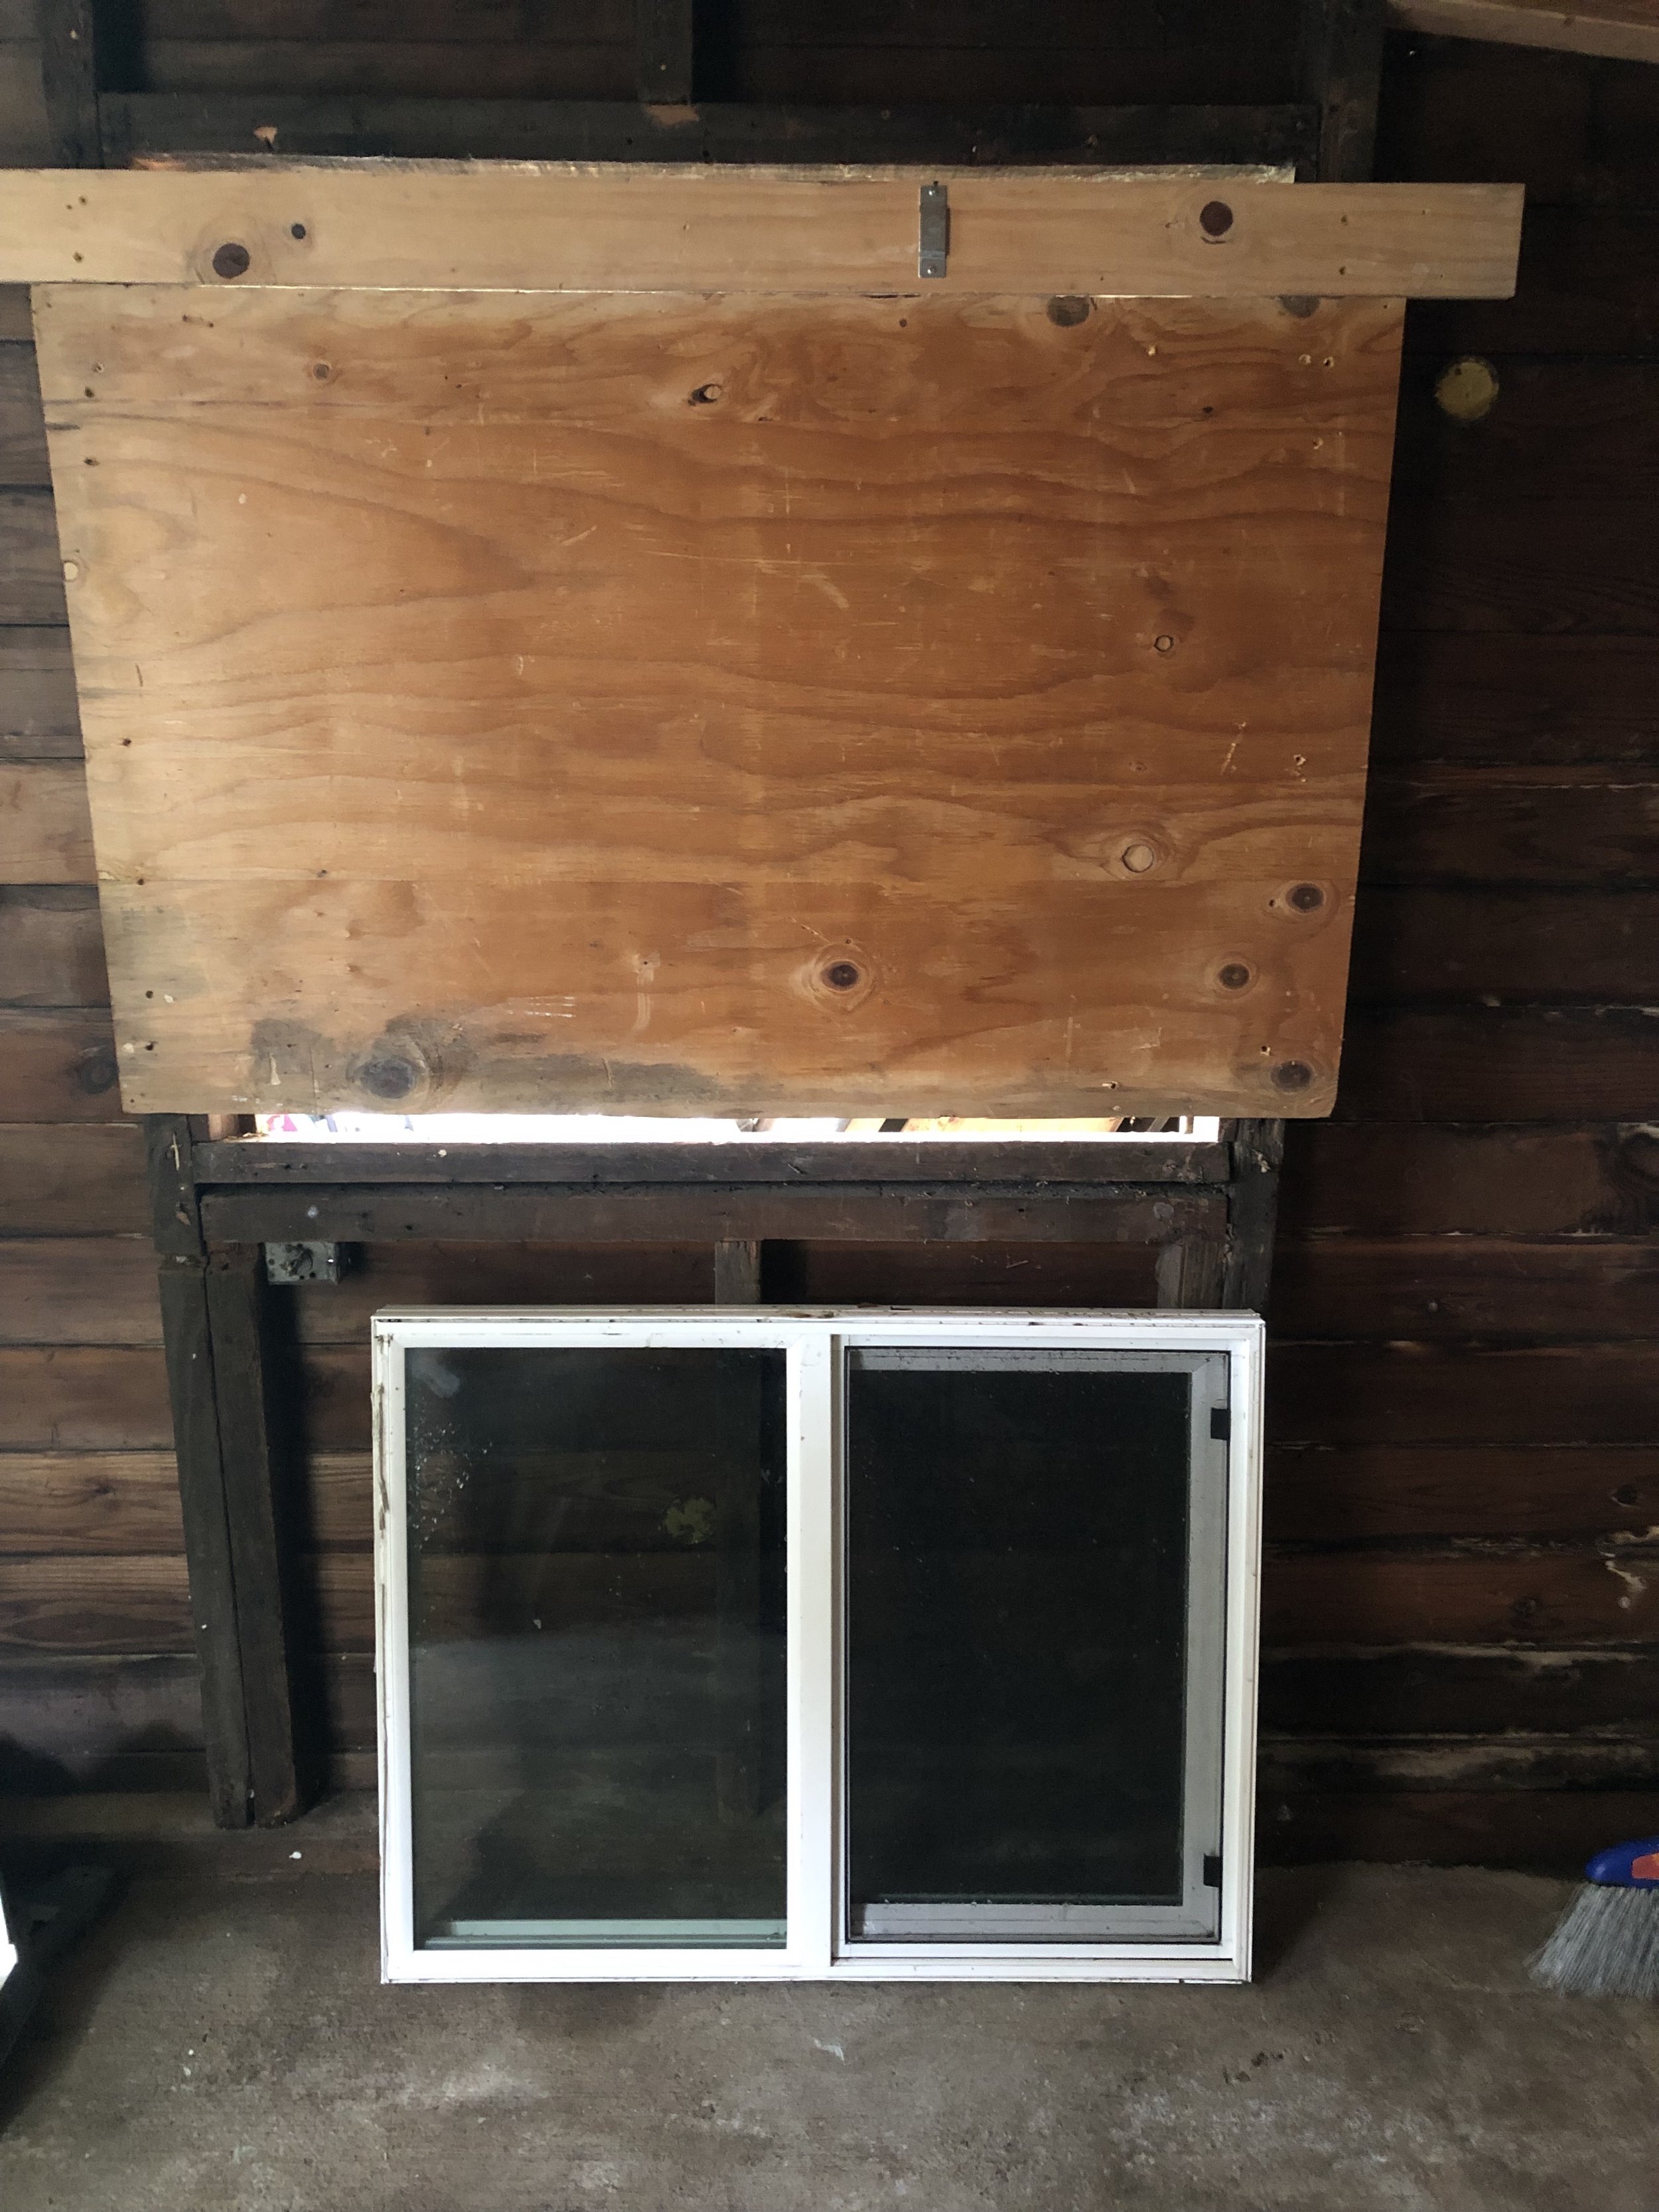
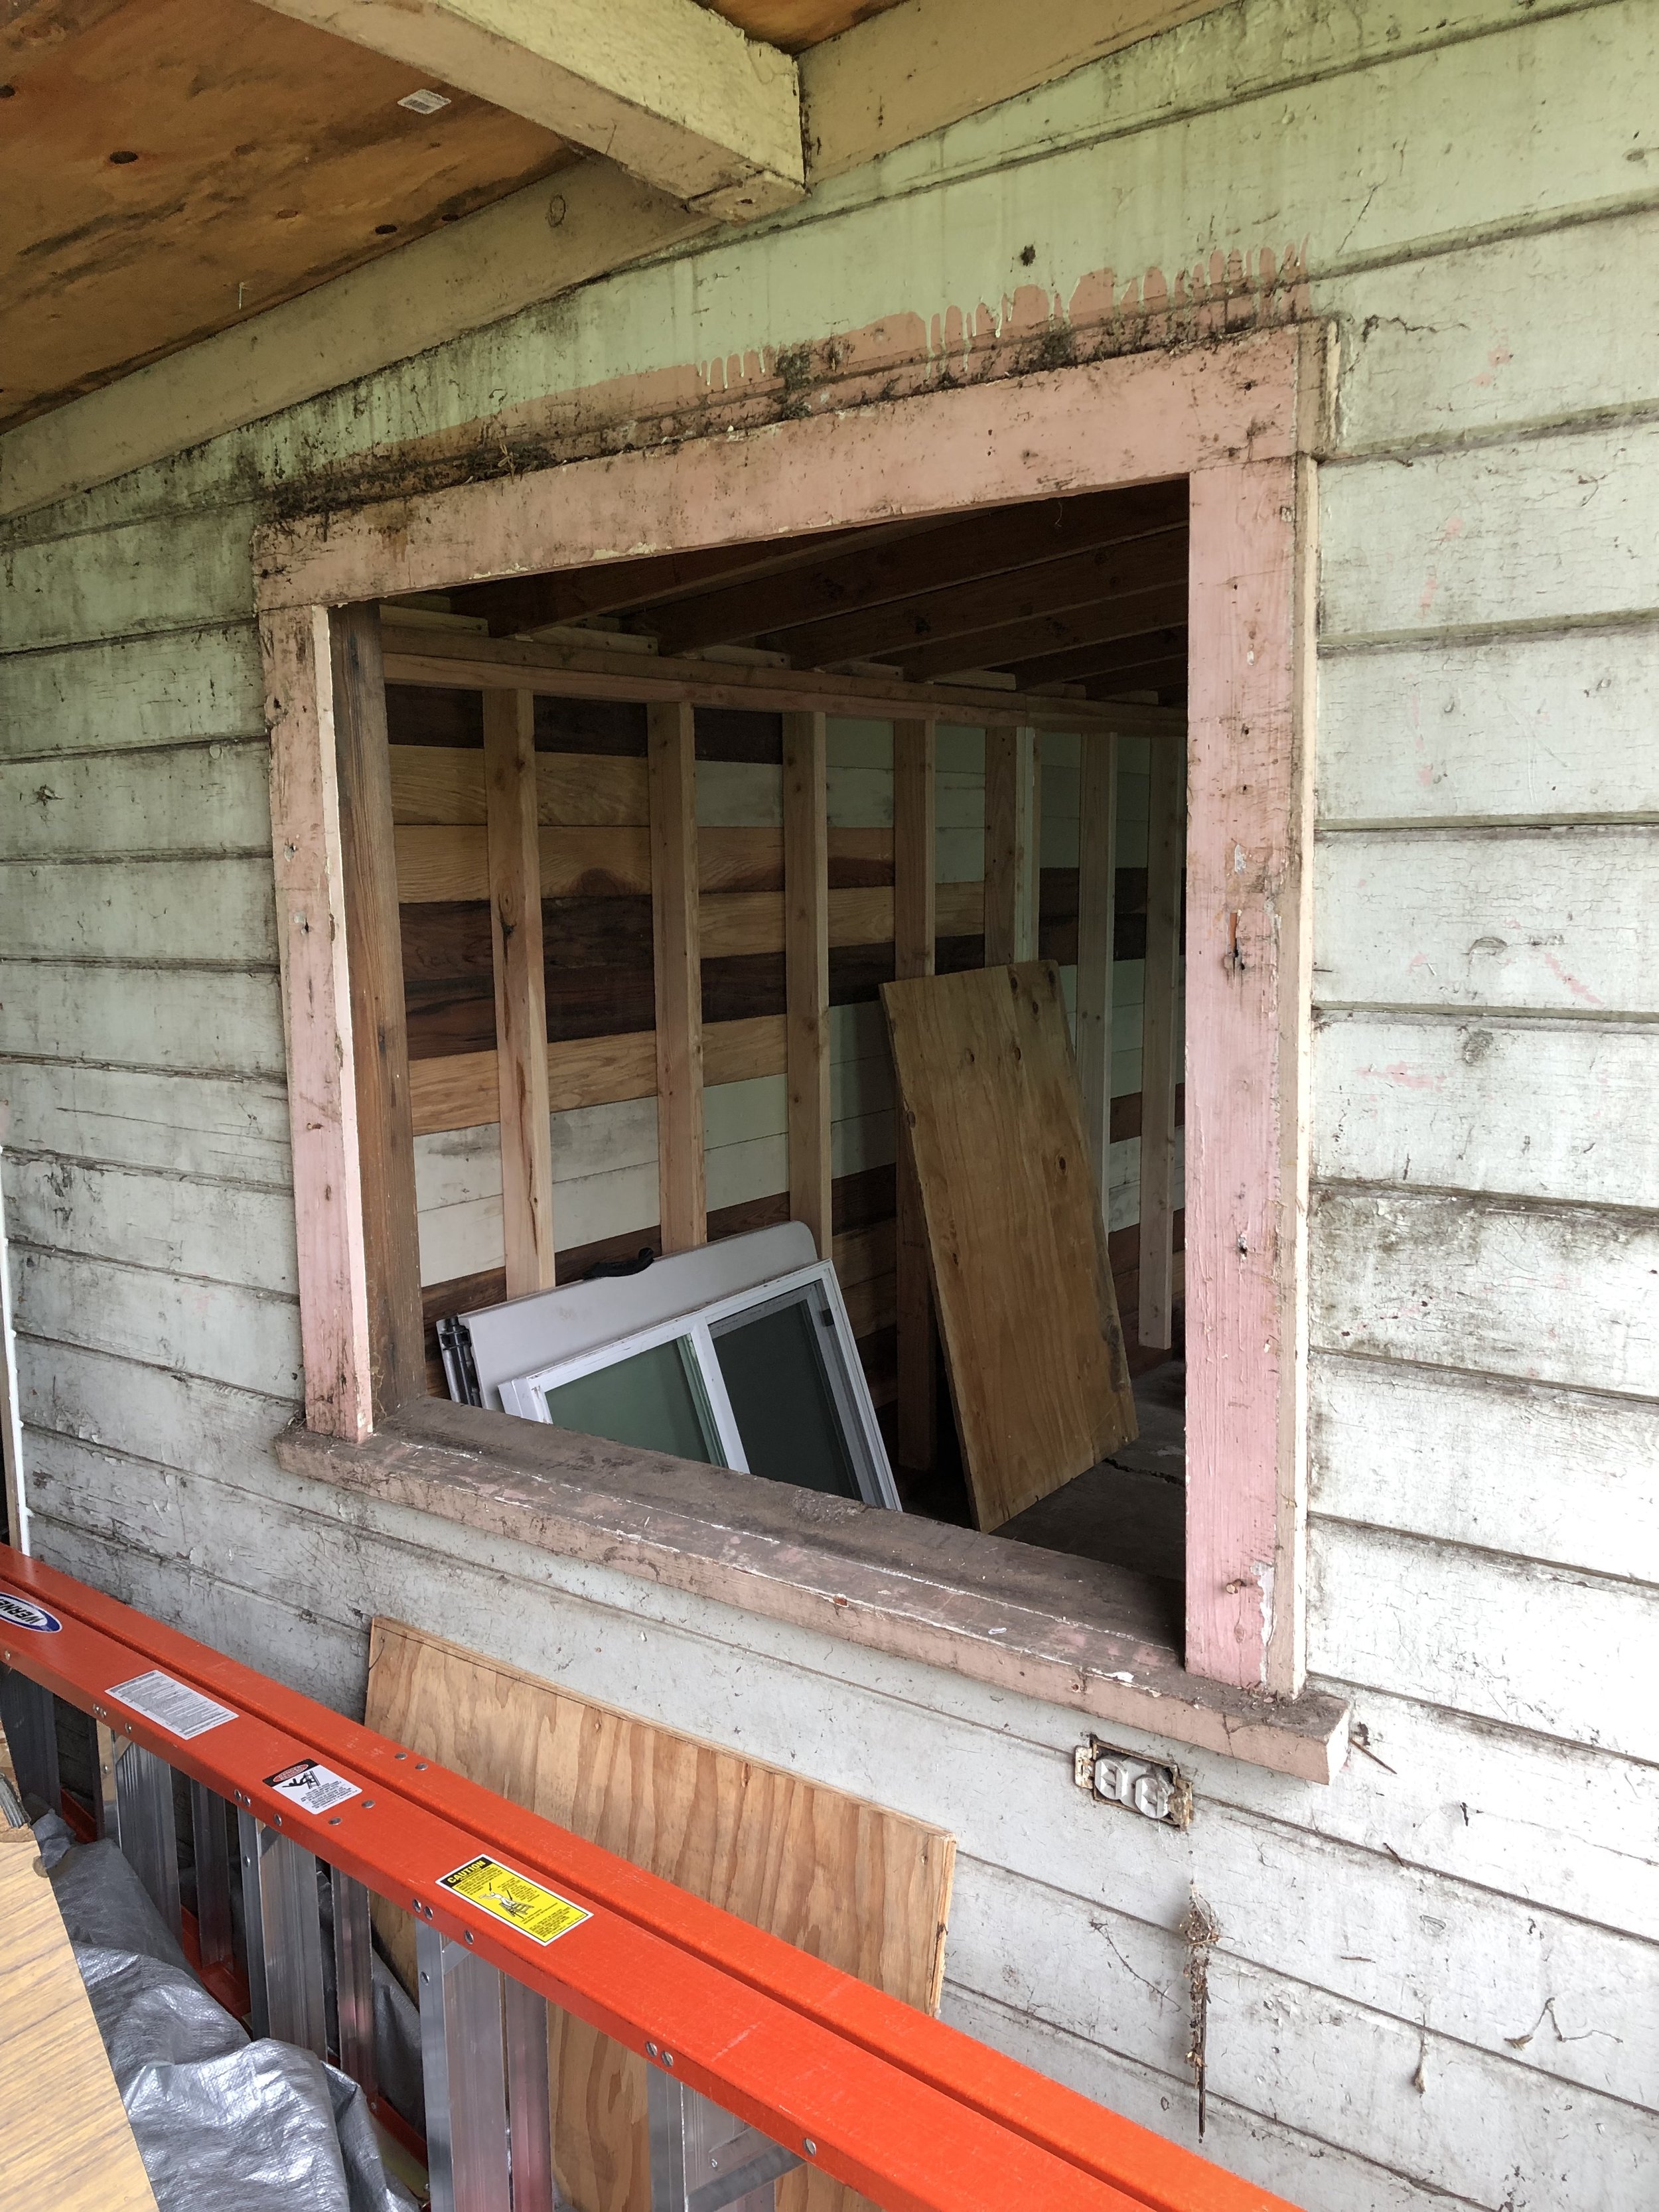
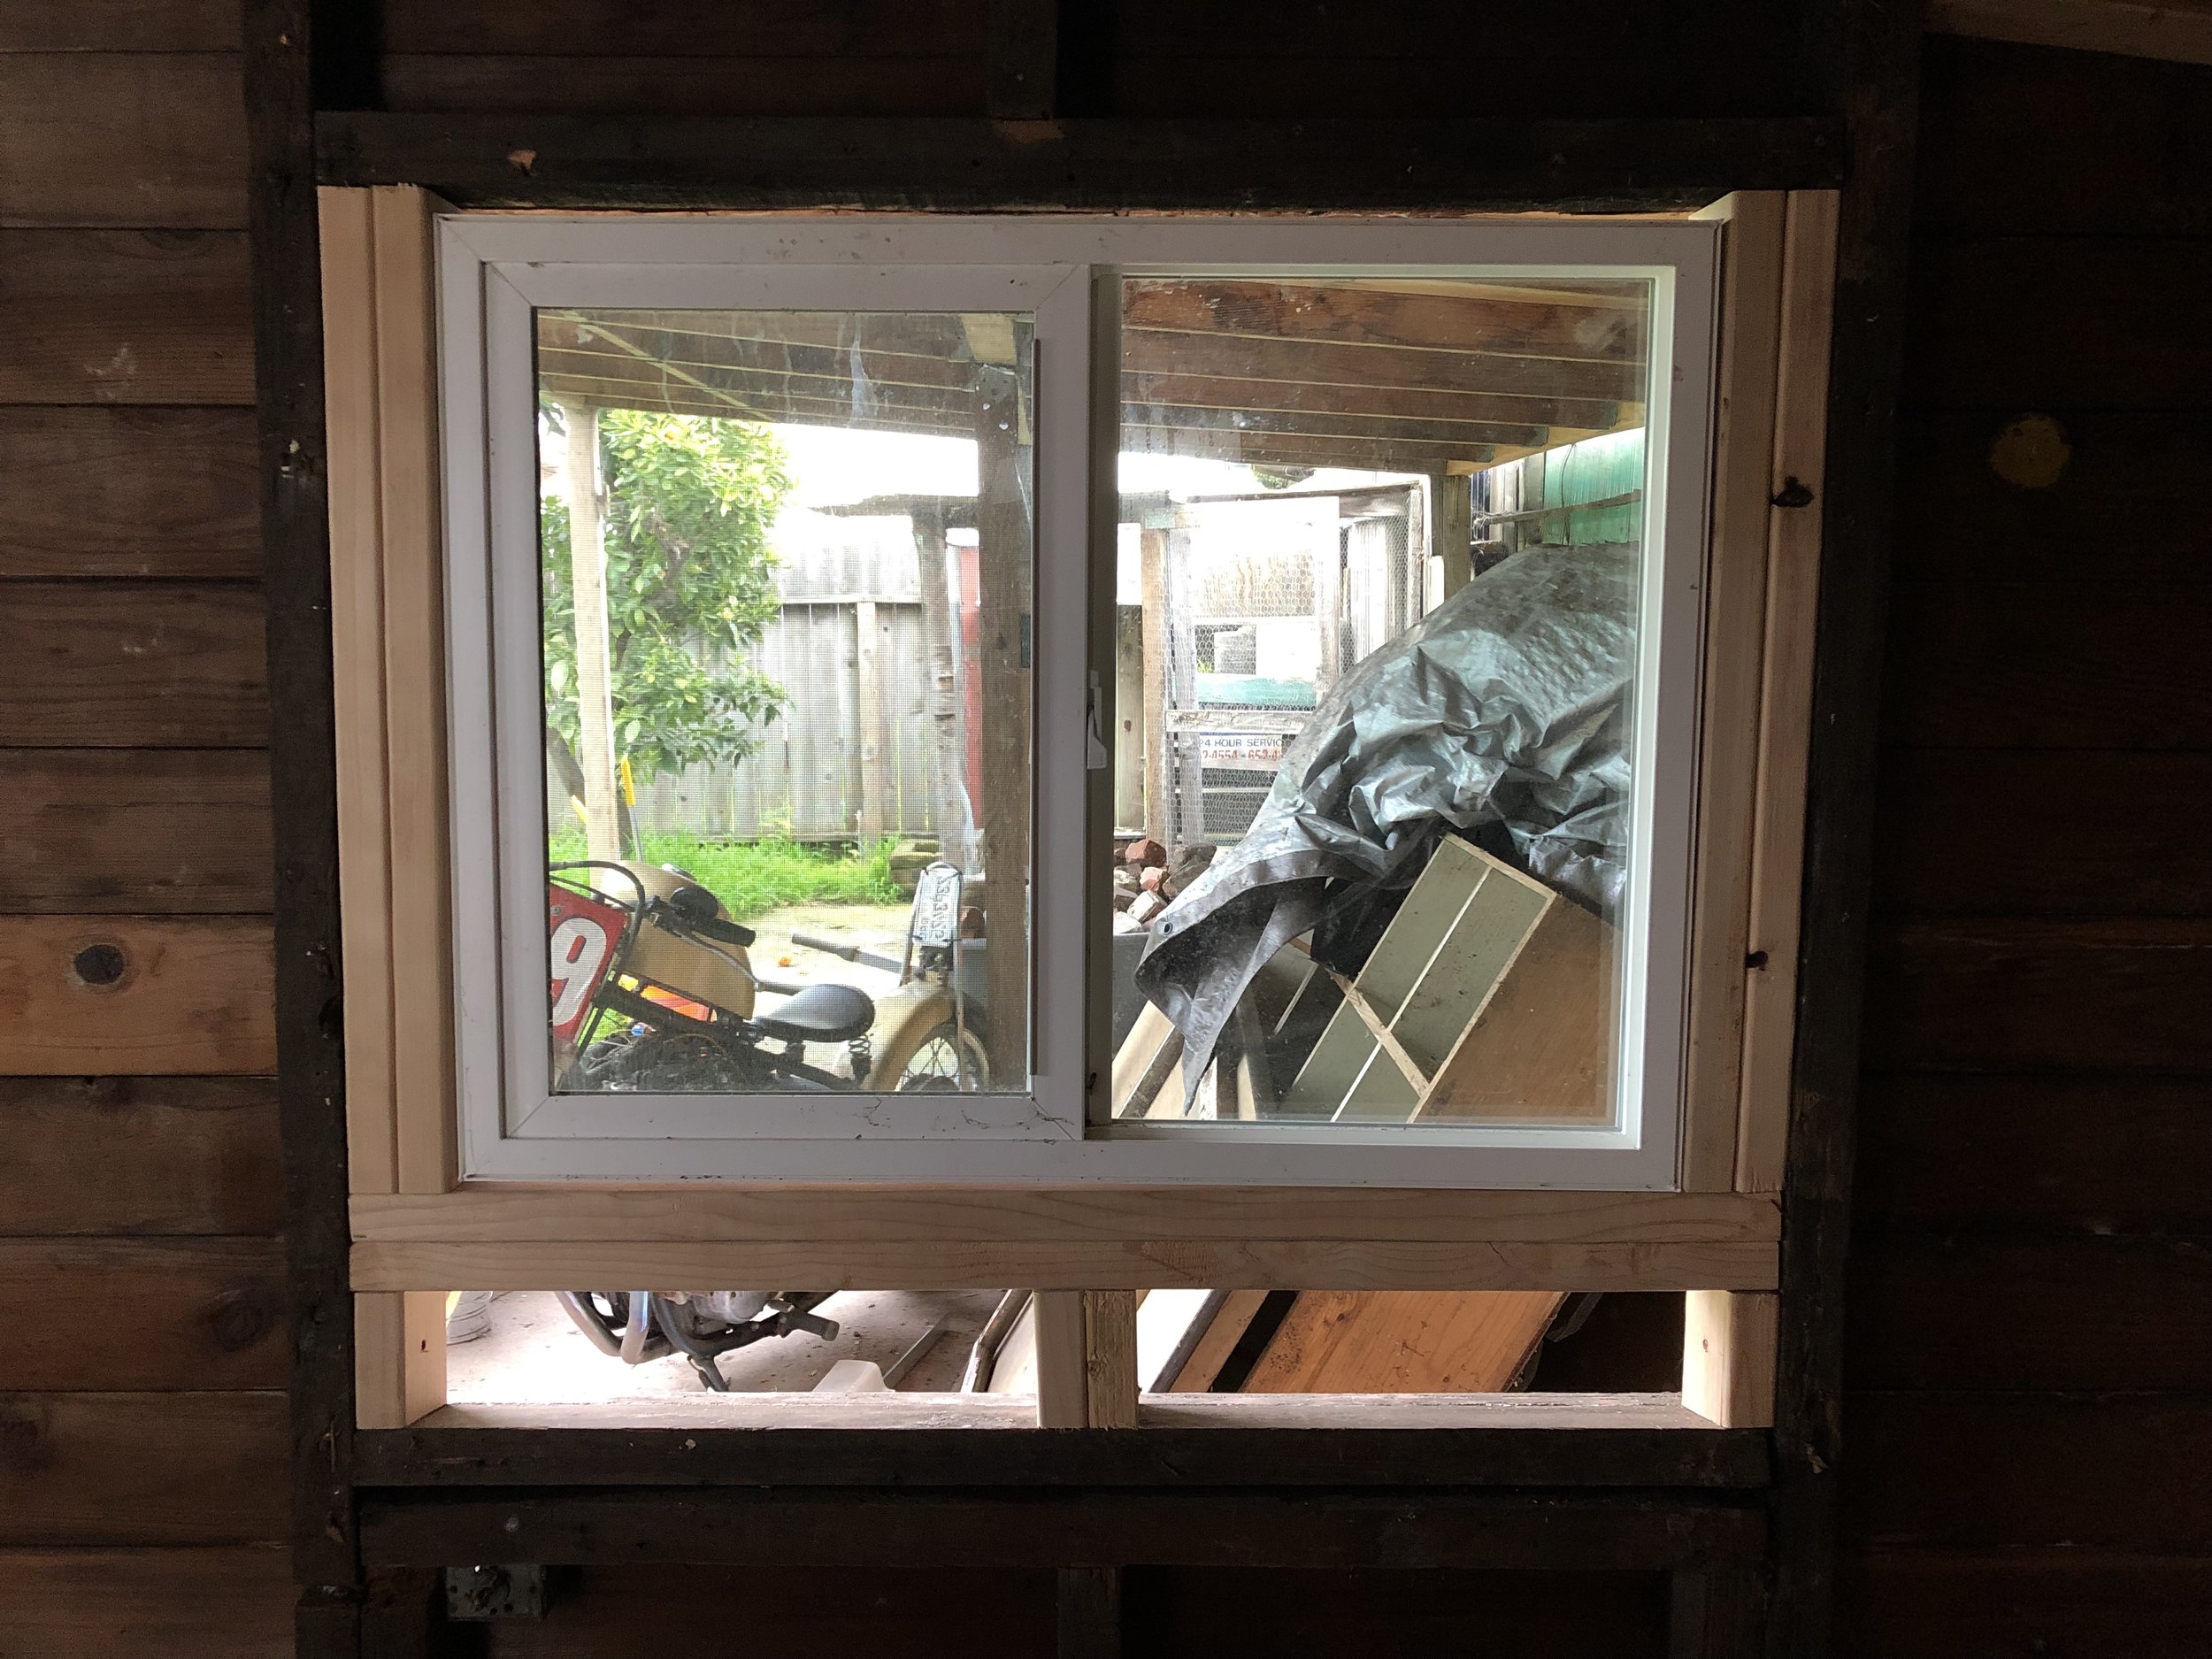
I knew I wanted to add a window to let more light in, so I shopped around at Urban Ore until I found one that was the right size. I would have preferred to use wood instead of vinyl windows, but ultimately I needed something cheap and the right size. I found this one for $75 (normally $300) and it had never been used, so I consider that a steal! For the existing opening, I found a used sliding window on Craigslist. I don’t remember what I paid for it, but I want to say it was $25-$50. Buying supplies in this way can be labor intensive, and is challenging if you’re on a strict timeline, but you can save a lot of money if you’re willing and able to put in a little extra effort!
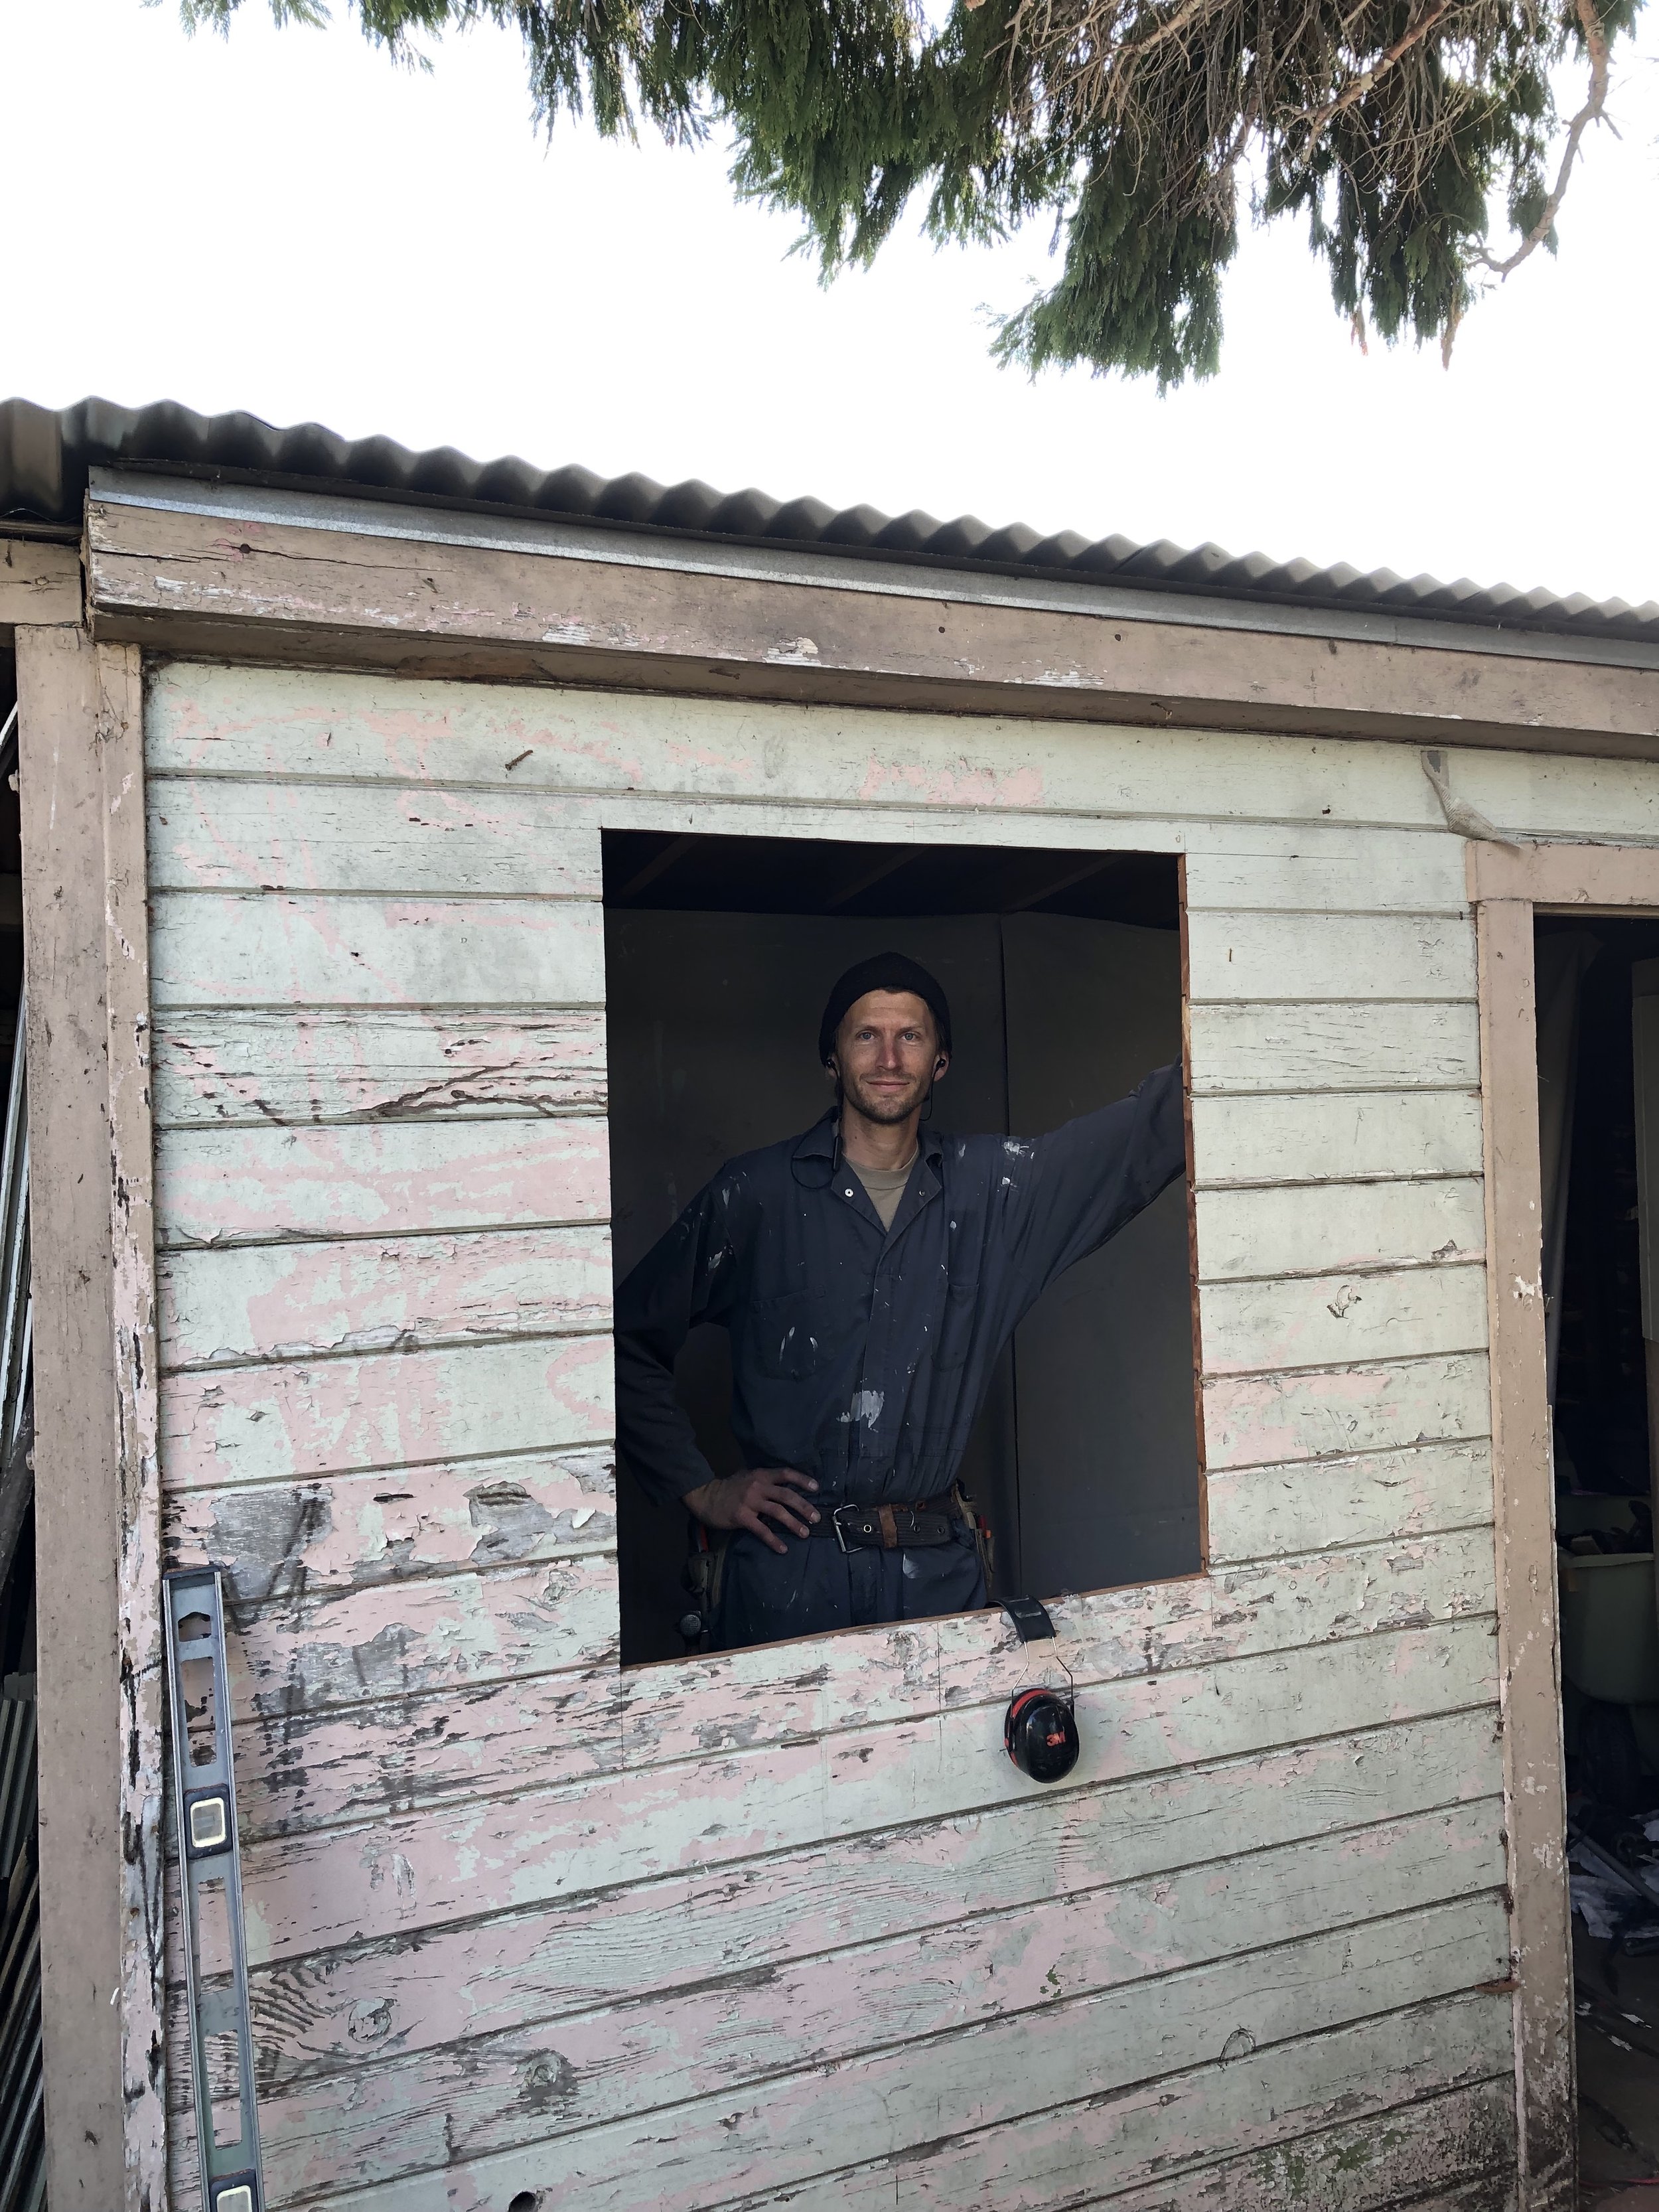
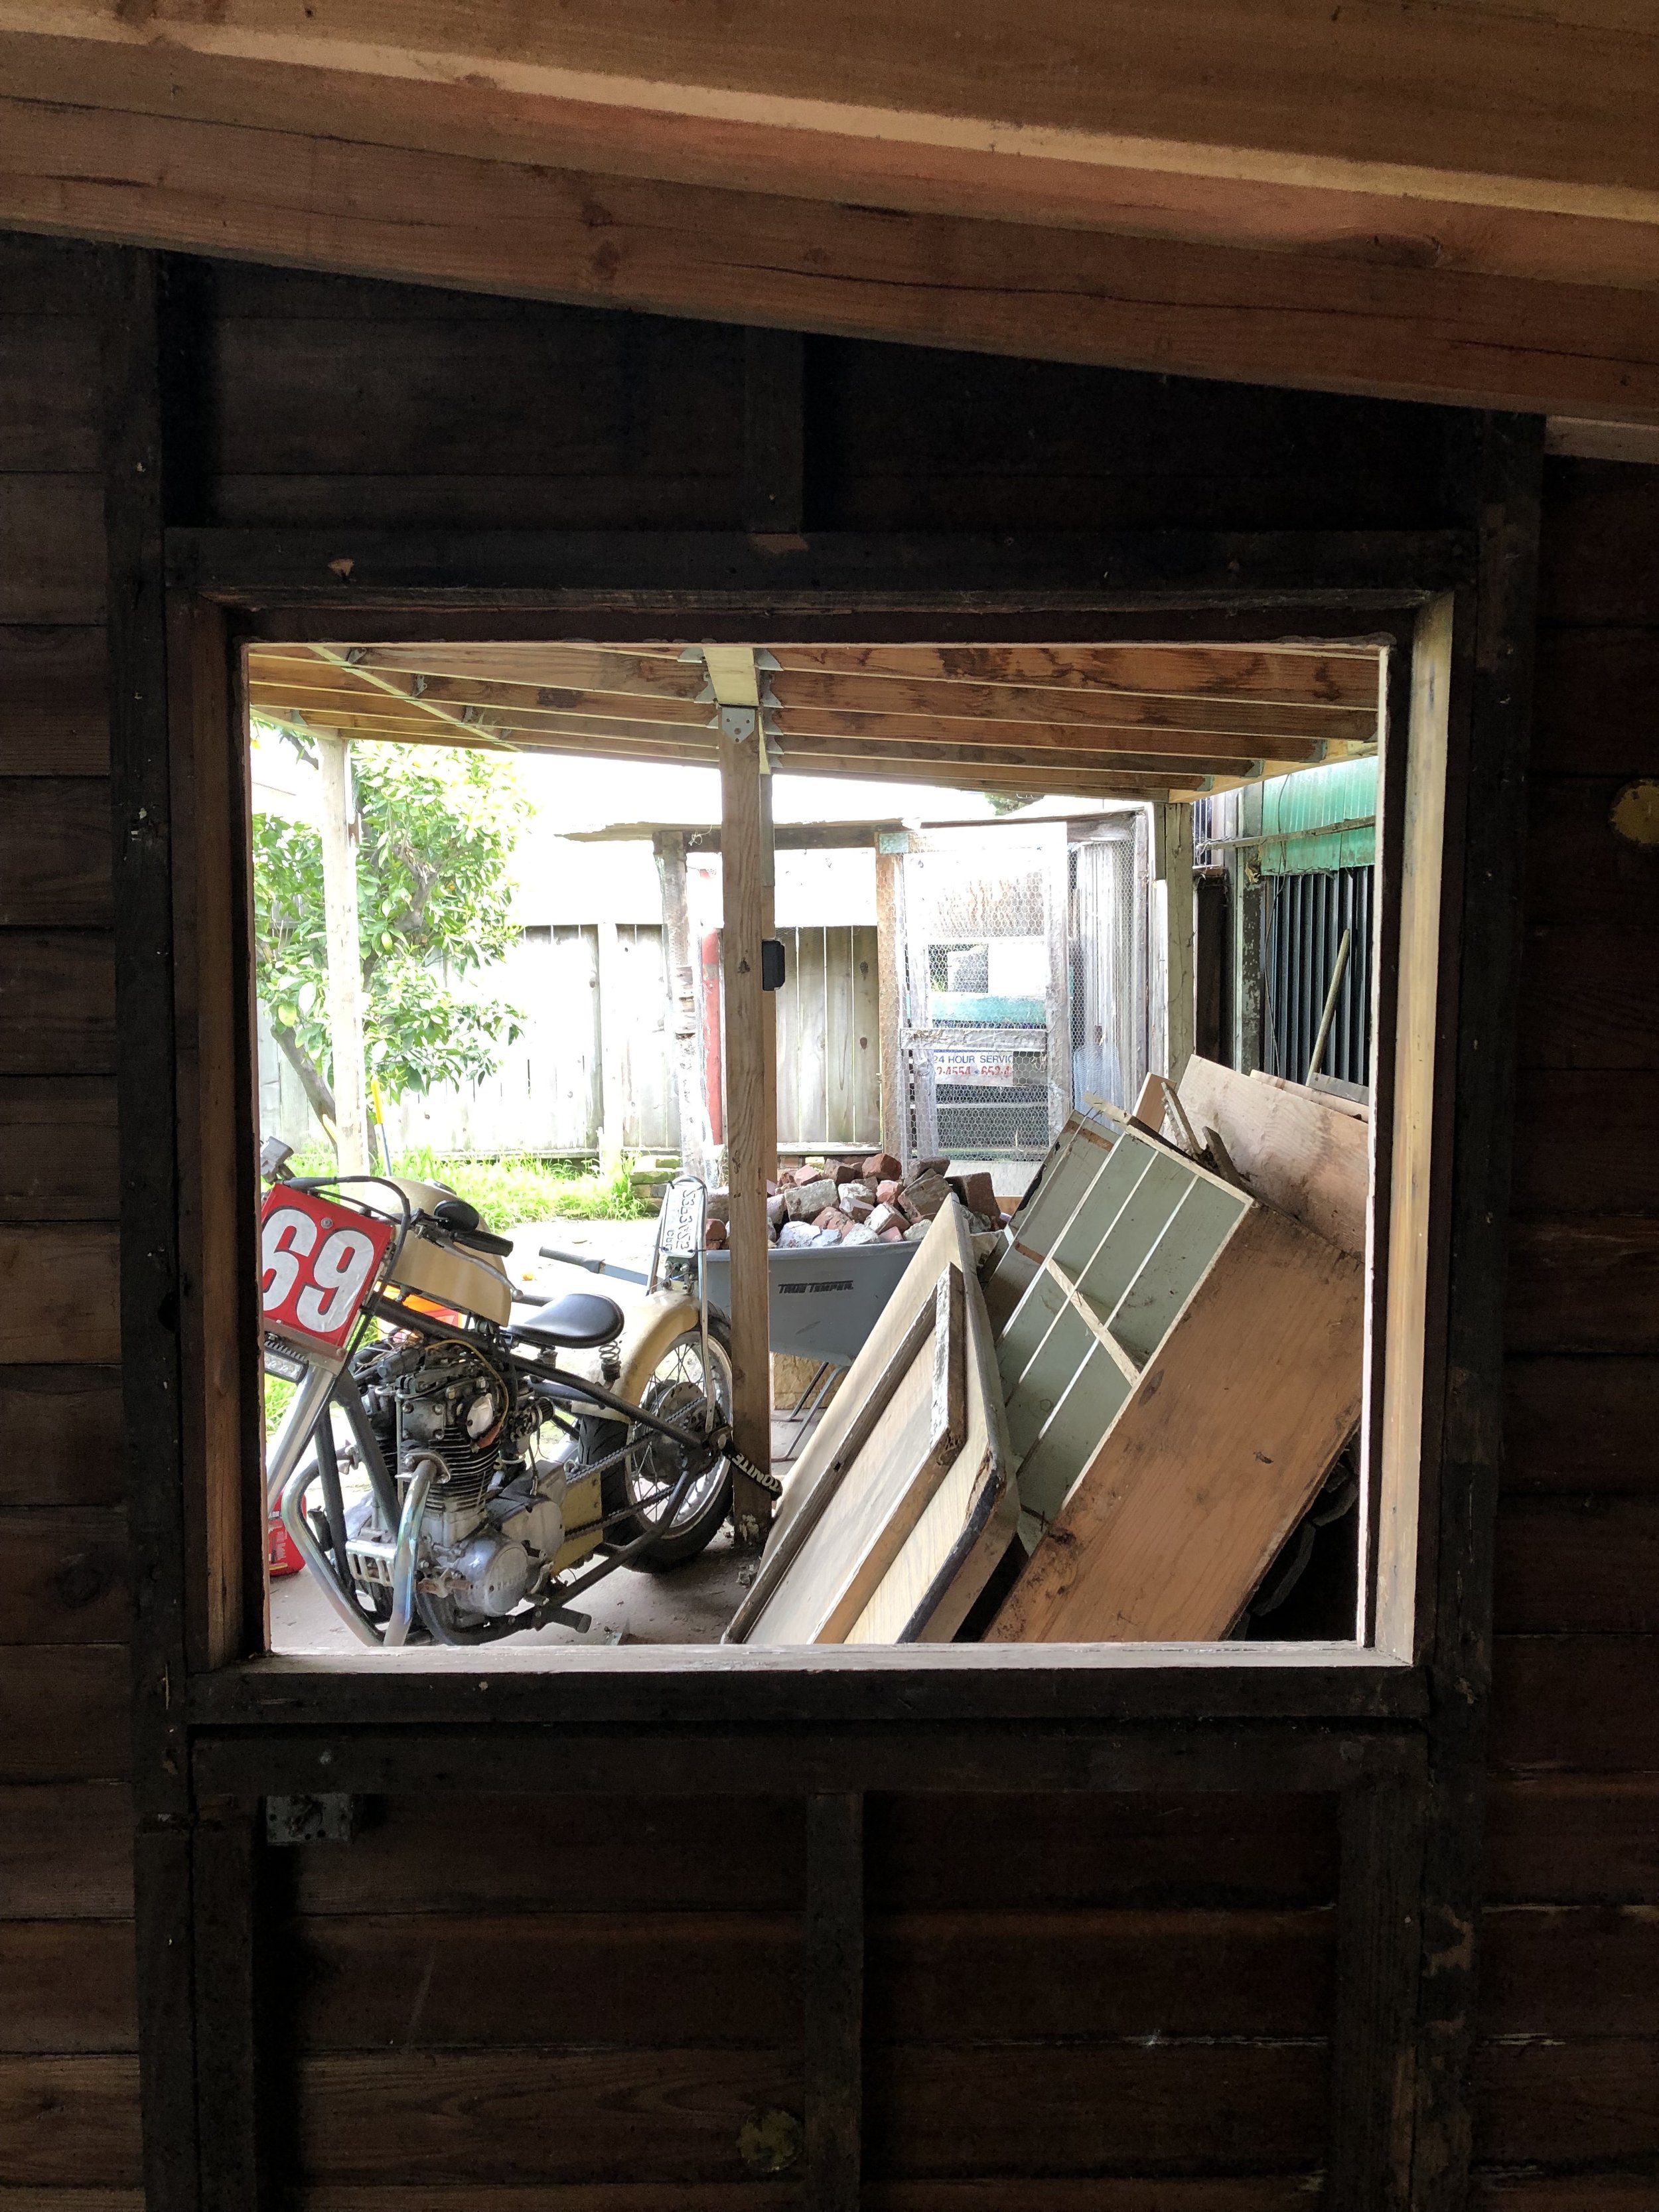
Again, I had Chris help me with the first one, and then I installed the second one on my own. He used a circular saw to cut the hole (measure twice, cut once!) and of course made the install look easy due to his many years of construction experience.
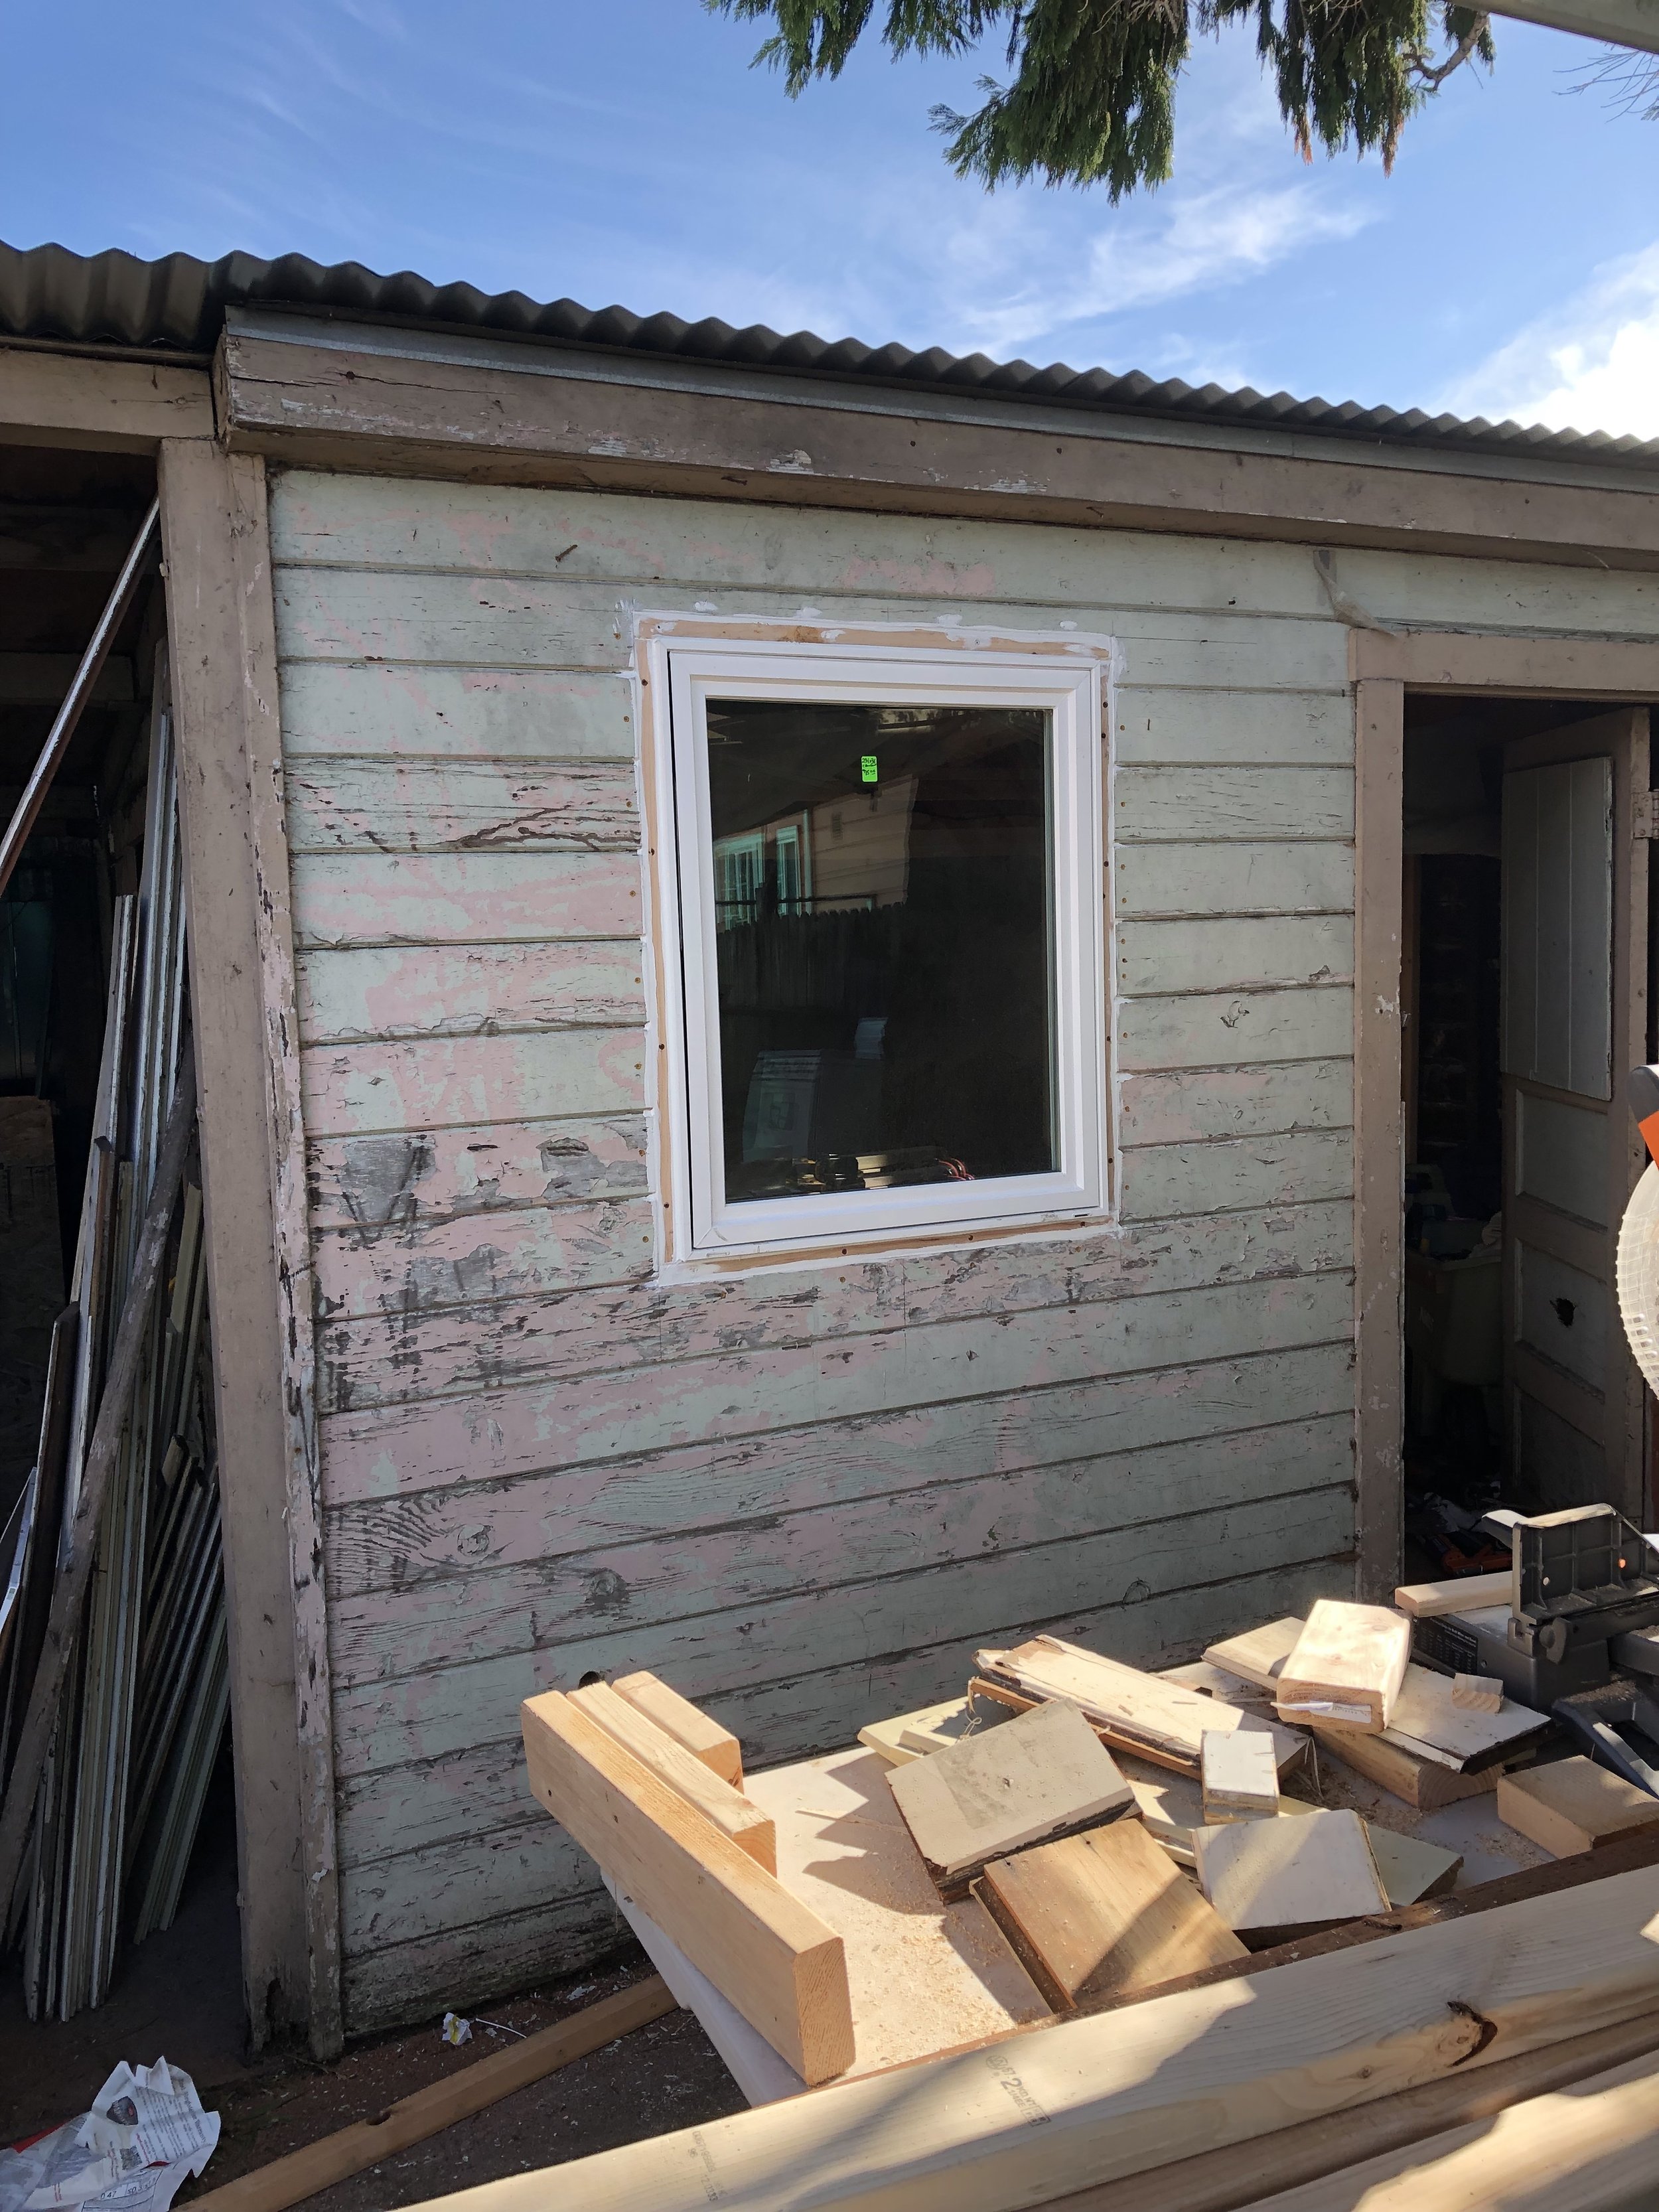
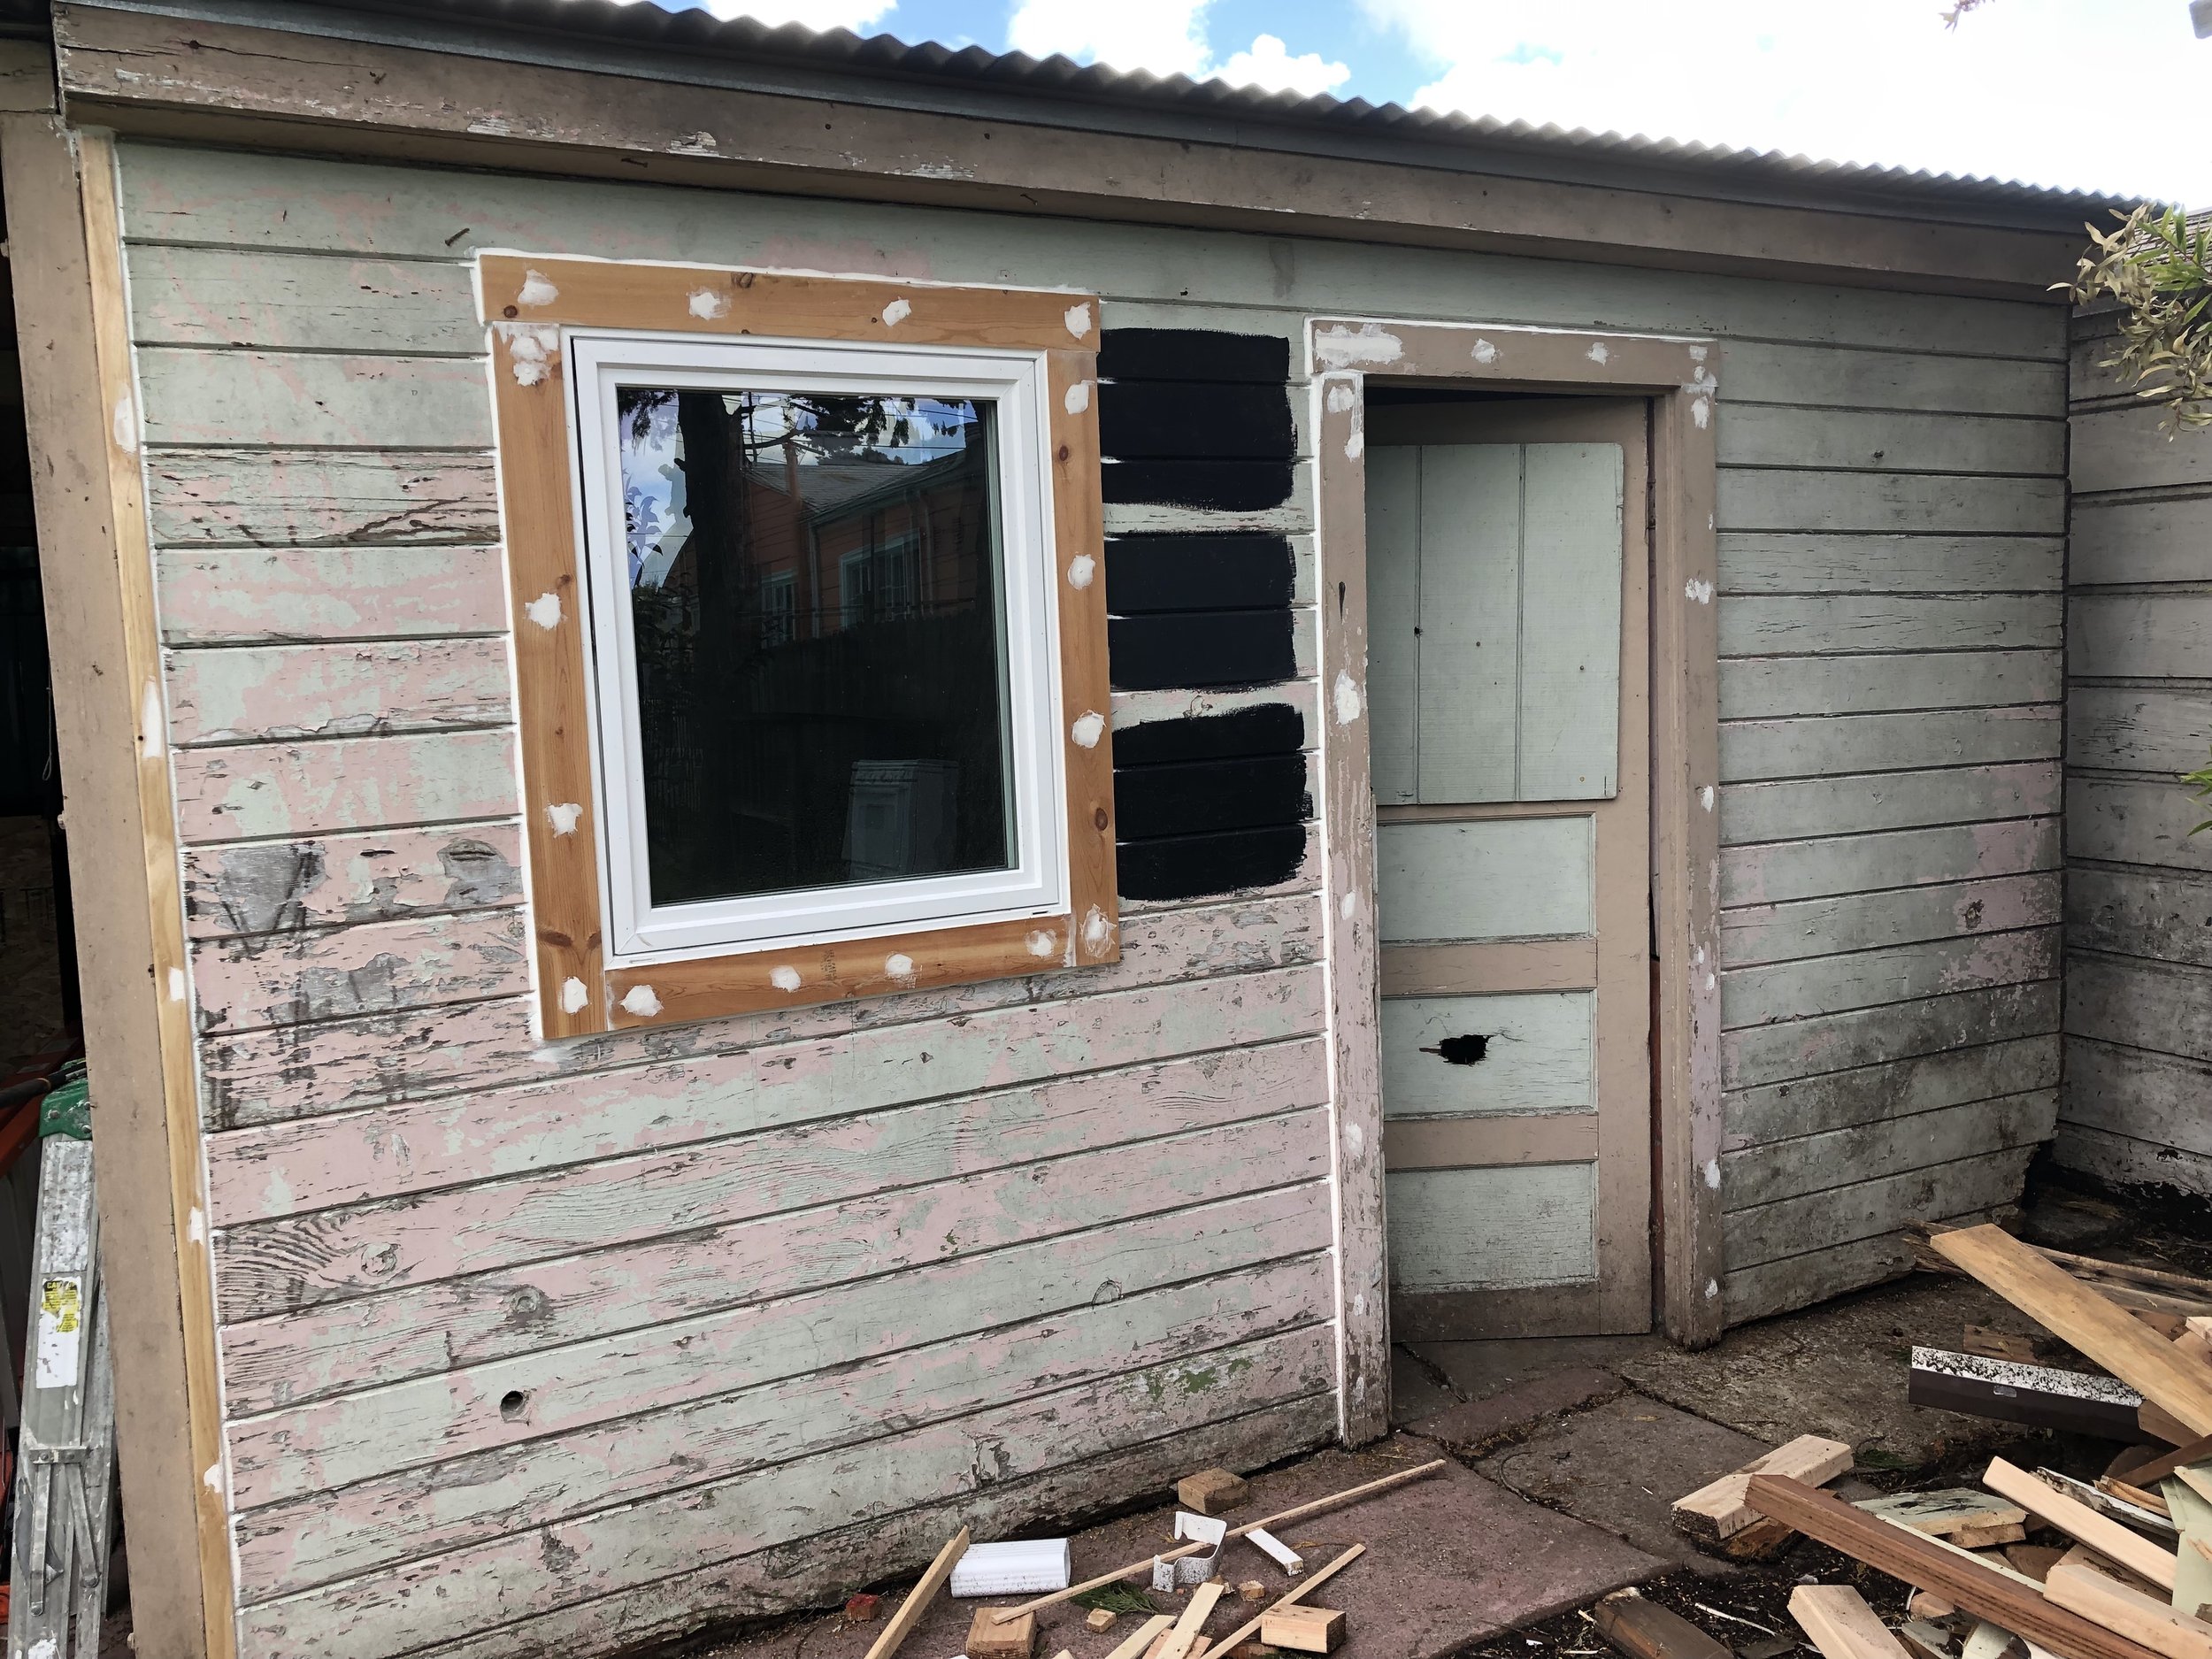
Then it way my turn! I didn’t have to cut an opening, since there was already one there, but I did have to deal with a nonstandard-size hole and a standard-size window. I used the same principals that Chris had shown me on the first window, set it halfway in between true level and visually level (if you have an old home, you know what I mean), and filled in with trim. I briefly considered tearing out the old trim and filling in with siding for a cleaner look, but I also knew I was going to paint the whole exterior black. Knowing that the black paint would camouflage the inconsistencies, I chose to do it the easy way.

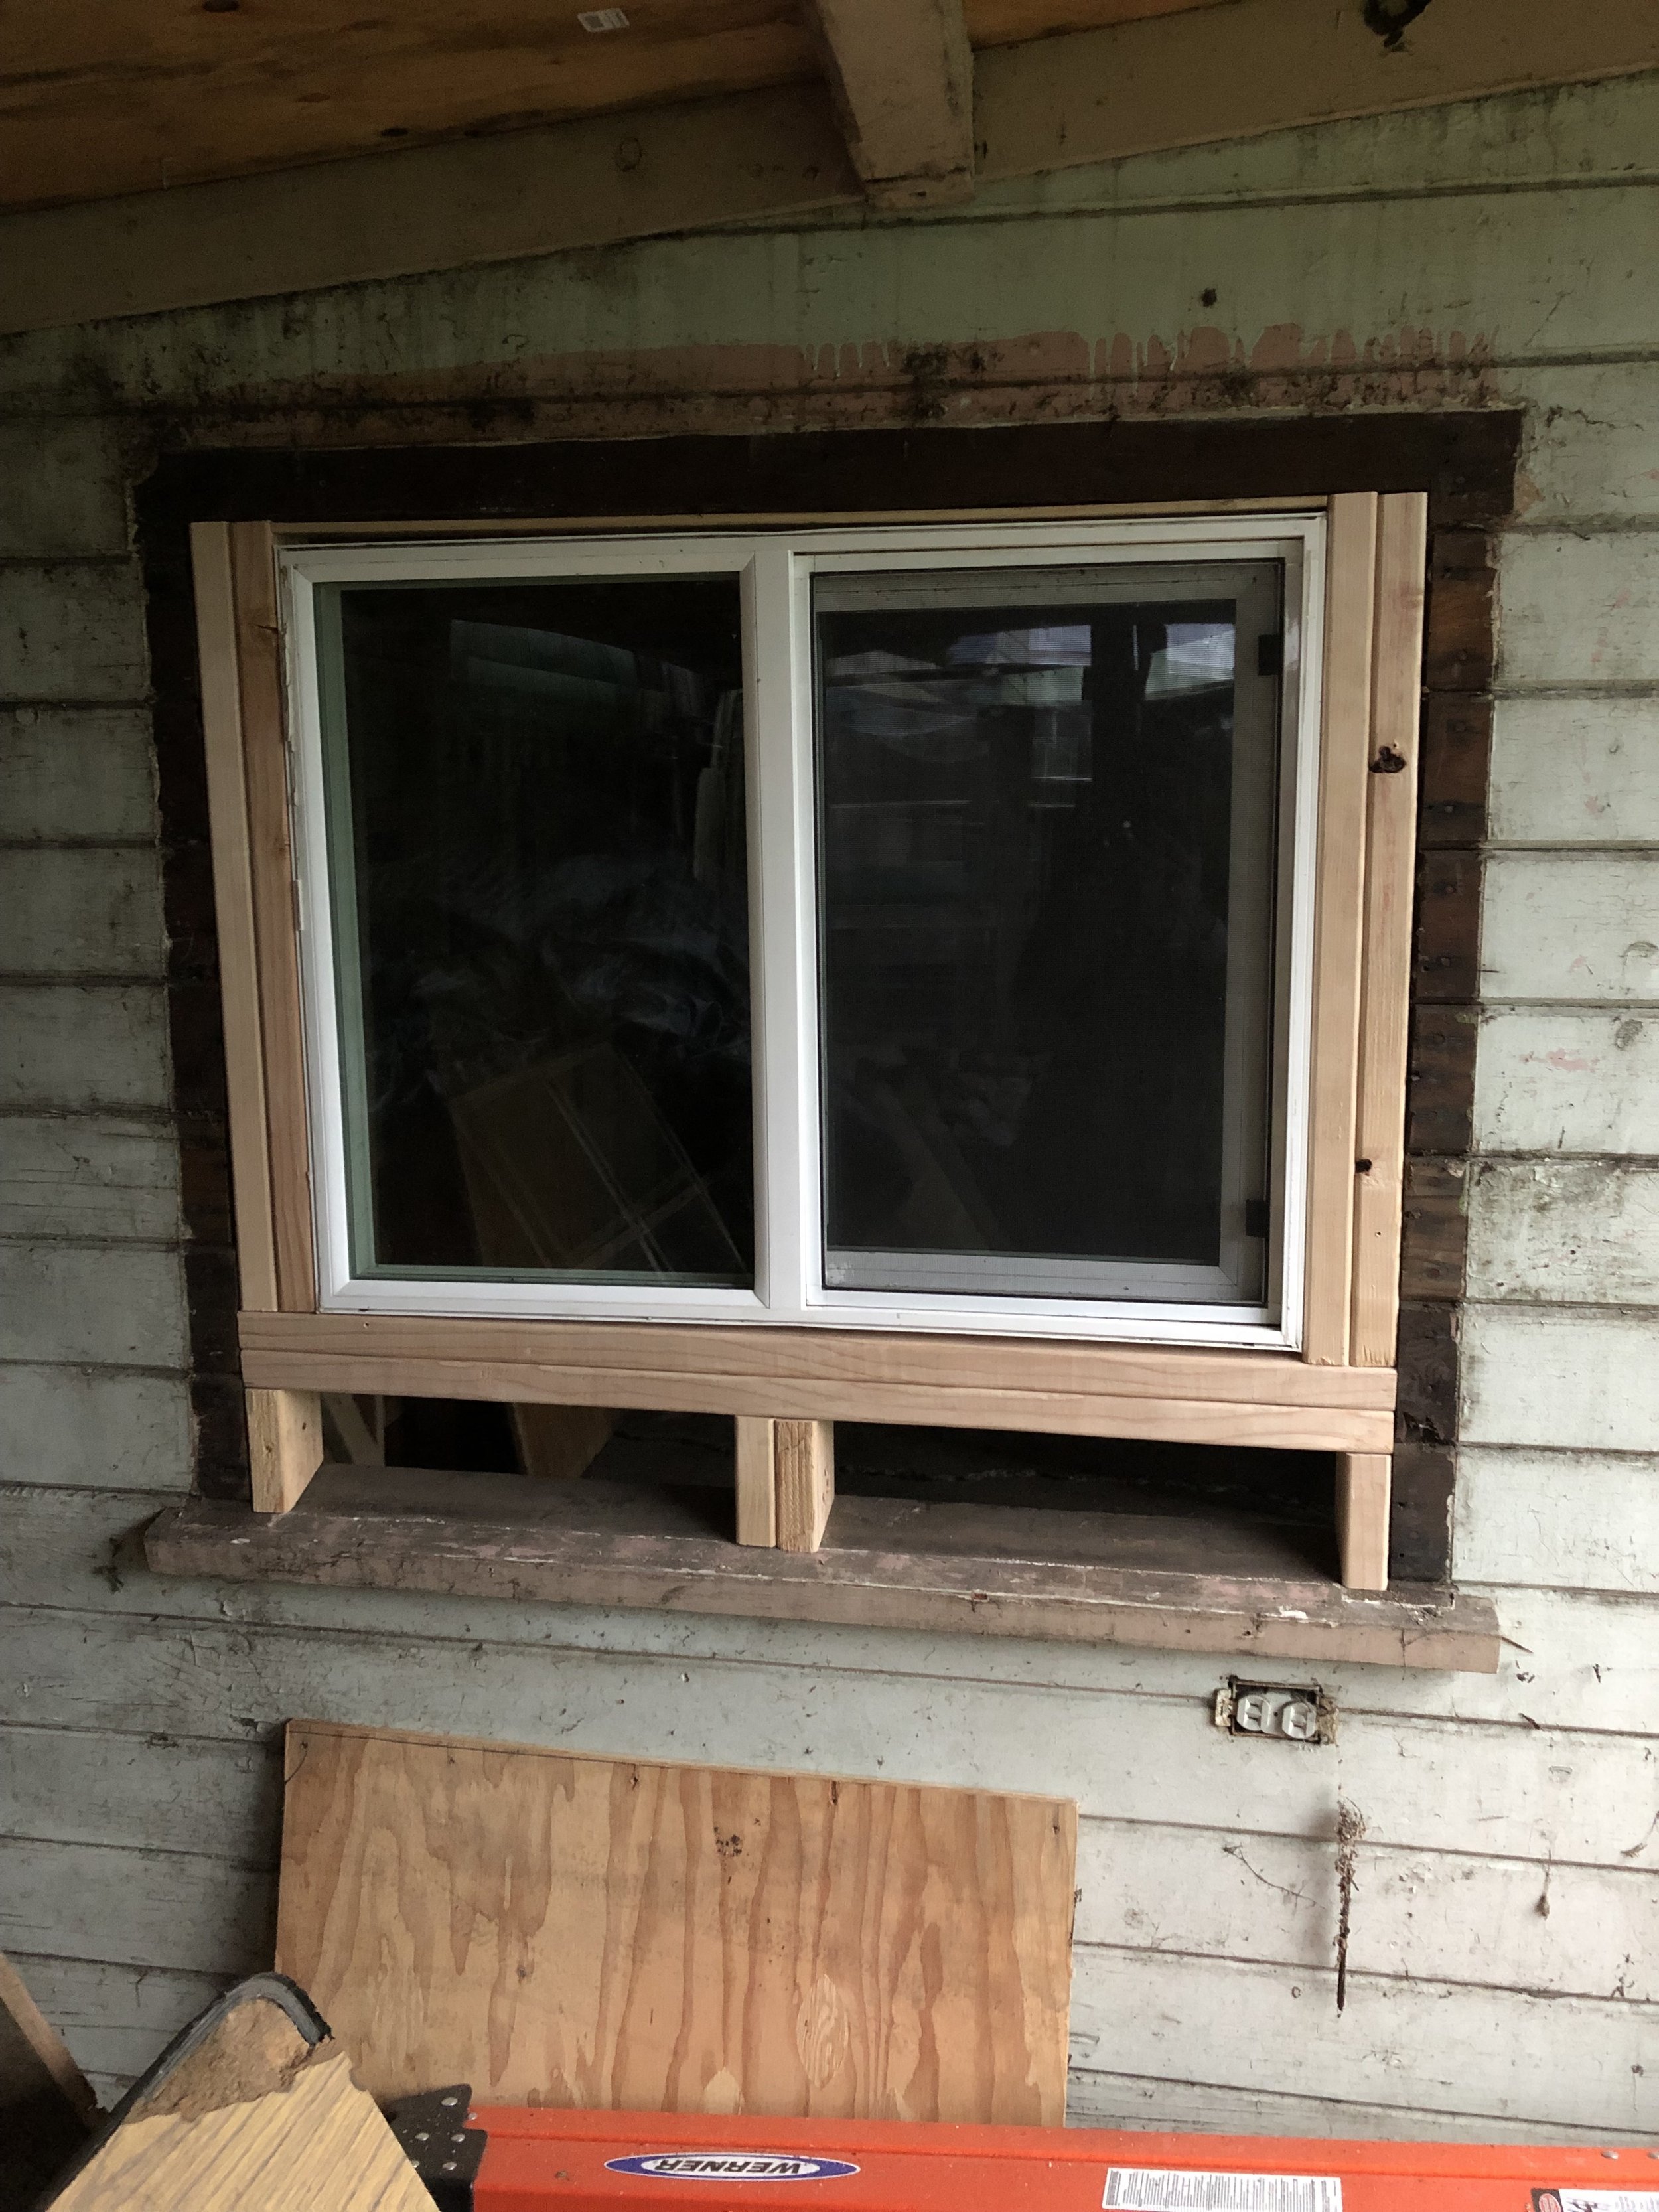
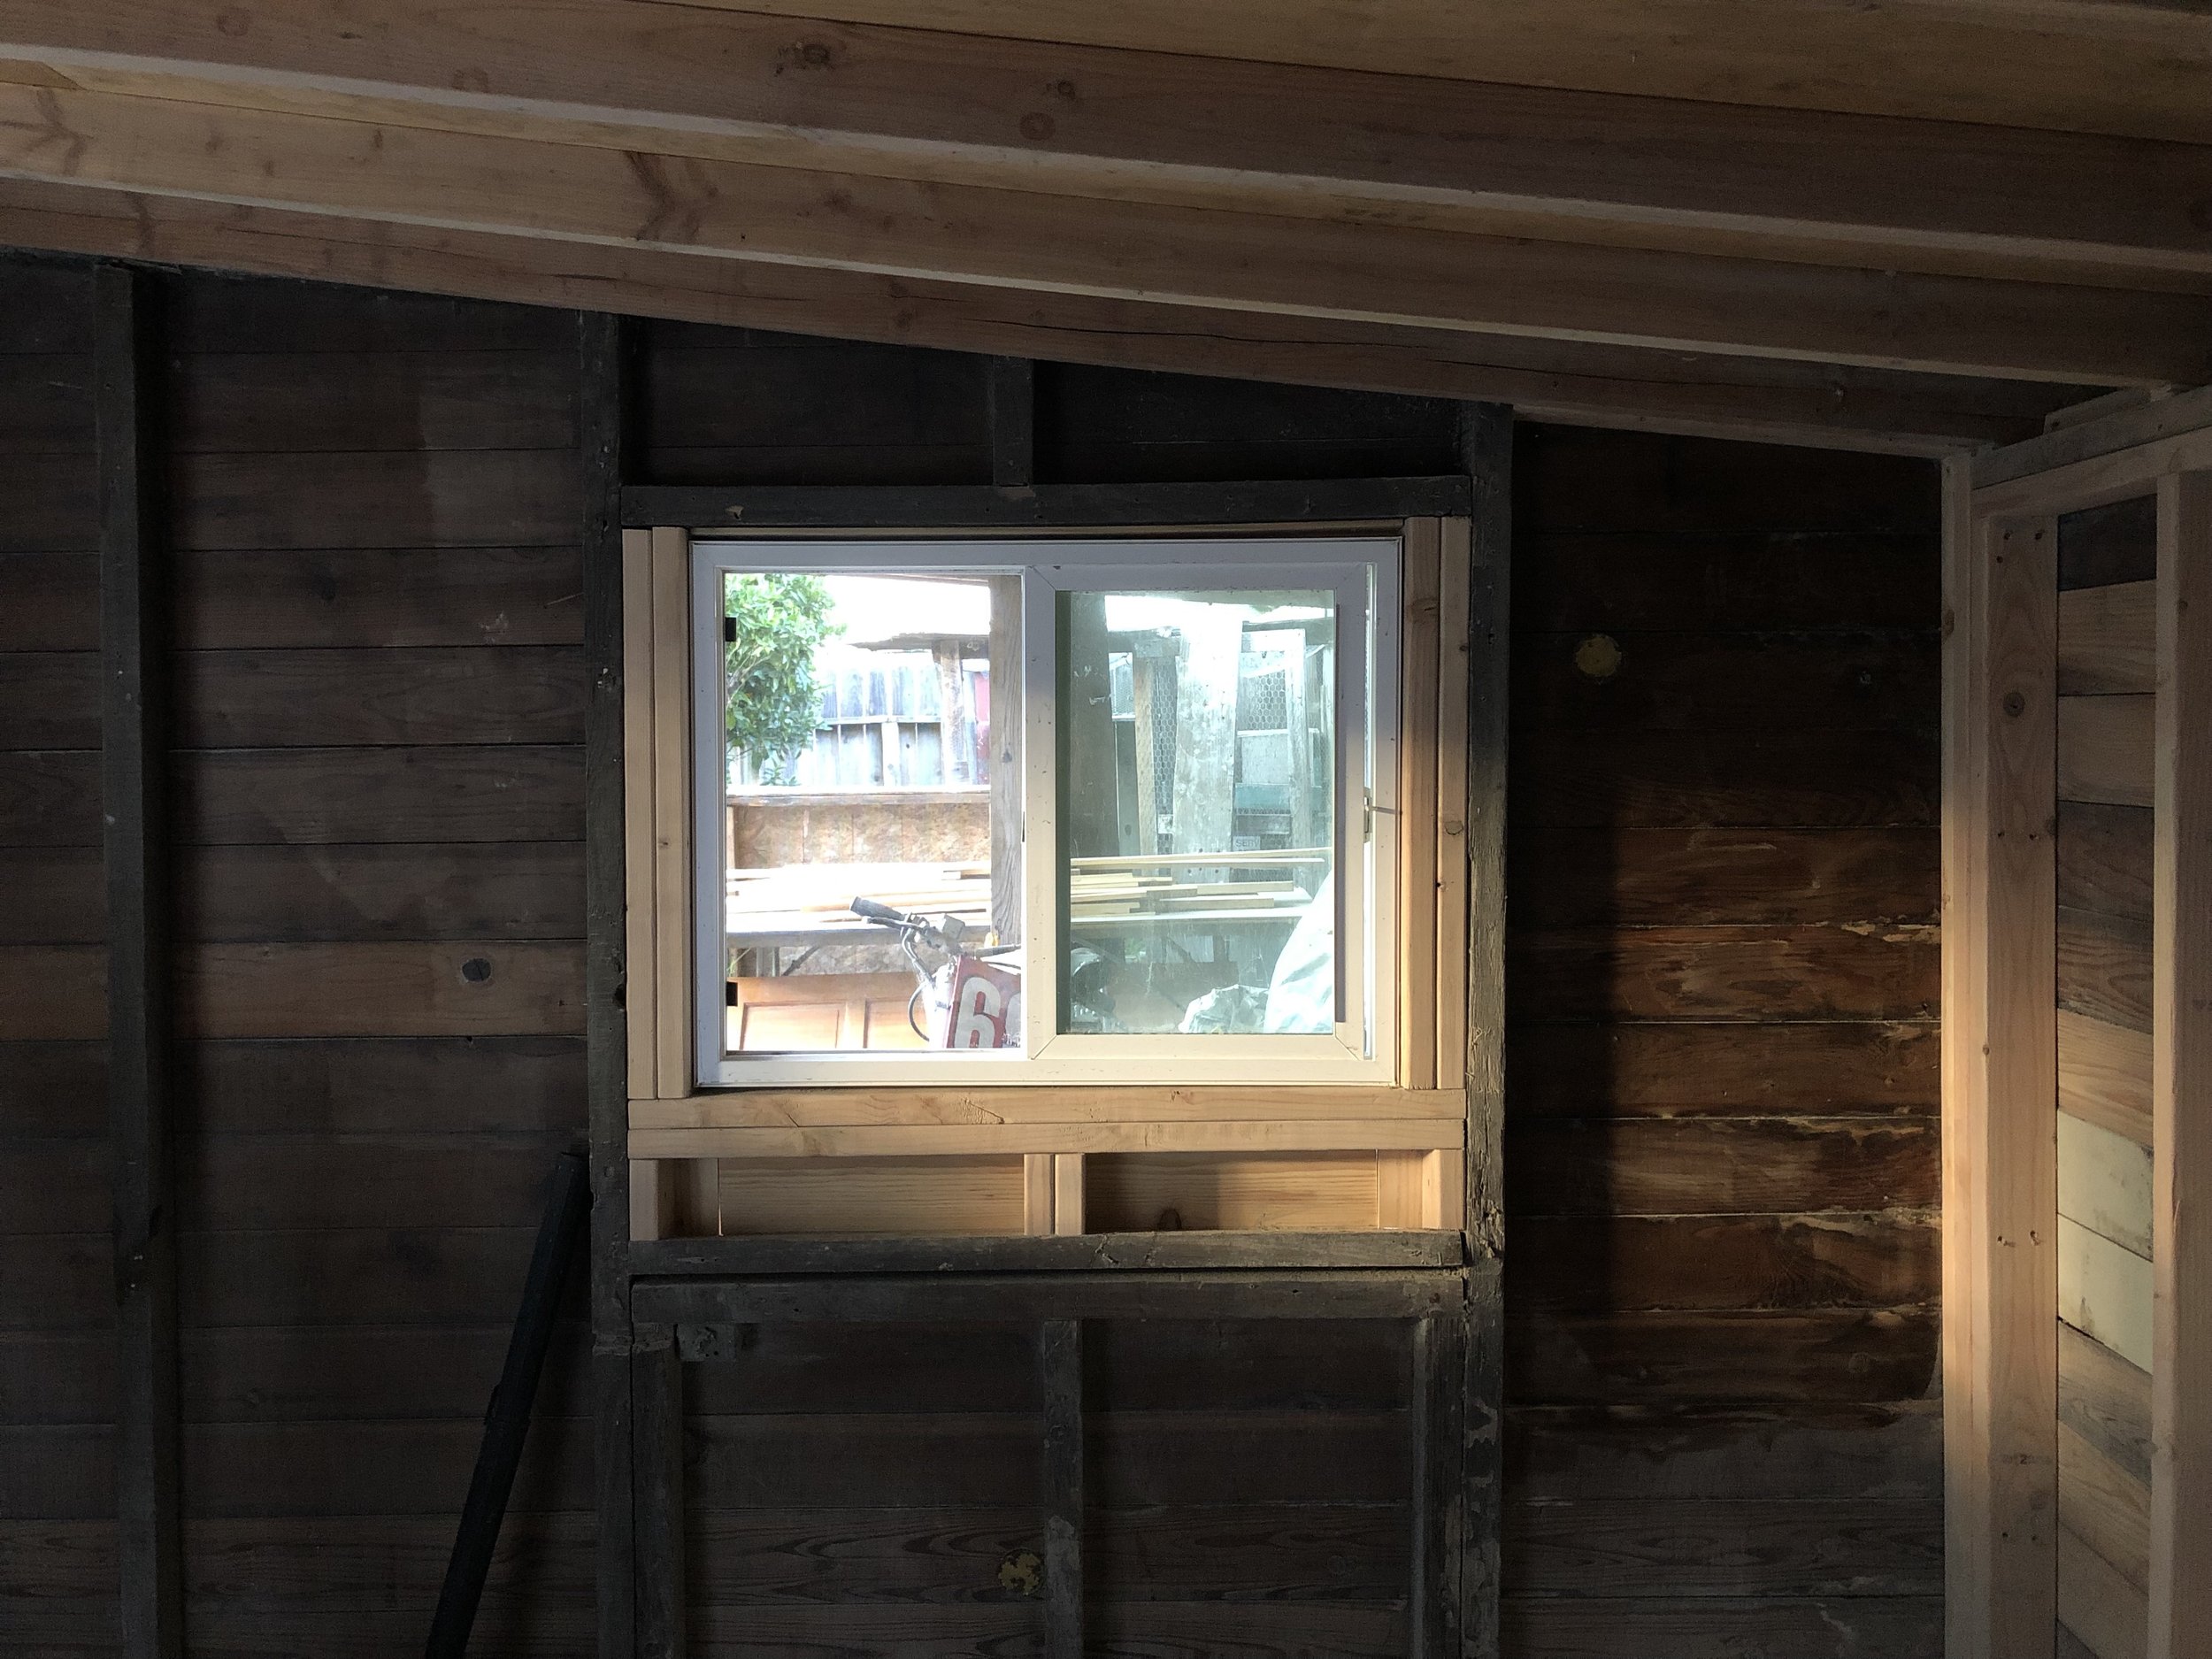
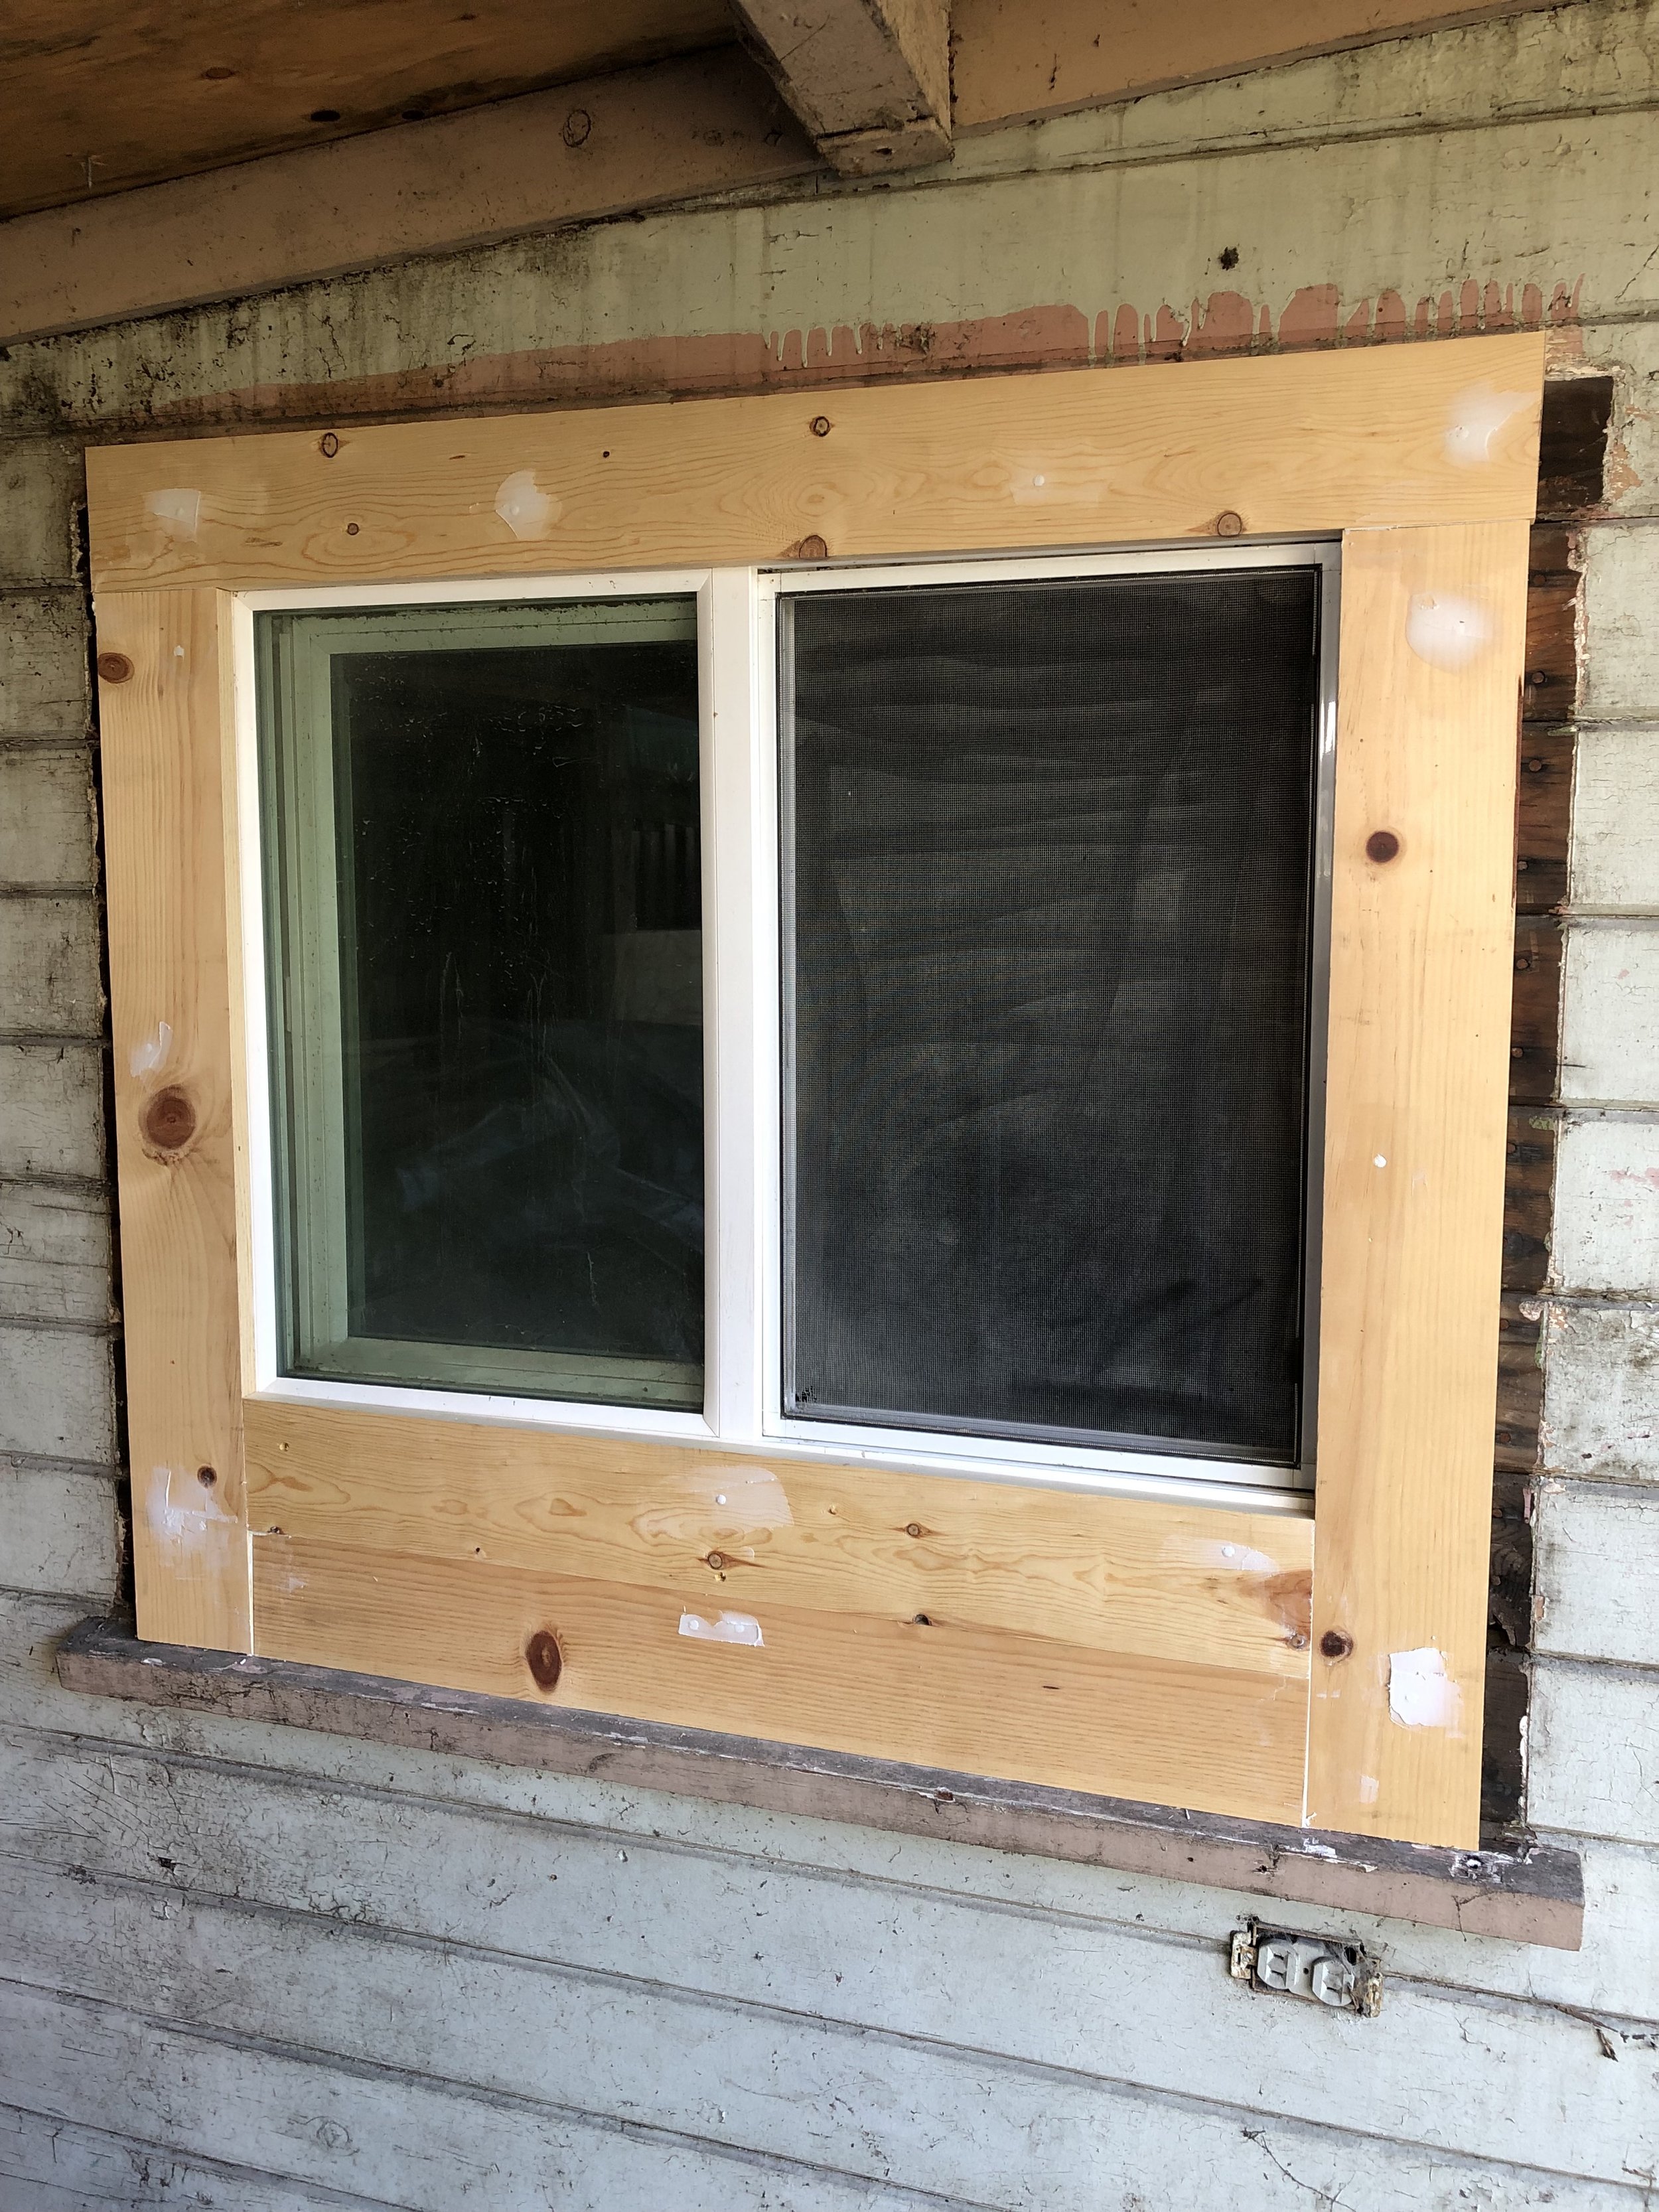
Overall, I think the windows turned out great! I was really happy that I added a second one, since the shed was north-facing and shaded. I forgot to add a sill to the interior trim, which would have been nice for storage/display, but it wasn’t a big deal.
Thanks for following along on my shed renovation journey! I’m writing this all in retrospect. At the time I was working on and living in my shed, it was technically an illegal dwelling, so I was inclined to keep it on the DL. I am not in any way endorsing building or living in a less than legal ADU, but since laws vary in different states and cities, I thought I’d share my story in hopes that it inspires and informs folks who are able to do this in a way that complies with local ordinances.