Raise the Roof!
Thanks for following along on my shed renovation journey! I’m writing this all in retrospect. At the time I was working on and living in my shed, it was technically an illegal dwelling, so I was inclined to keep it on the DL. I am not in any way endorsing building or living in a less than legal ADU, but since laws vary in different states and cities, I thought I’d share my story in hopes that it inspires and informs folks who are able to do this in a way that complies with local ordinances.
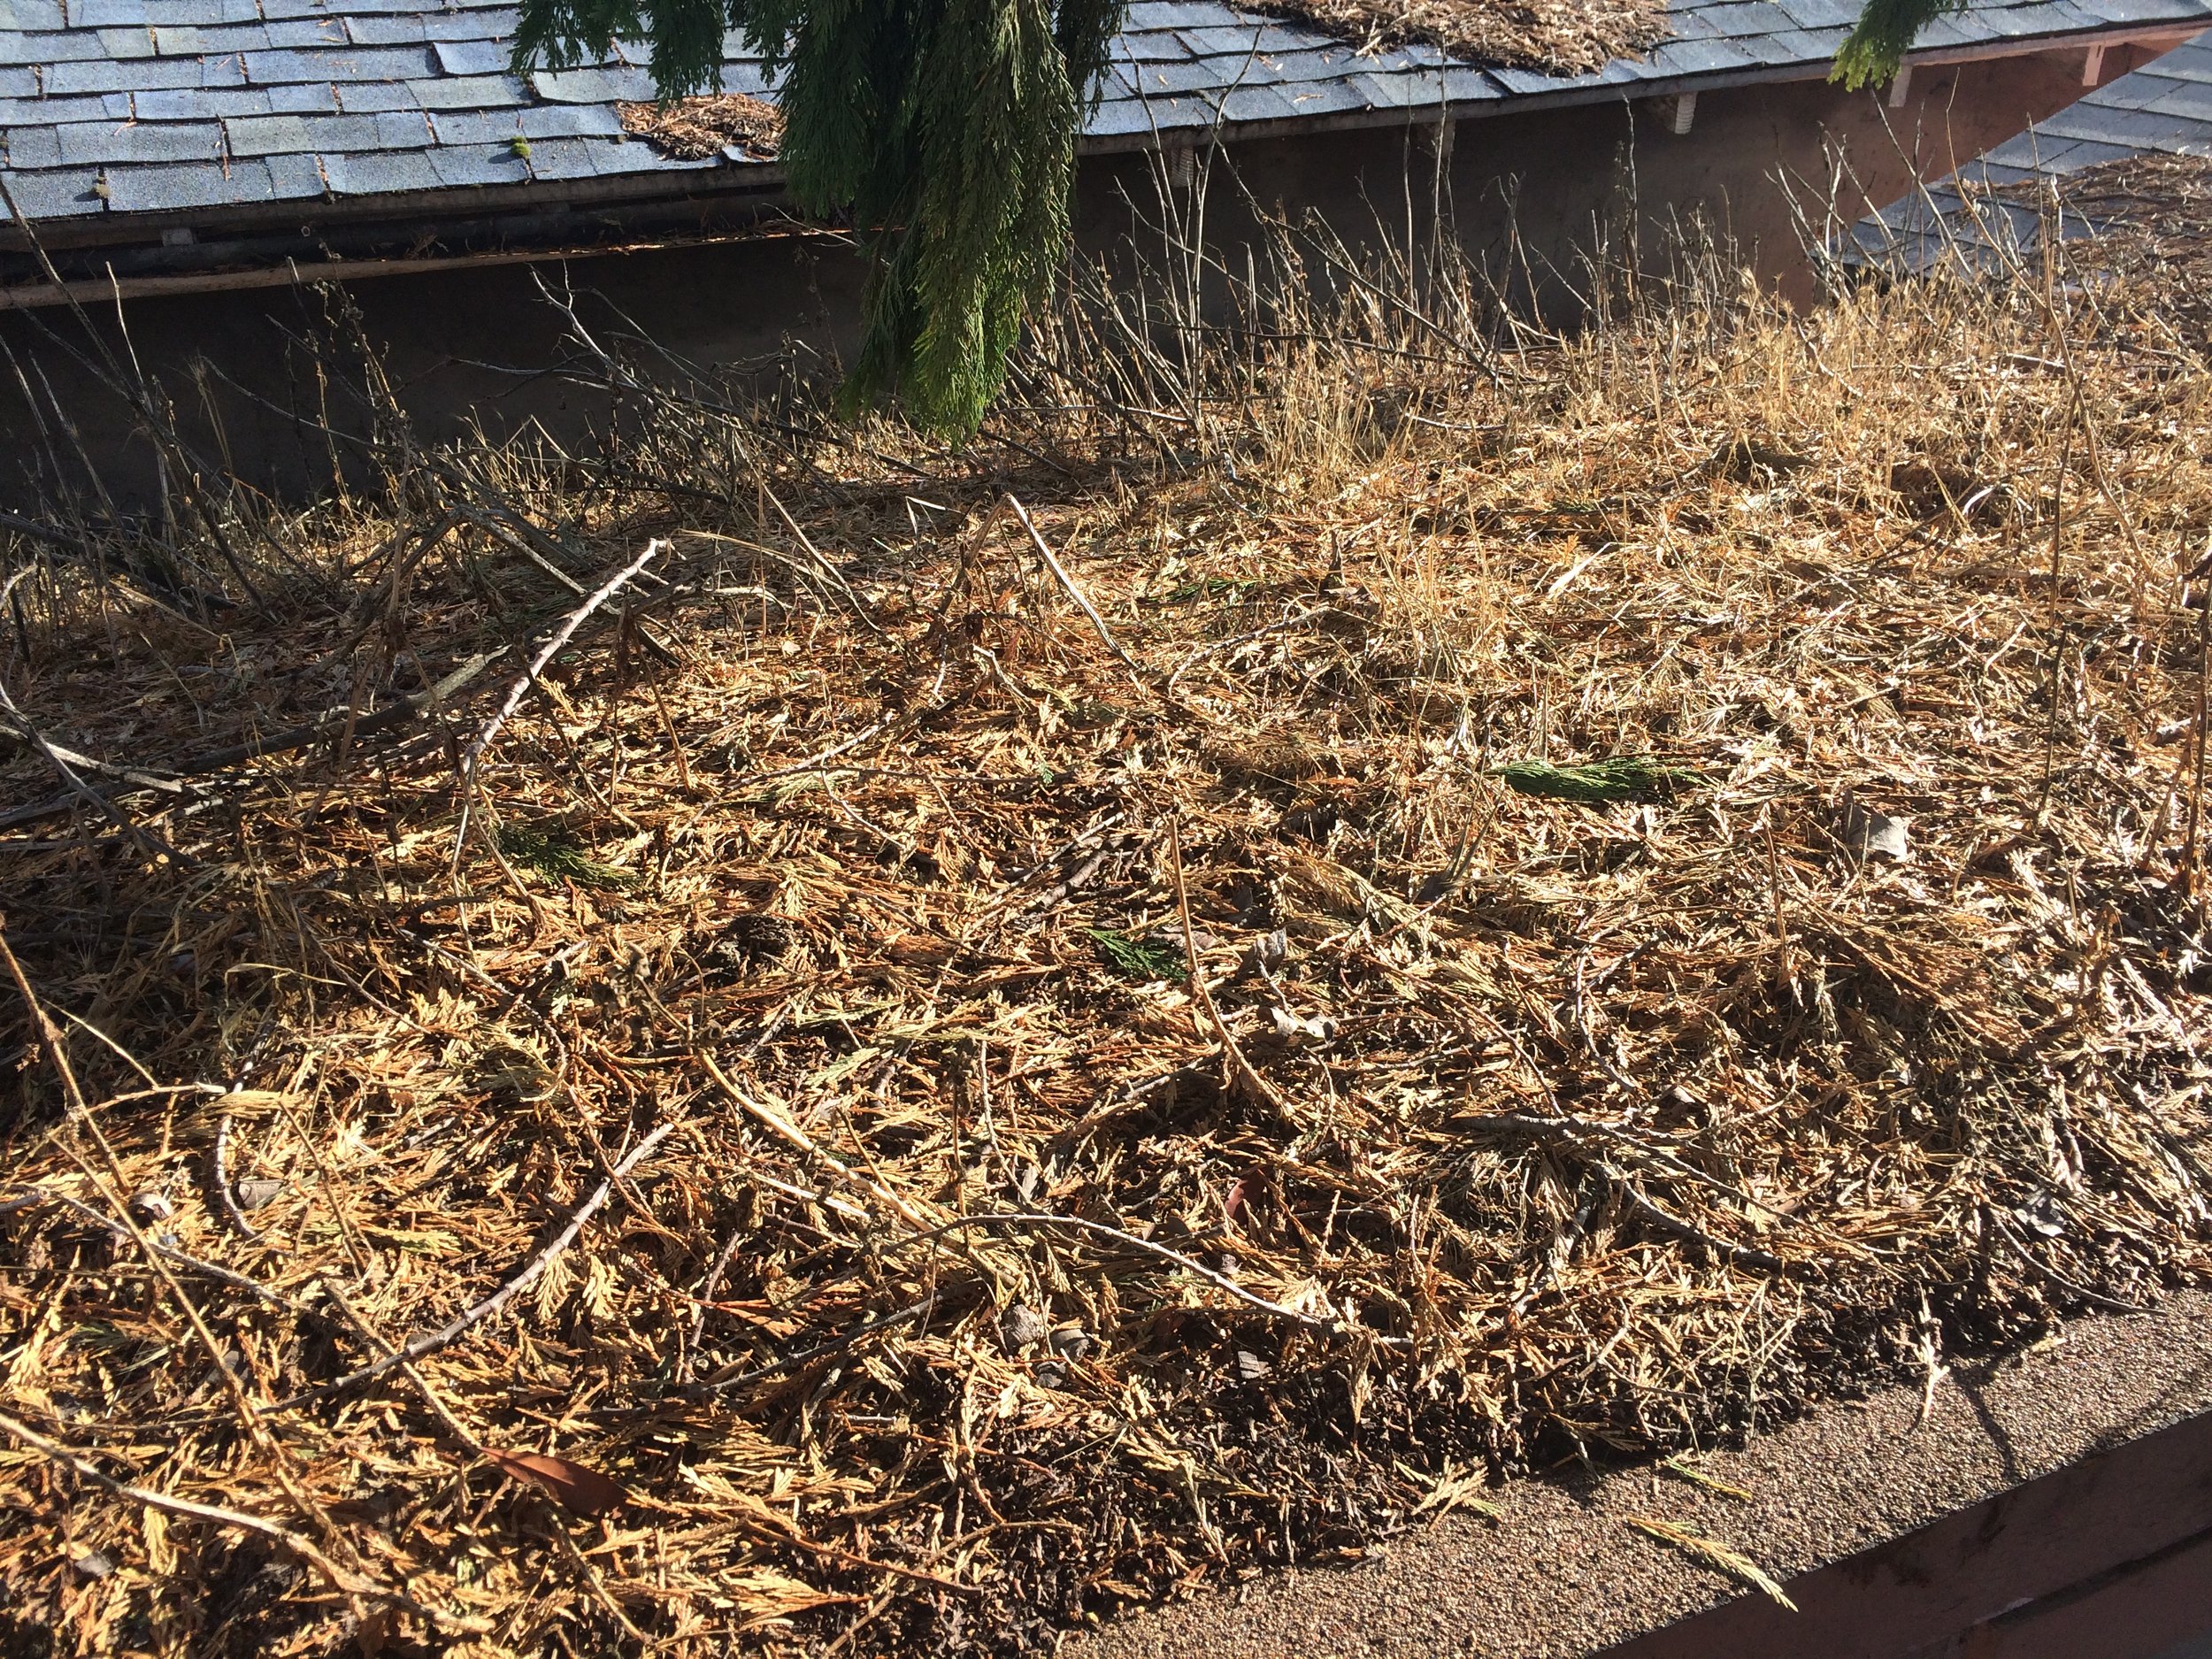
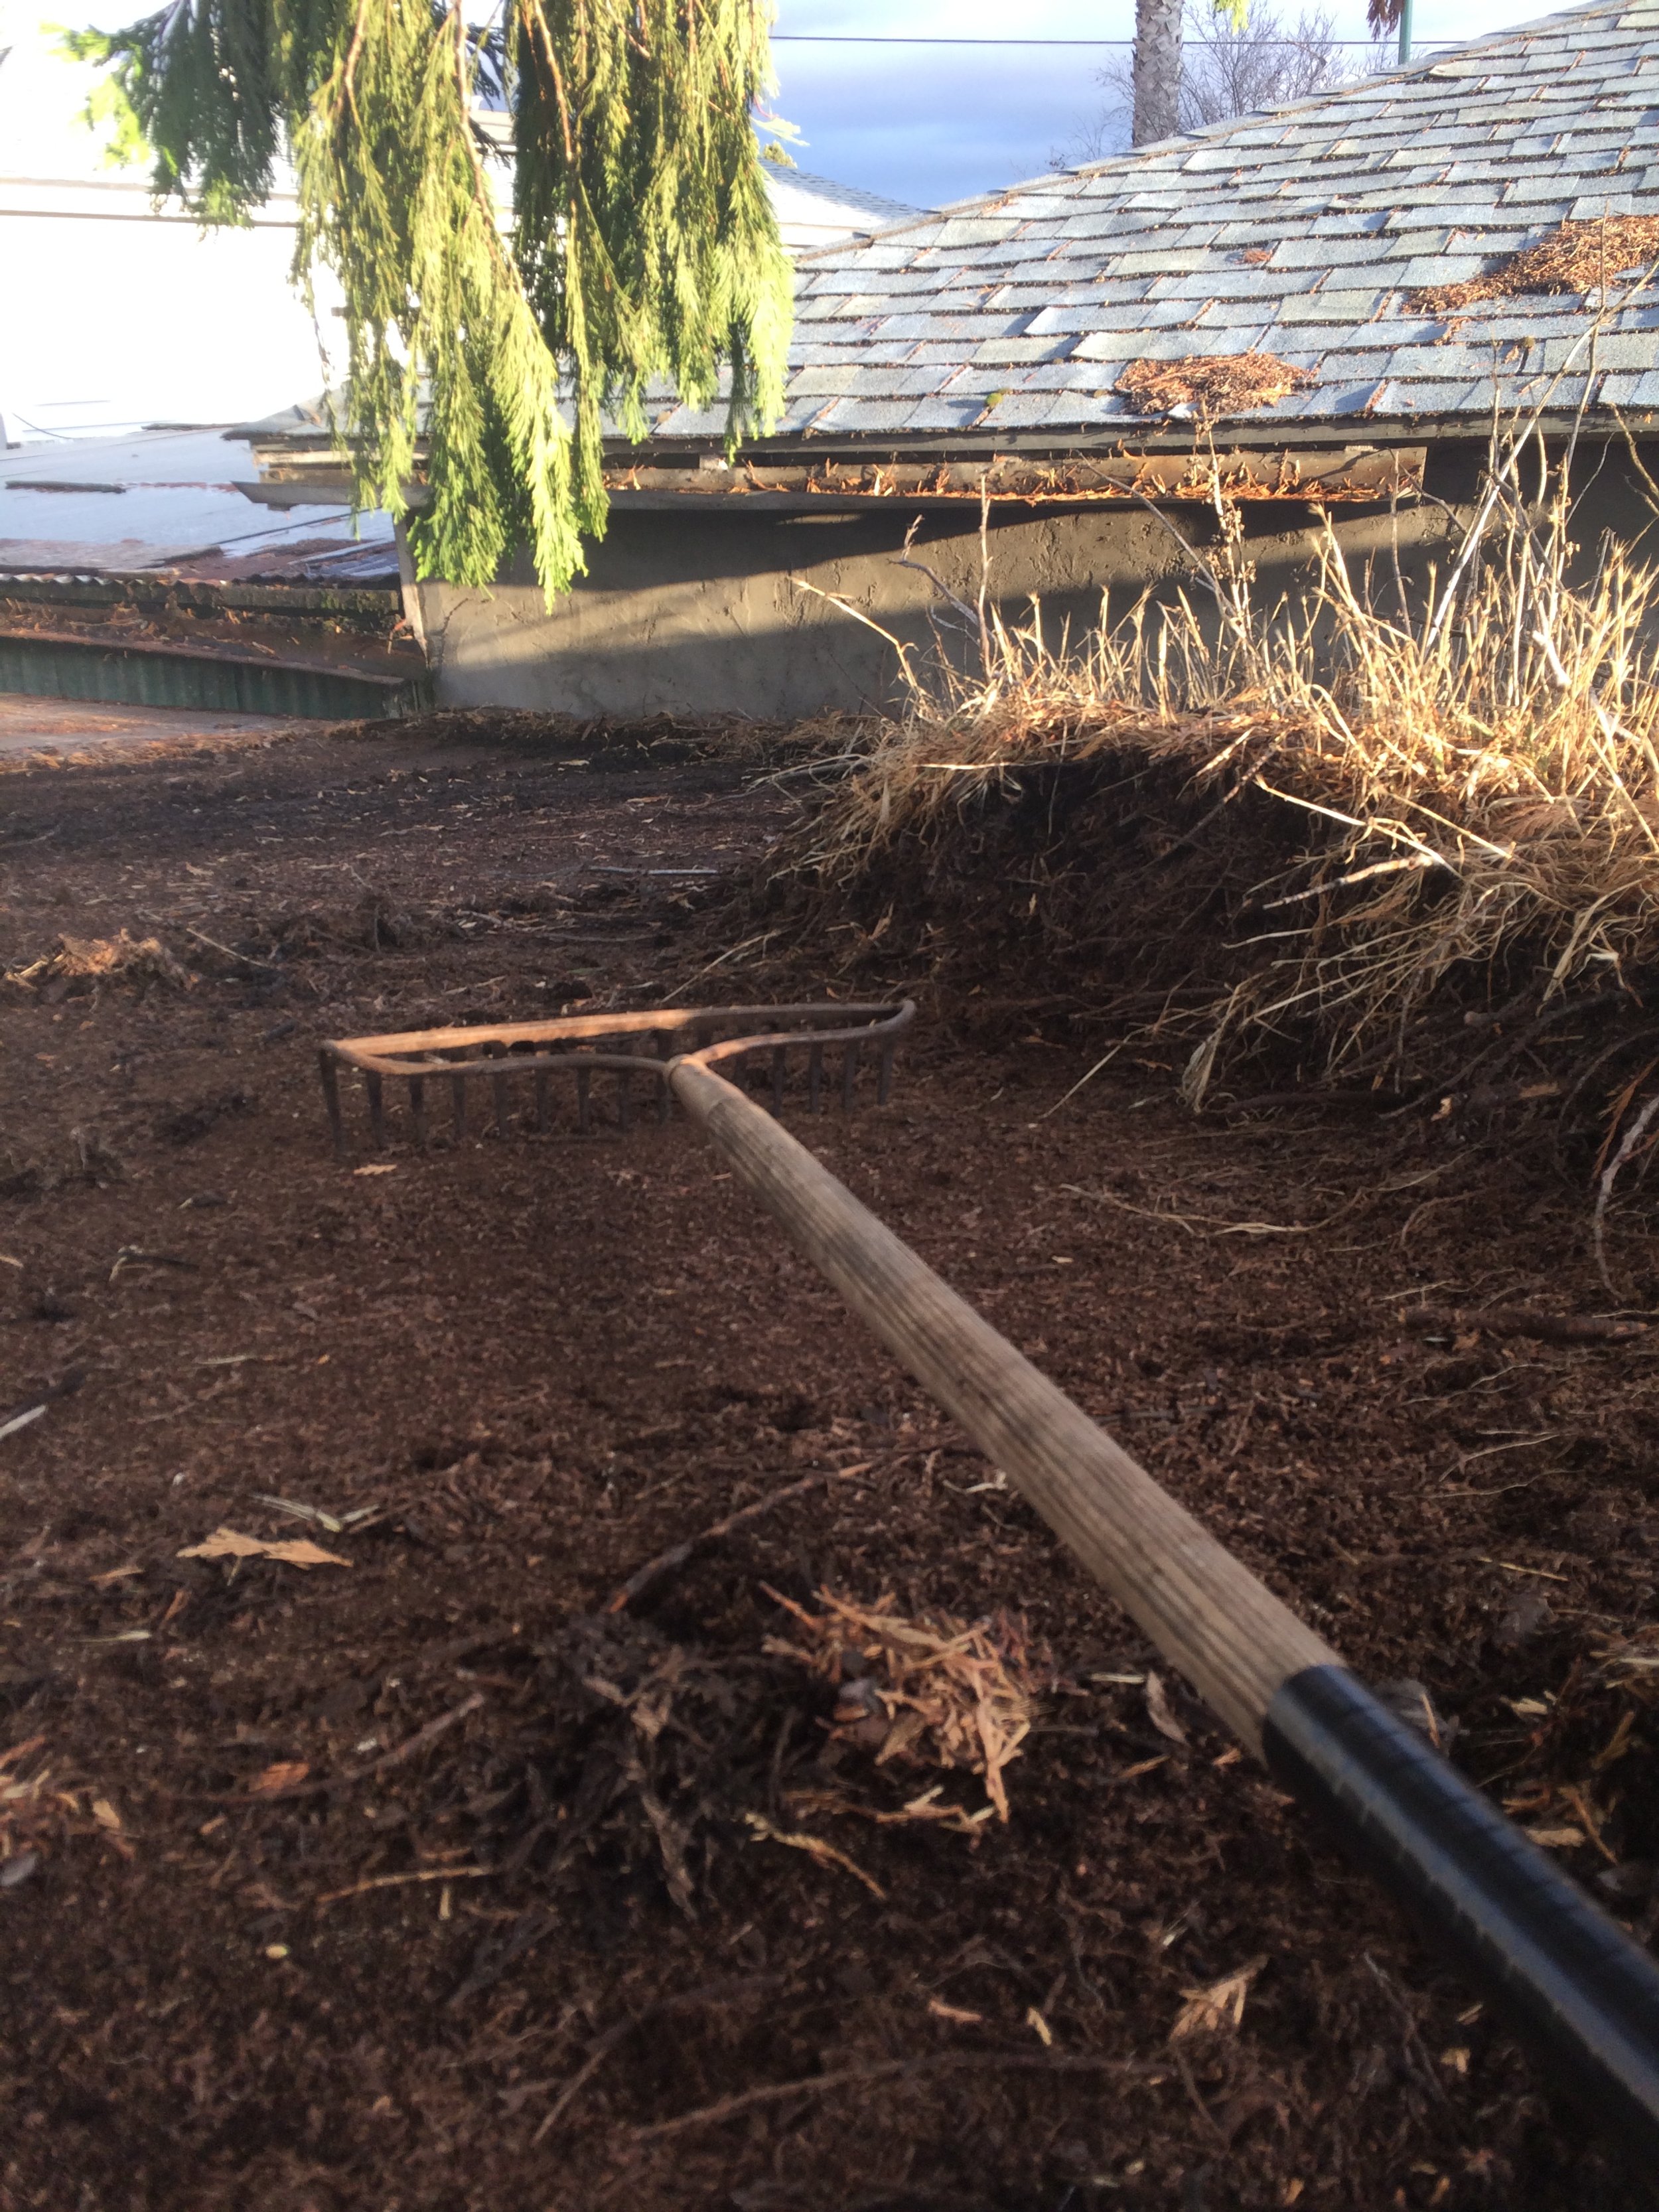
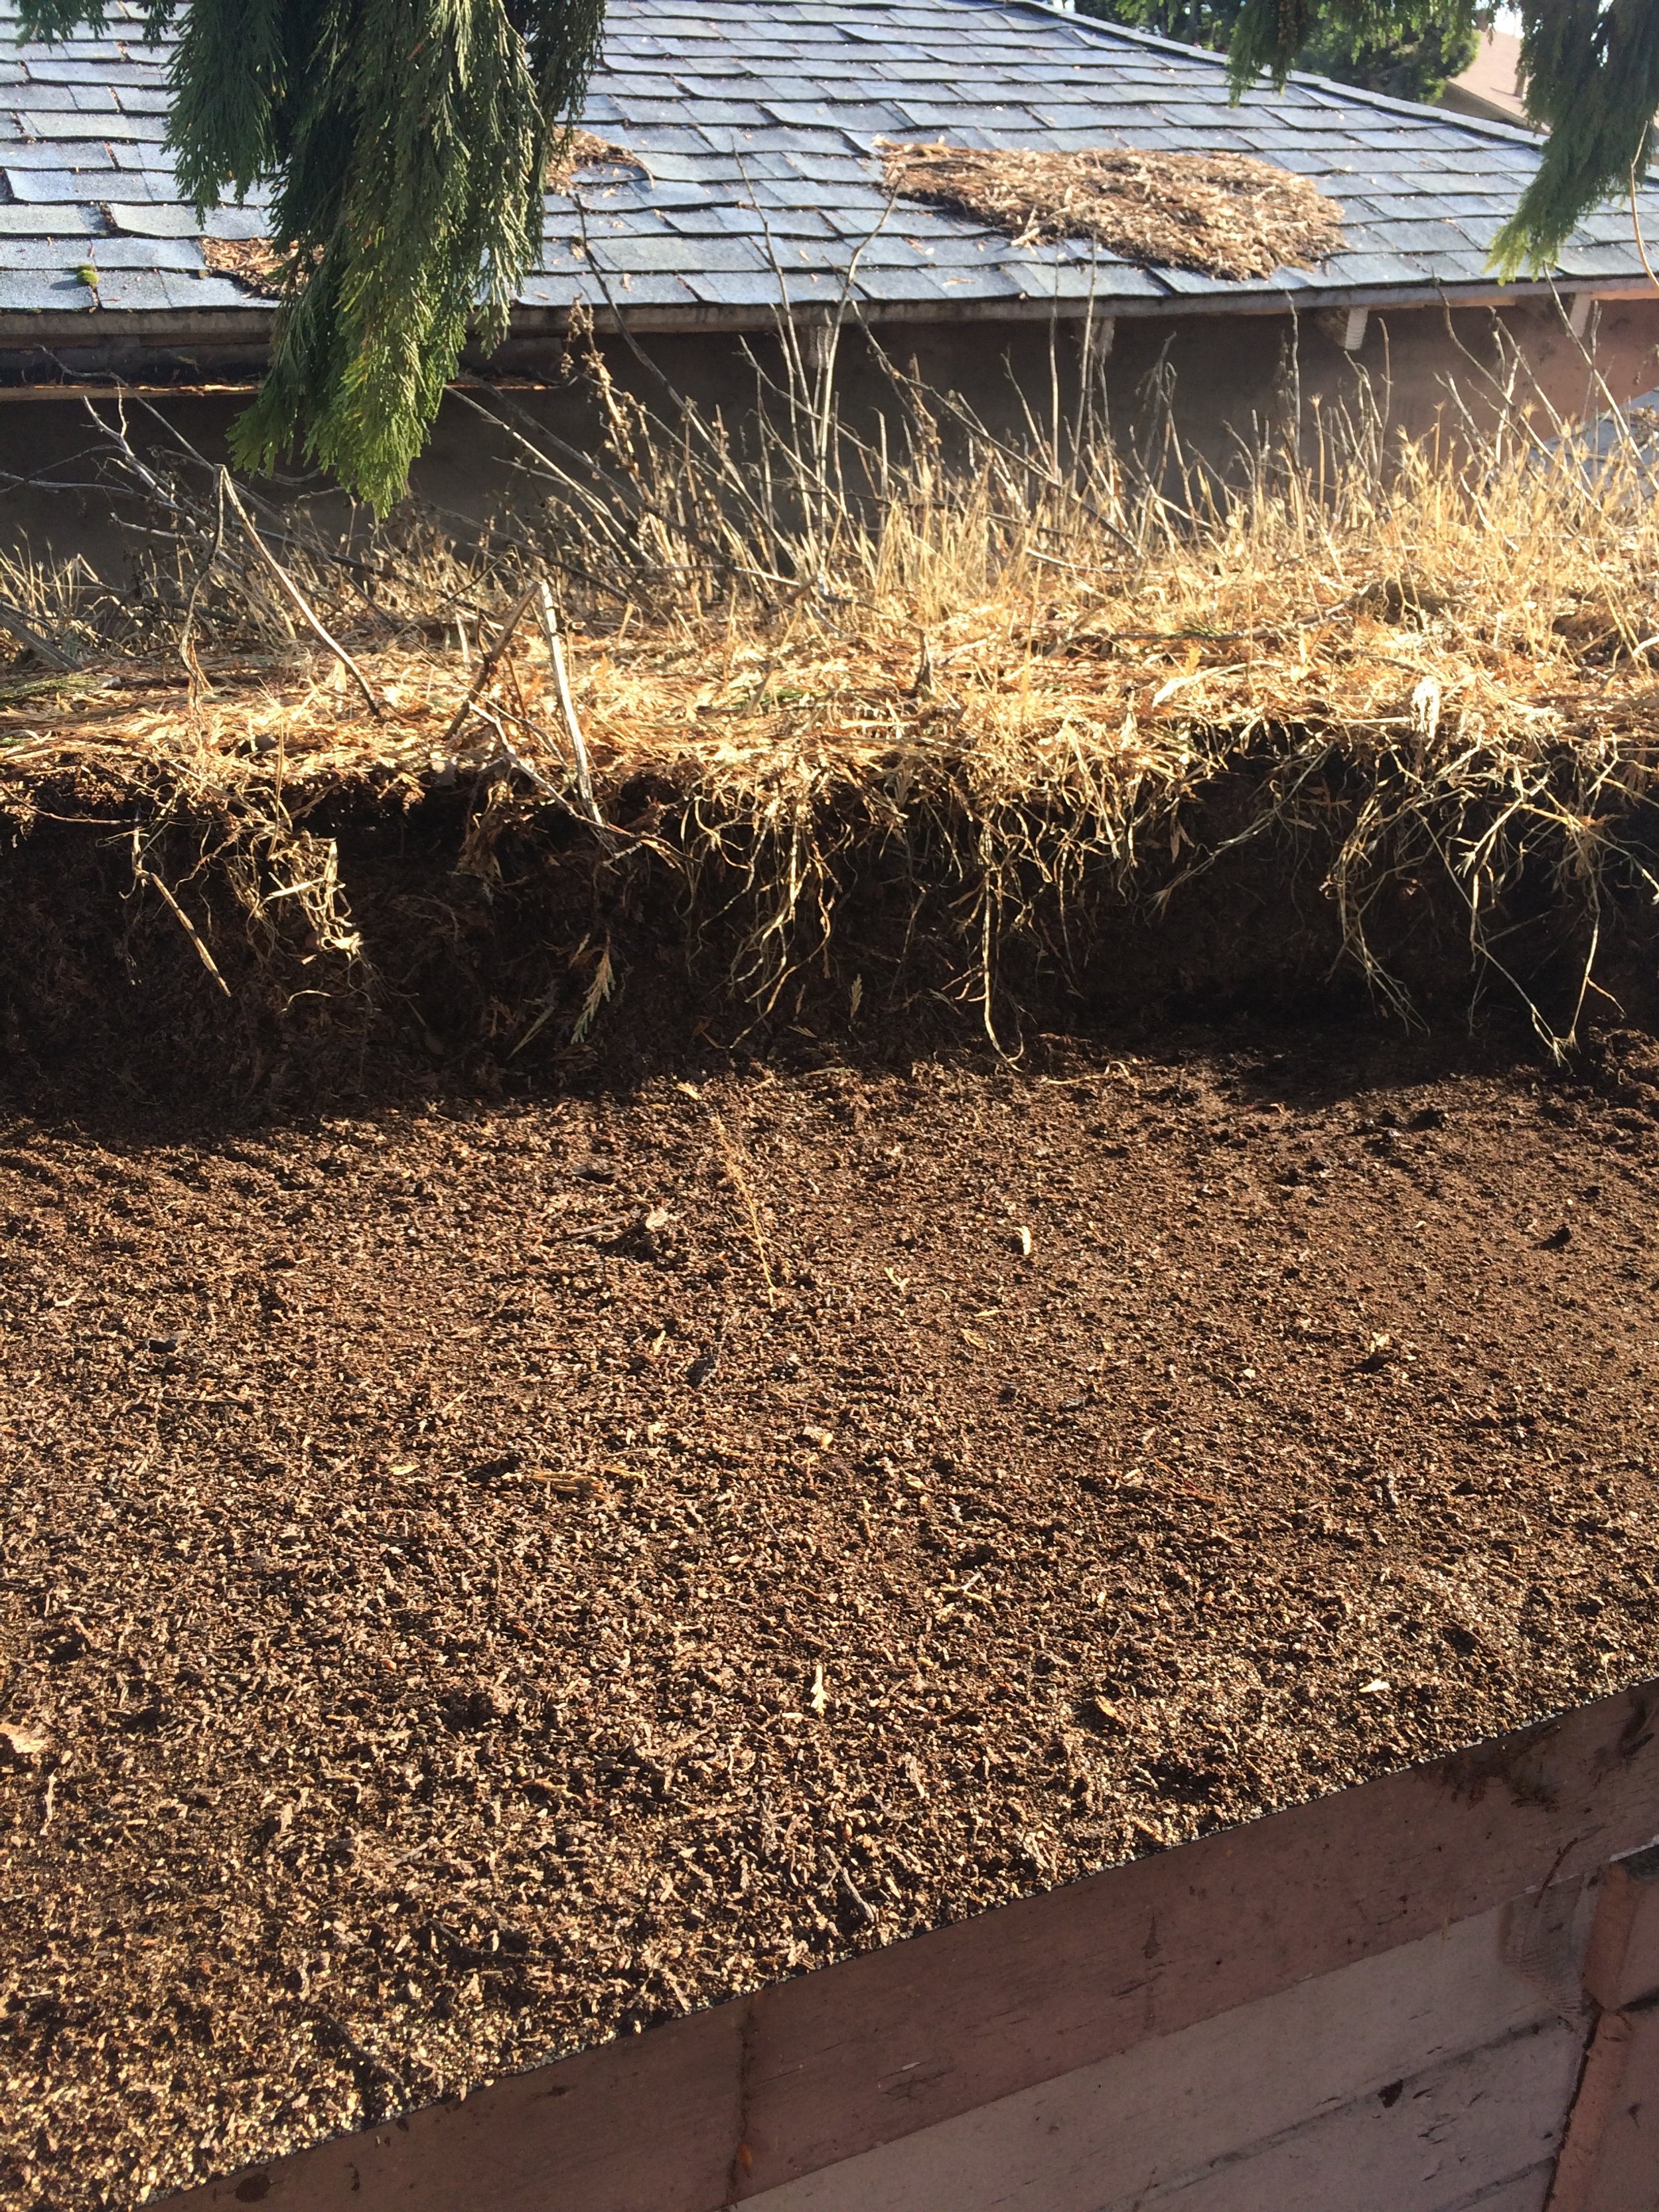
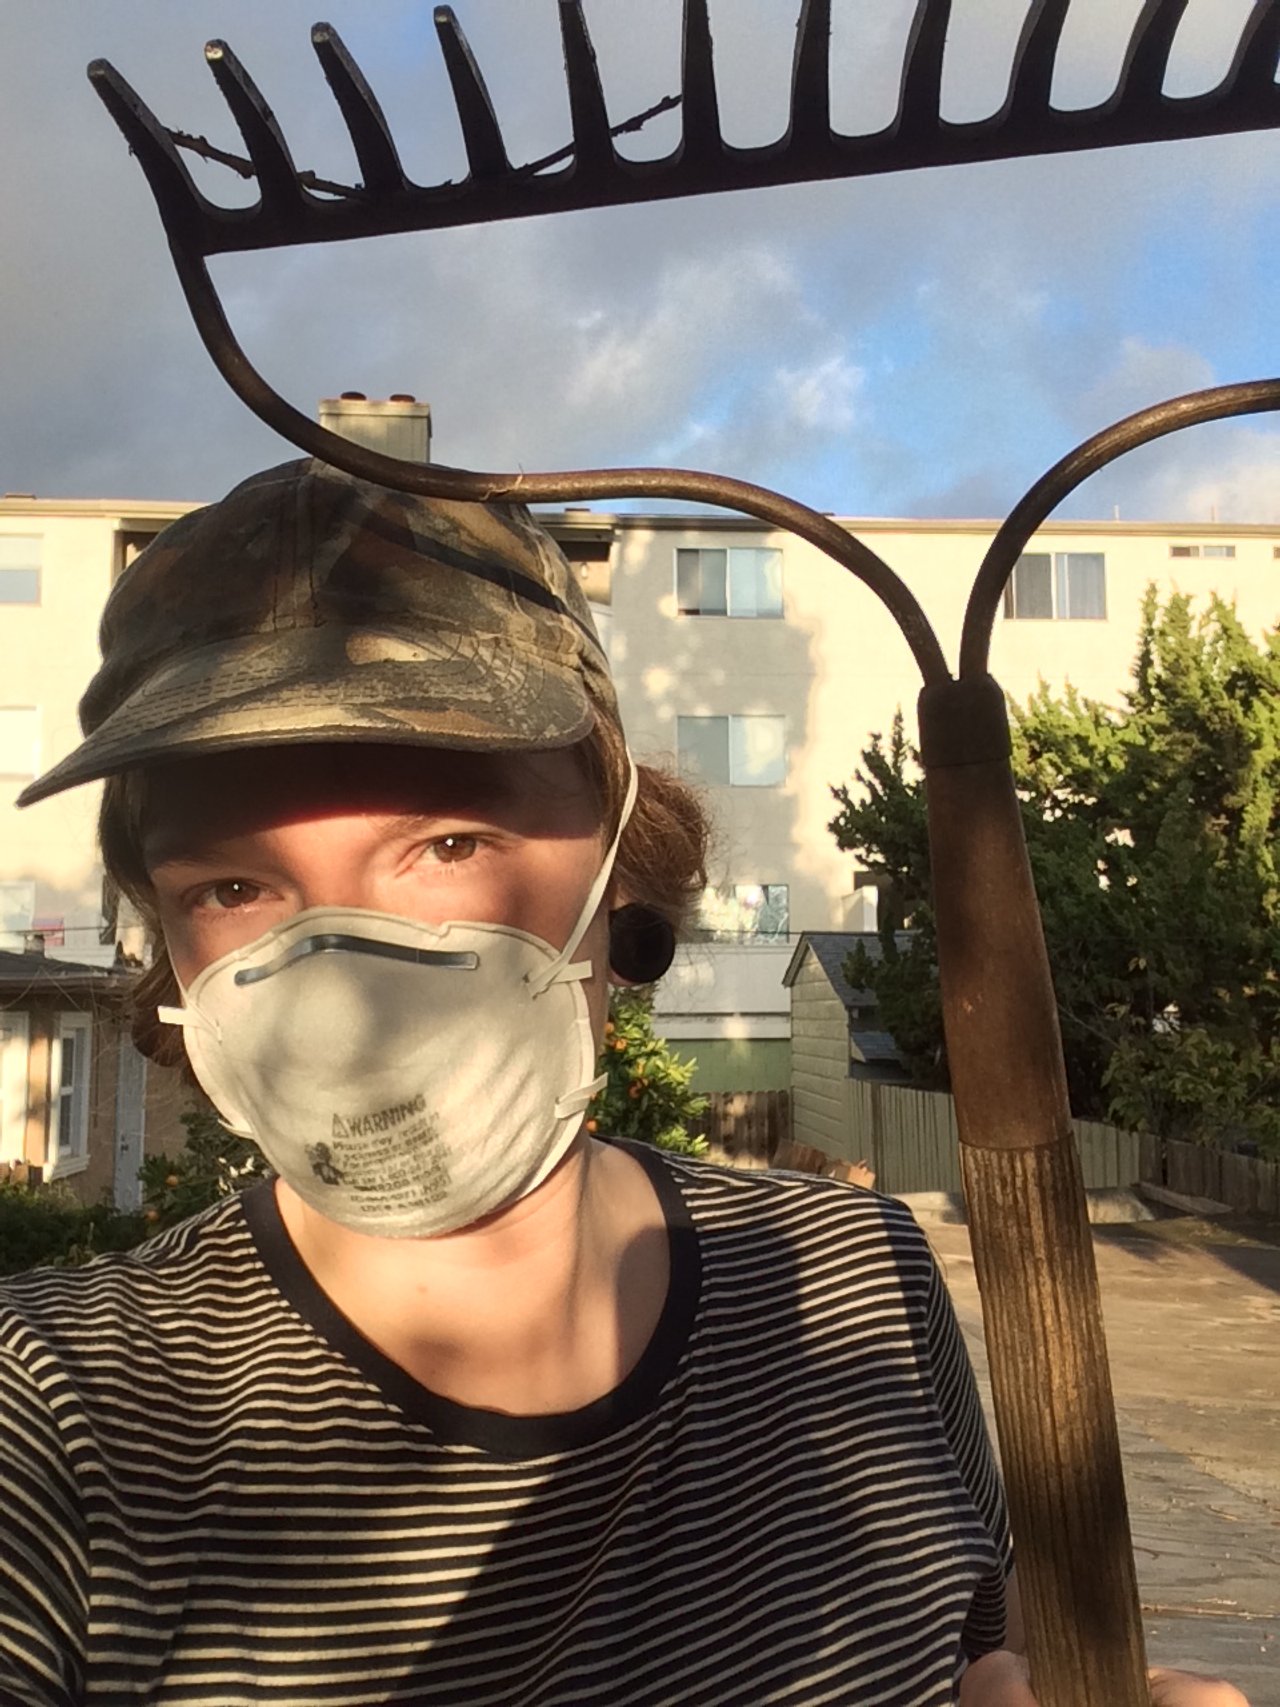
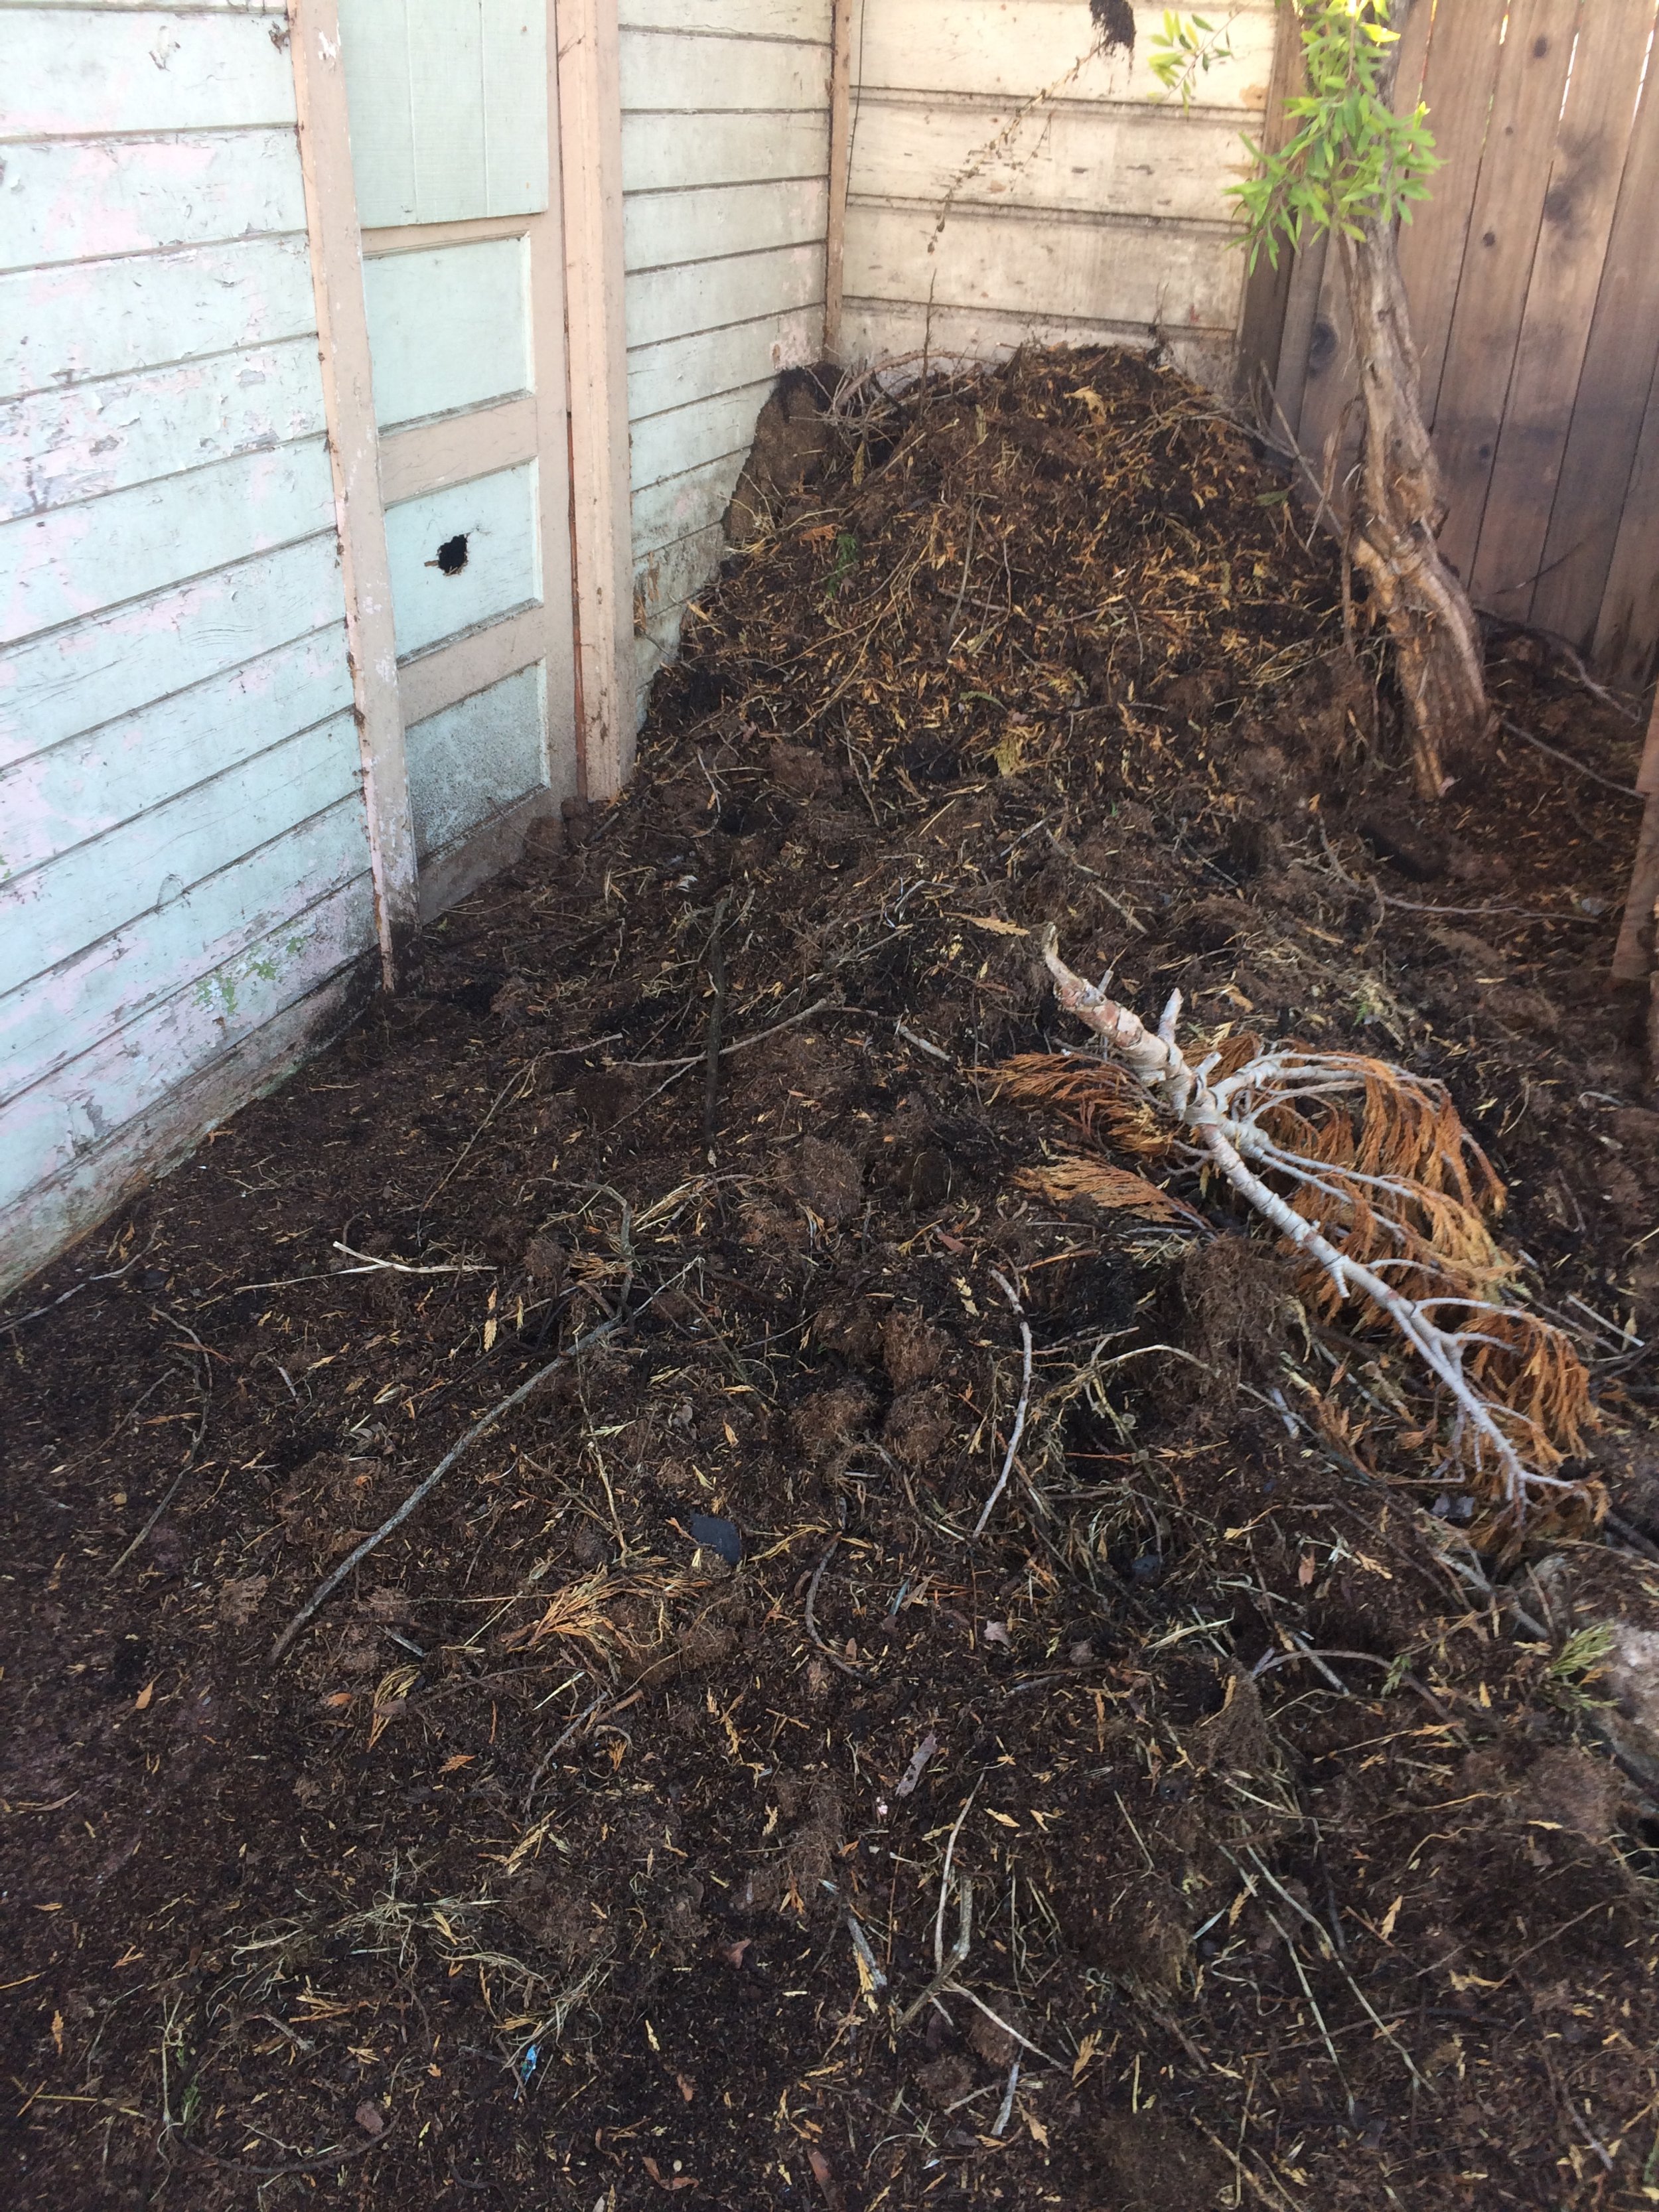
After I was finished with demolition and clean-up, my next priority was shoring up the framing and replacing the roof. As I mentioned in the Demo Day post, I hired my friend Chris to help out with this part of the build because I felt I was in a little over my head and I wanted to make sure my shed was safe. While I waited for Chris to be available to help, I worked on cleaning off the existing roof, which was covered in a good 8” of soil from years of collecting needles from the redwood tree that it lived under. I got up on a ladder and scraped all of it off with a rake, then scooped it all up with a shovel and dispersed it around the yard.
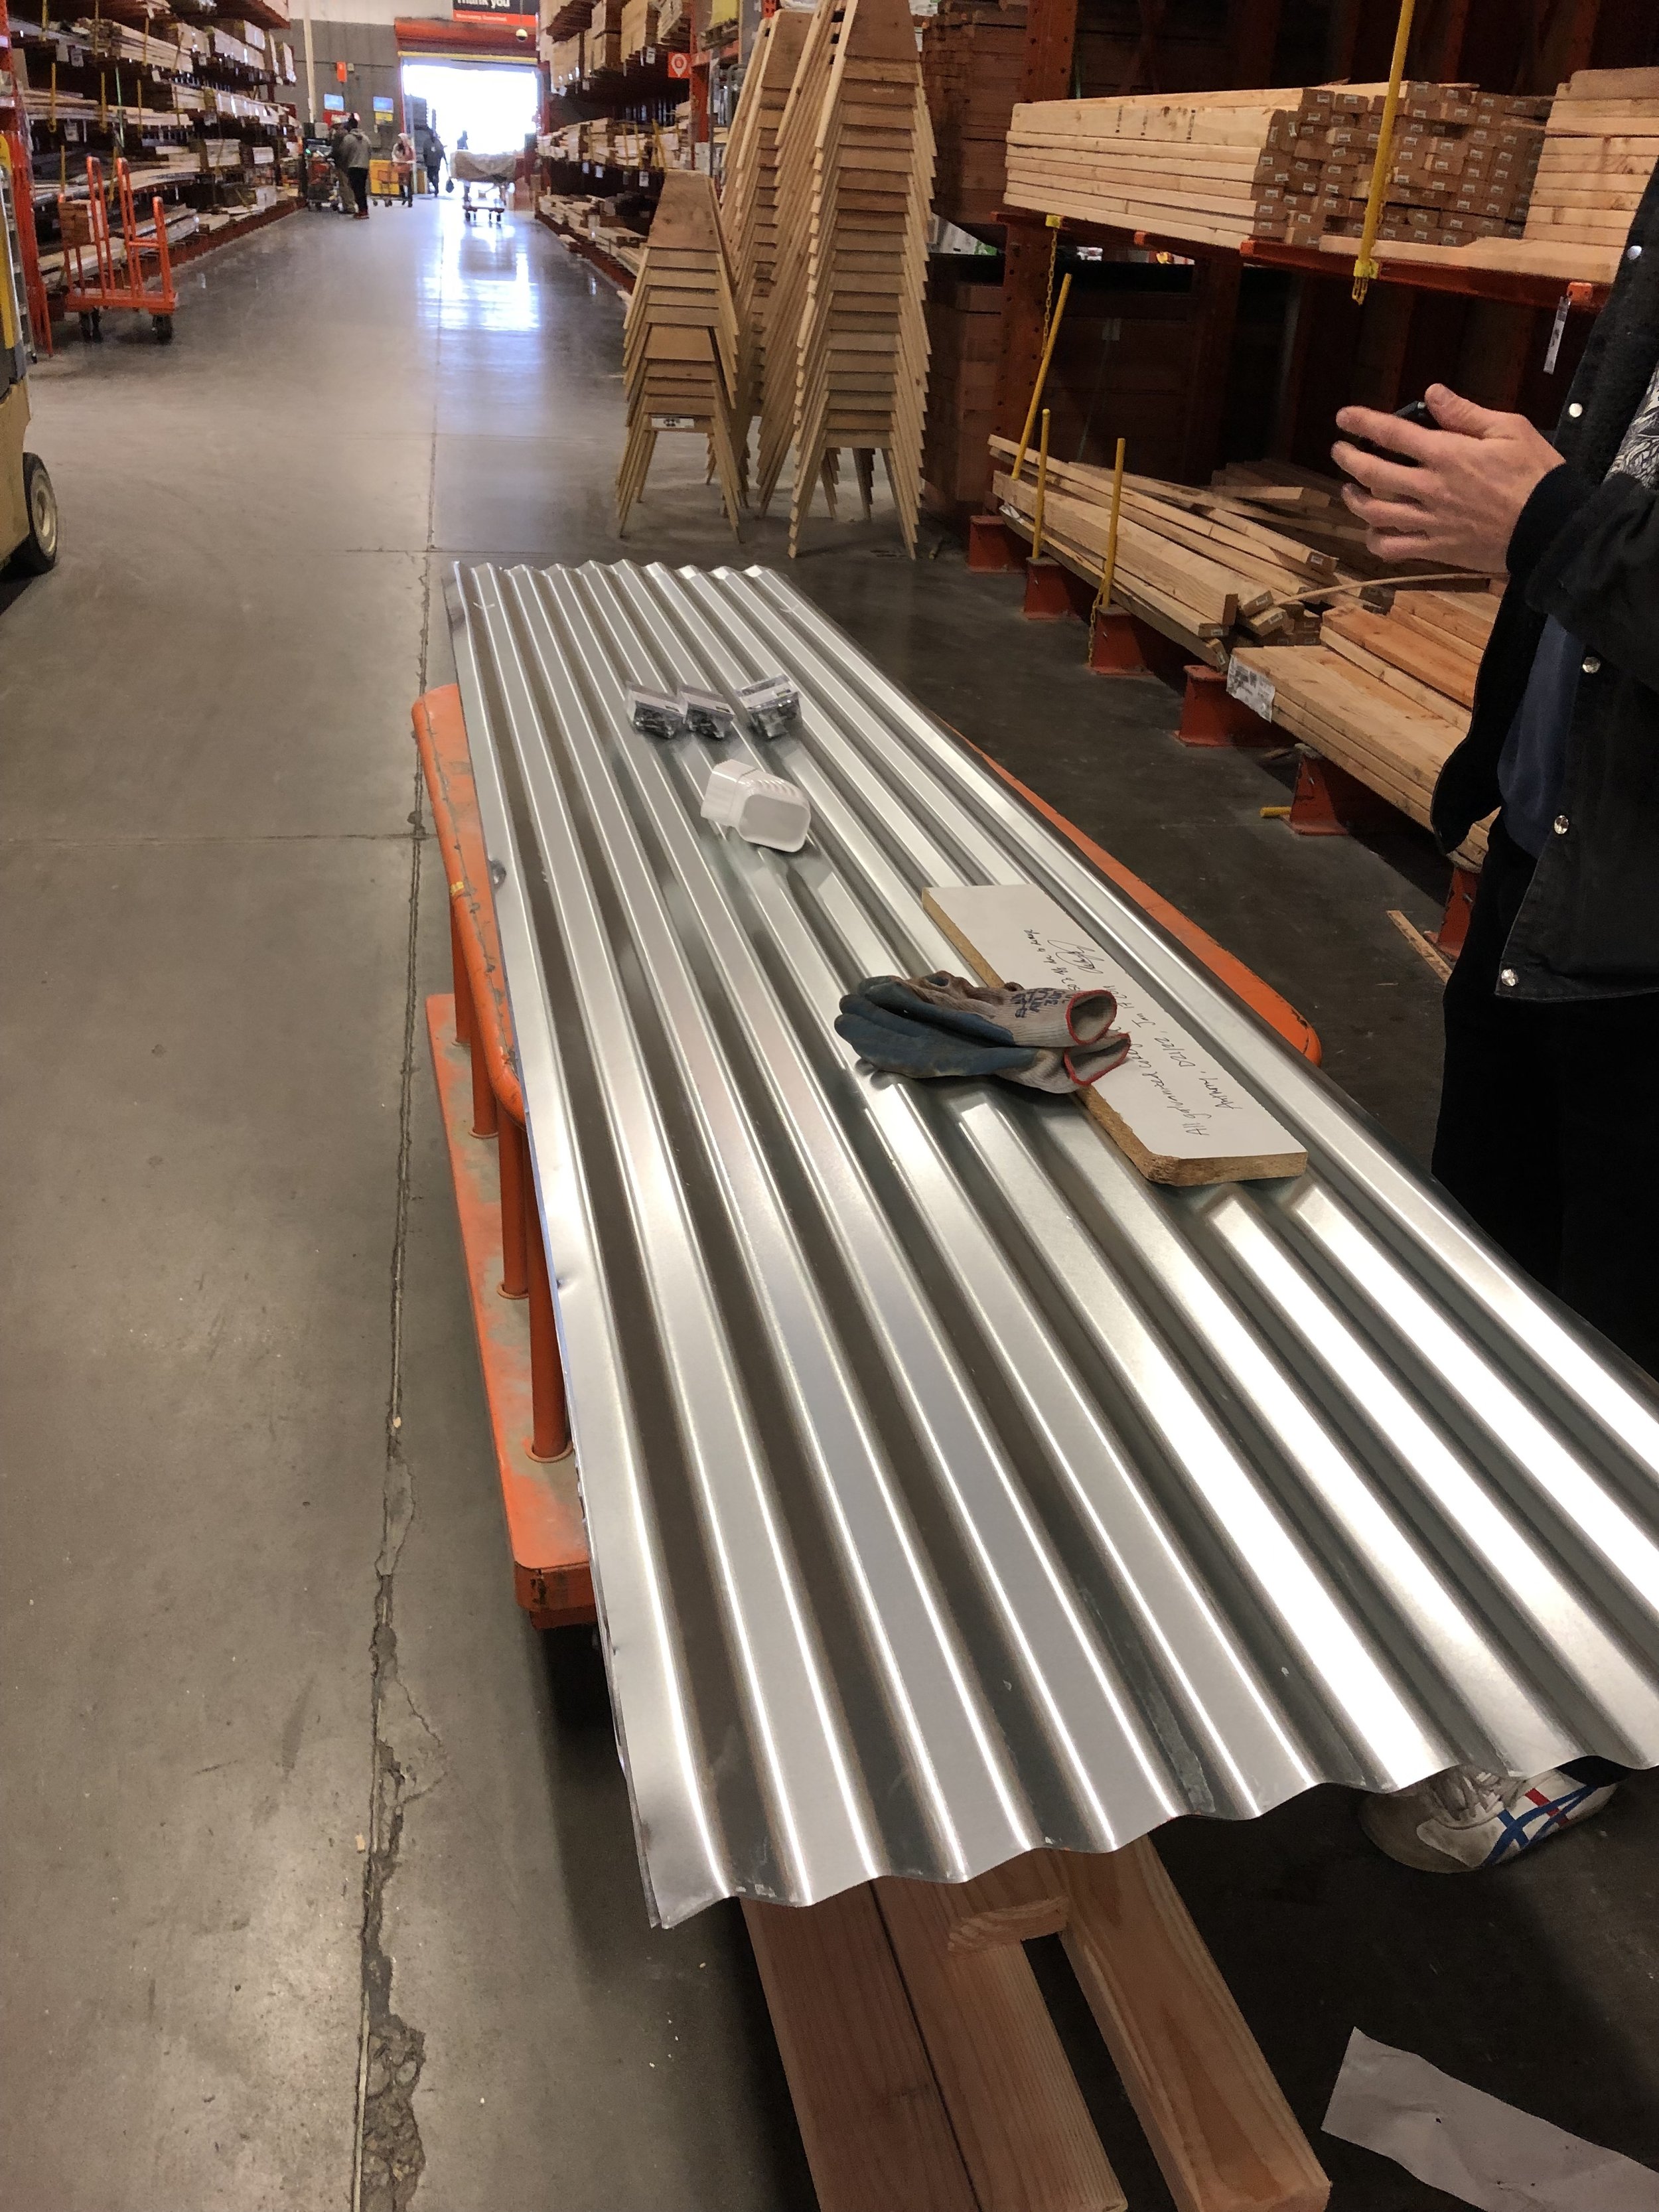
Once the roof had been swept off, it was time to procure some roofing materials. We decided to just lay some corrugated galvanized steel panels over the top of the existing roof. I wouldn’t consider this the “right” way to do it, but it was what made sense to Chris and I at the time based on the timeline and budget of this project. If I had been planning to live here long-term, we might have dismantled the whole thing and started from scratch.
The inventory at Home Depot that day was pretty slim, and many of them had minor dents. We talked to an associate and they told us to take 50% off of all of them at the register, which was quite the score! The damage was mostly cosmetic, and I wasn’t going to see them anyway, so that worked for me.
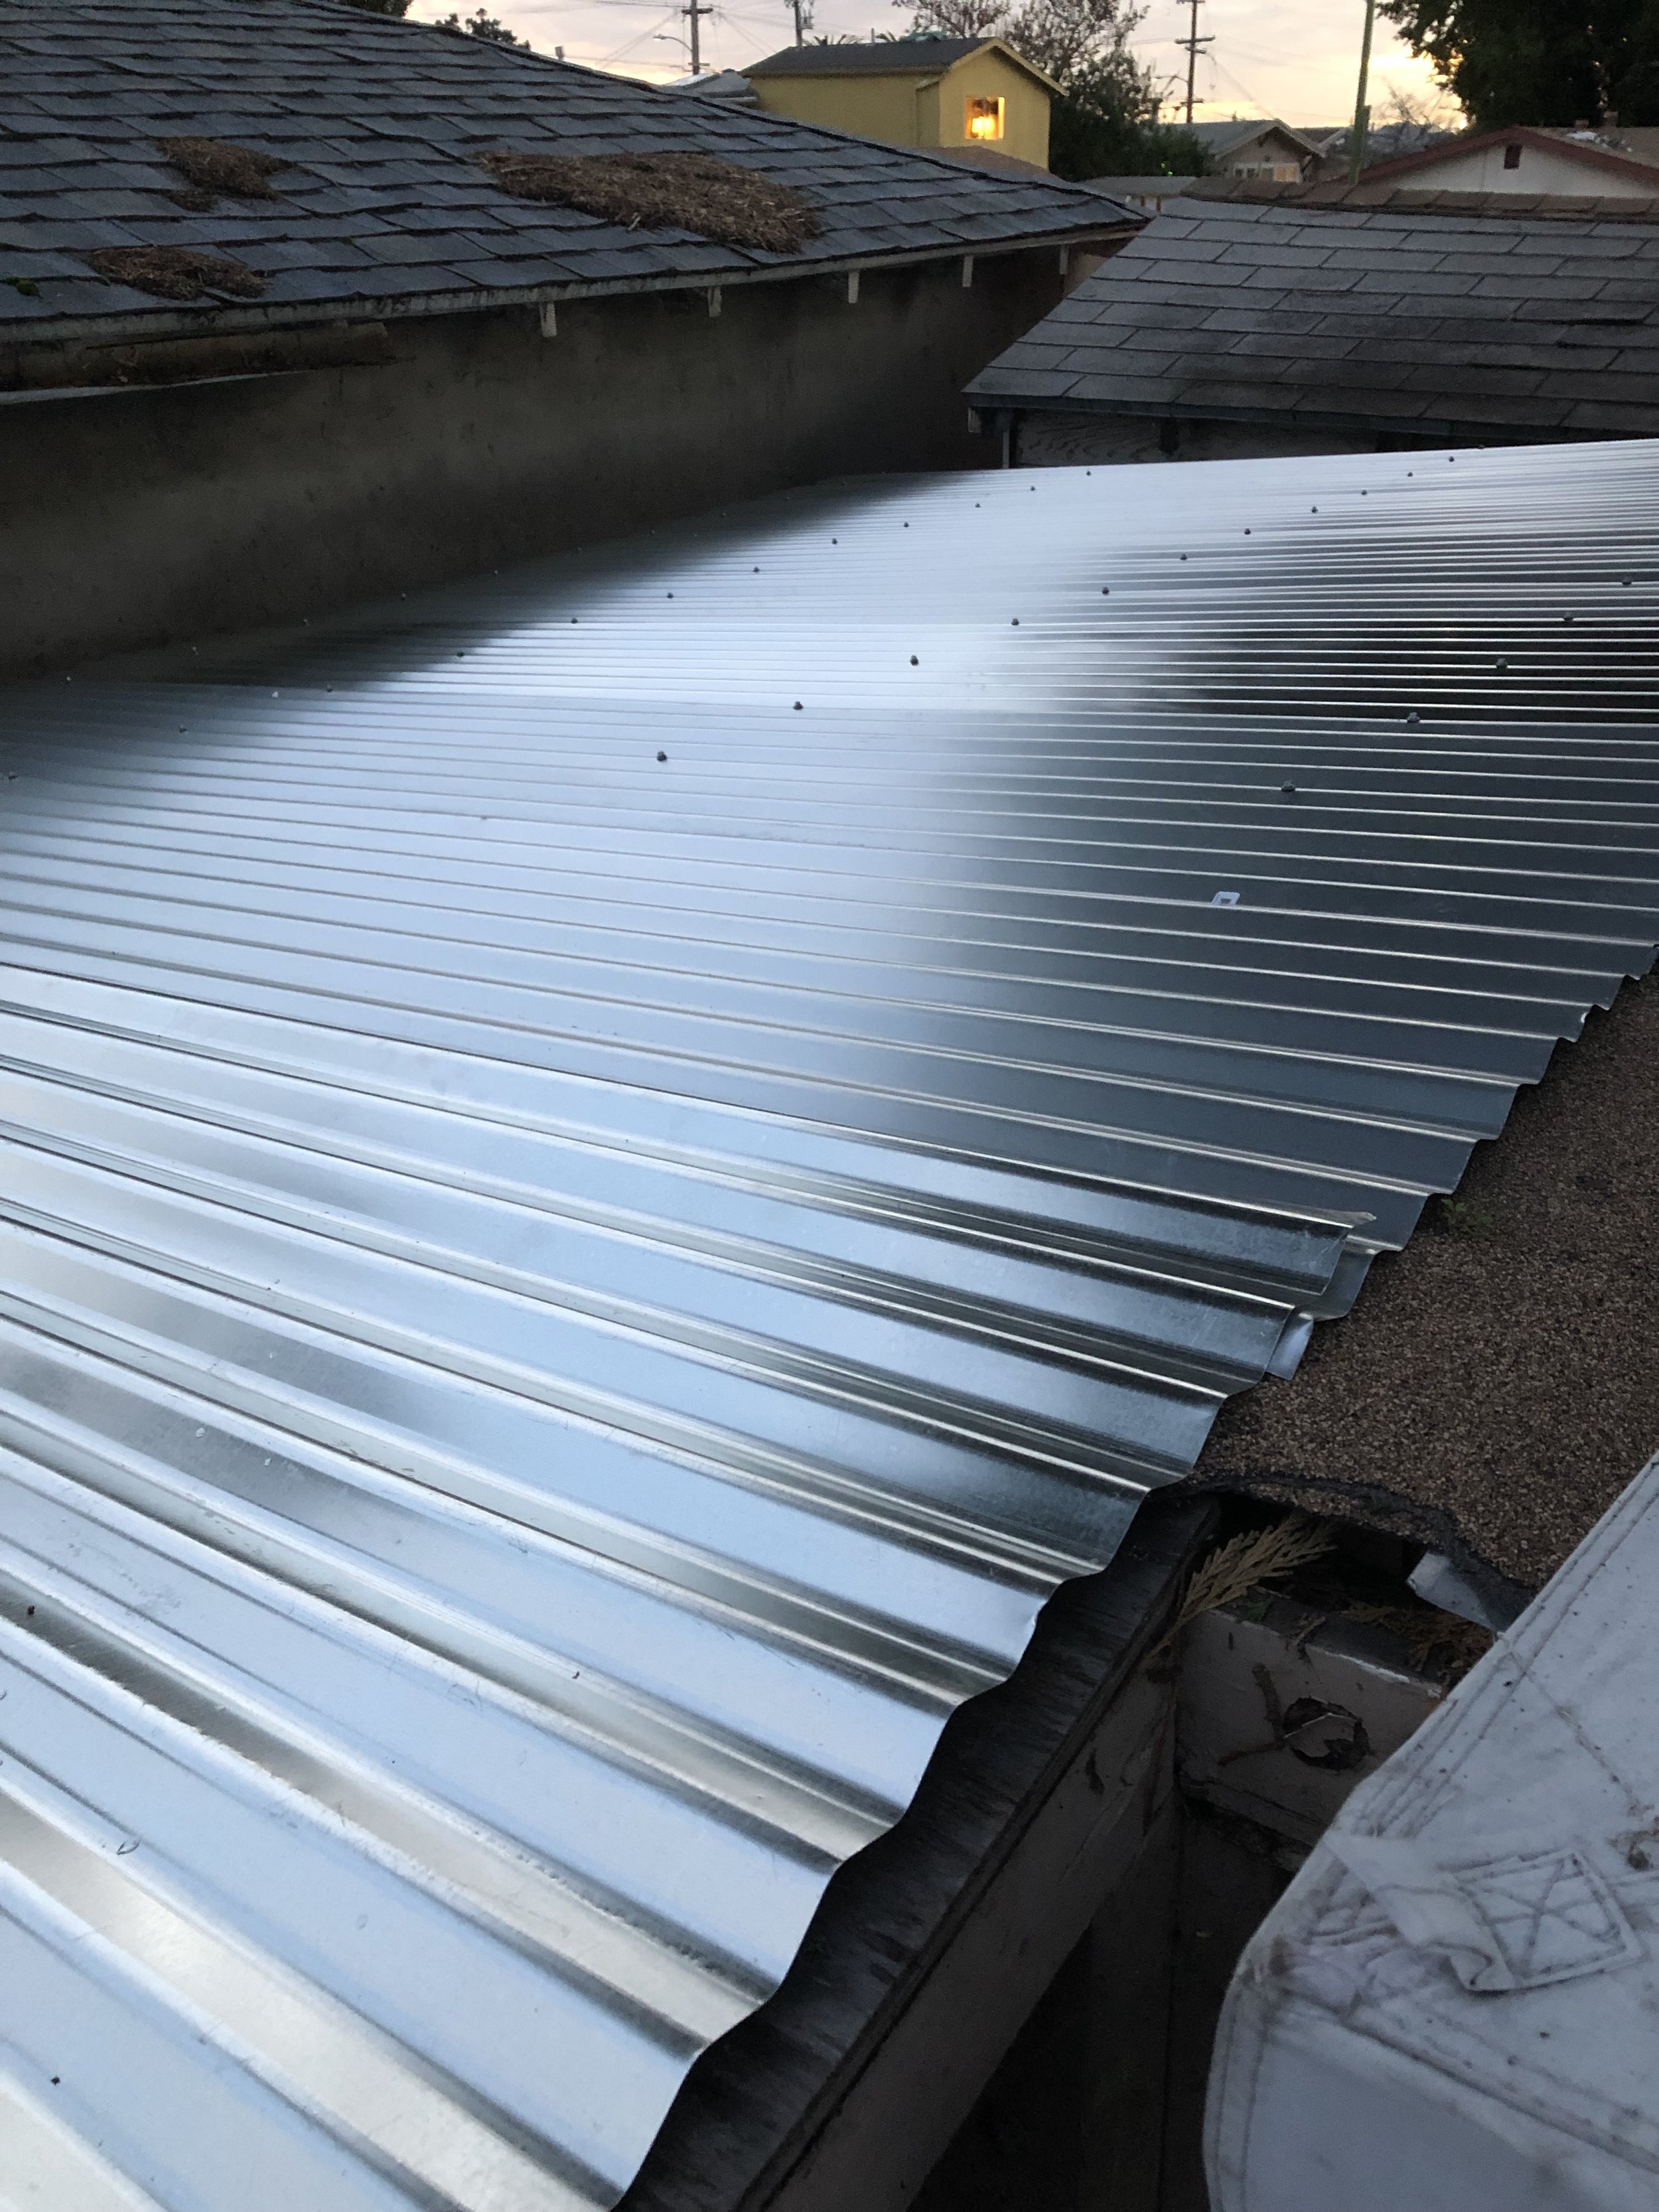
Chris overlapped the panels a few inches and used self-drilling roofing screws with watertight gaskets. After listening to Ethan Waldman’s Tiny House Lifestyle Podcast, I learned that these type of screws are pretty high maintenance as the gaskets can fail over time. Again, since this dwelling was temporary for me, this felt like a good option at the time. If/when I build a more permanent tiny house, I will consider more durable roofing options. I really like the look of metal roofs, so perhaps a standing seam metal roof will be the way to go.
Overall, I was really happy with the way it turned out. I didn’t have any leaks during the year that I lived there, and it was really easy to get up there and sweep debris off. I especially loved the way the rain sounded on the tin roof.
These next two bits are a little out of sequence. Technically I did them later on in the timeline, but since they pertain to the completion of the roof, I’m going to write about them in this post.
I went back-and-forth for a long time about whether or not to insulate my shed. Ultimately I decided to wait until I had spent a year living in it to do so. Since coastal California is so temperate I knew it would be at least tolerable to live without insulation. I wanted to make sure that the shell was actually watertight and that I actually liked living tiny, before making the investment in insulation and interior paneling. Since I wasn’t going to be covering up the framing for awhile, I decided to clean up some interior hardware when I prepped for painting. The first step was grinding off the roofing screw tips with an angle grinder.
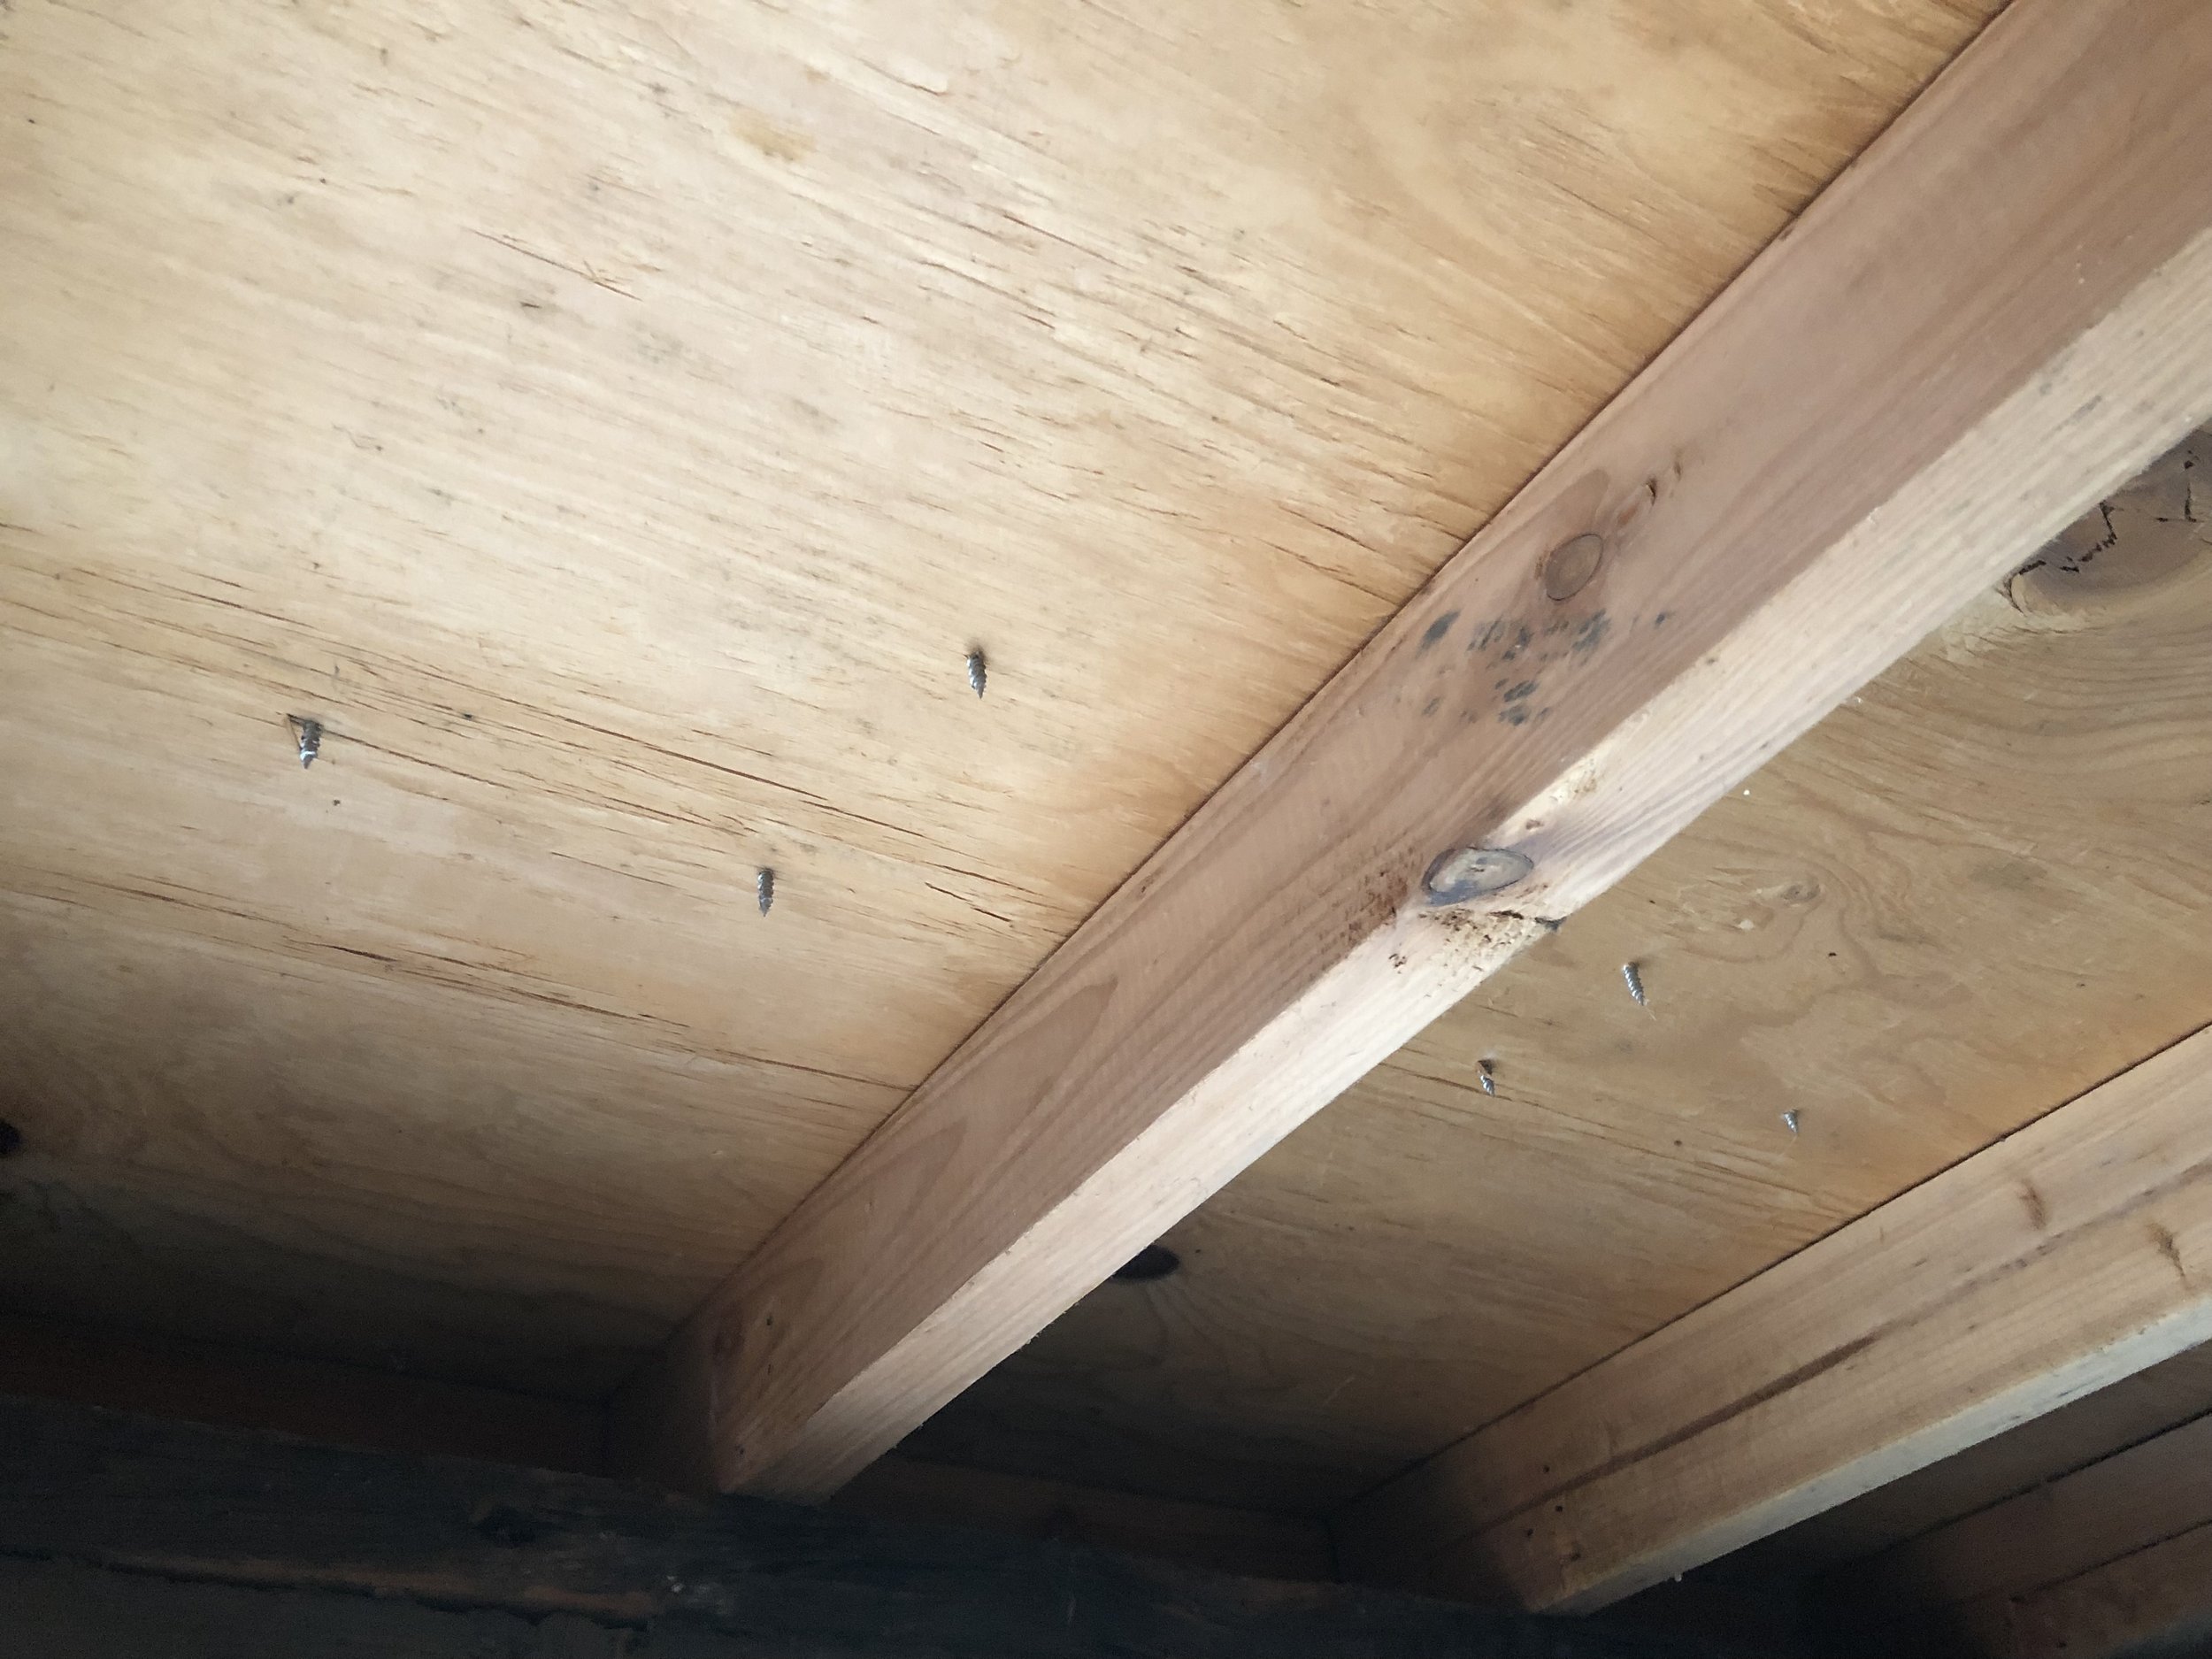
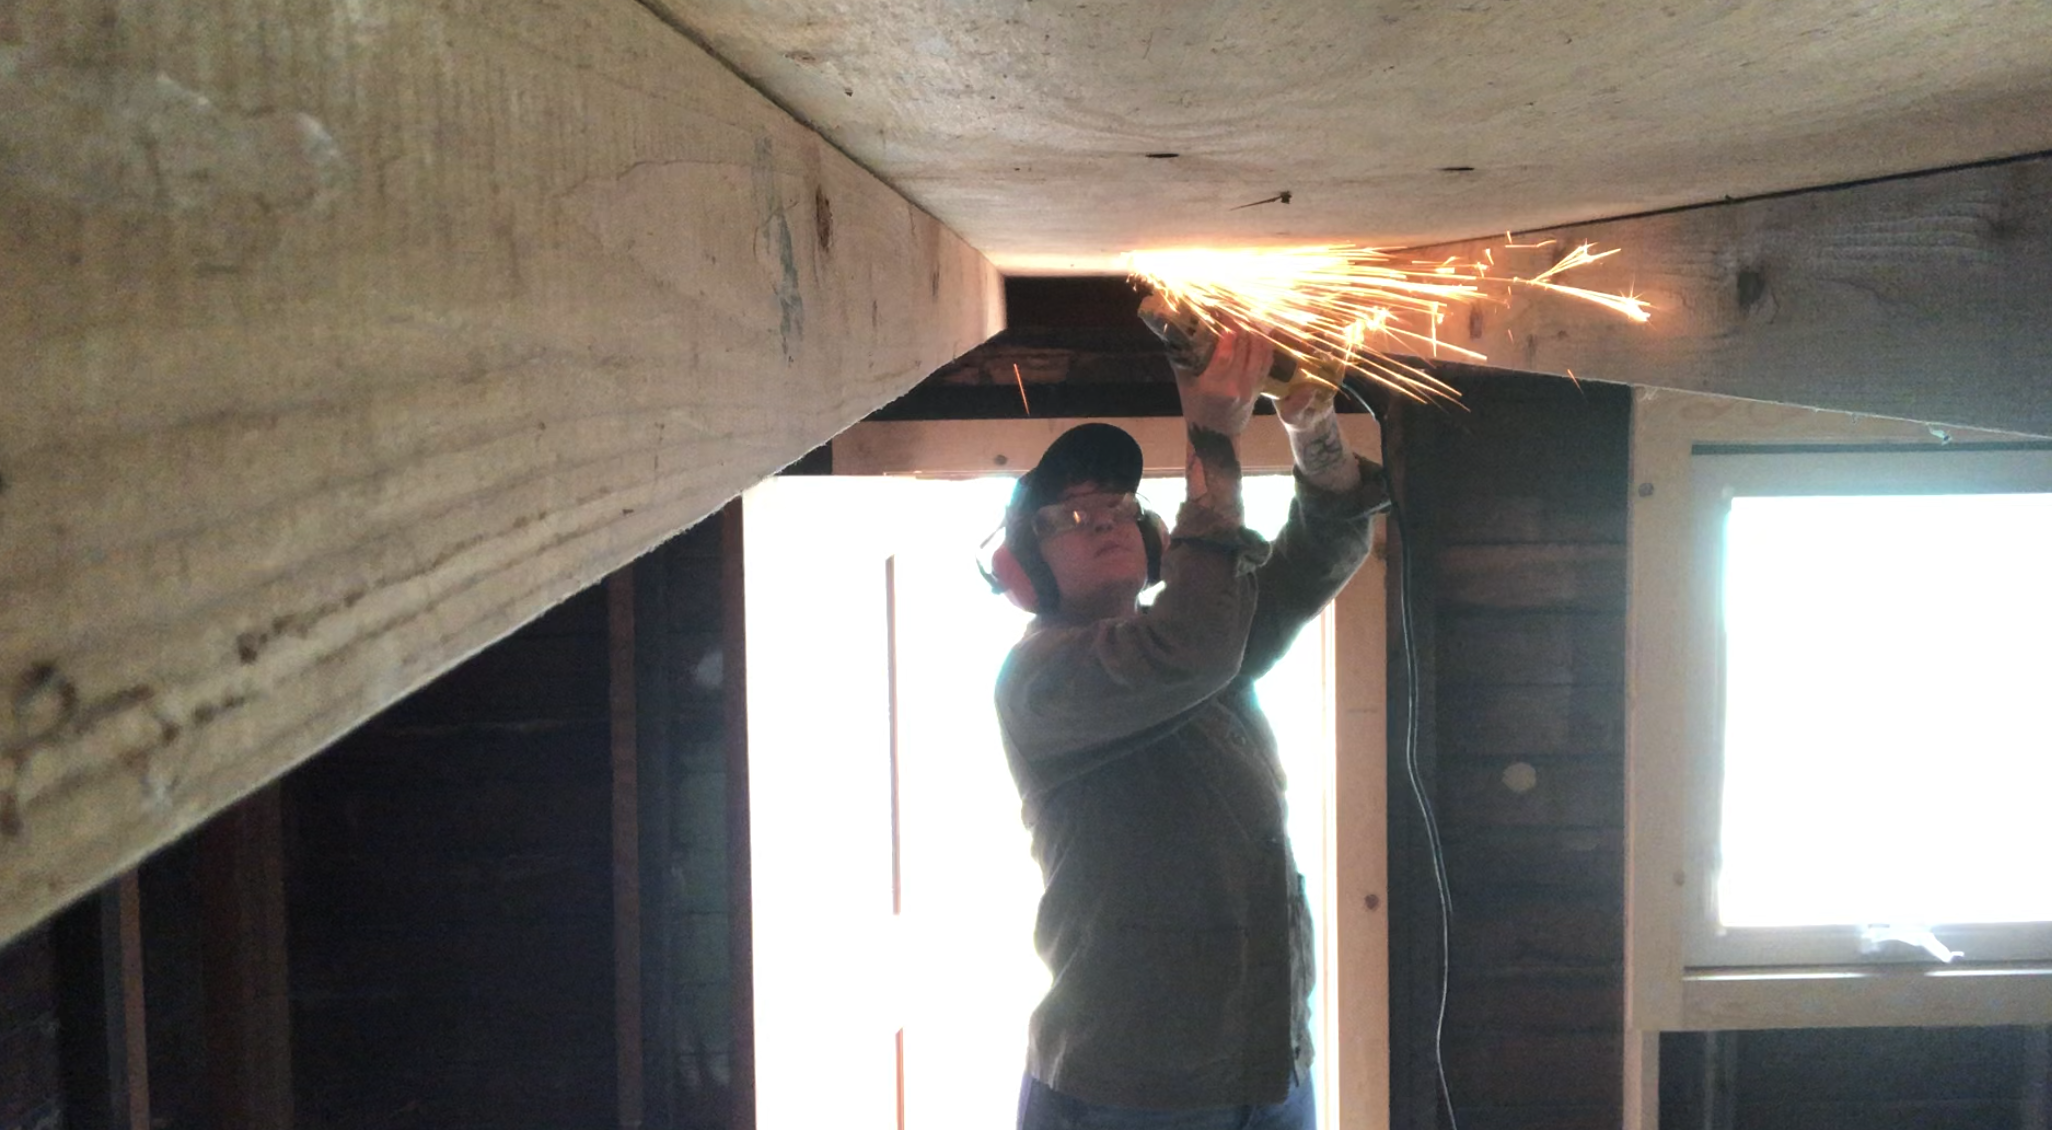
Pro tip: If you are lucky enough to live in a city that has a tool library, use it! They are usually run by the public library system and are a great resource, especially for tools that you use occasionally but not often enough to warrant purchasing. I utilized the Oakland Tool Lending Library frequently during this process, including for the the angle grinder pictured above. It saved me so much money, plus I didn’t have to store a bunch of tools that I rarely use! Honestly, I love tool libraries so much that I have considered moving to a place that doesn’t have this incredible resource and opening one.
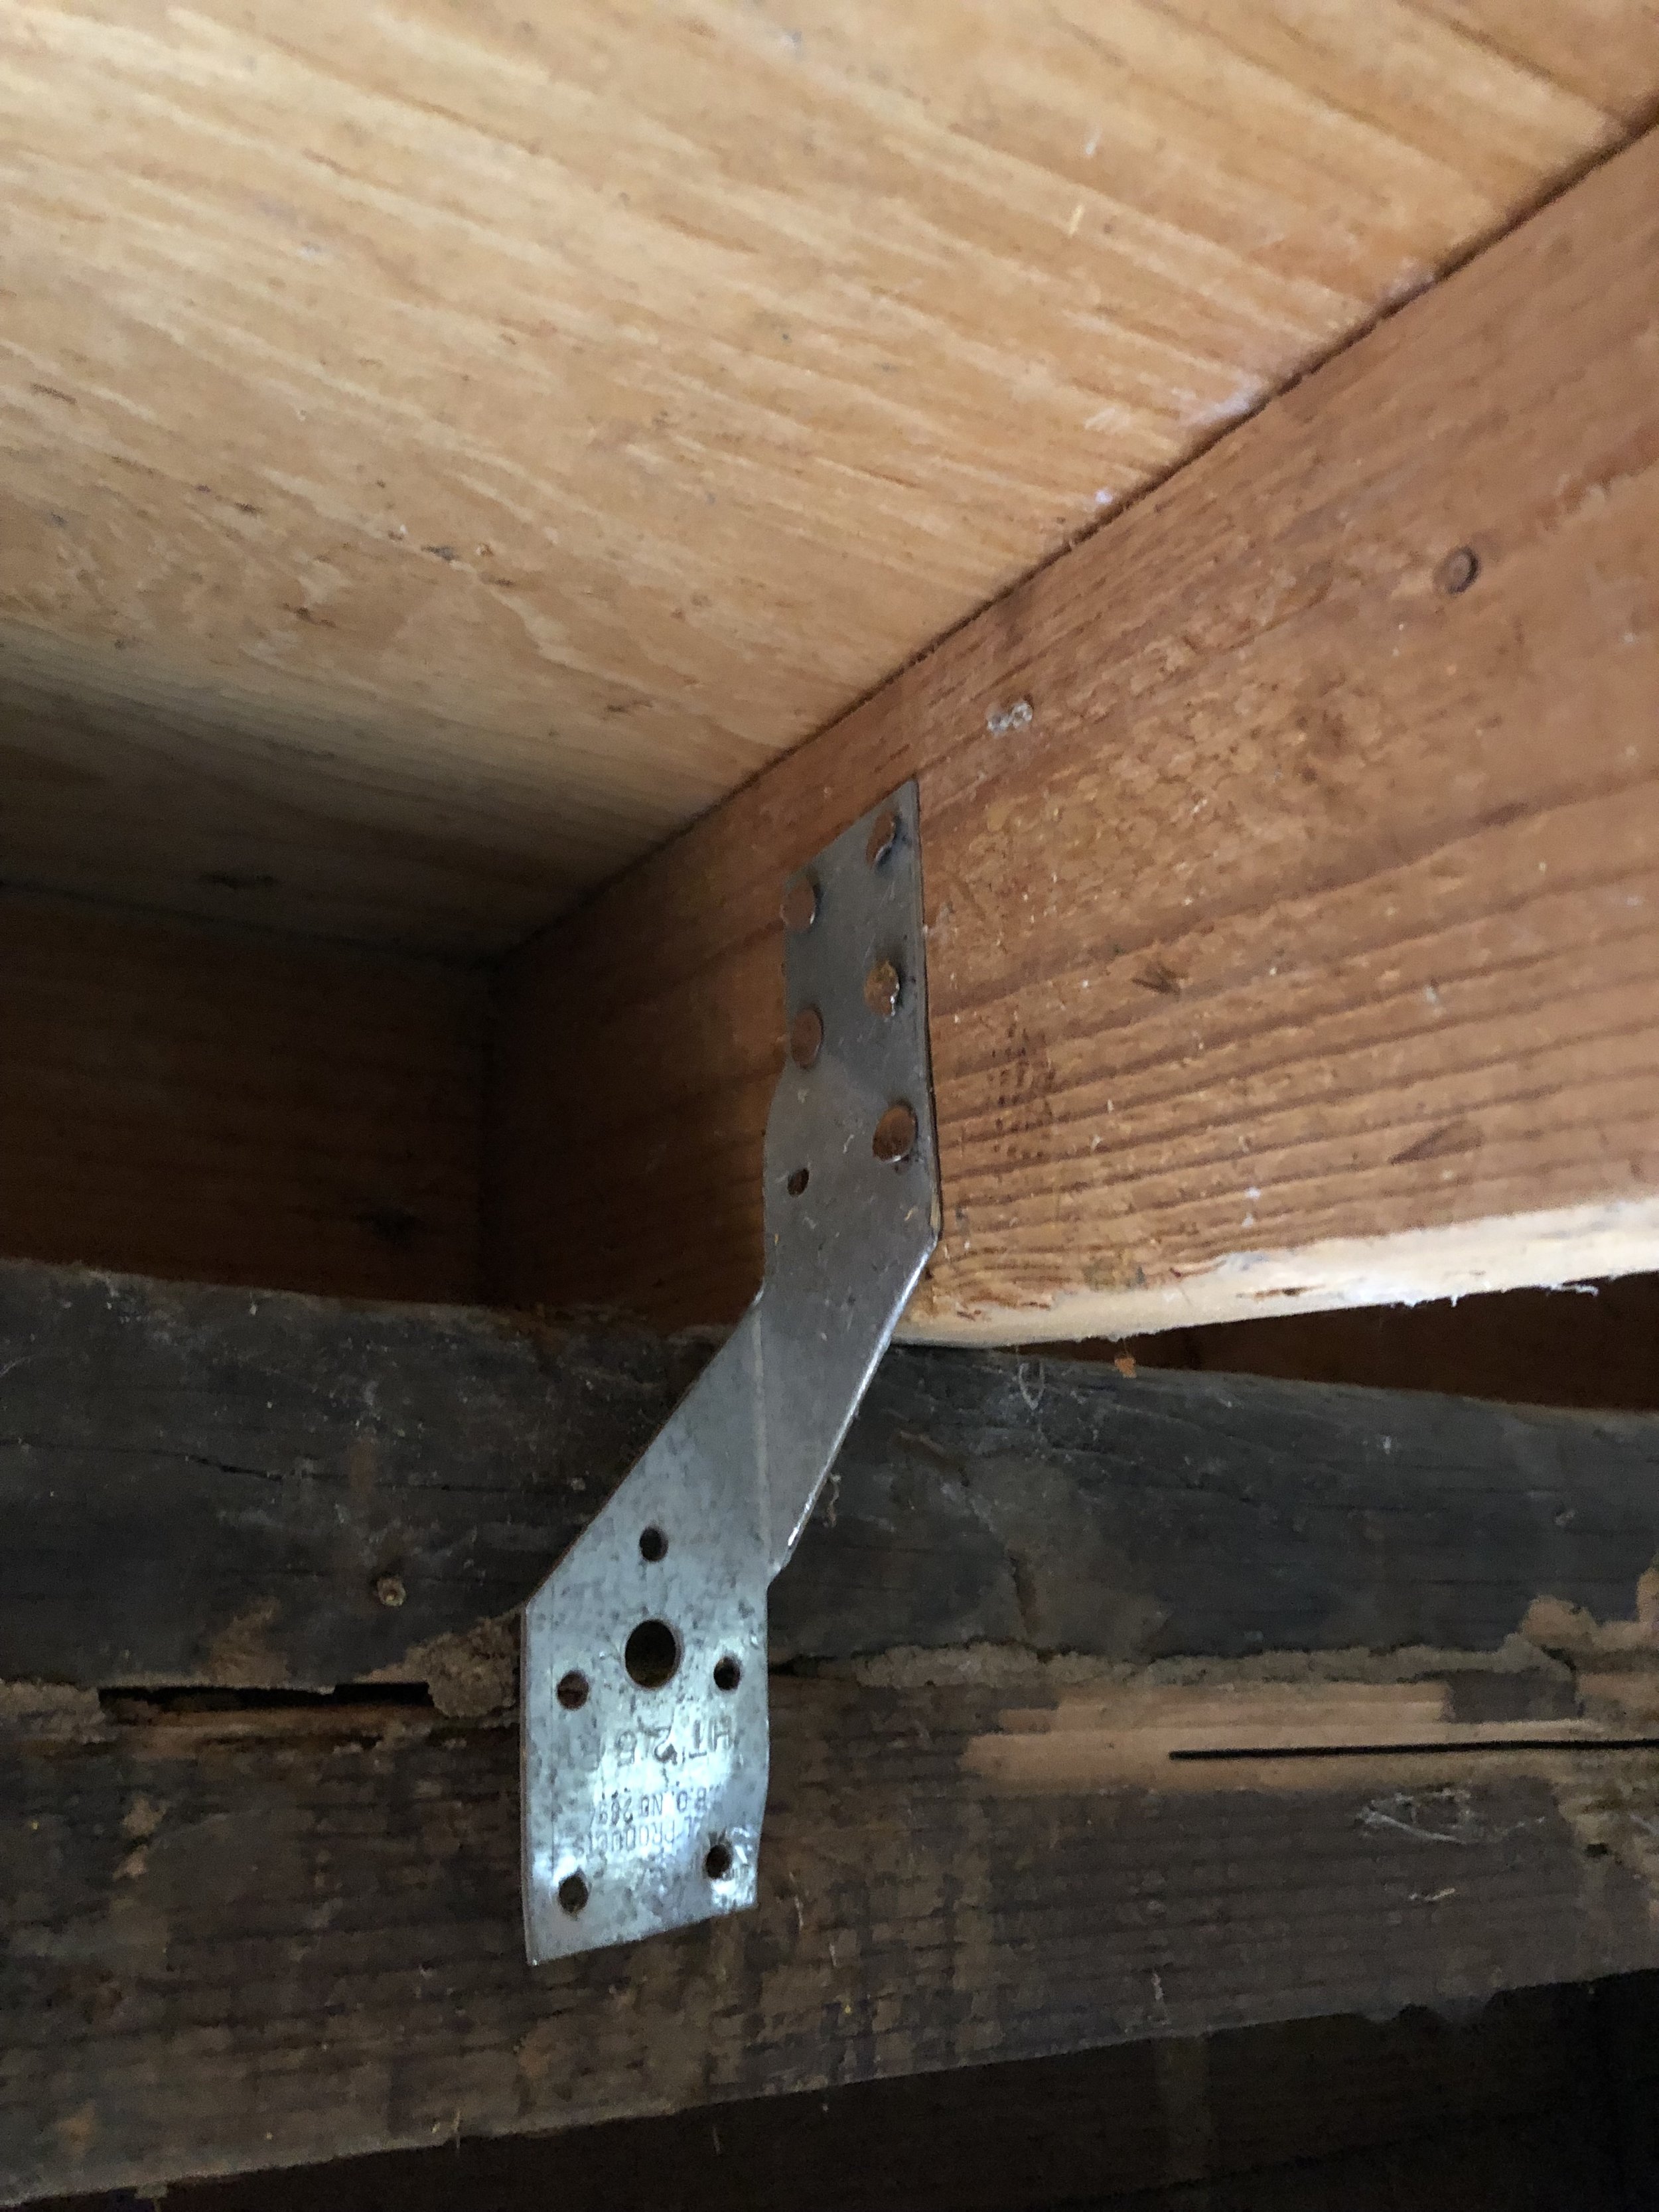
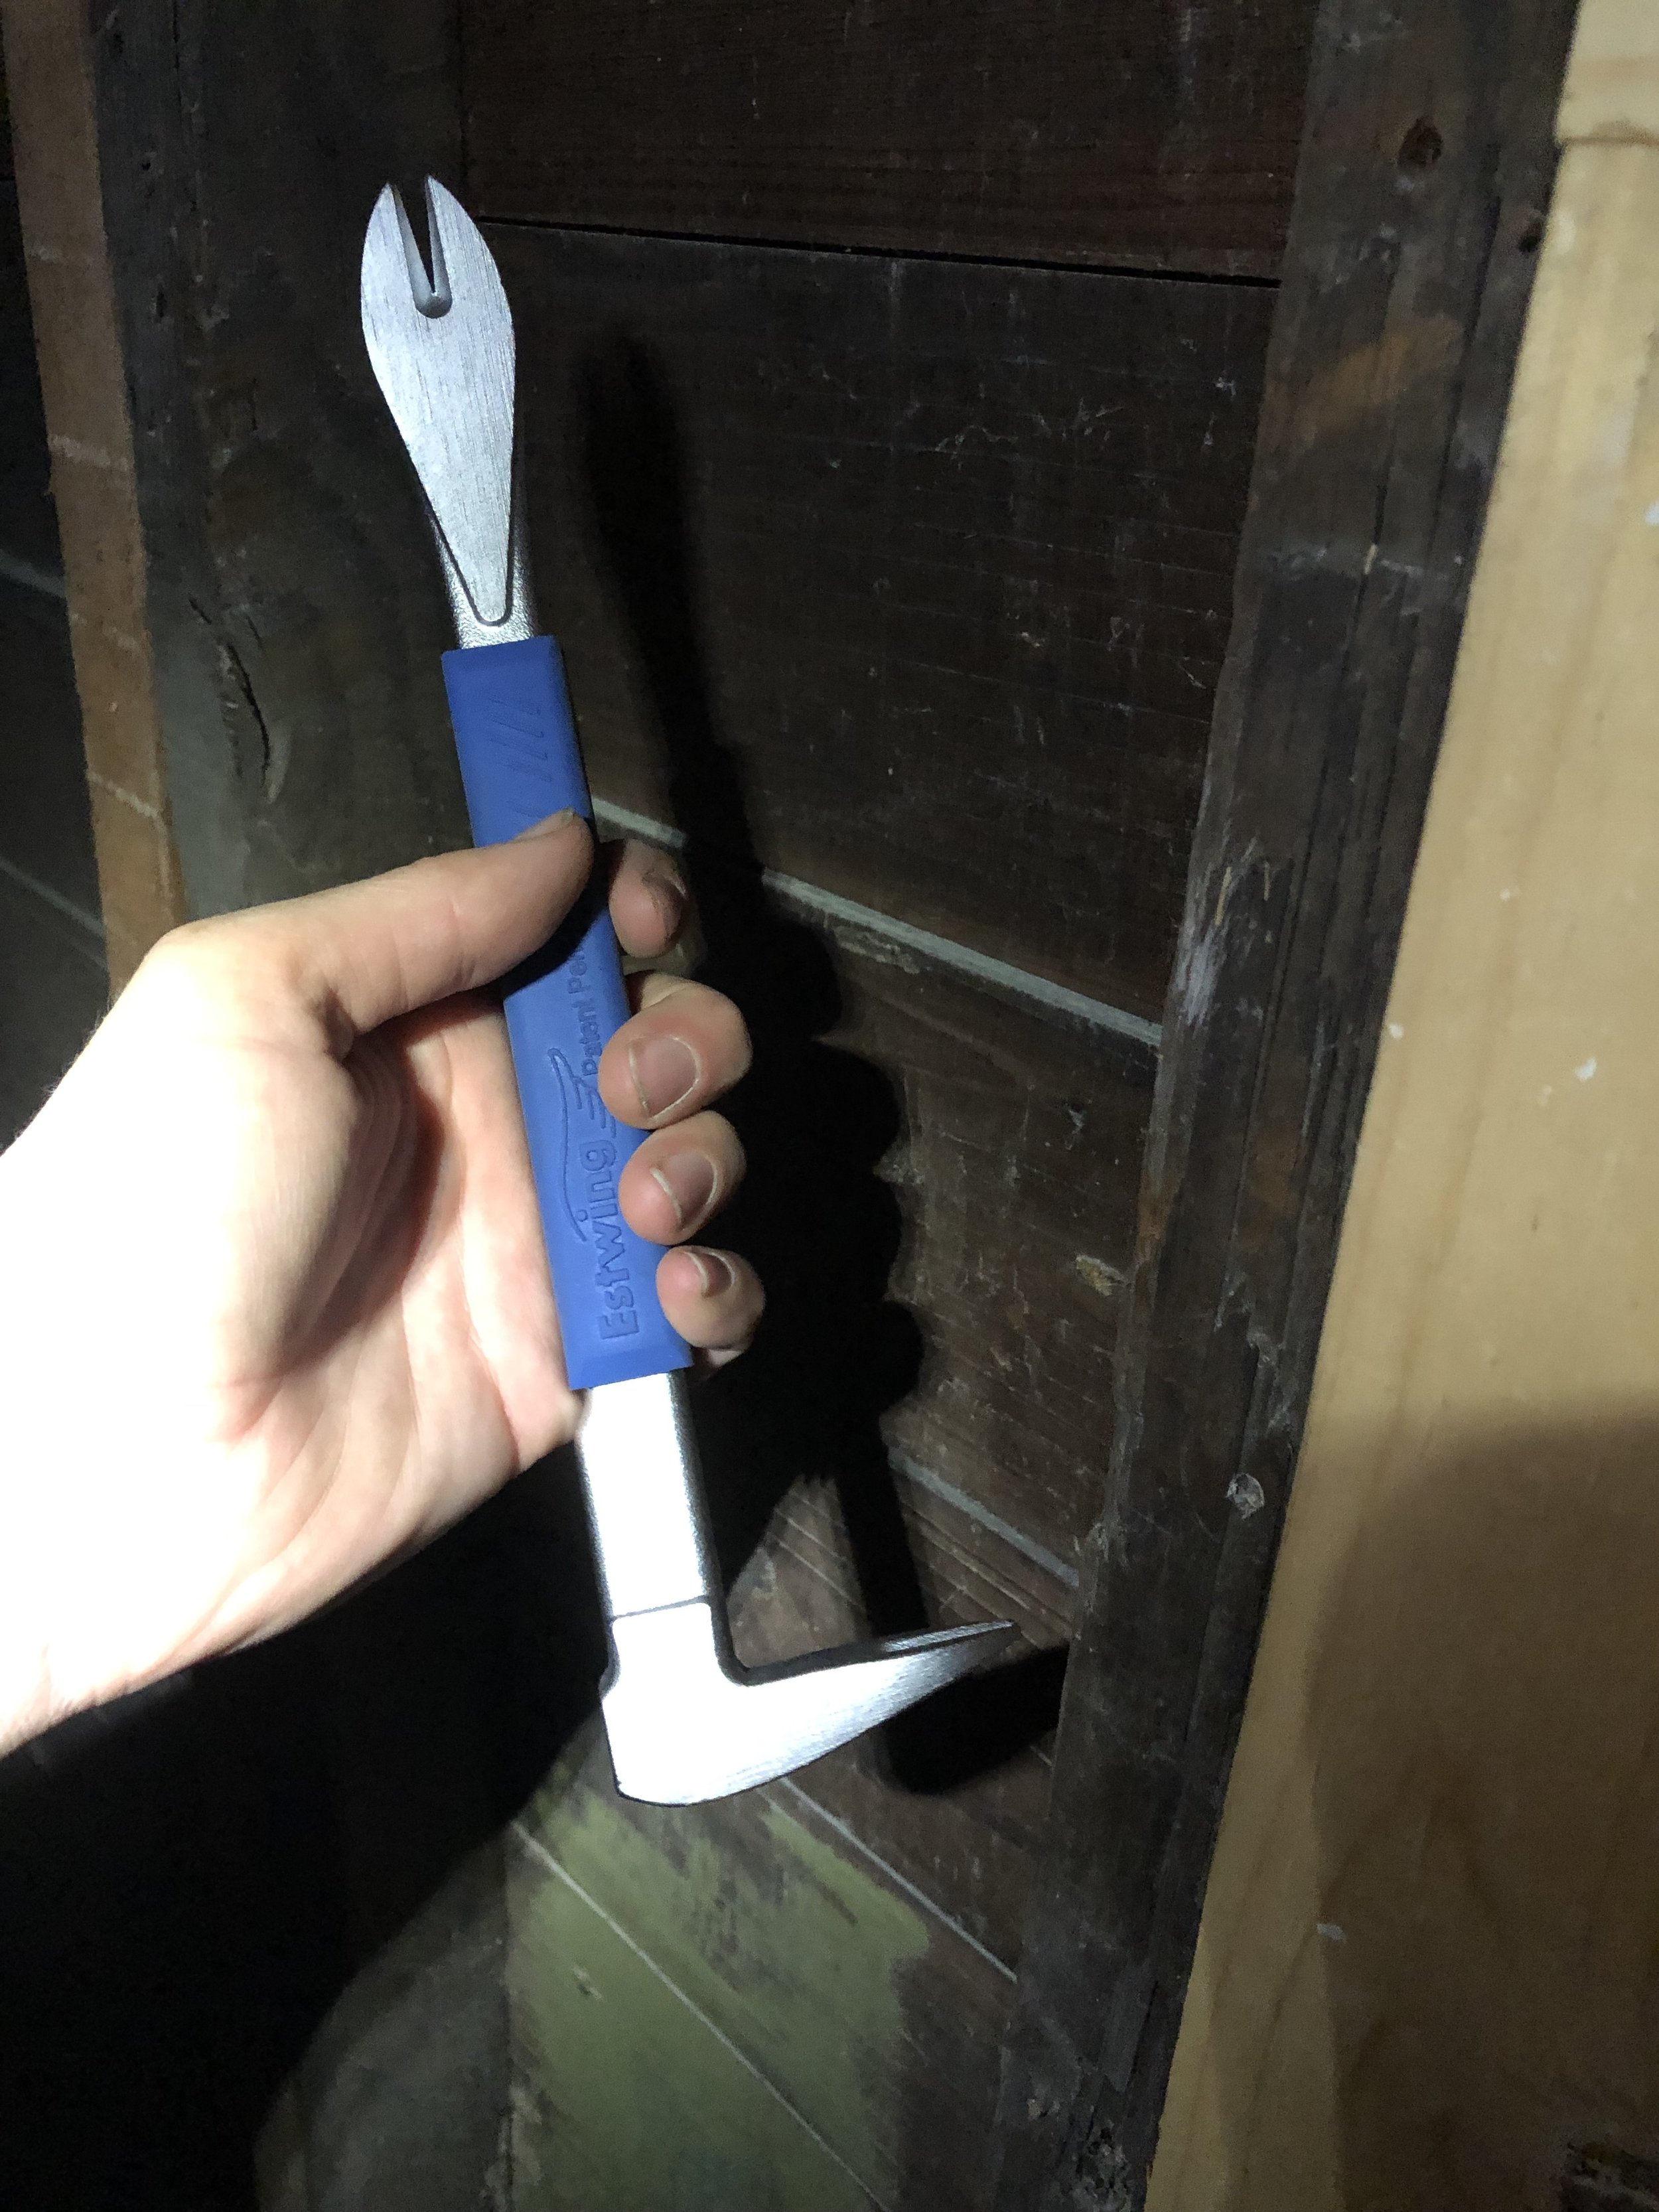
The next project I tackled was to remove the haphazardly placed hurricane straps. Hurricane straps are made for exactly what they sound like, for keeping the roof on during high winds. In retrospect I probably should have replaced them with new ones, but a builder friend told me it would be fine to just throw a few screws in, so that’s what I did. Prying them off was a serious challenge. I eventually caved and bought a cat’s claw, which helped immensely!
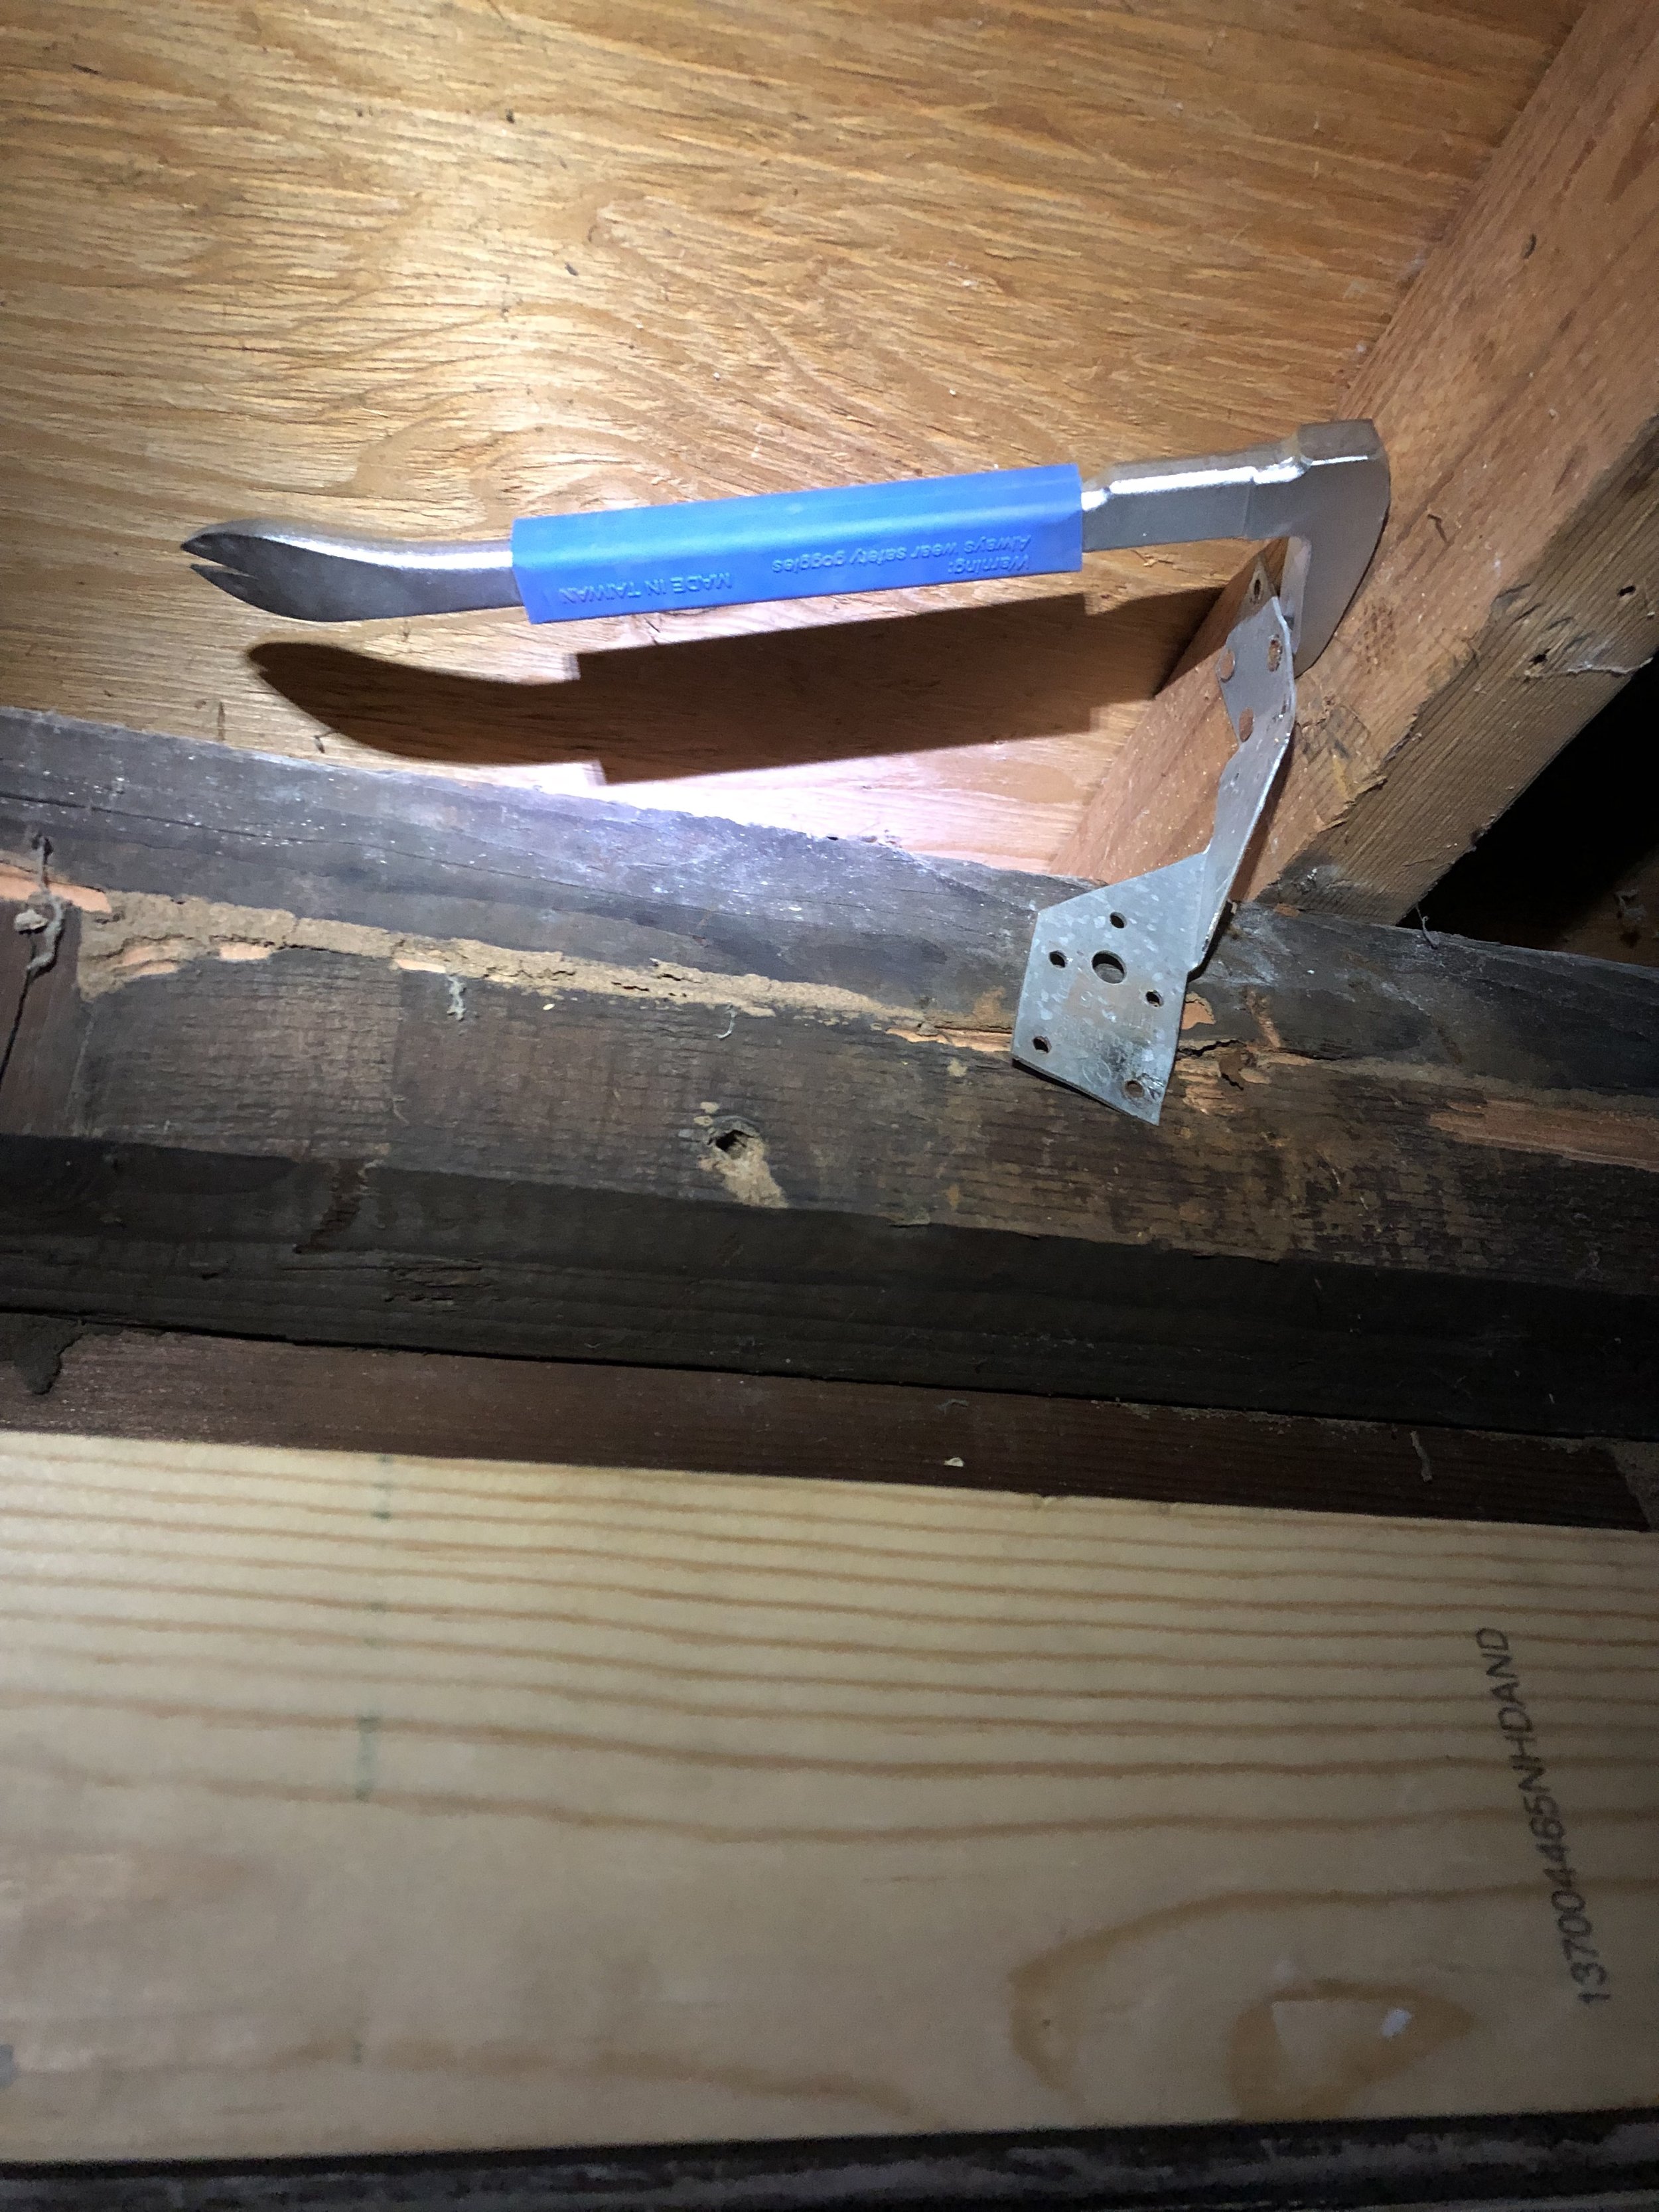
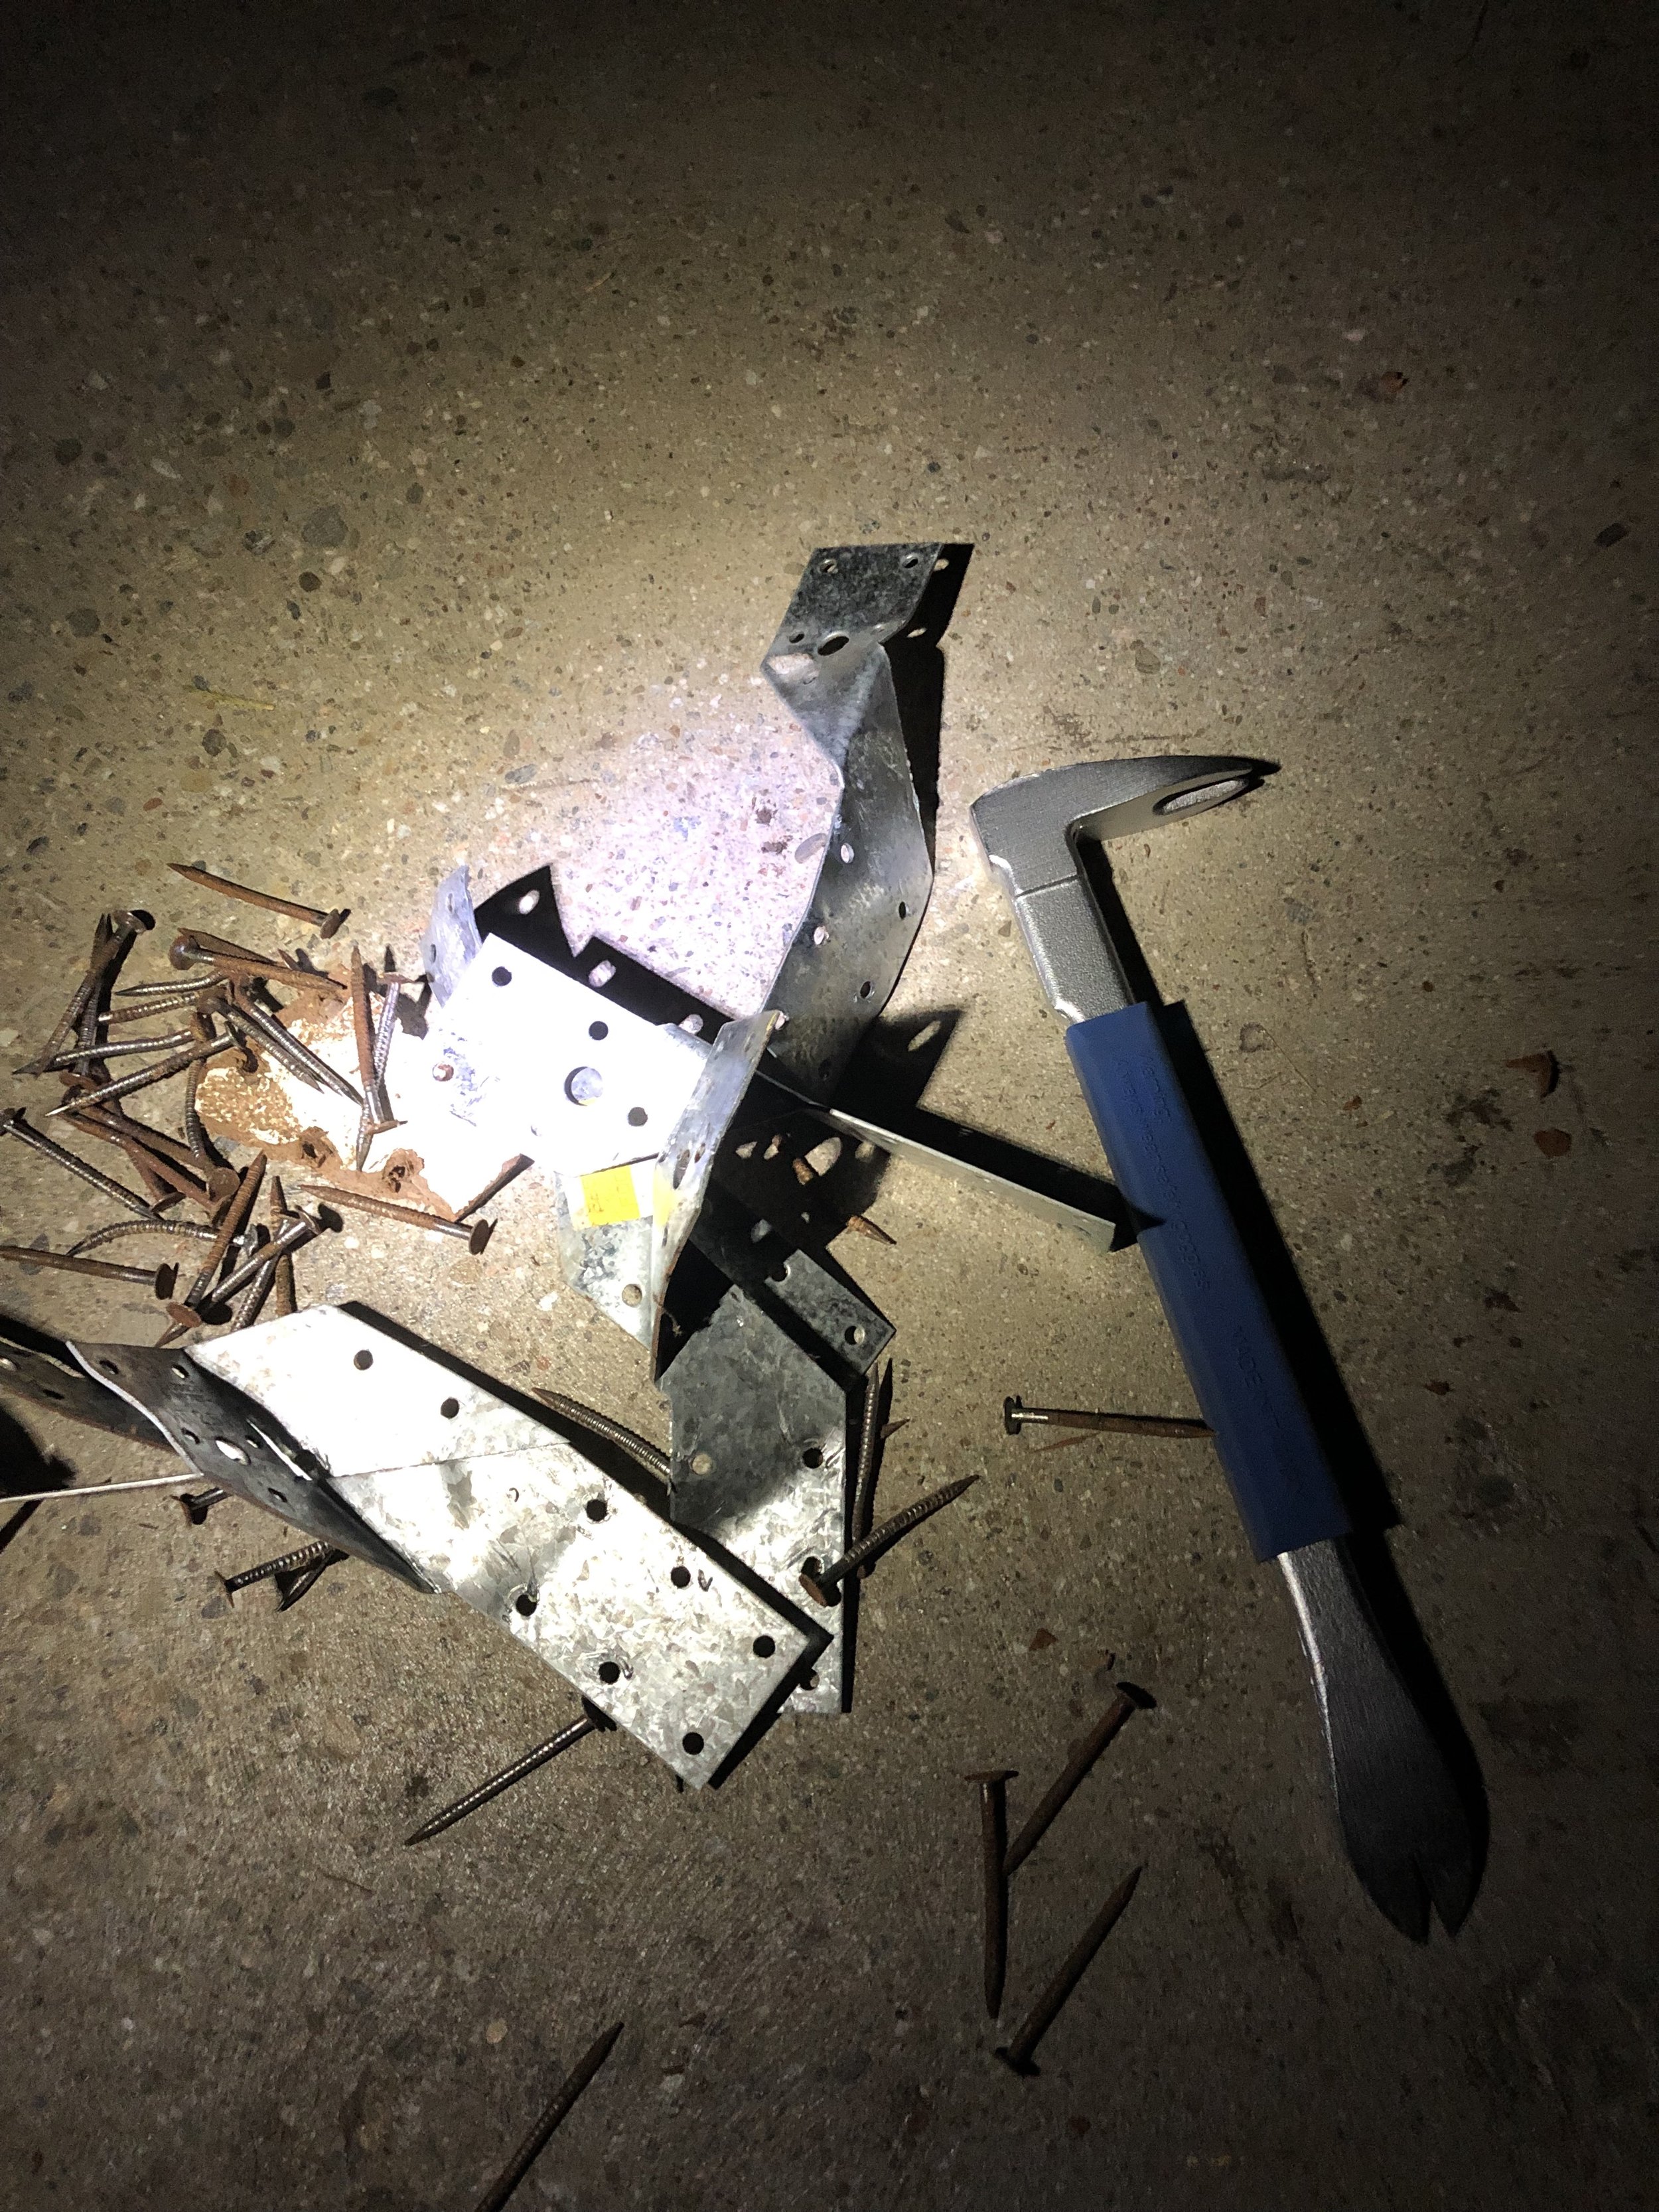
Something that I appreciate about those last few photos is that they show one of the realities of working on a project like this: working at night. Since I still very much had a day job throughout this process, nights and weekends were the time I had to work on it. Pretty sure I used quite a few staycation days as well! So many accounts gloss over how frustrating and exhausting an endeavor like this is. That particular night I was honestly at my wit’s end, but the dream of financial freedom and simple living helped me power through and get it done!