I Need Structure: Framing Repair and Wall Replacement
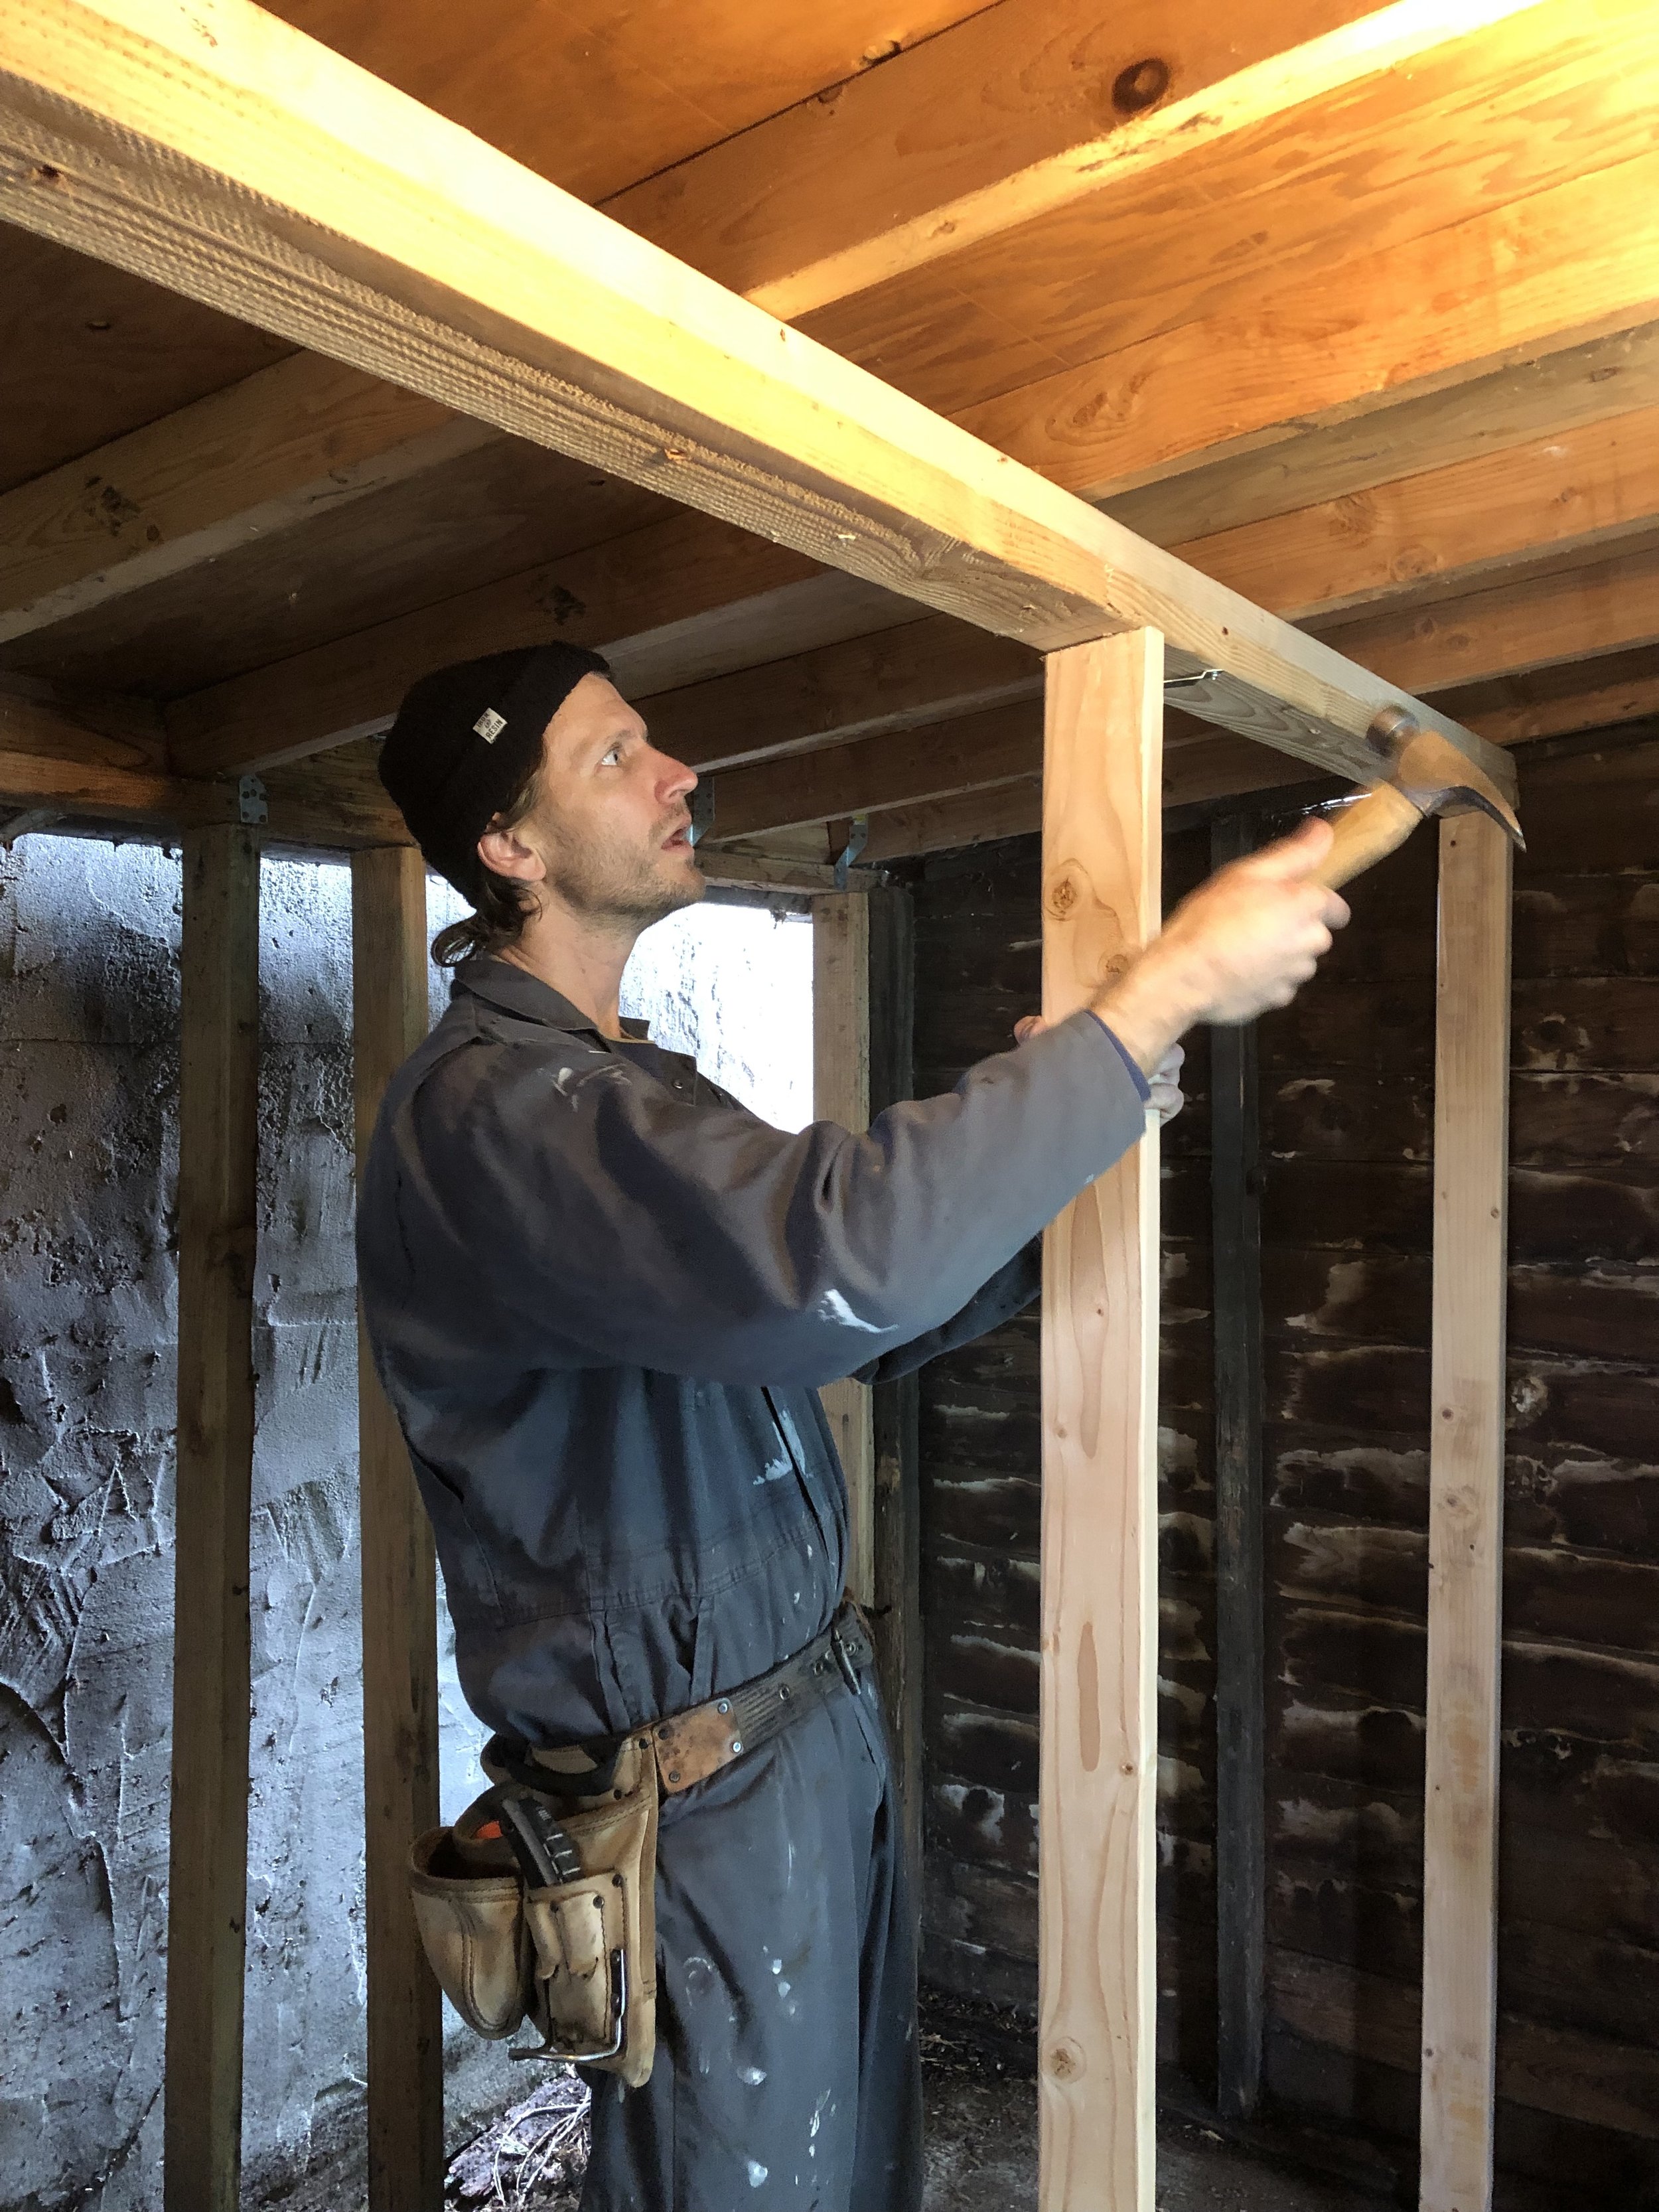
As shown in the Demo Day post, I had an unpleasant surprise during the deconstruction process when I discovered that the back wall of my soon-to-be home was completely missing! Furthermore, the shed was built so close to the neighbor’s house that there was no way to rebuild it in the typical fashion. Fortunately, my contractor friend Chris was willing to help me reverse engineer it. He honestly did most of the work on this part, and I paid him for his efforts, although not nearly as much as his expertise was worth. The majority of my contributions were snack deliveries and moral support.
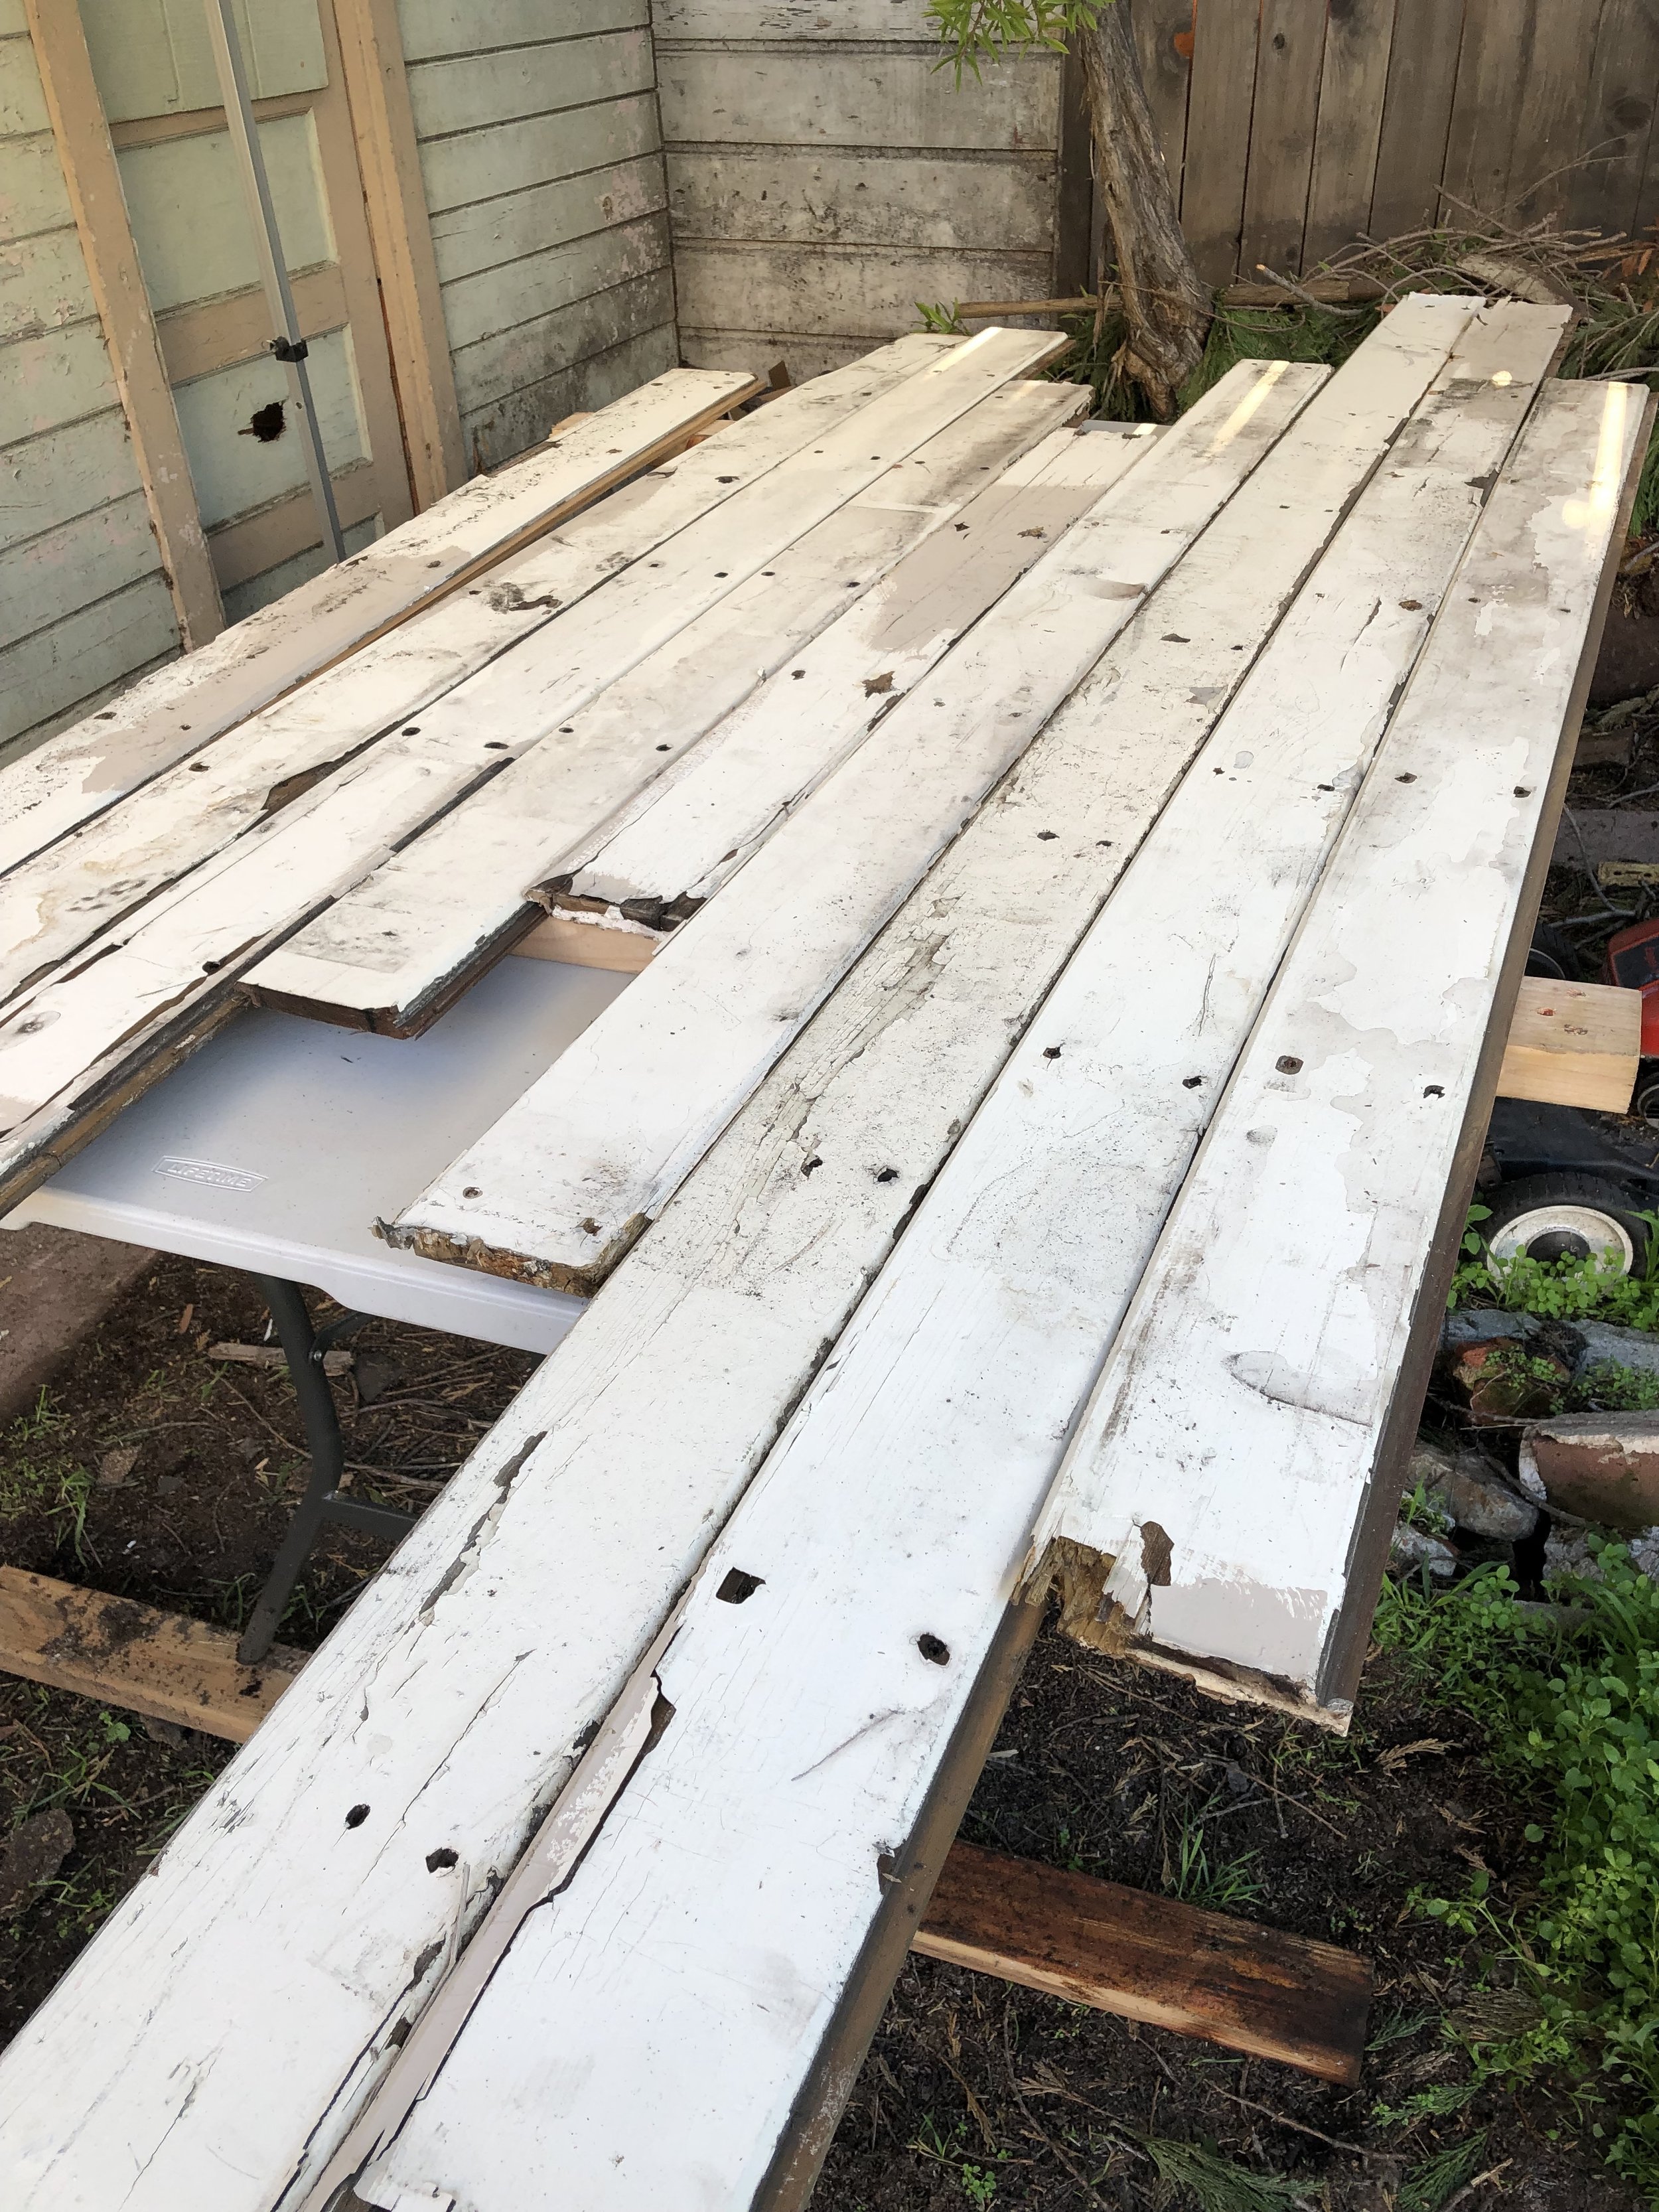
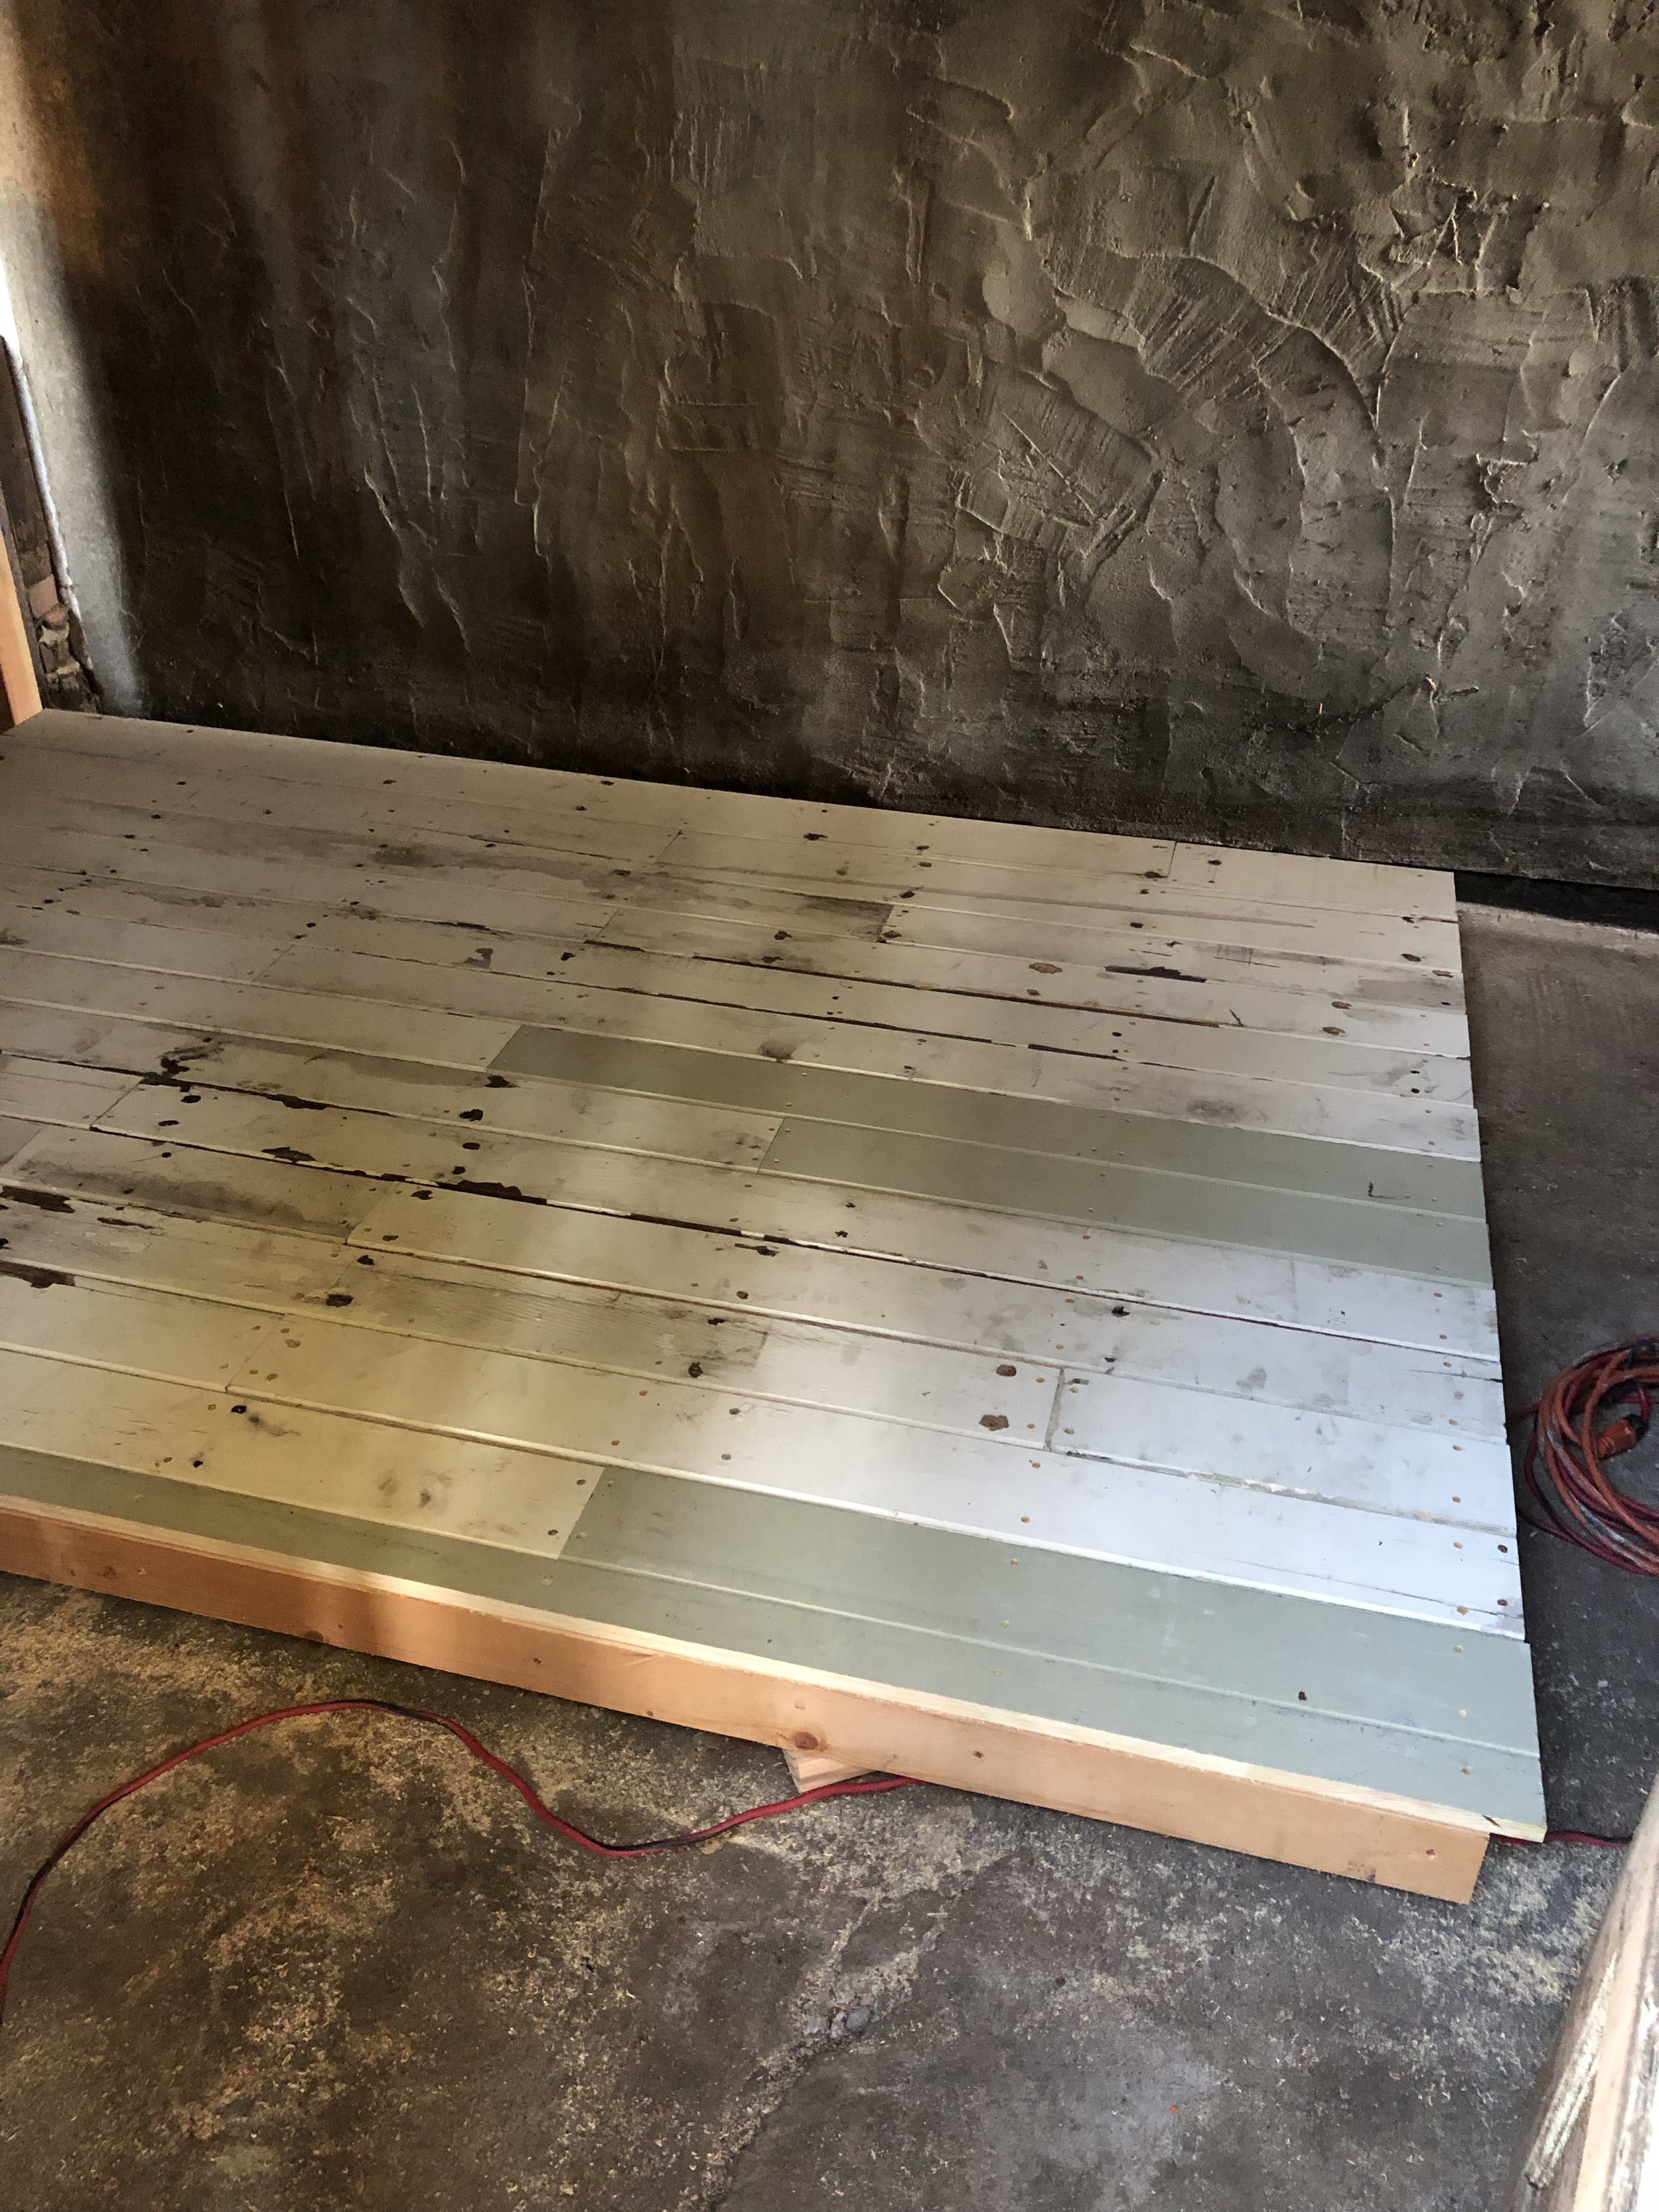
Normally, when constructing an exterior wall, you would frame it out from the inside, then apply the siding from the outside. Since there wasn’t room to access the exterior while it was in place, Chris essentially built and painted the entire wall, then stood it up and slid it into place. I was lucky enough to score some free, used siding on Craigslist. It was mostly old redwood and just enough to fill in the missing wall.
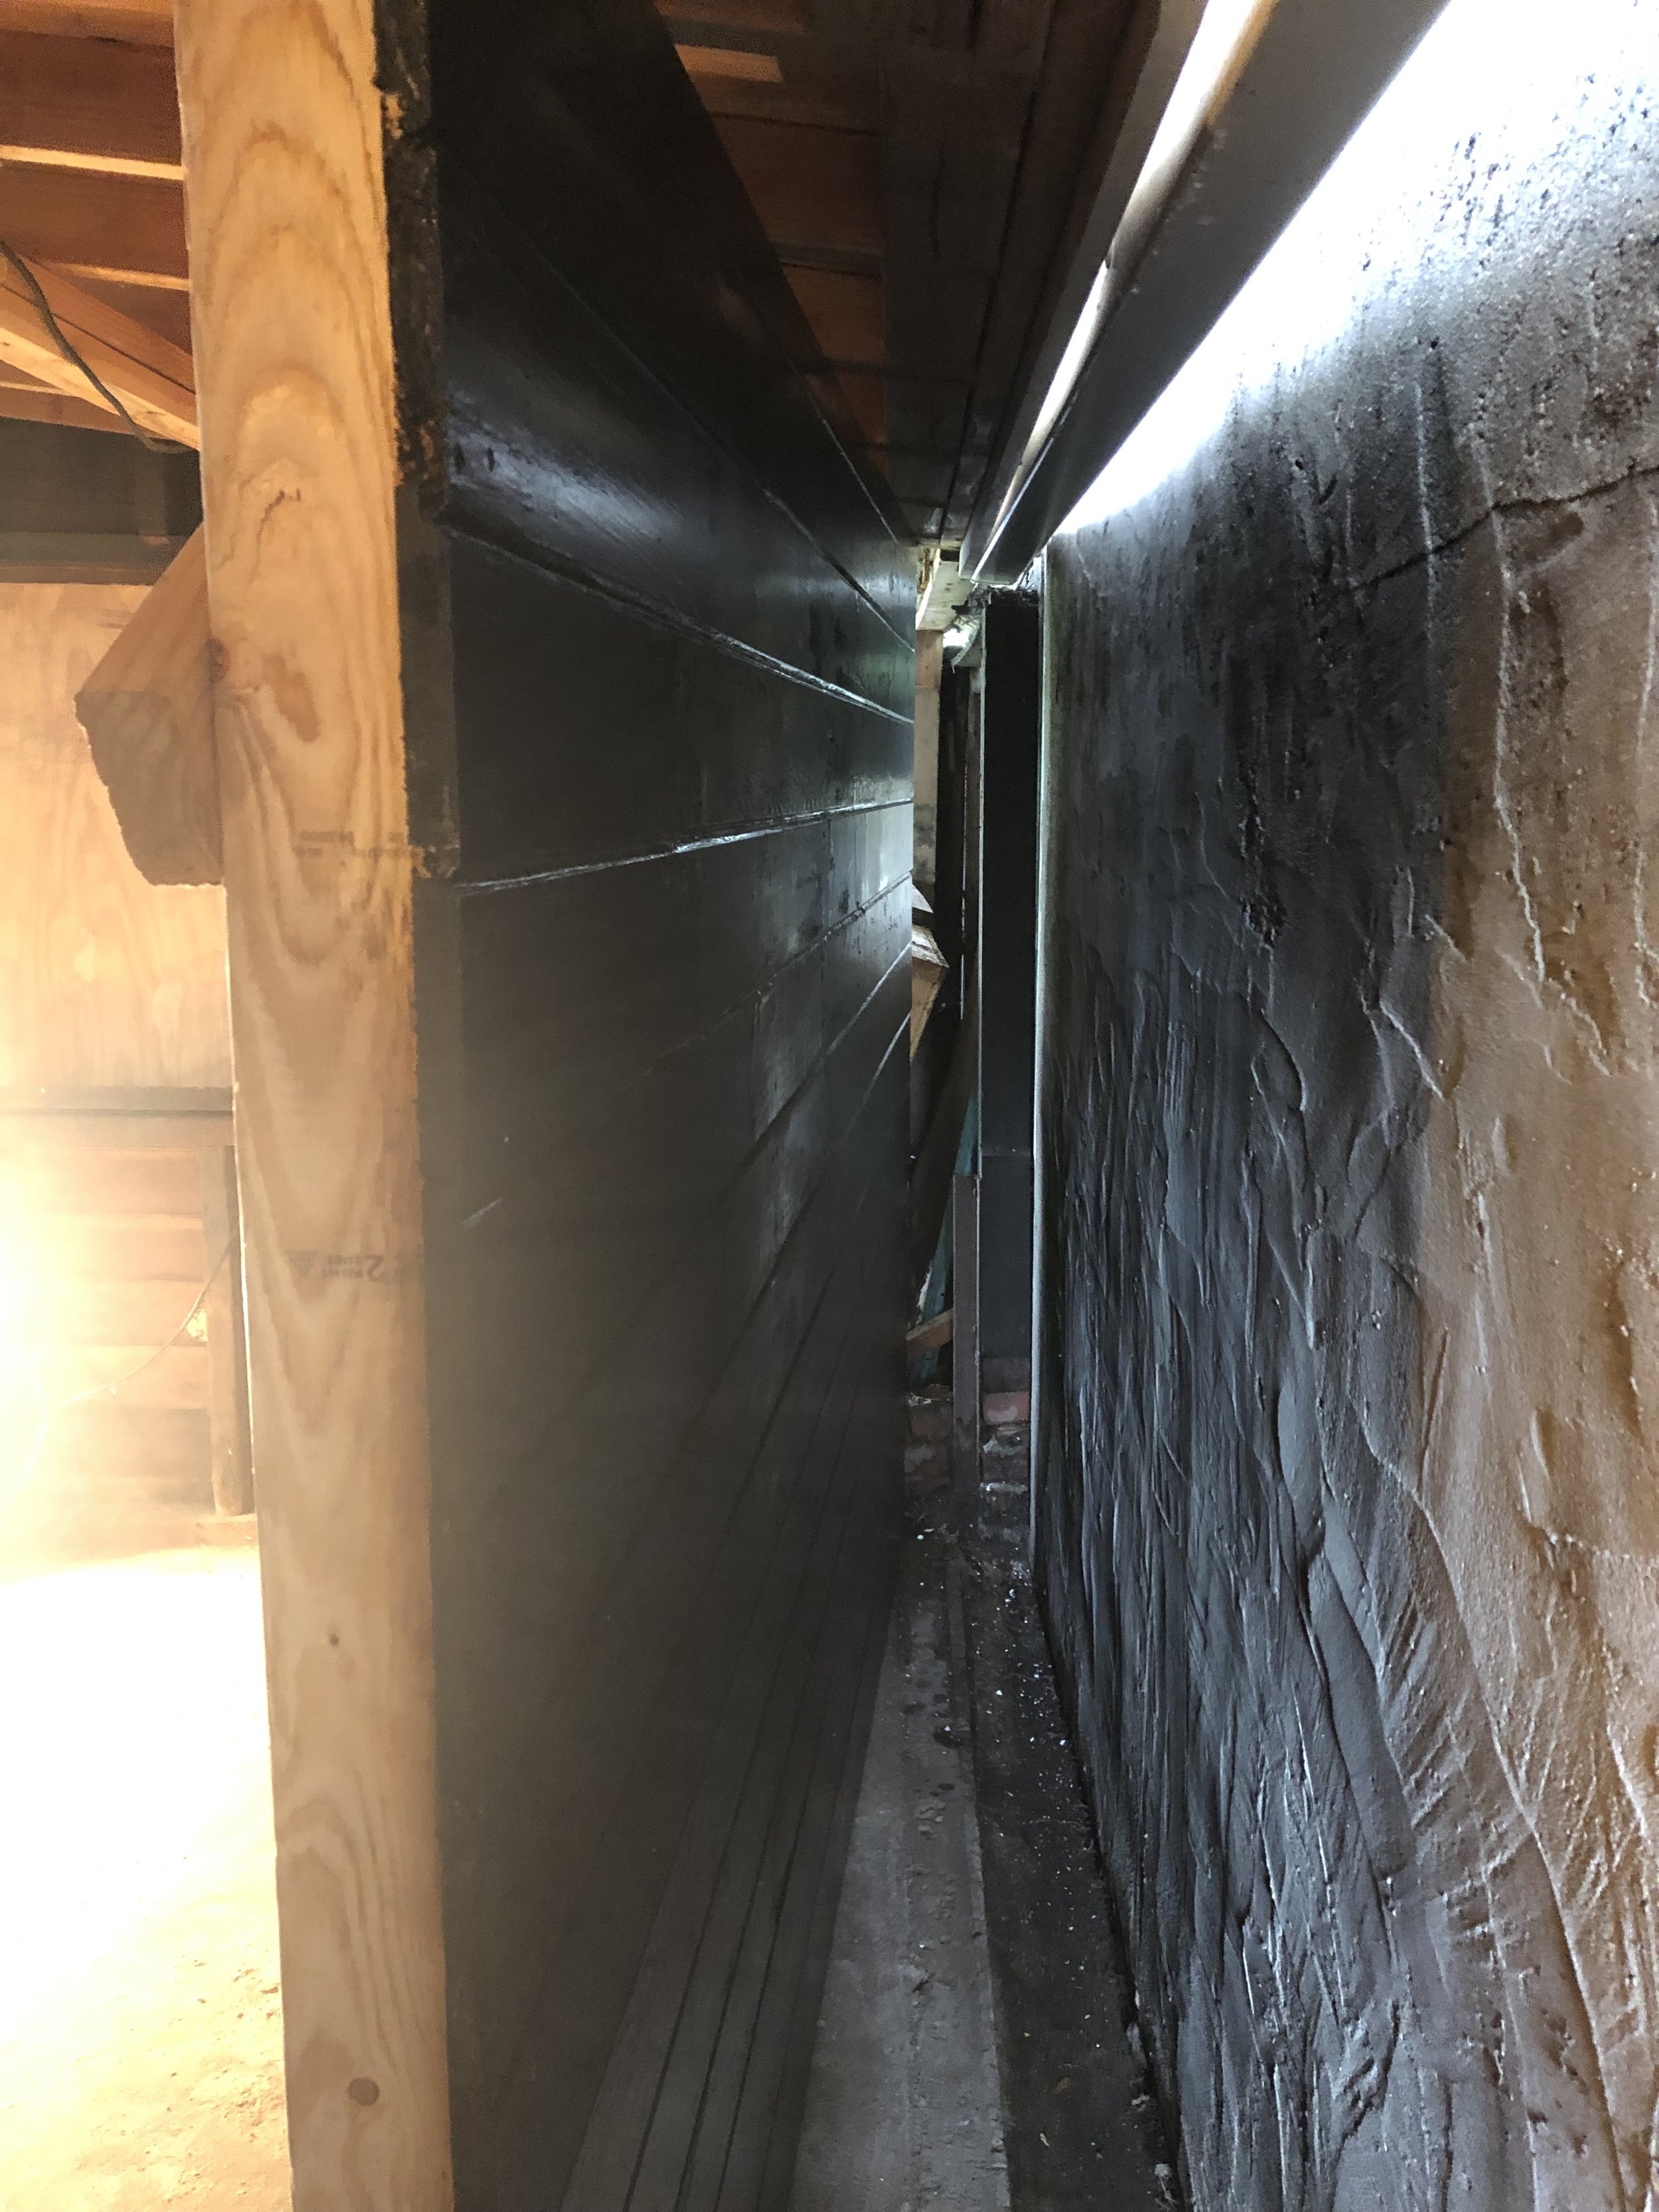
I didn’t take many photos of it, but Chris also rigged up an extensive gutter system along the back roofline before installing the wall itself. The goal was to keep water from pooling up along the base of the shed, which had previously caused a lot of rot along the bottom of the structure. Three cheers for skillful friends, and also paying them for their labor instead of asking them to work for free! I learned so much from working with Chris and am forever grateful that he worked so diligently and passionately on my little dream home.
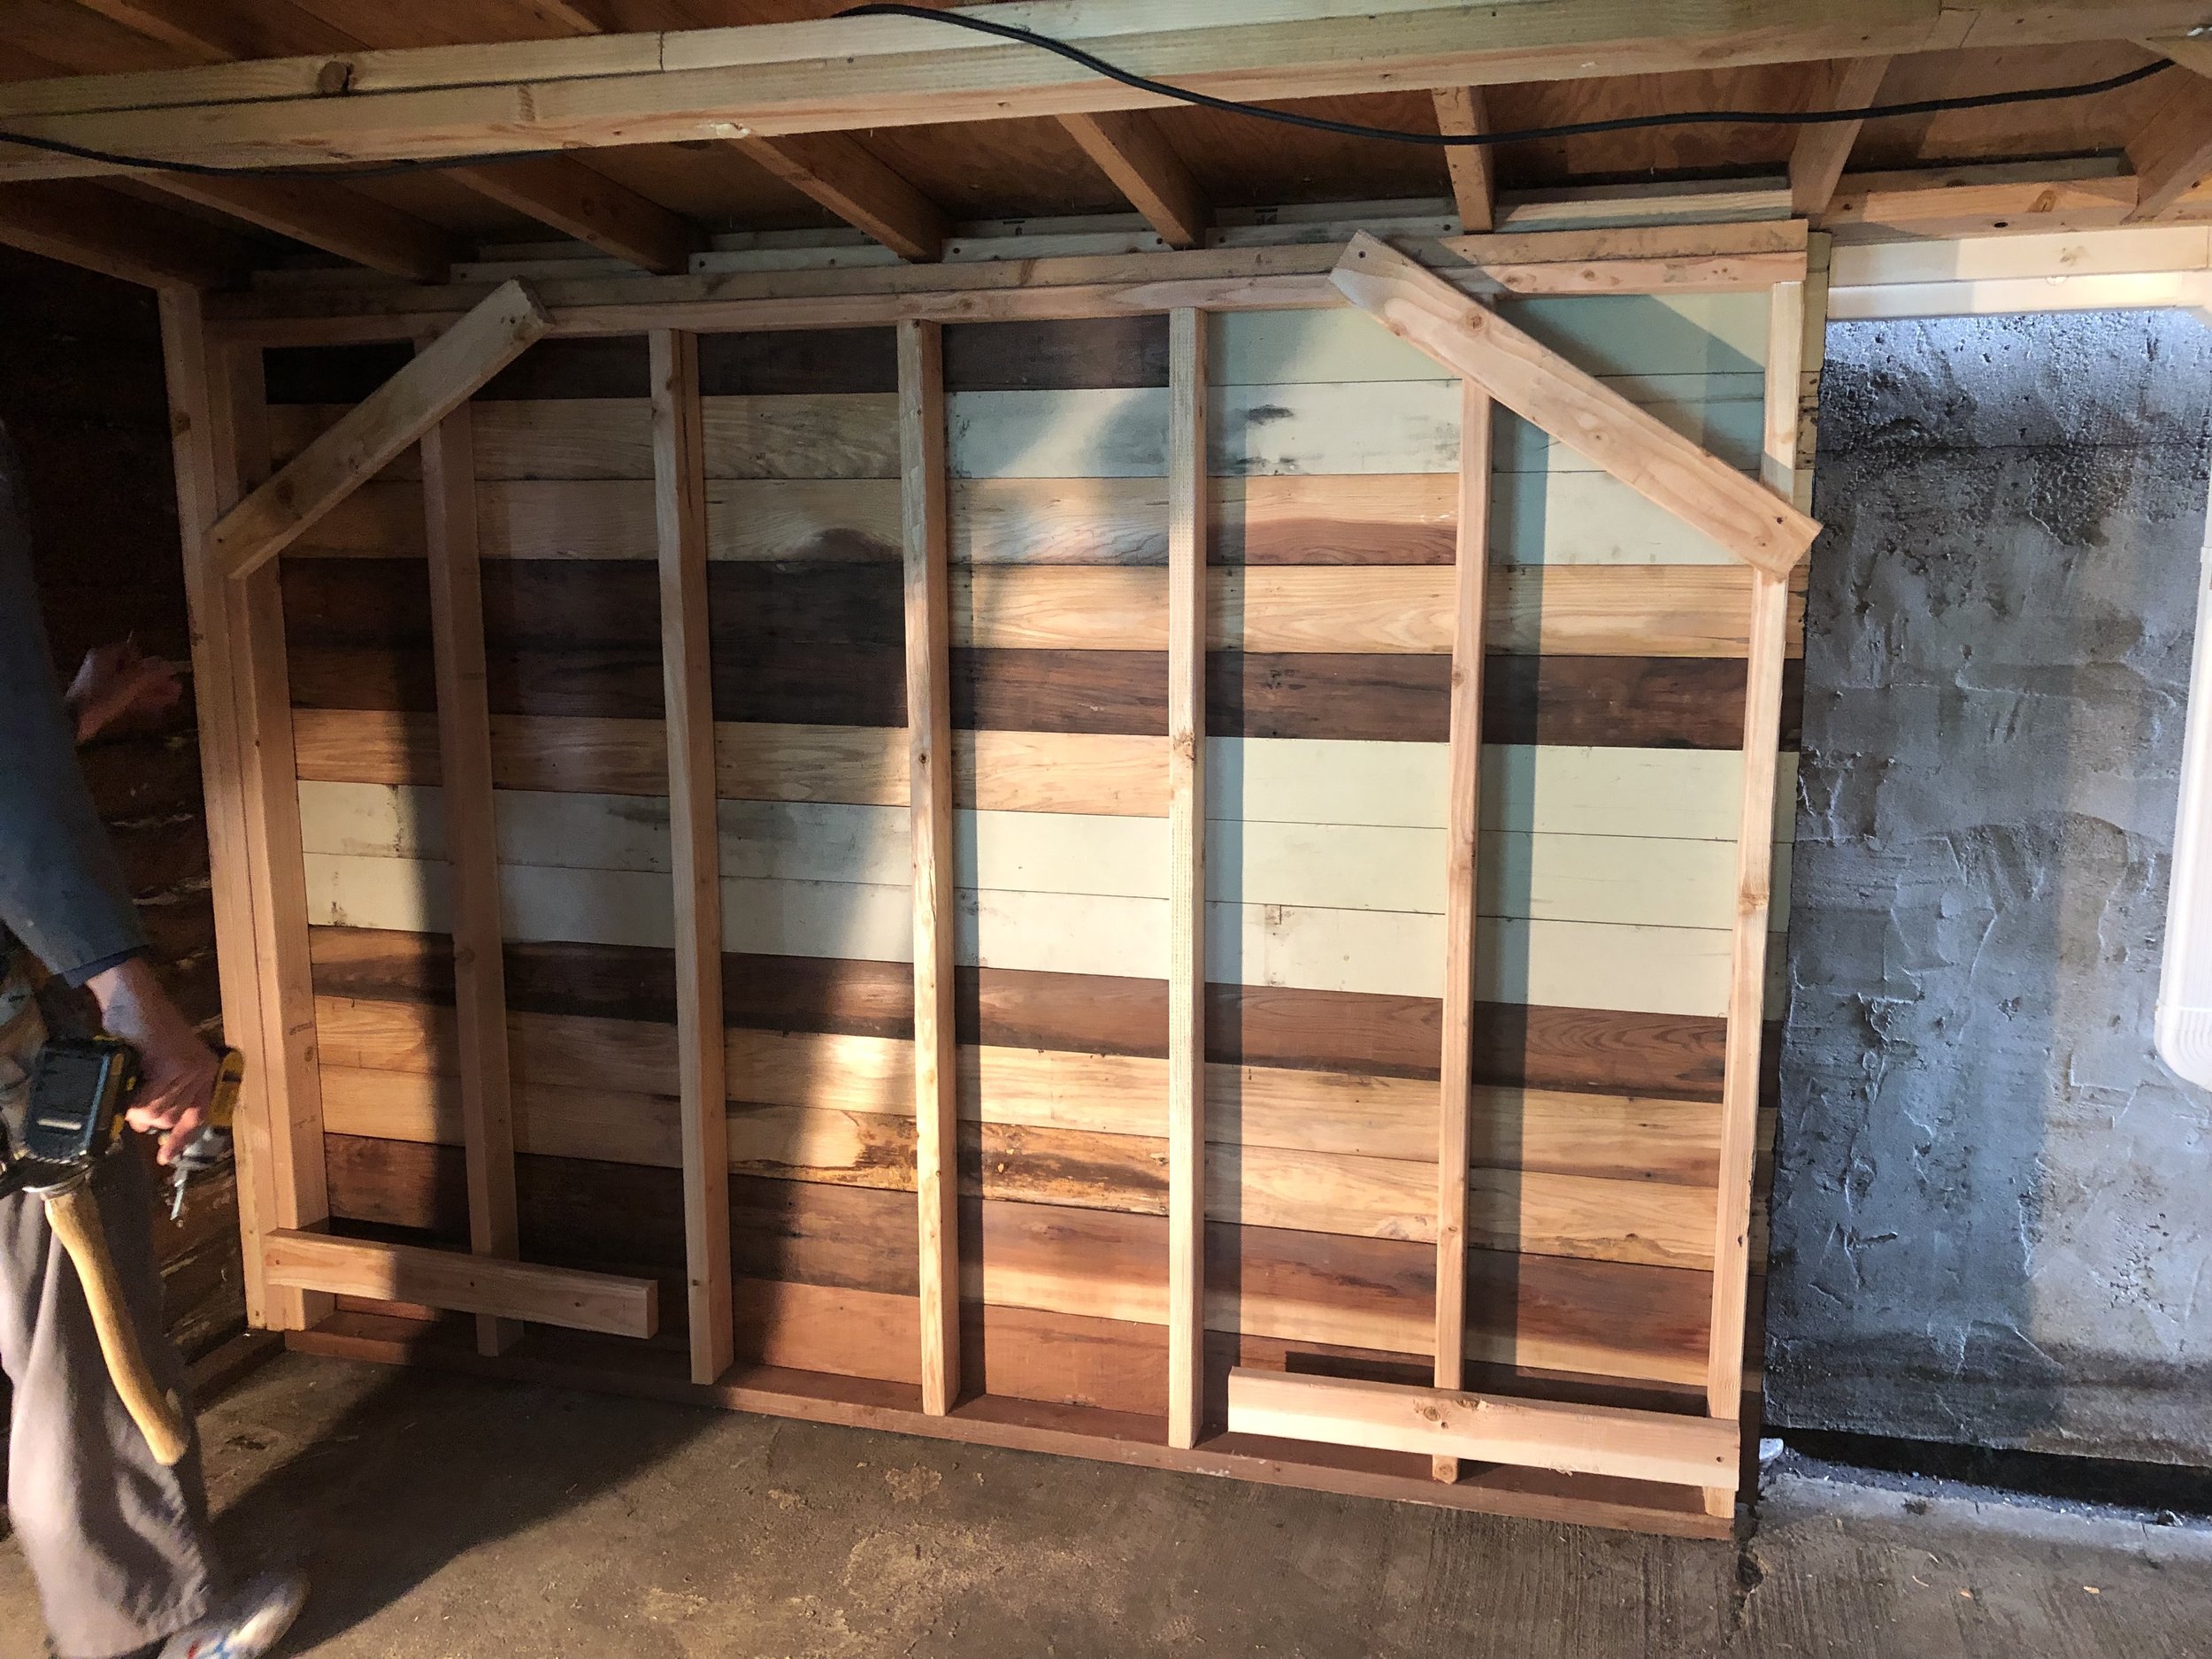
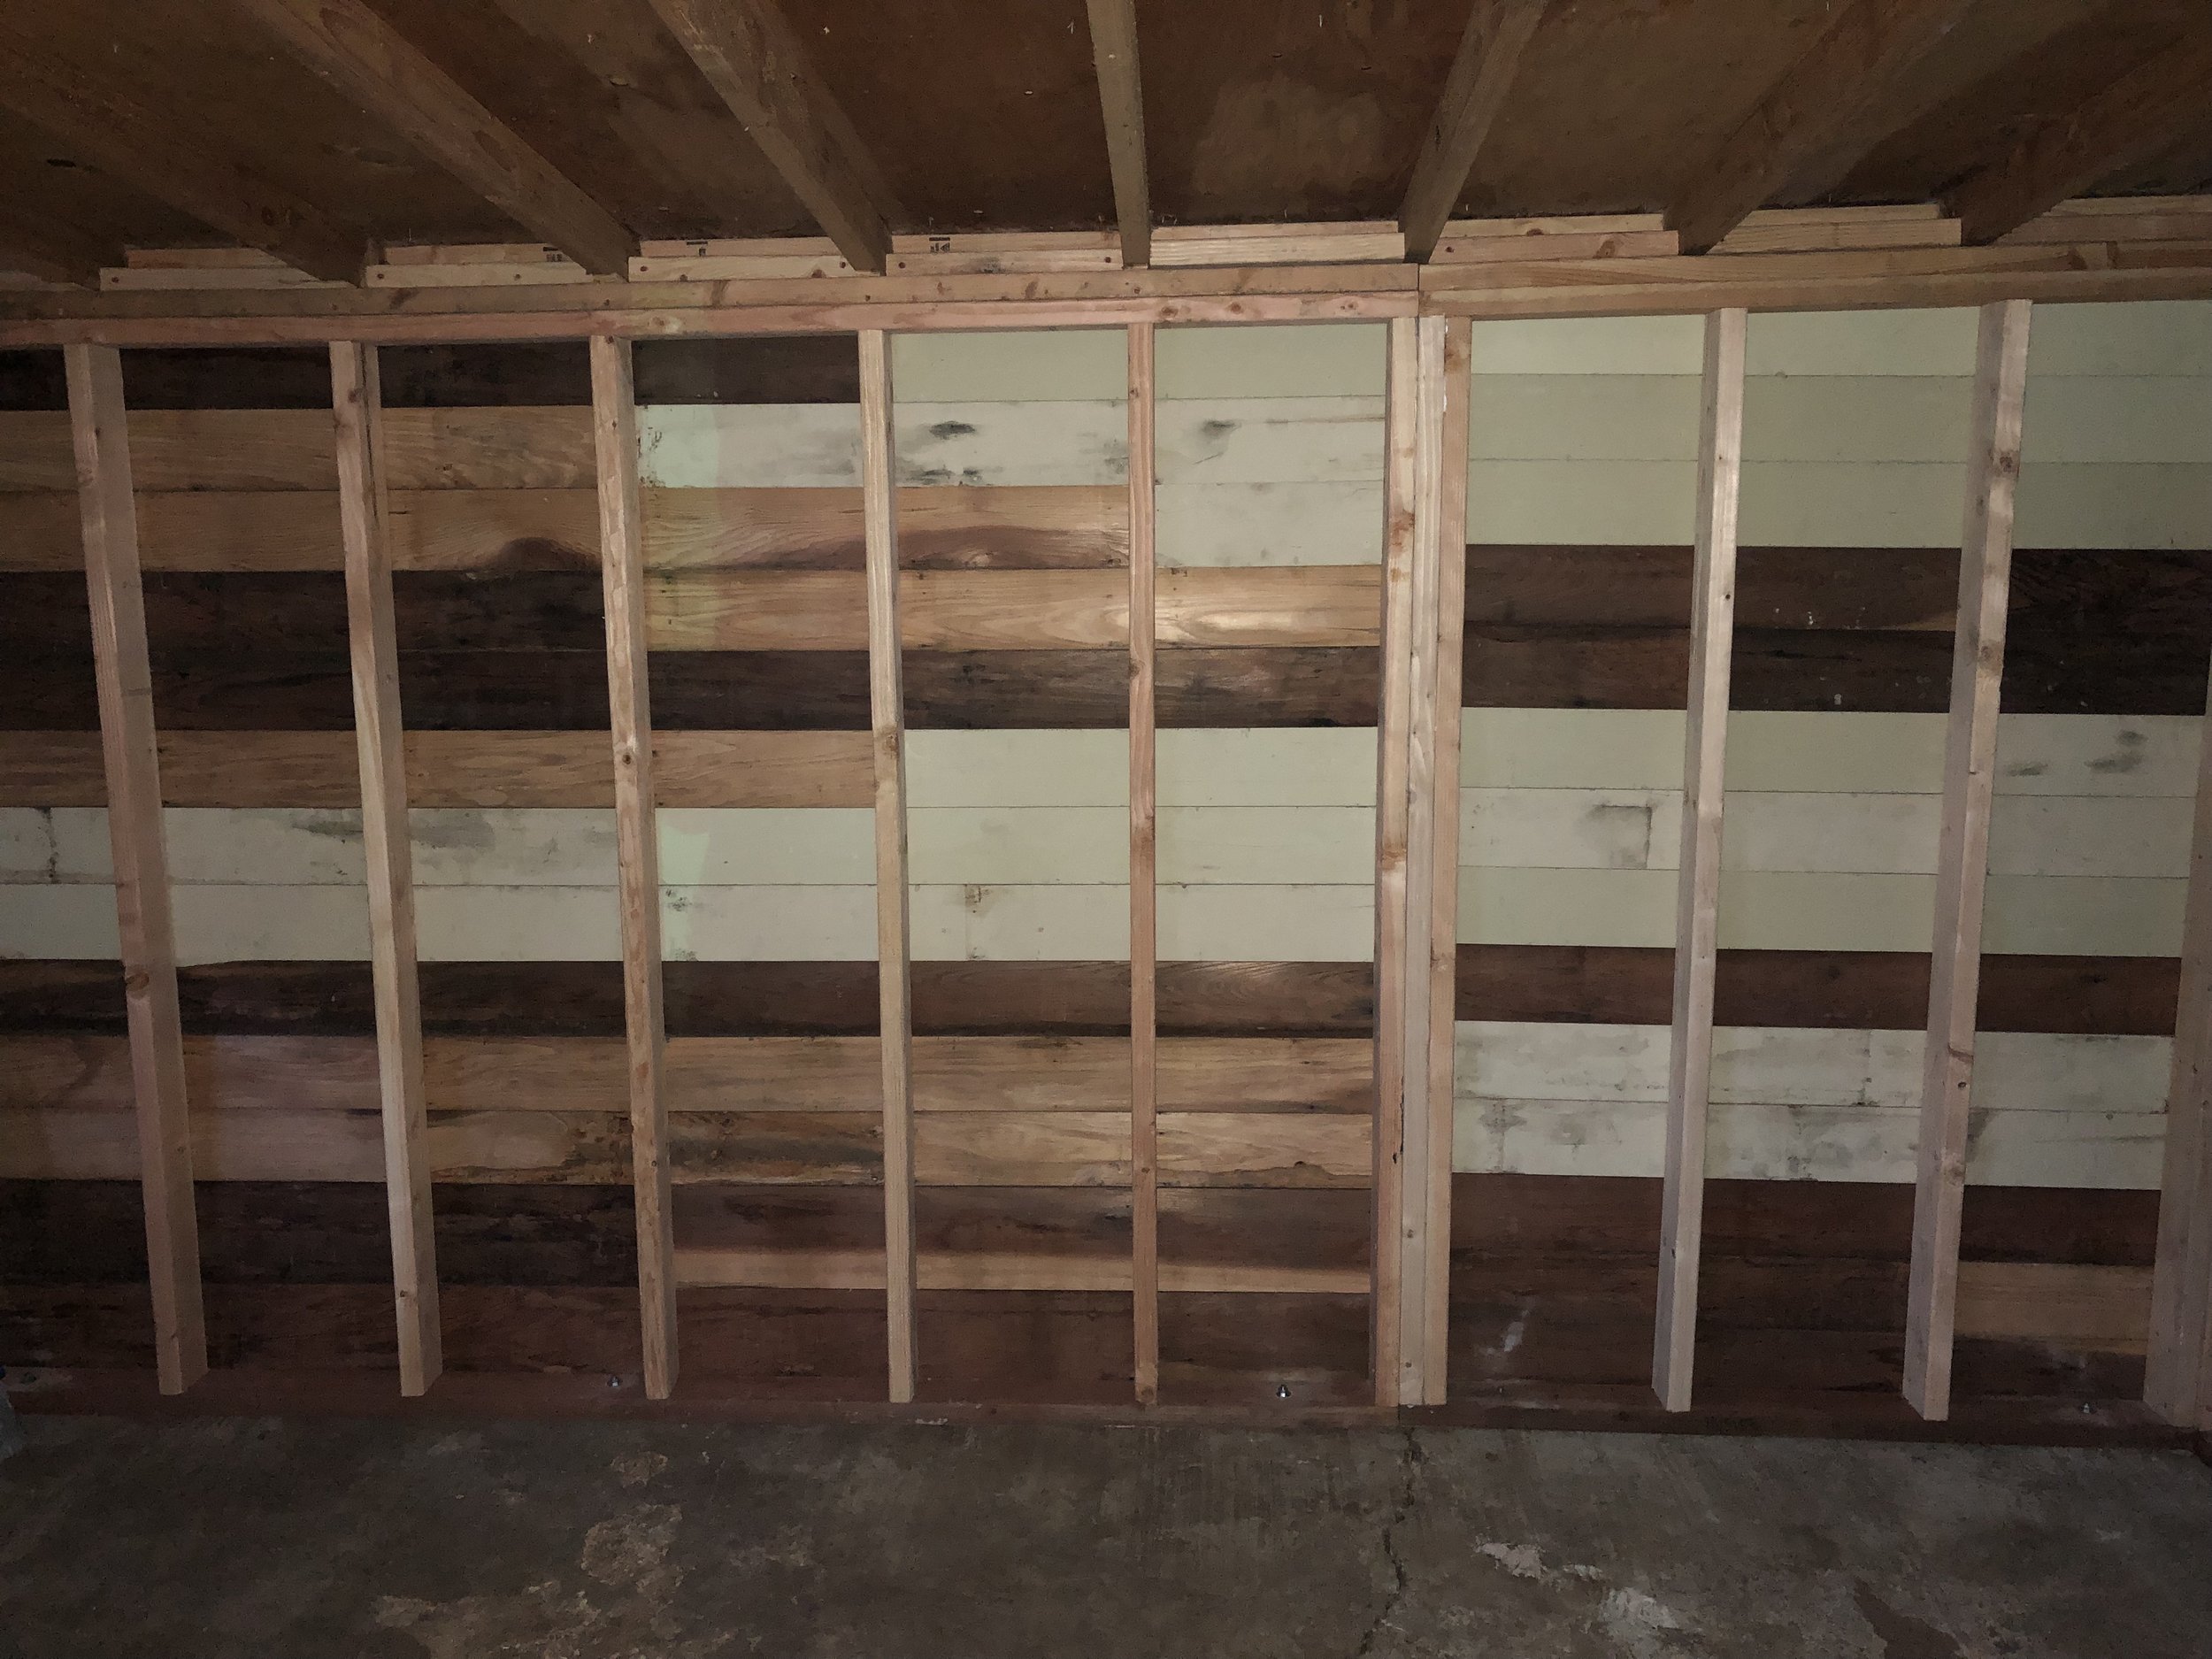
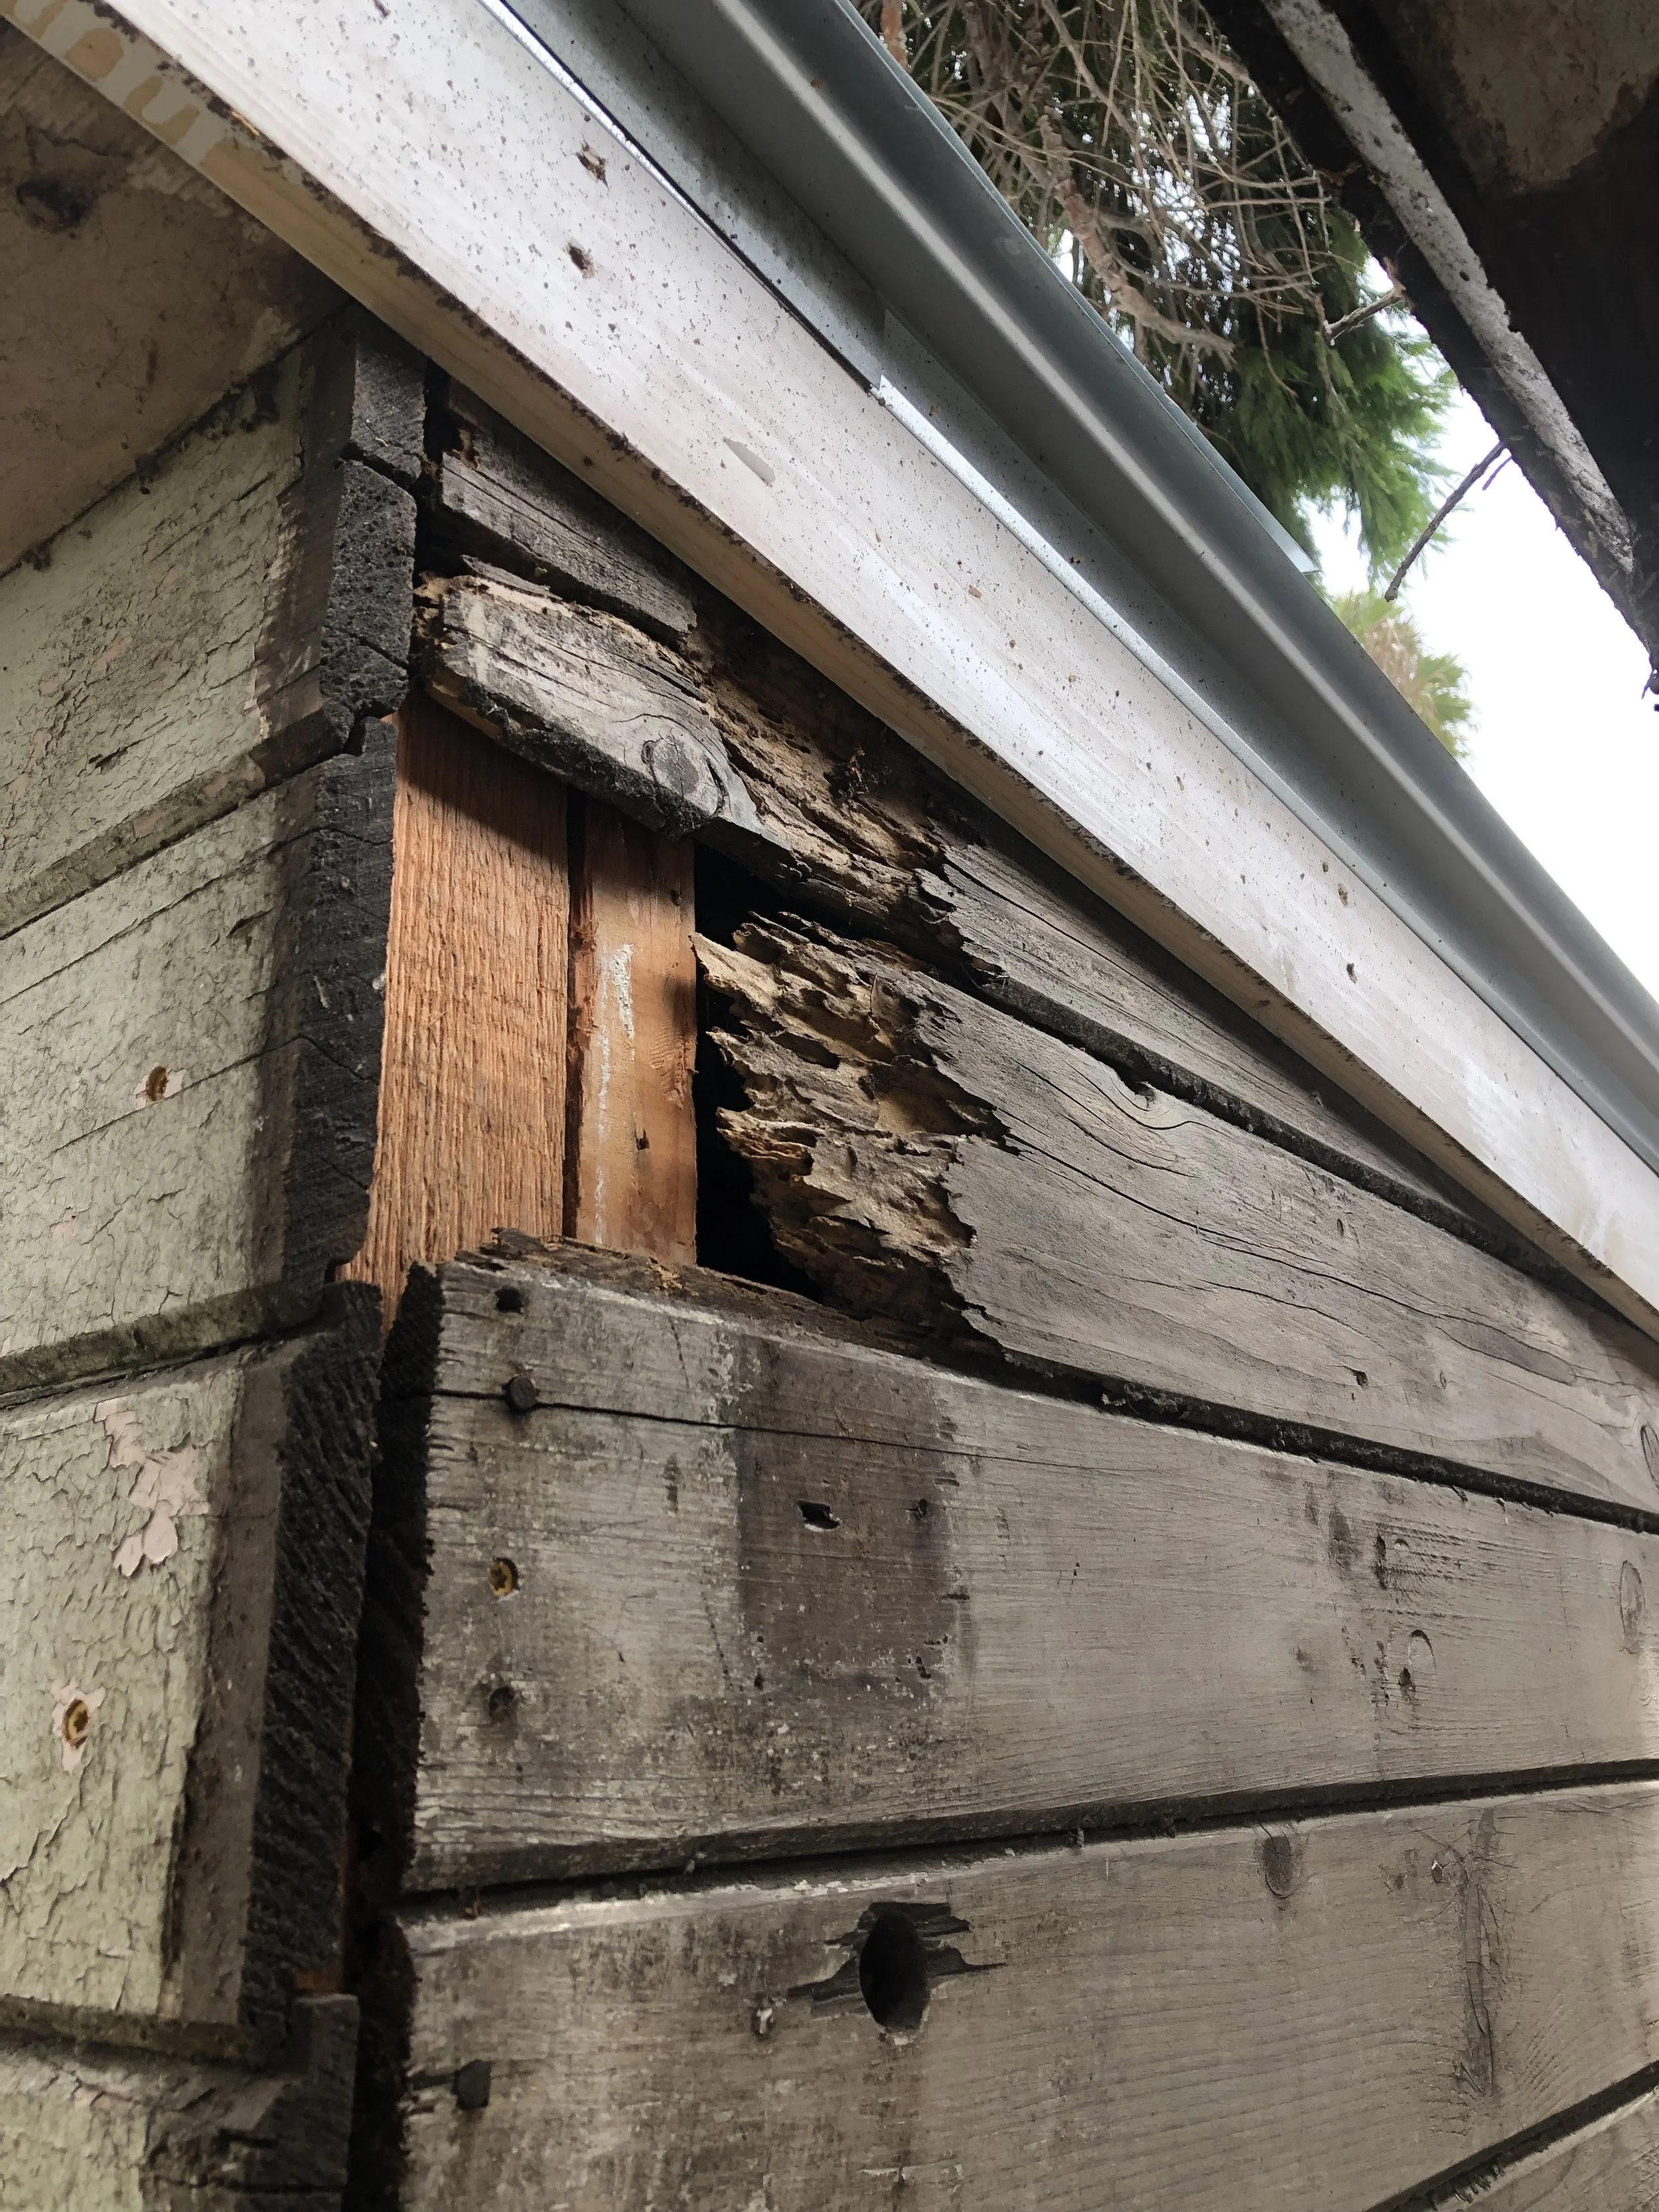
After Chris was done with his part of the framing, it was my turn to remove and replace damaged studs on other sides of the structure. There was both water and termite damage, which had caused a considerable amount of decay, especially along the bottom edge.
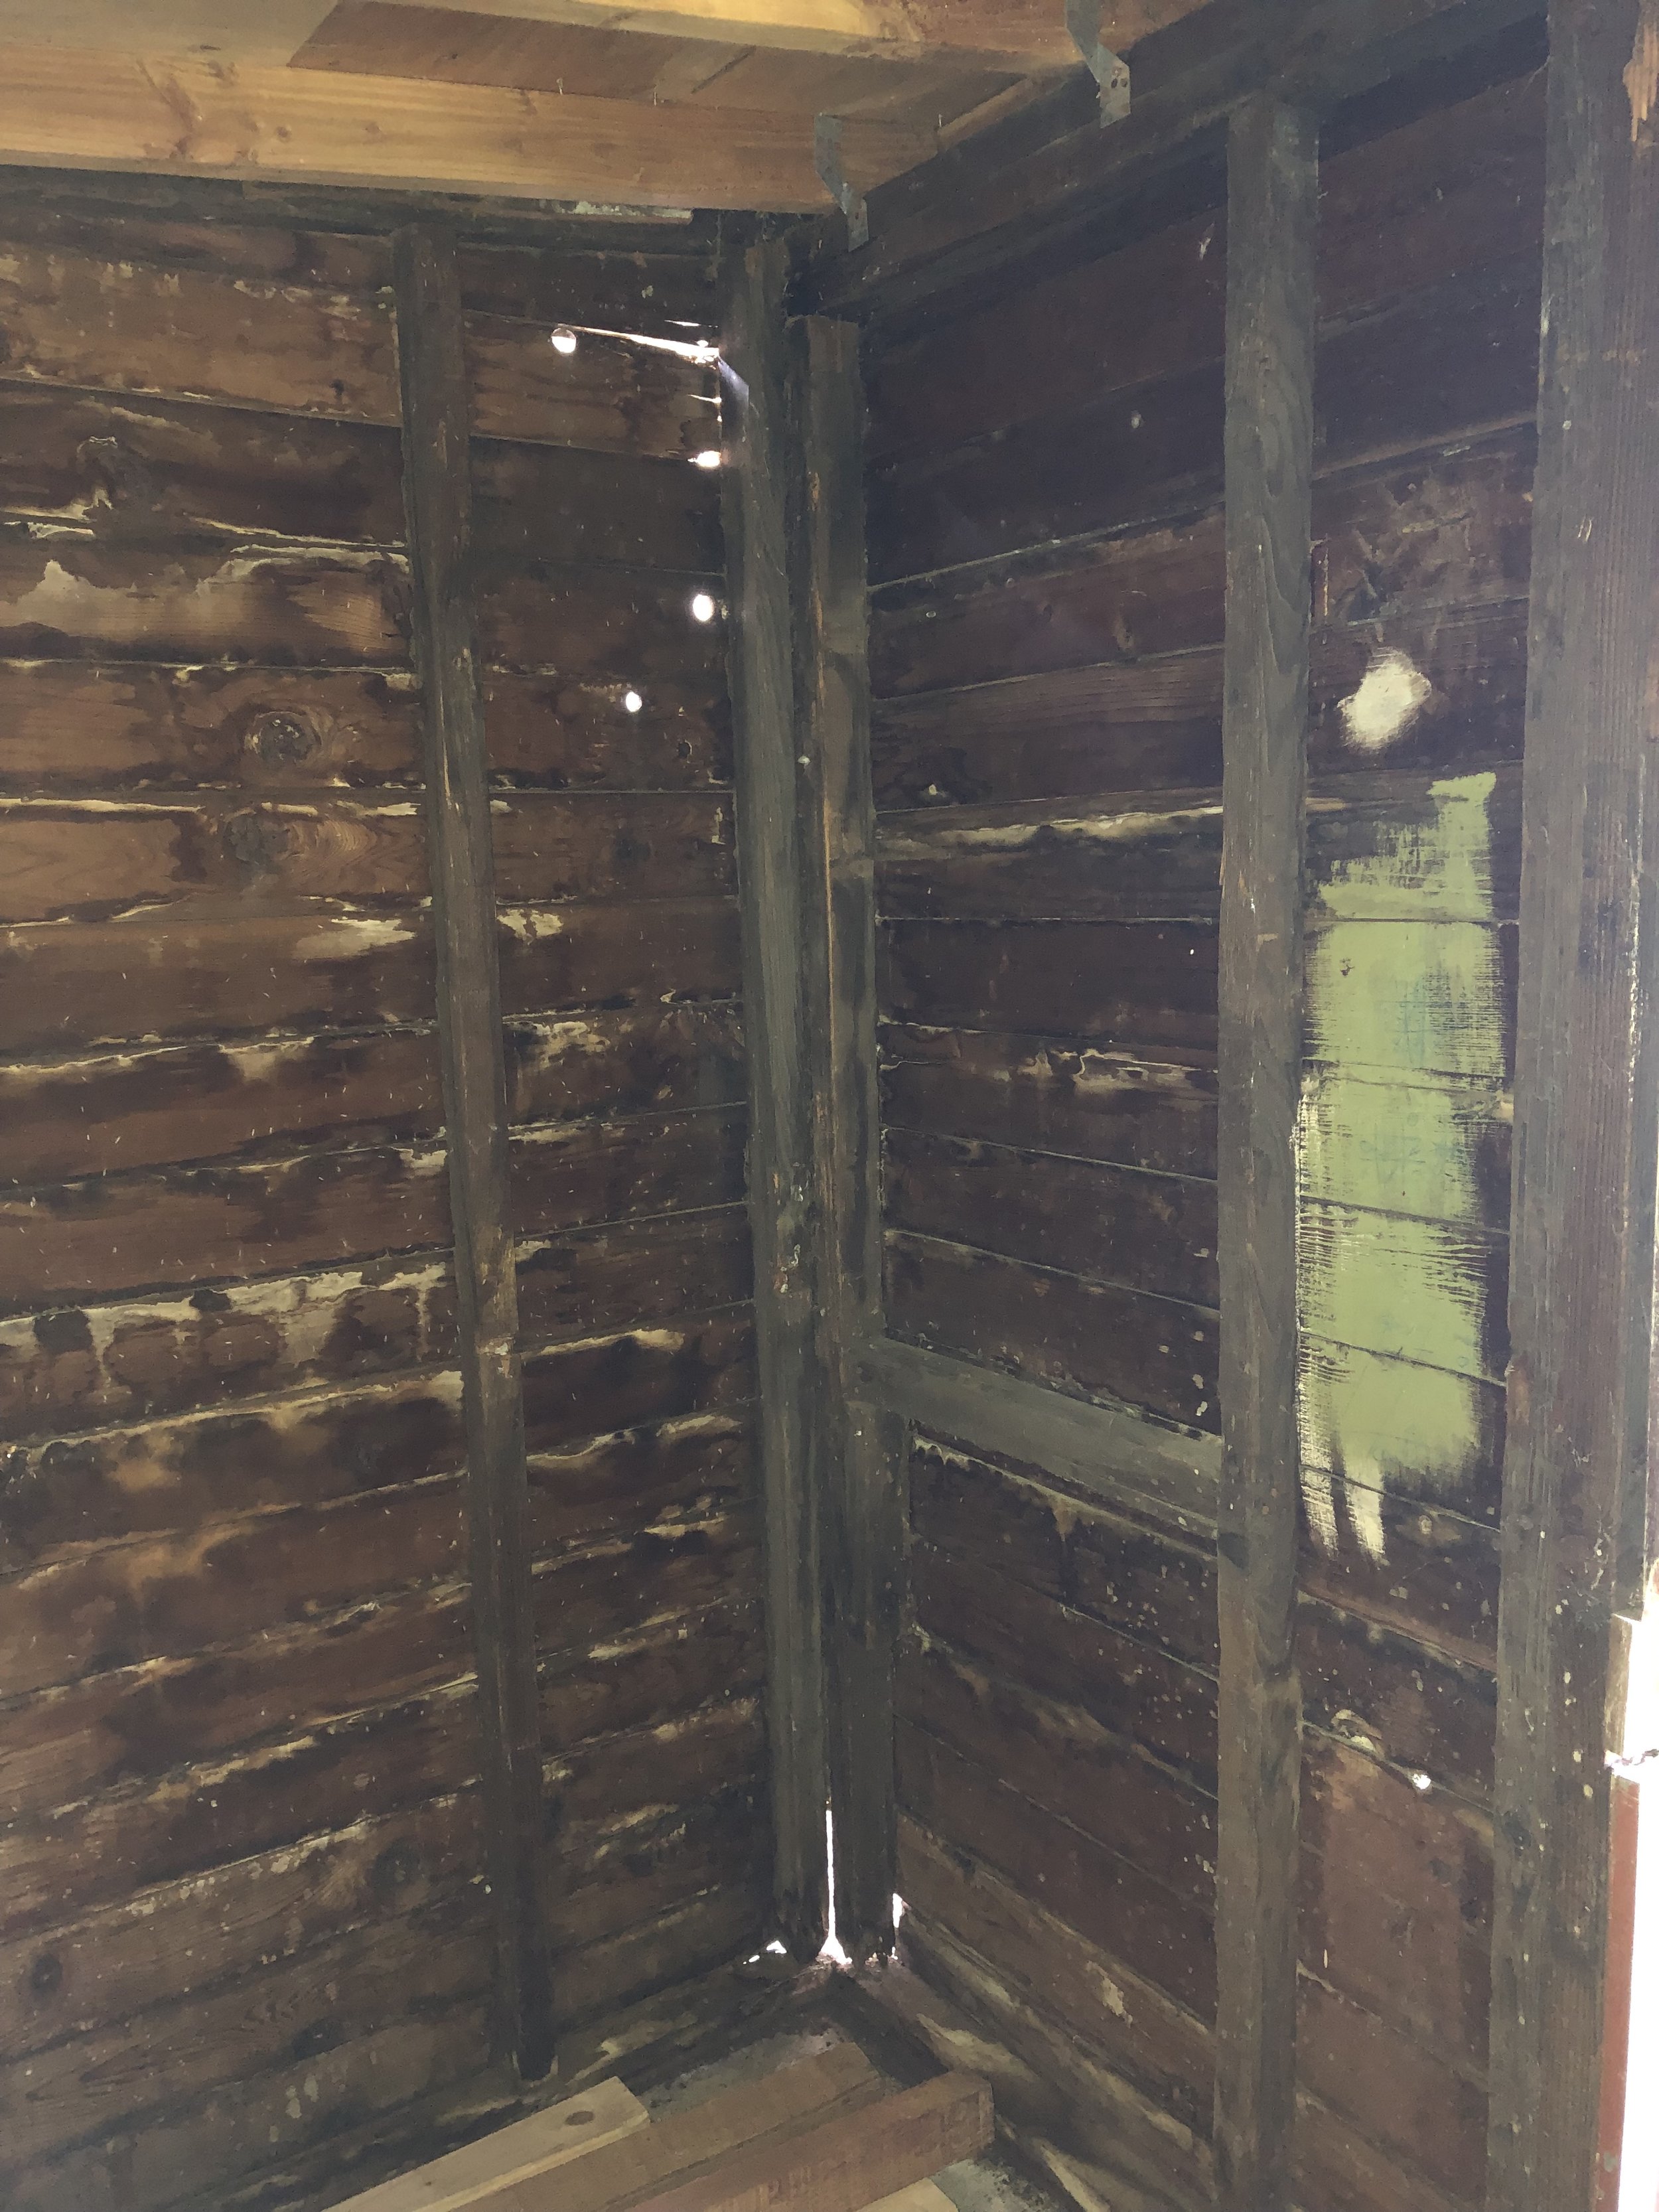
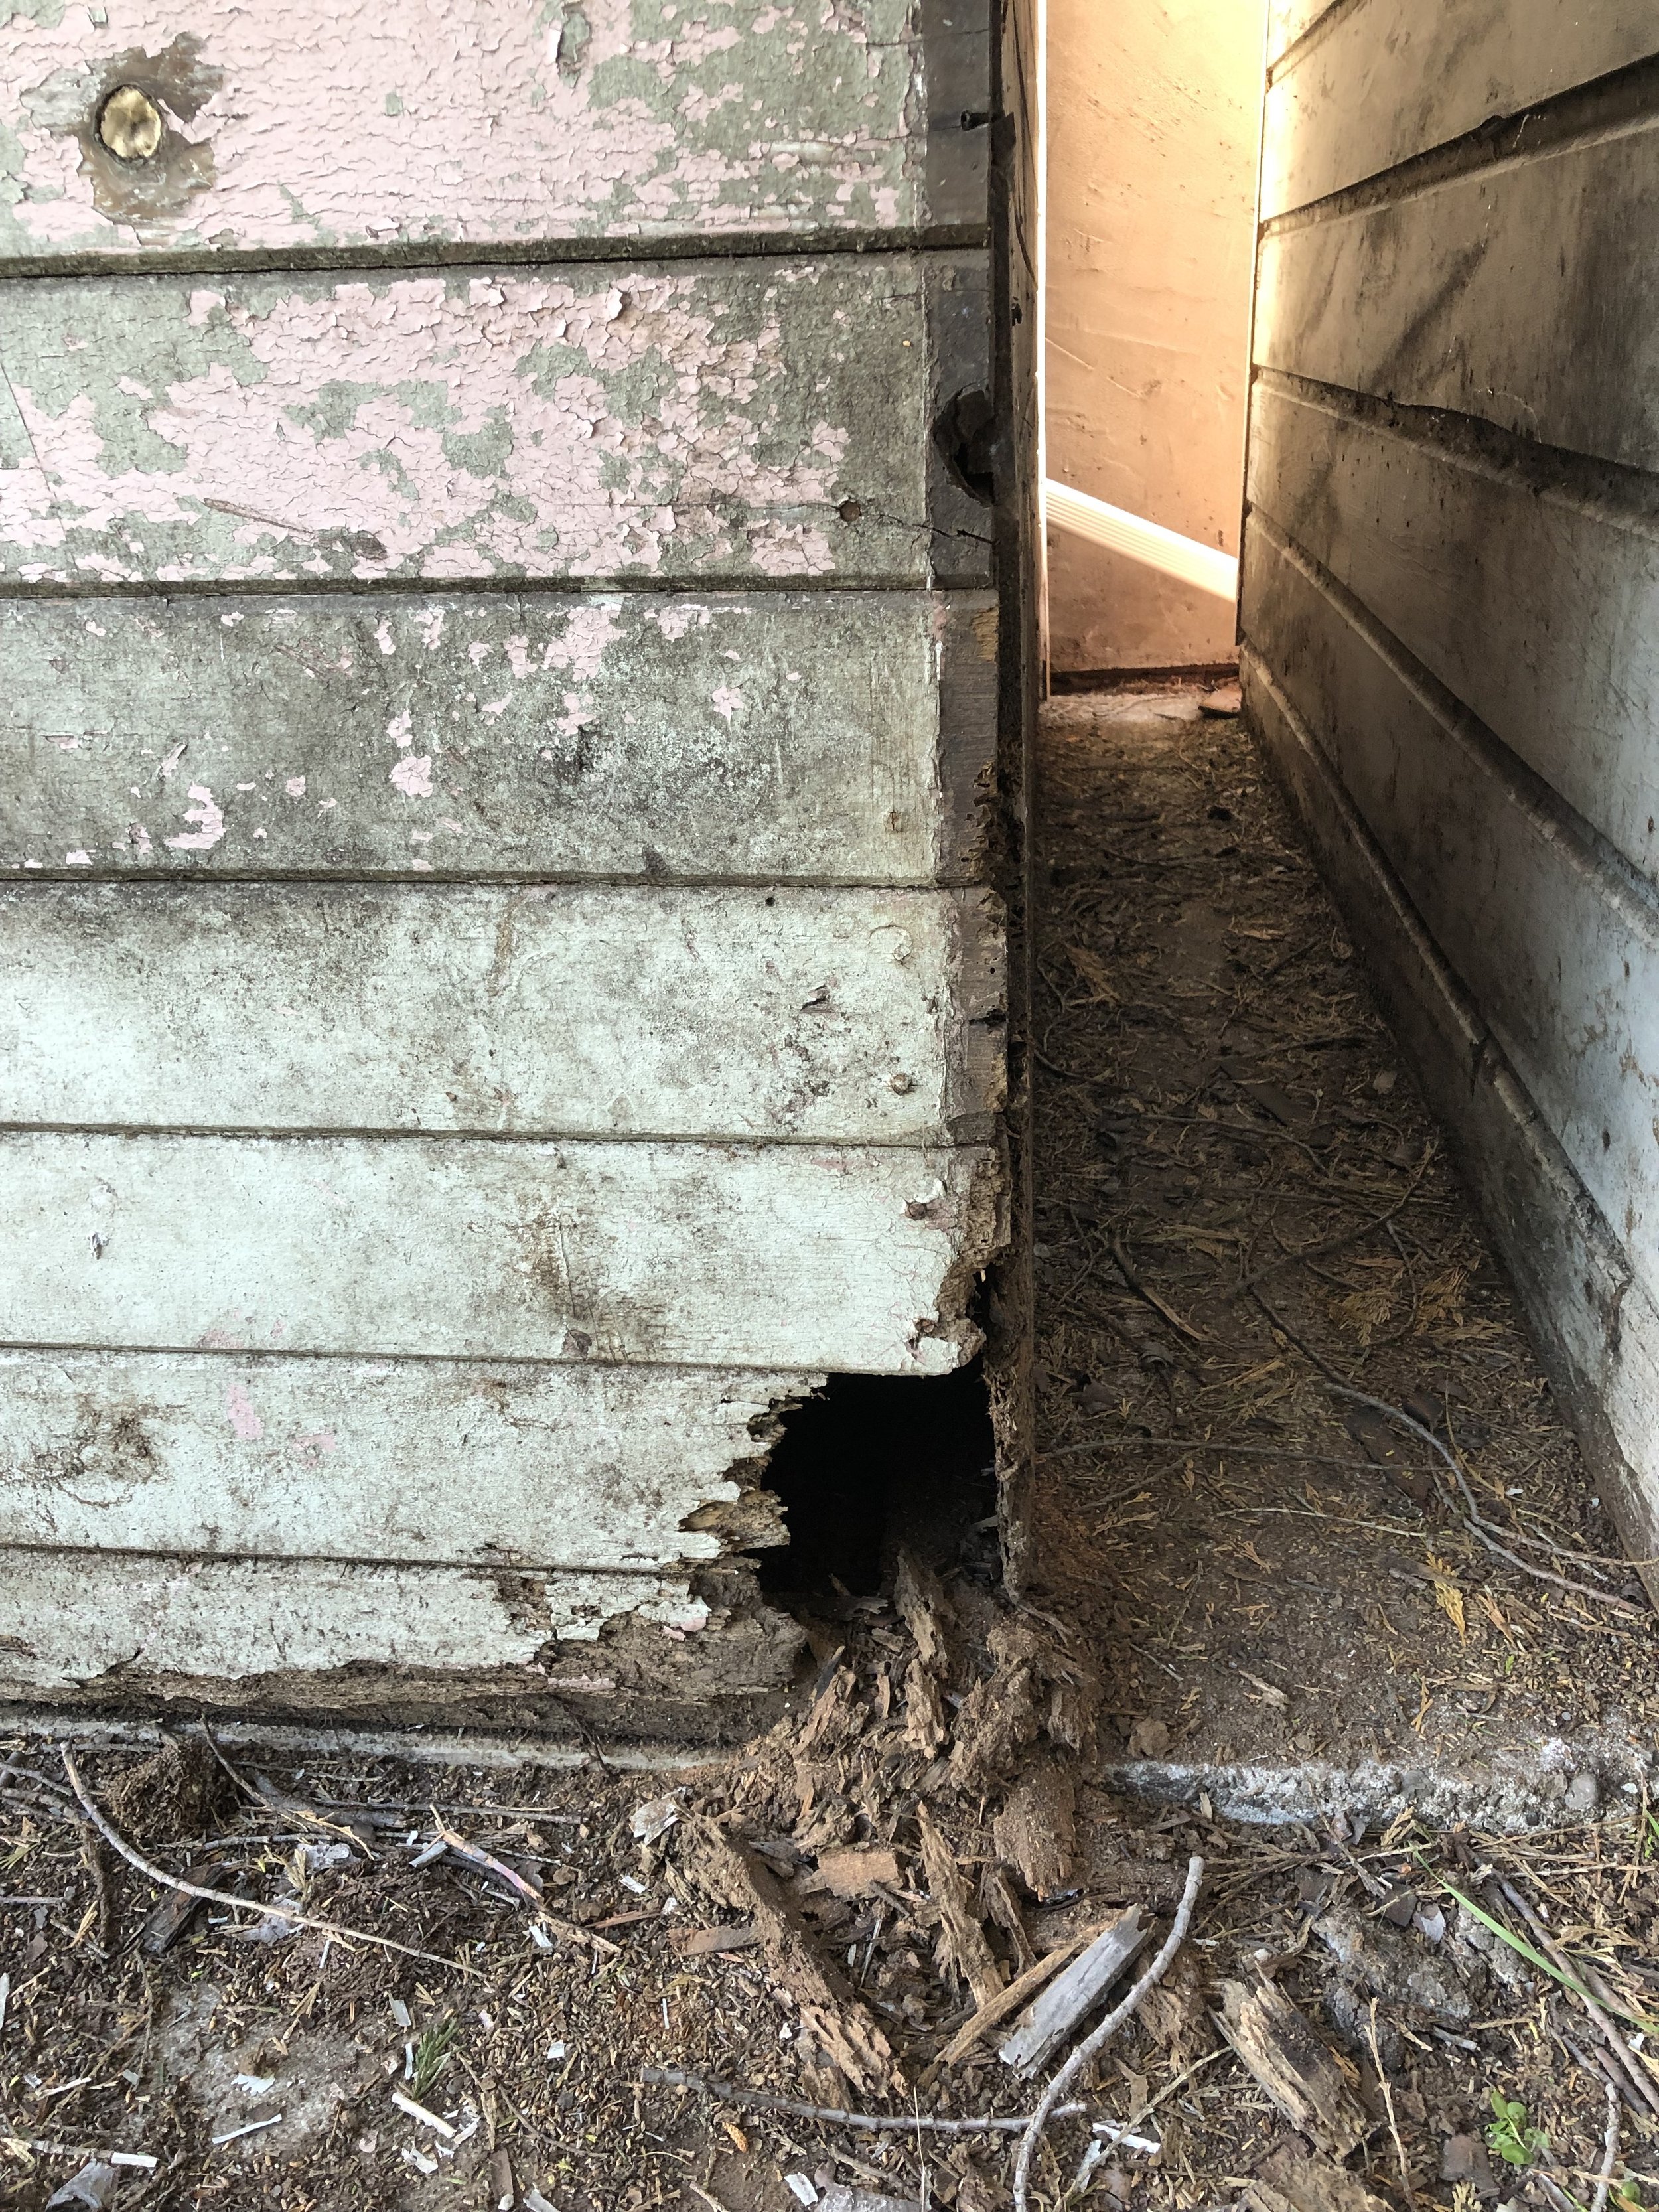
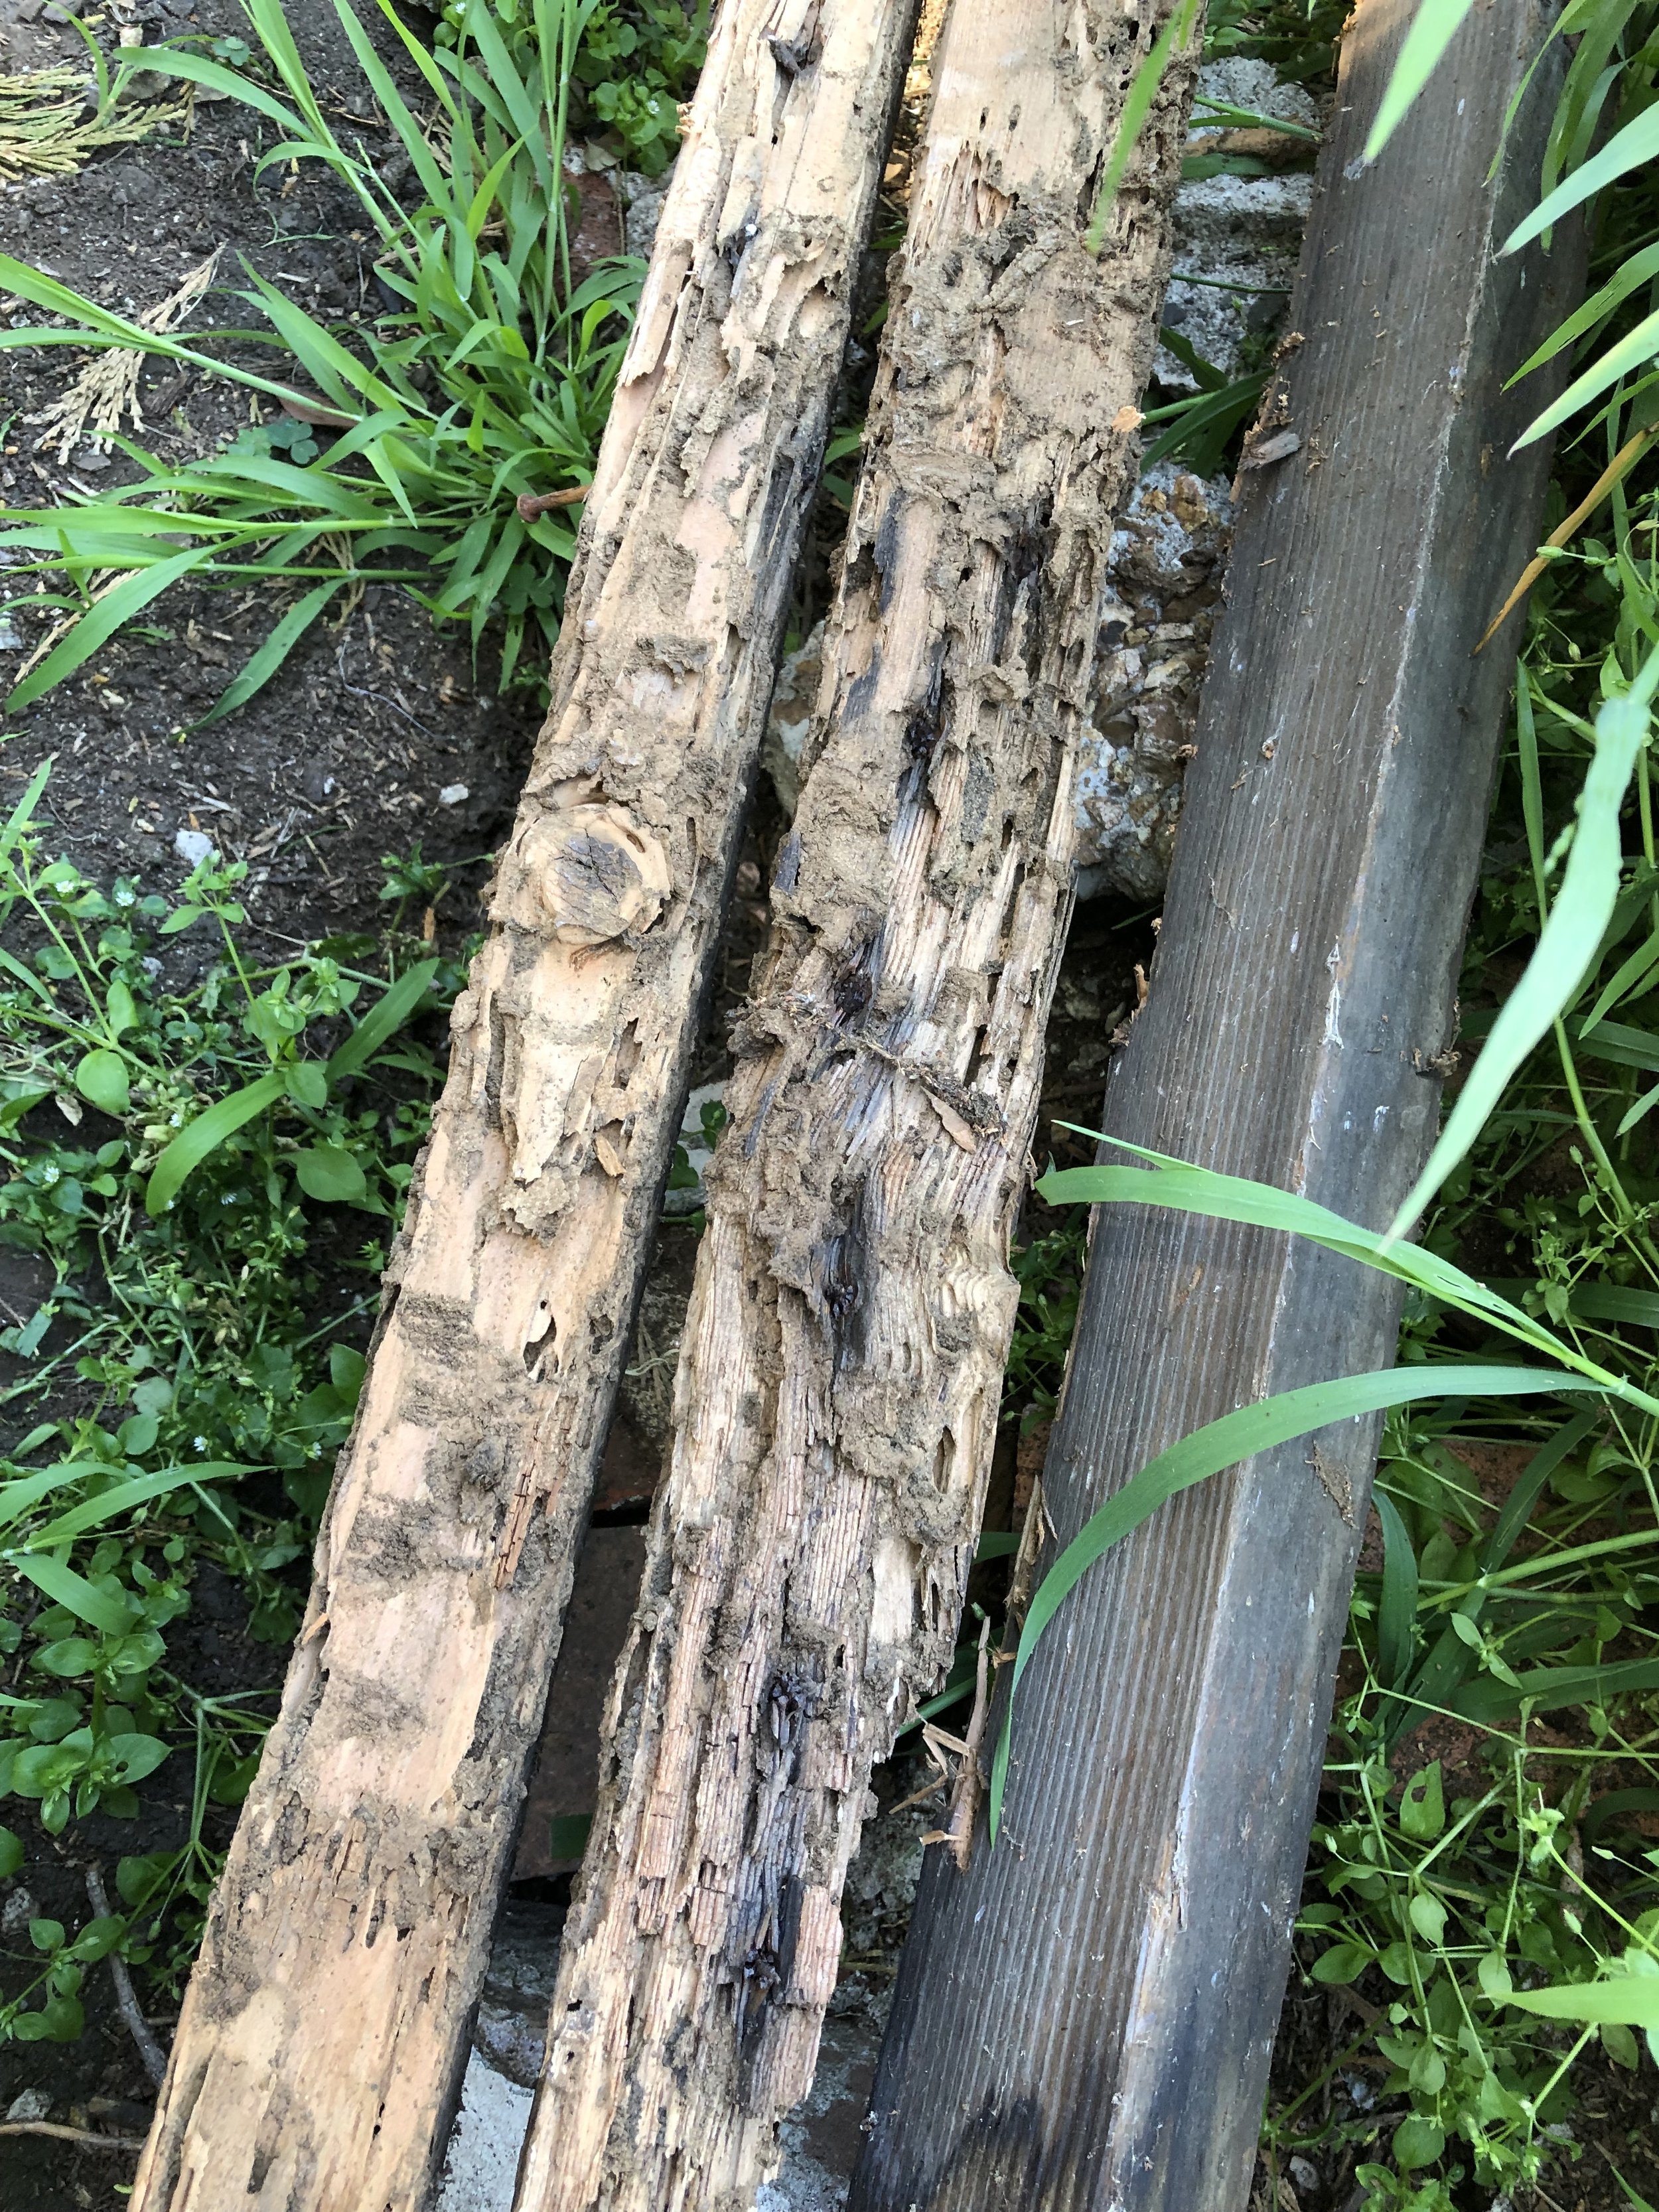
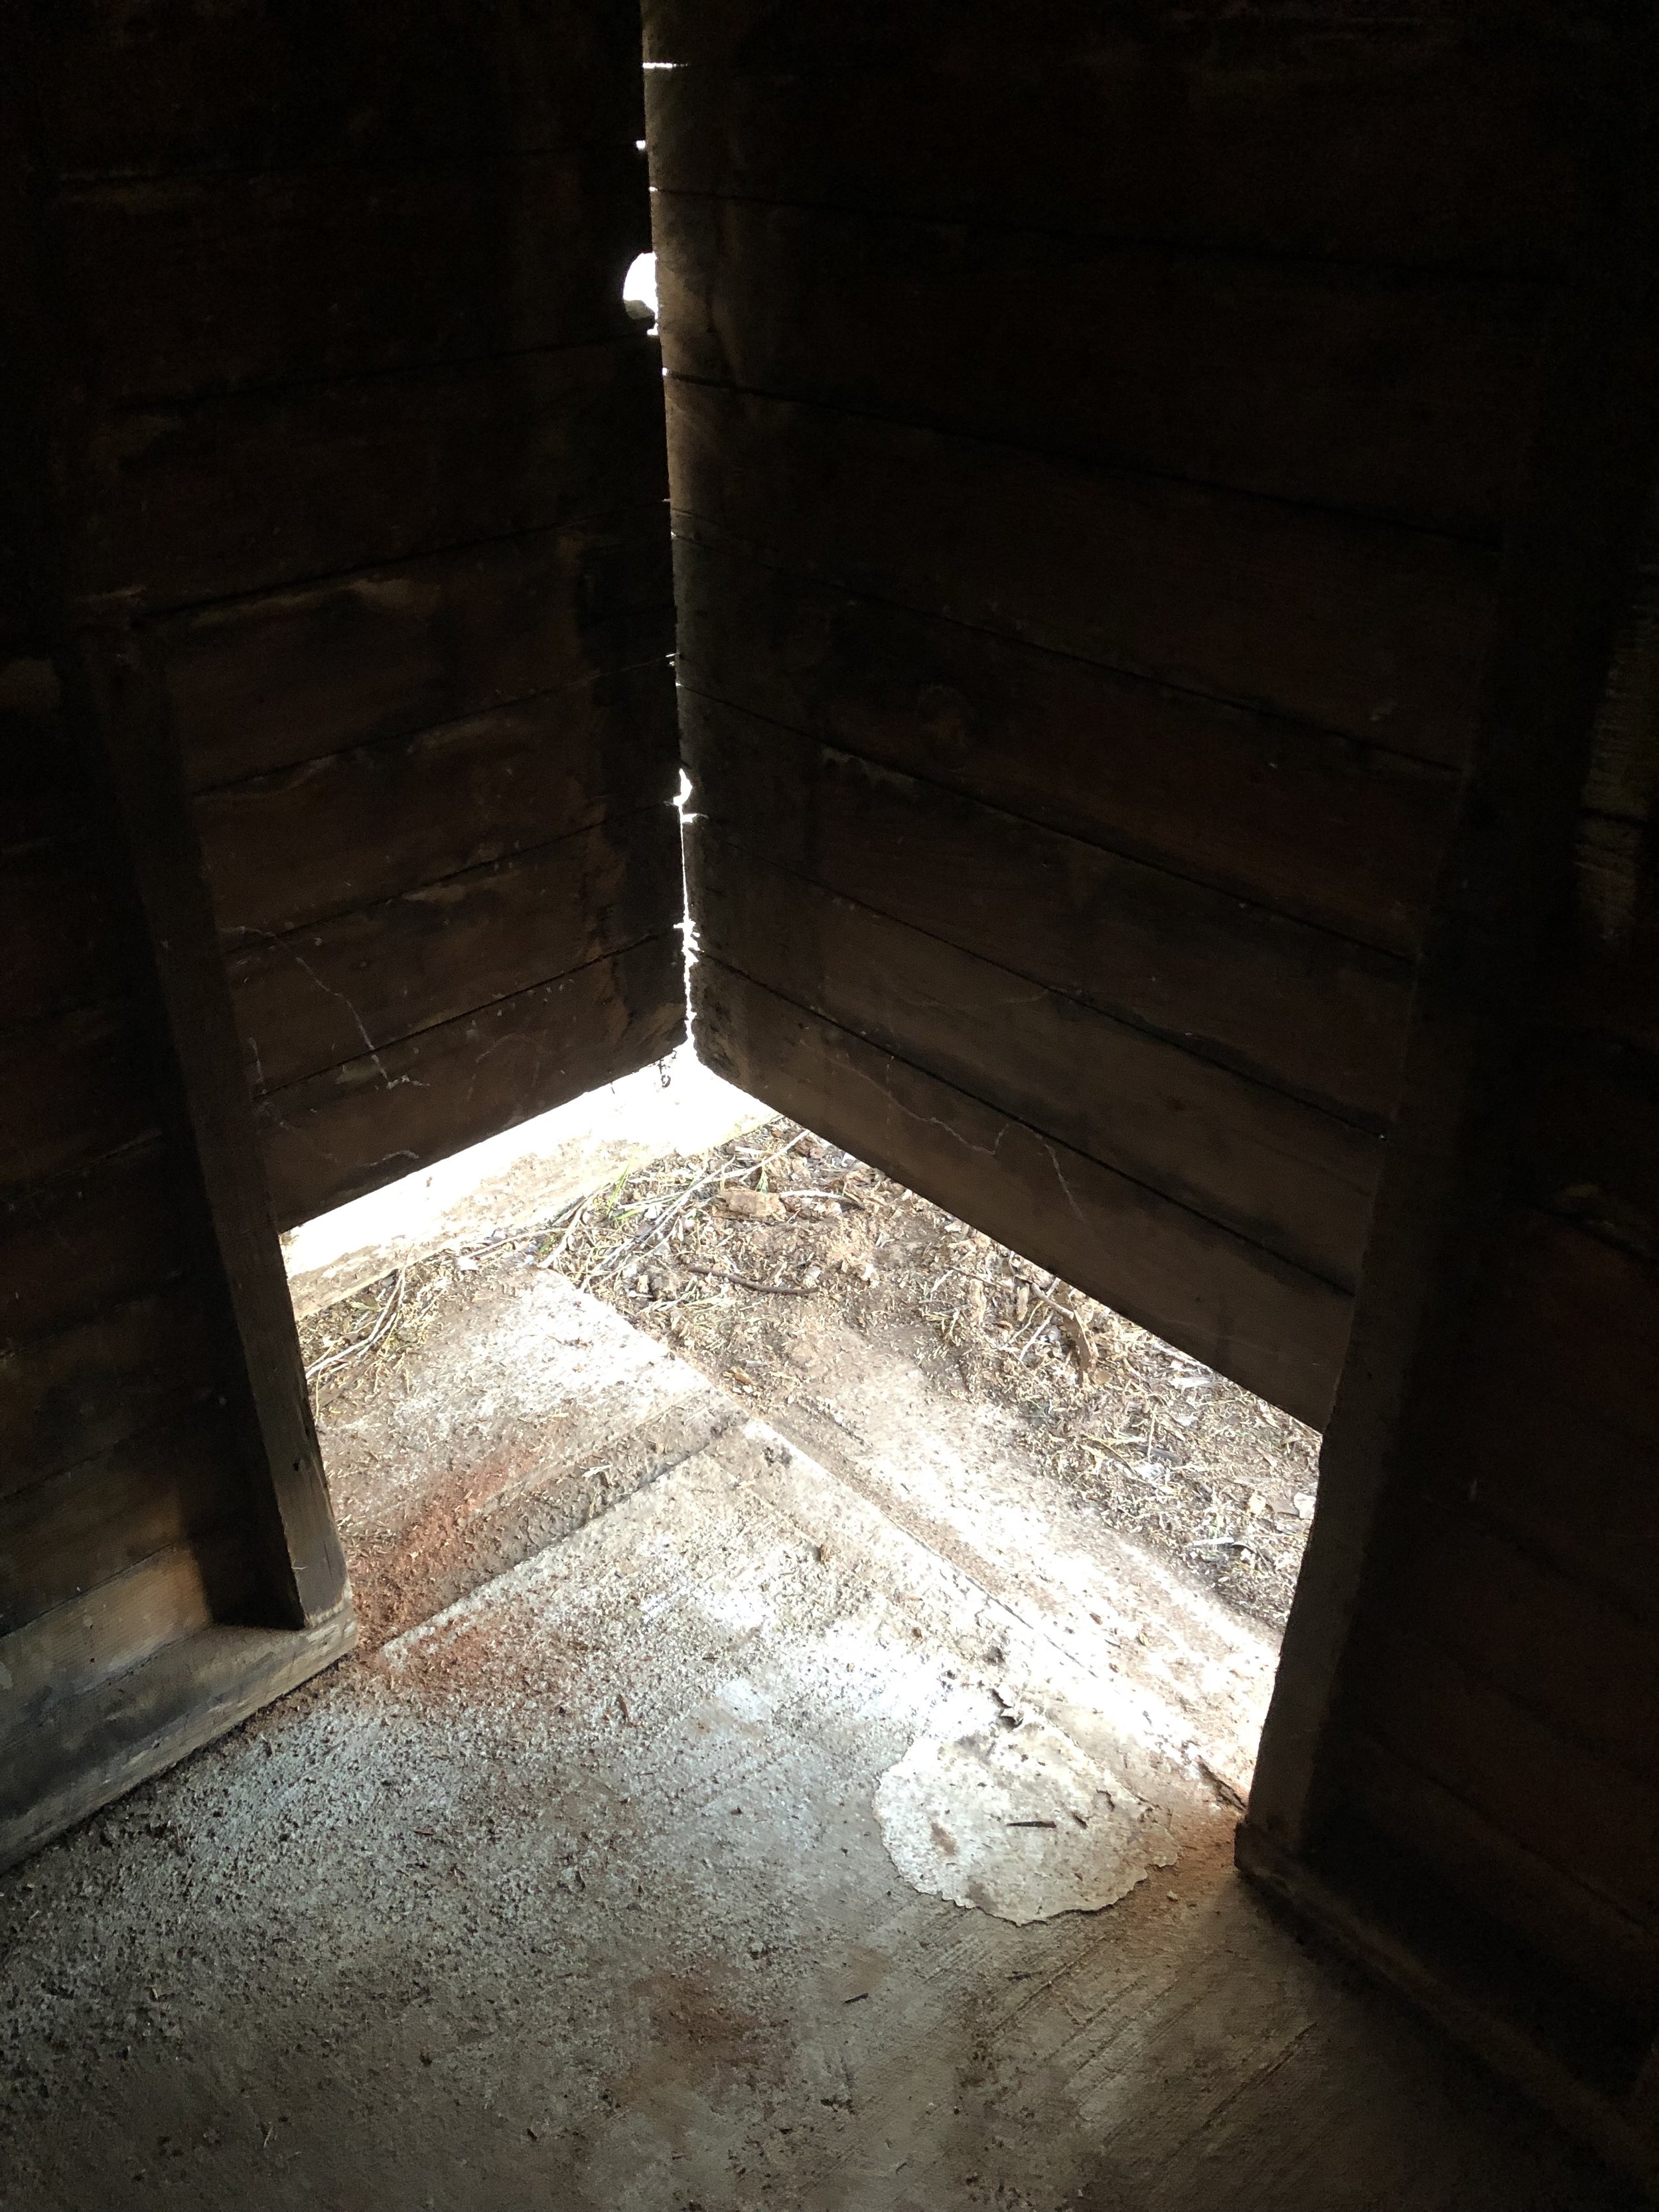
I used a reciprocating saw (aka sawzall) from the tool library to cut out all the rotten wood. It was gnarly, y’all! The original framing was old 2x3 redwood studs, and I was lucky enough to find some reclaimed ones at Urban Ore, our local used building supply store. I had to use a hammer drill (also from the tool library) to drill holes in the concrete foundation for the masonry anchors. Fortunately Chris had shown me how to do that when he installed the back wall!
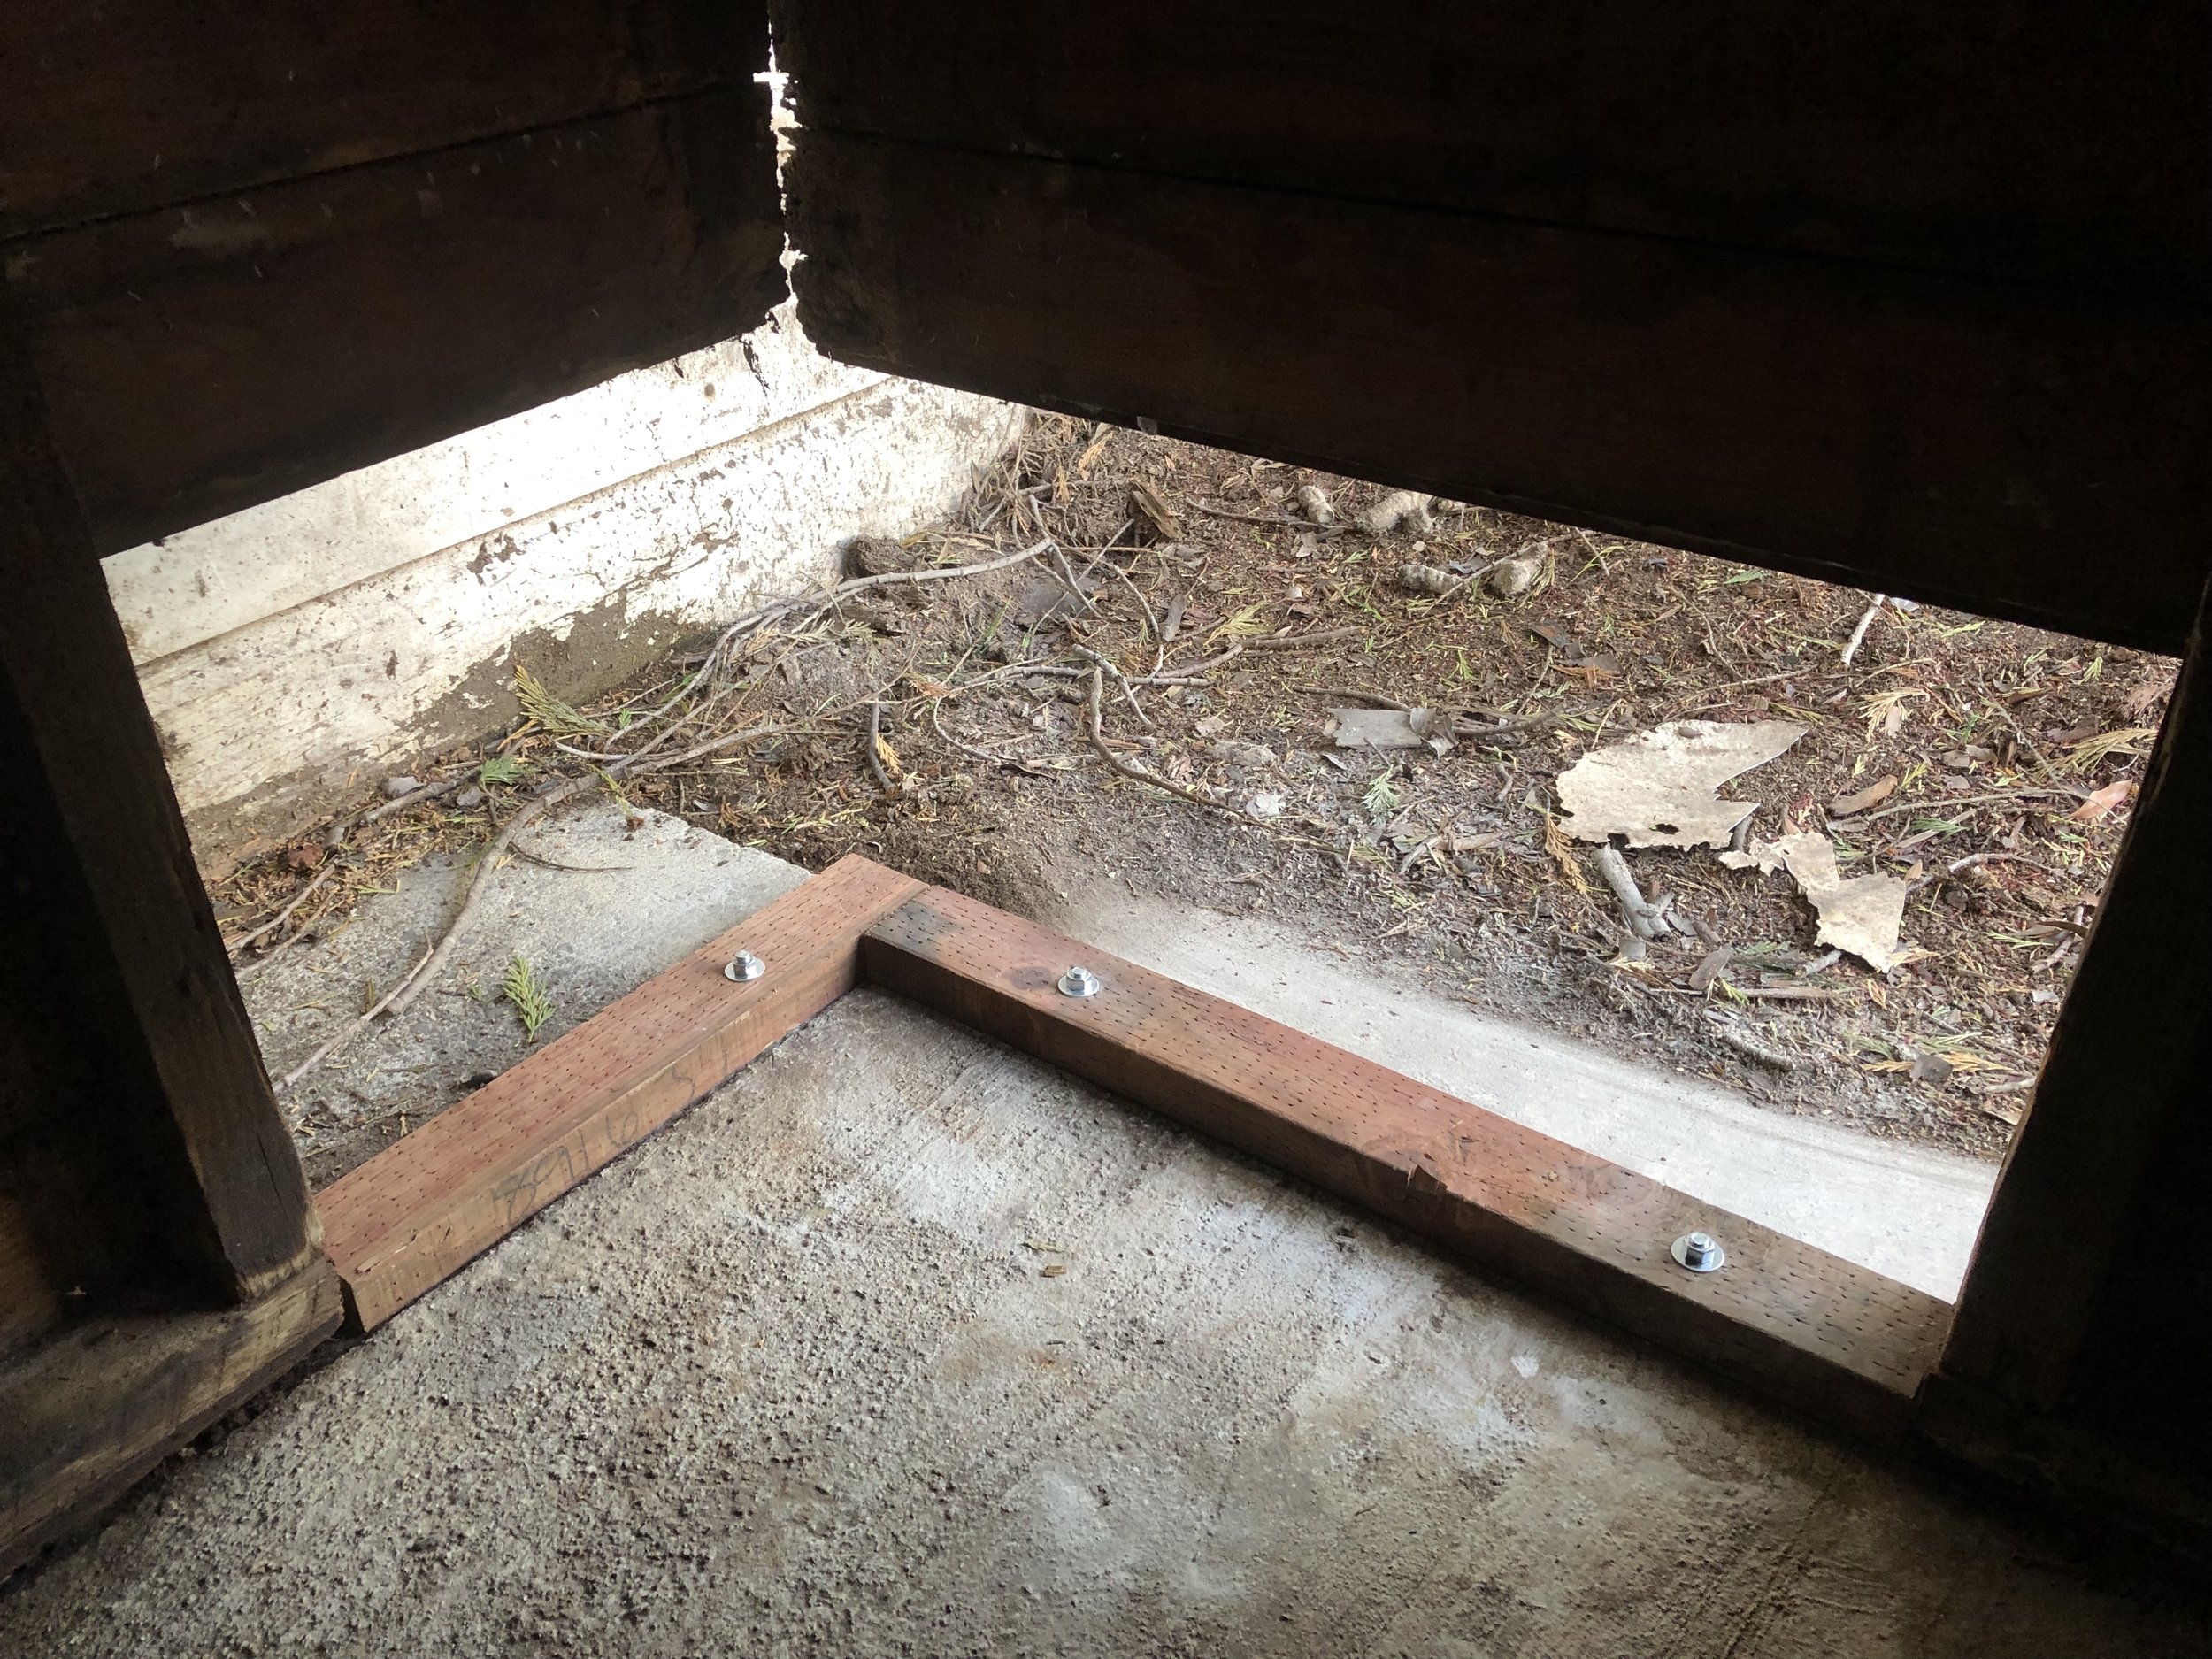
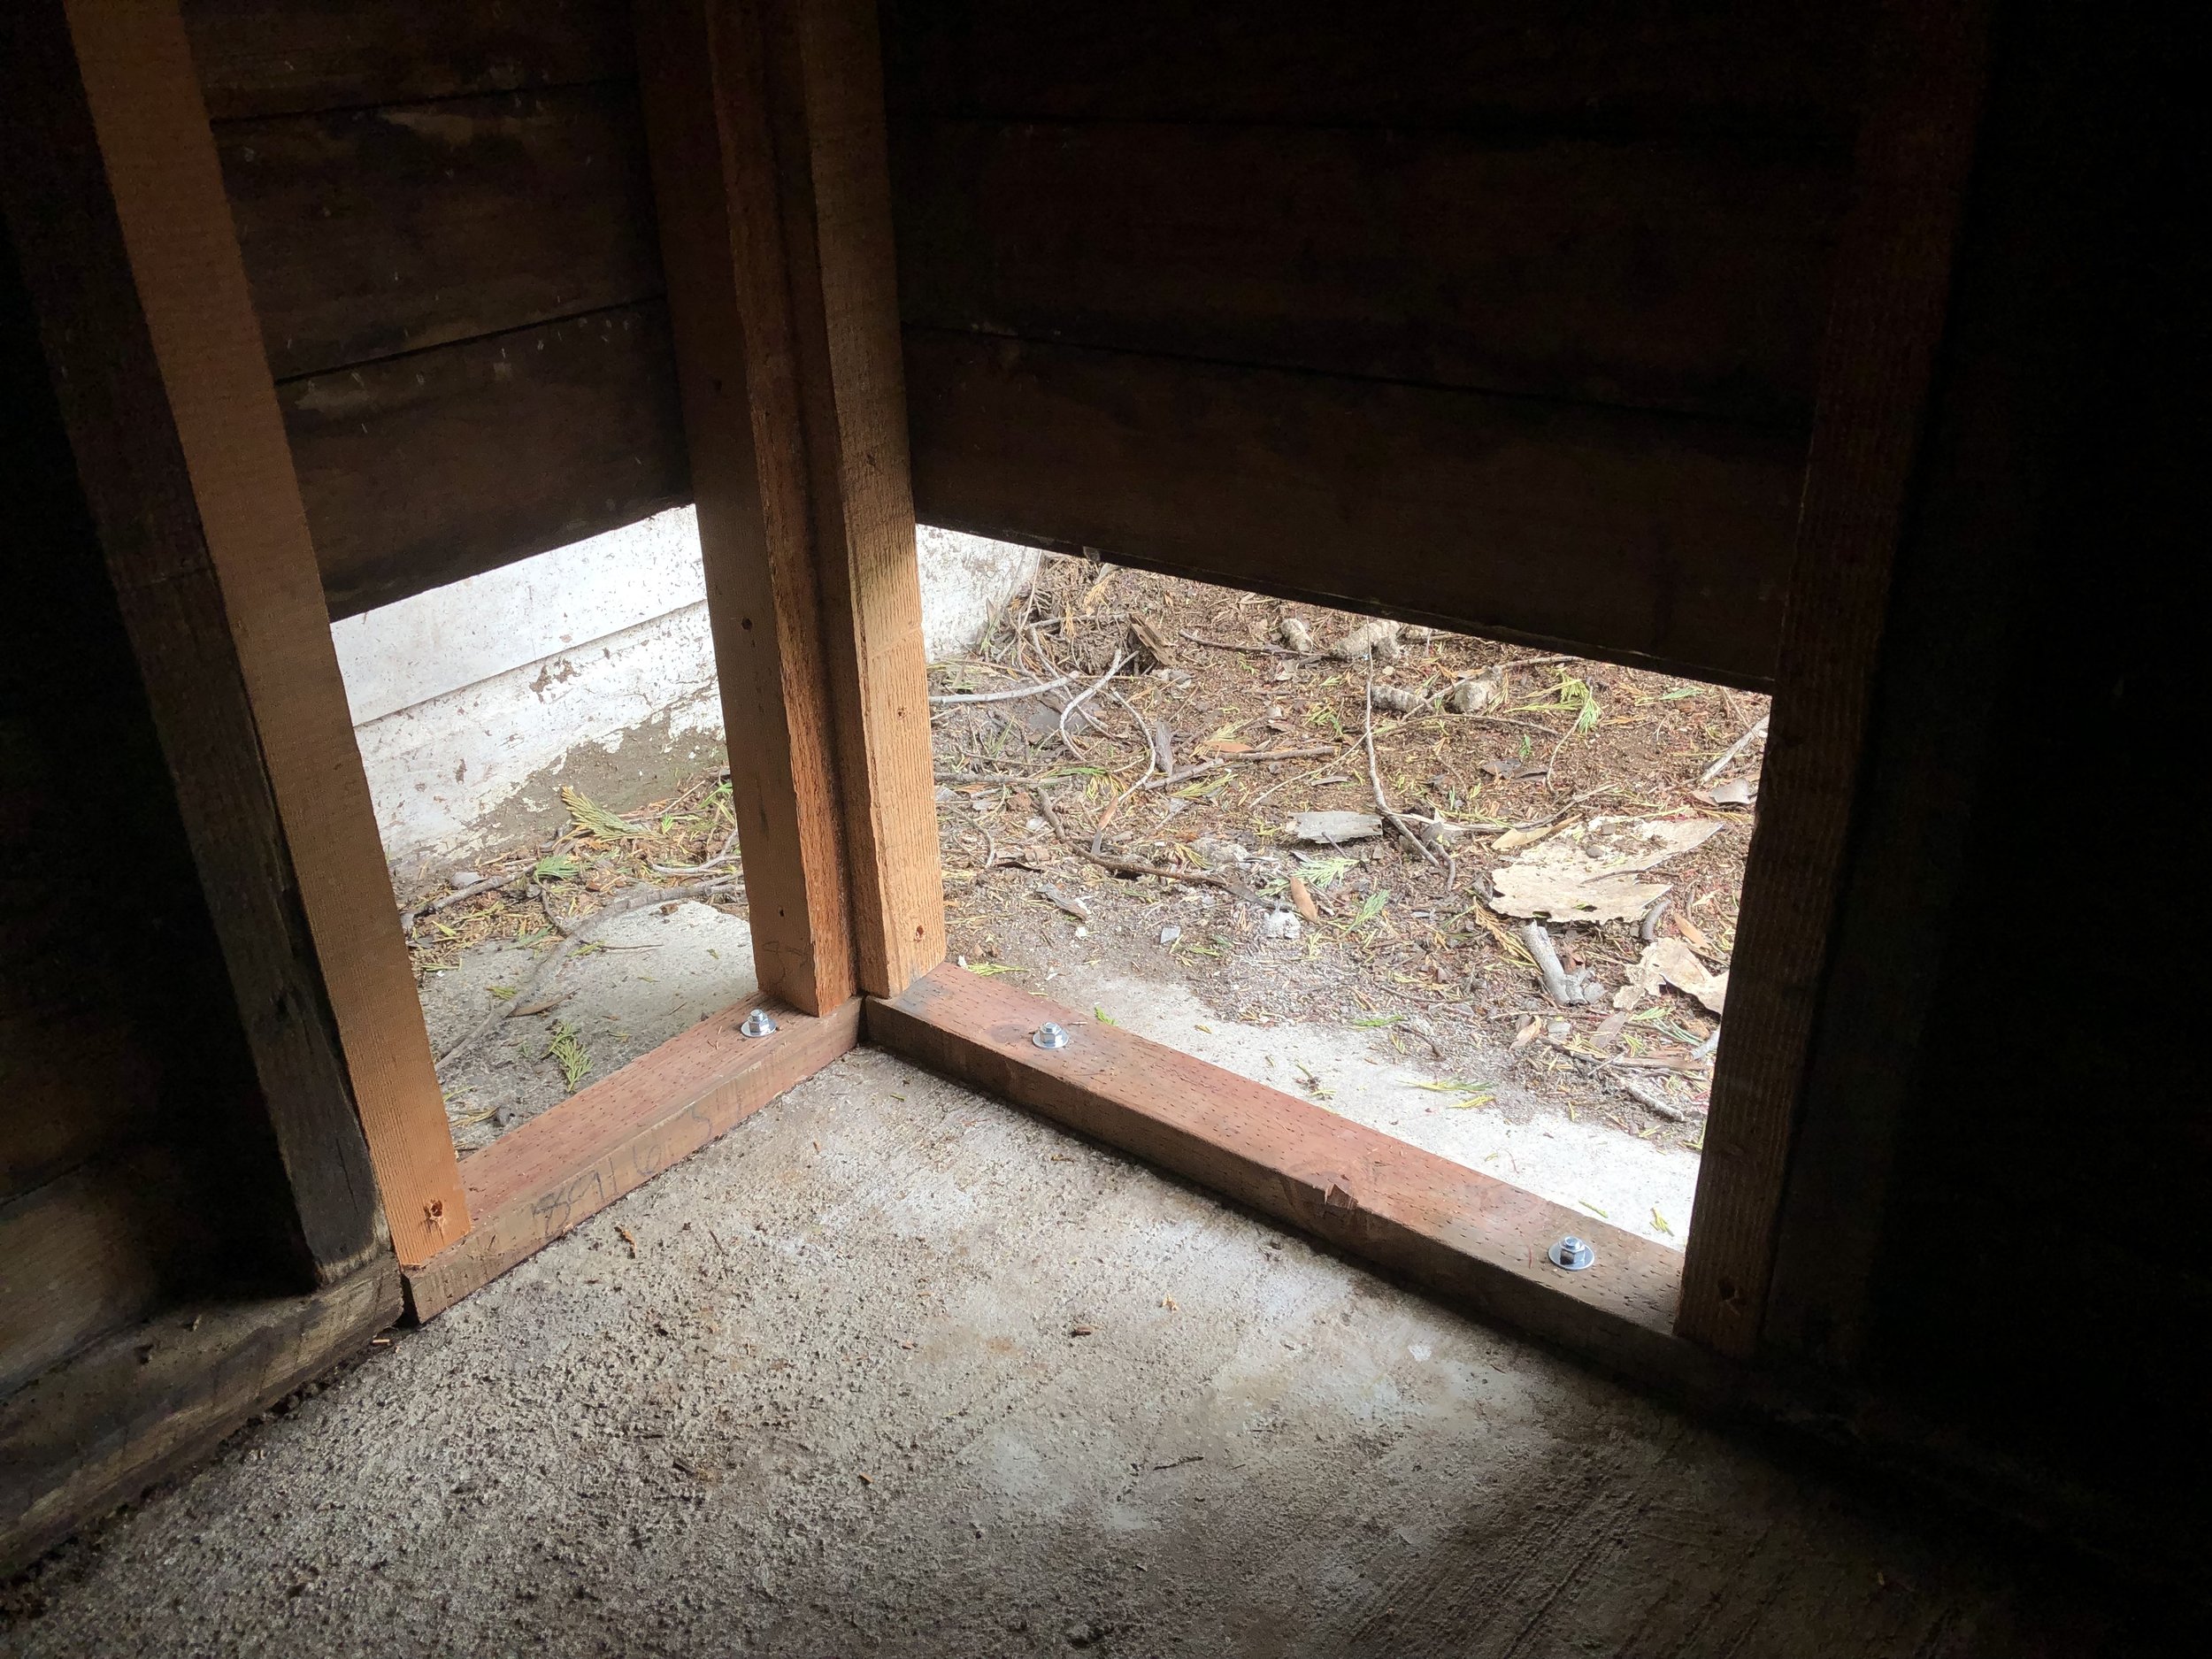
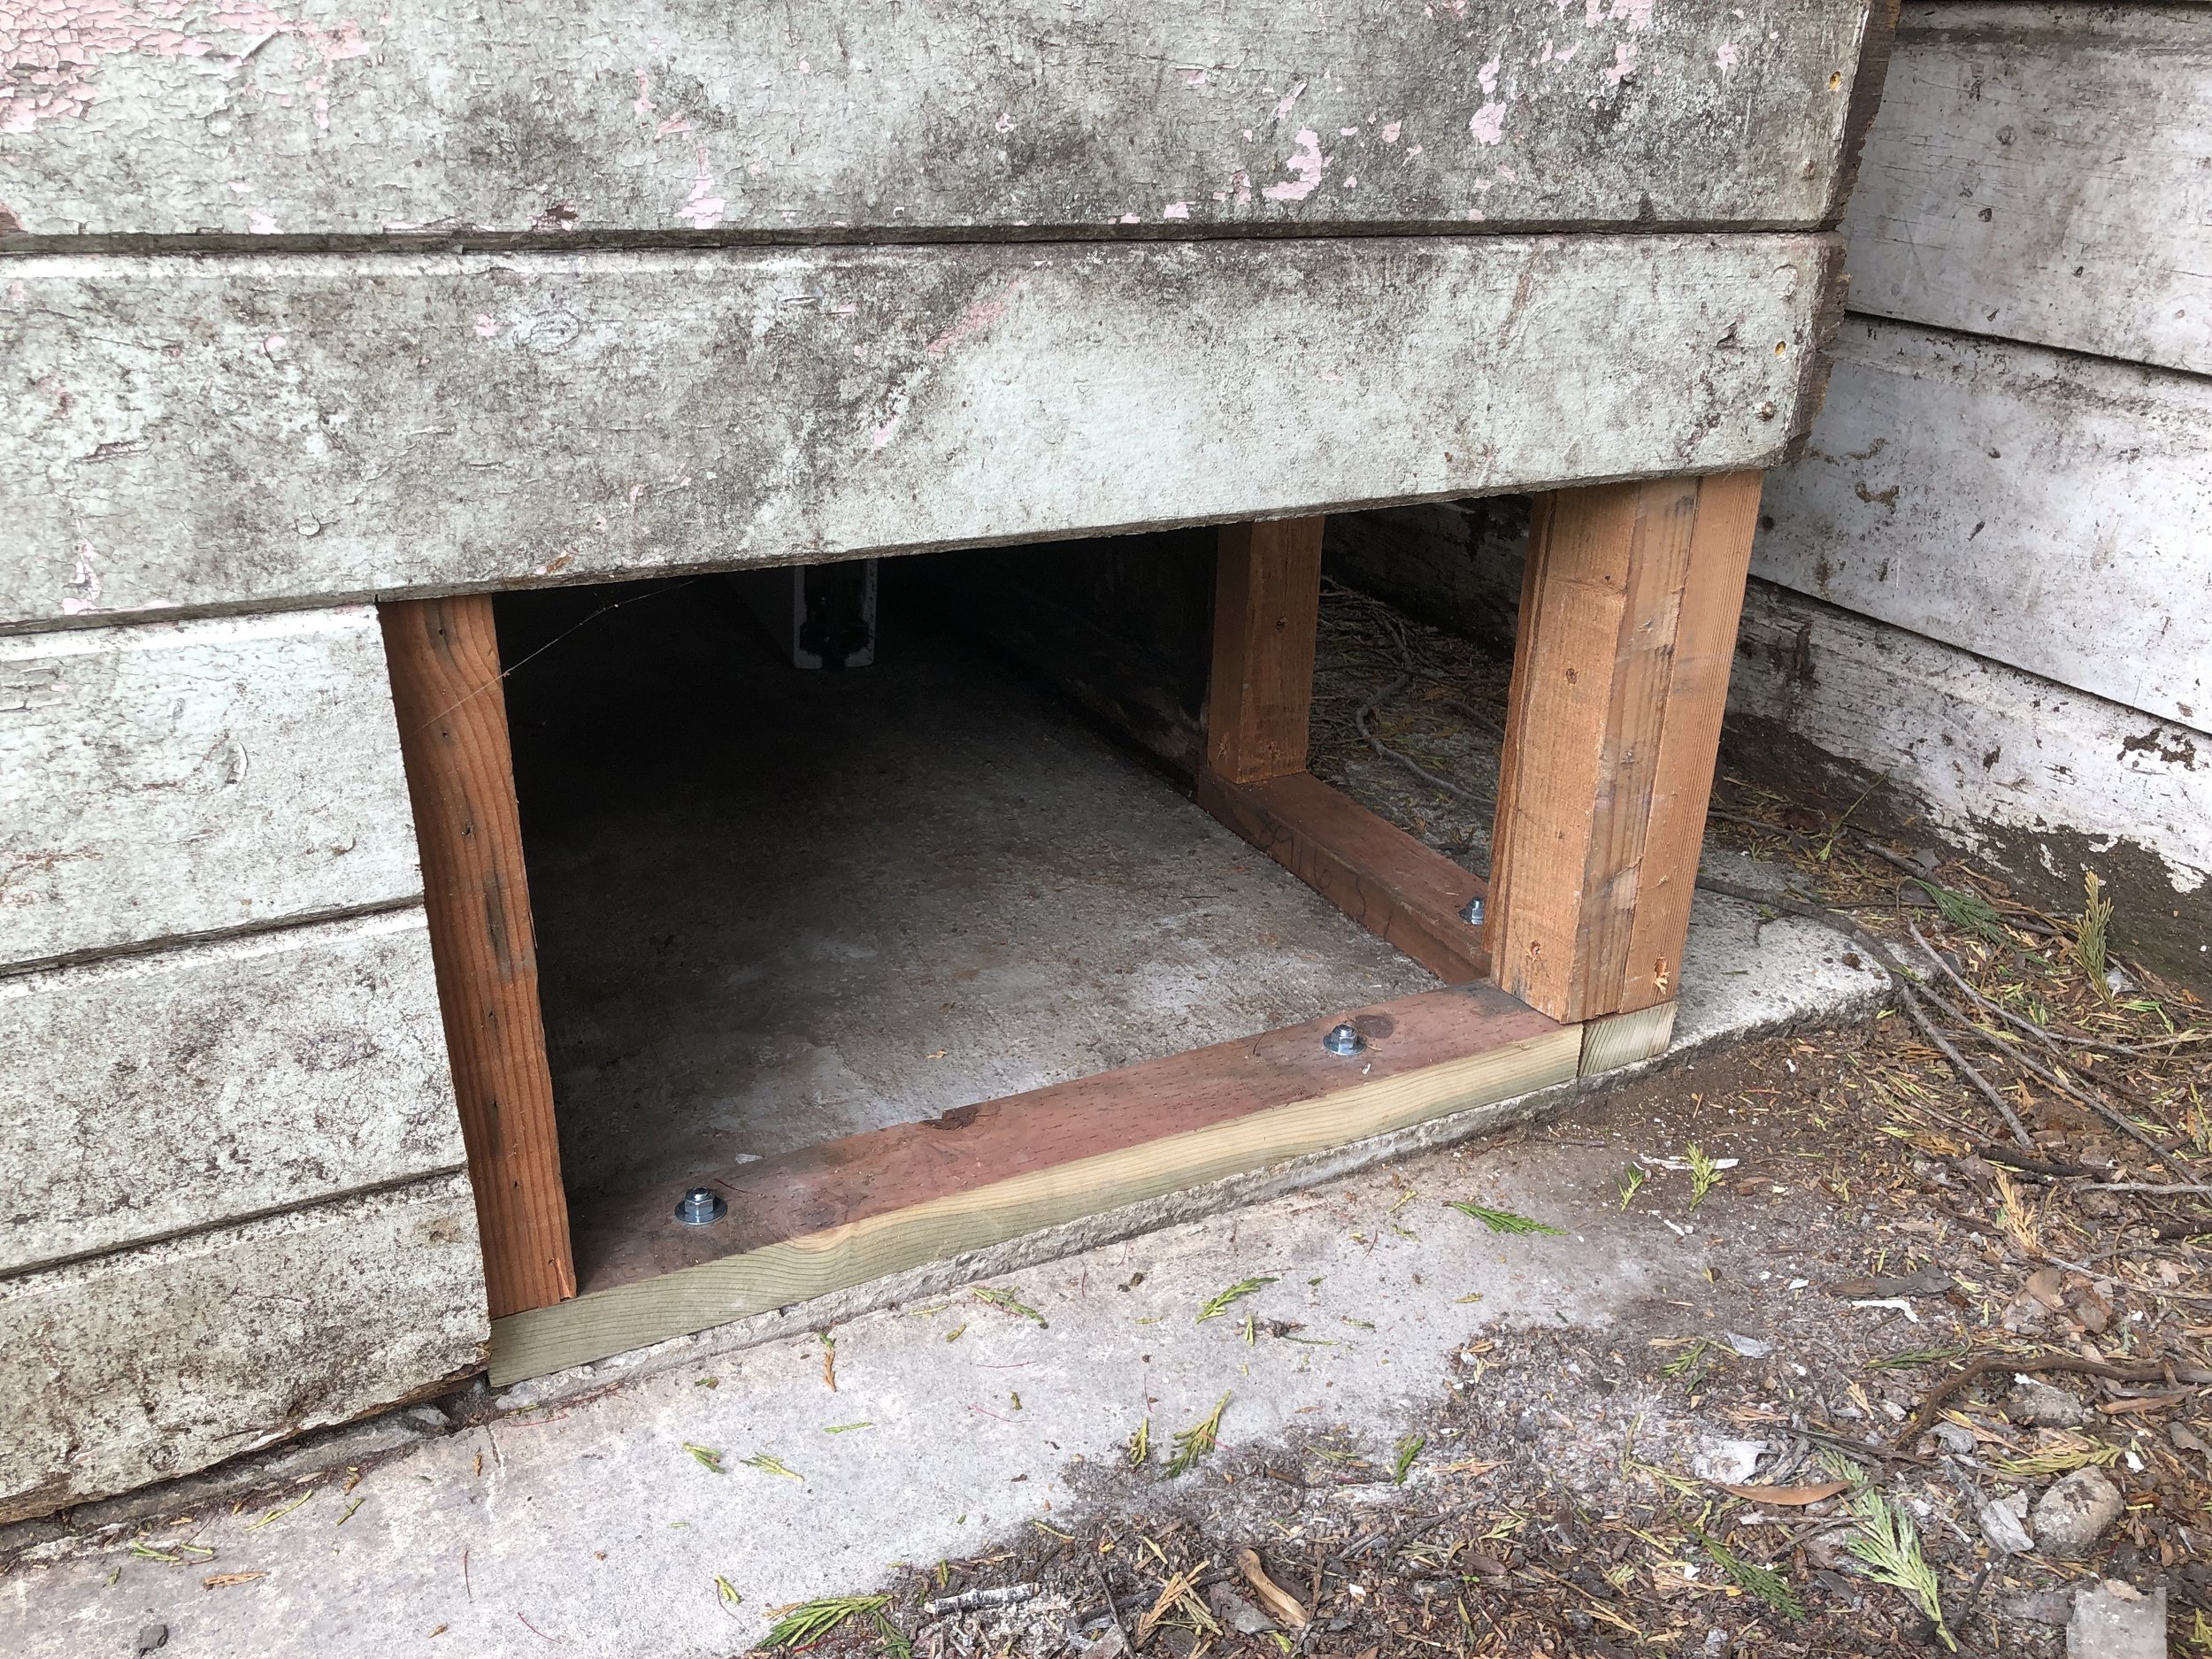
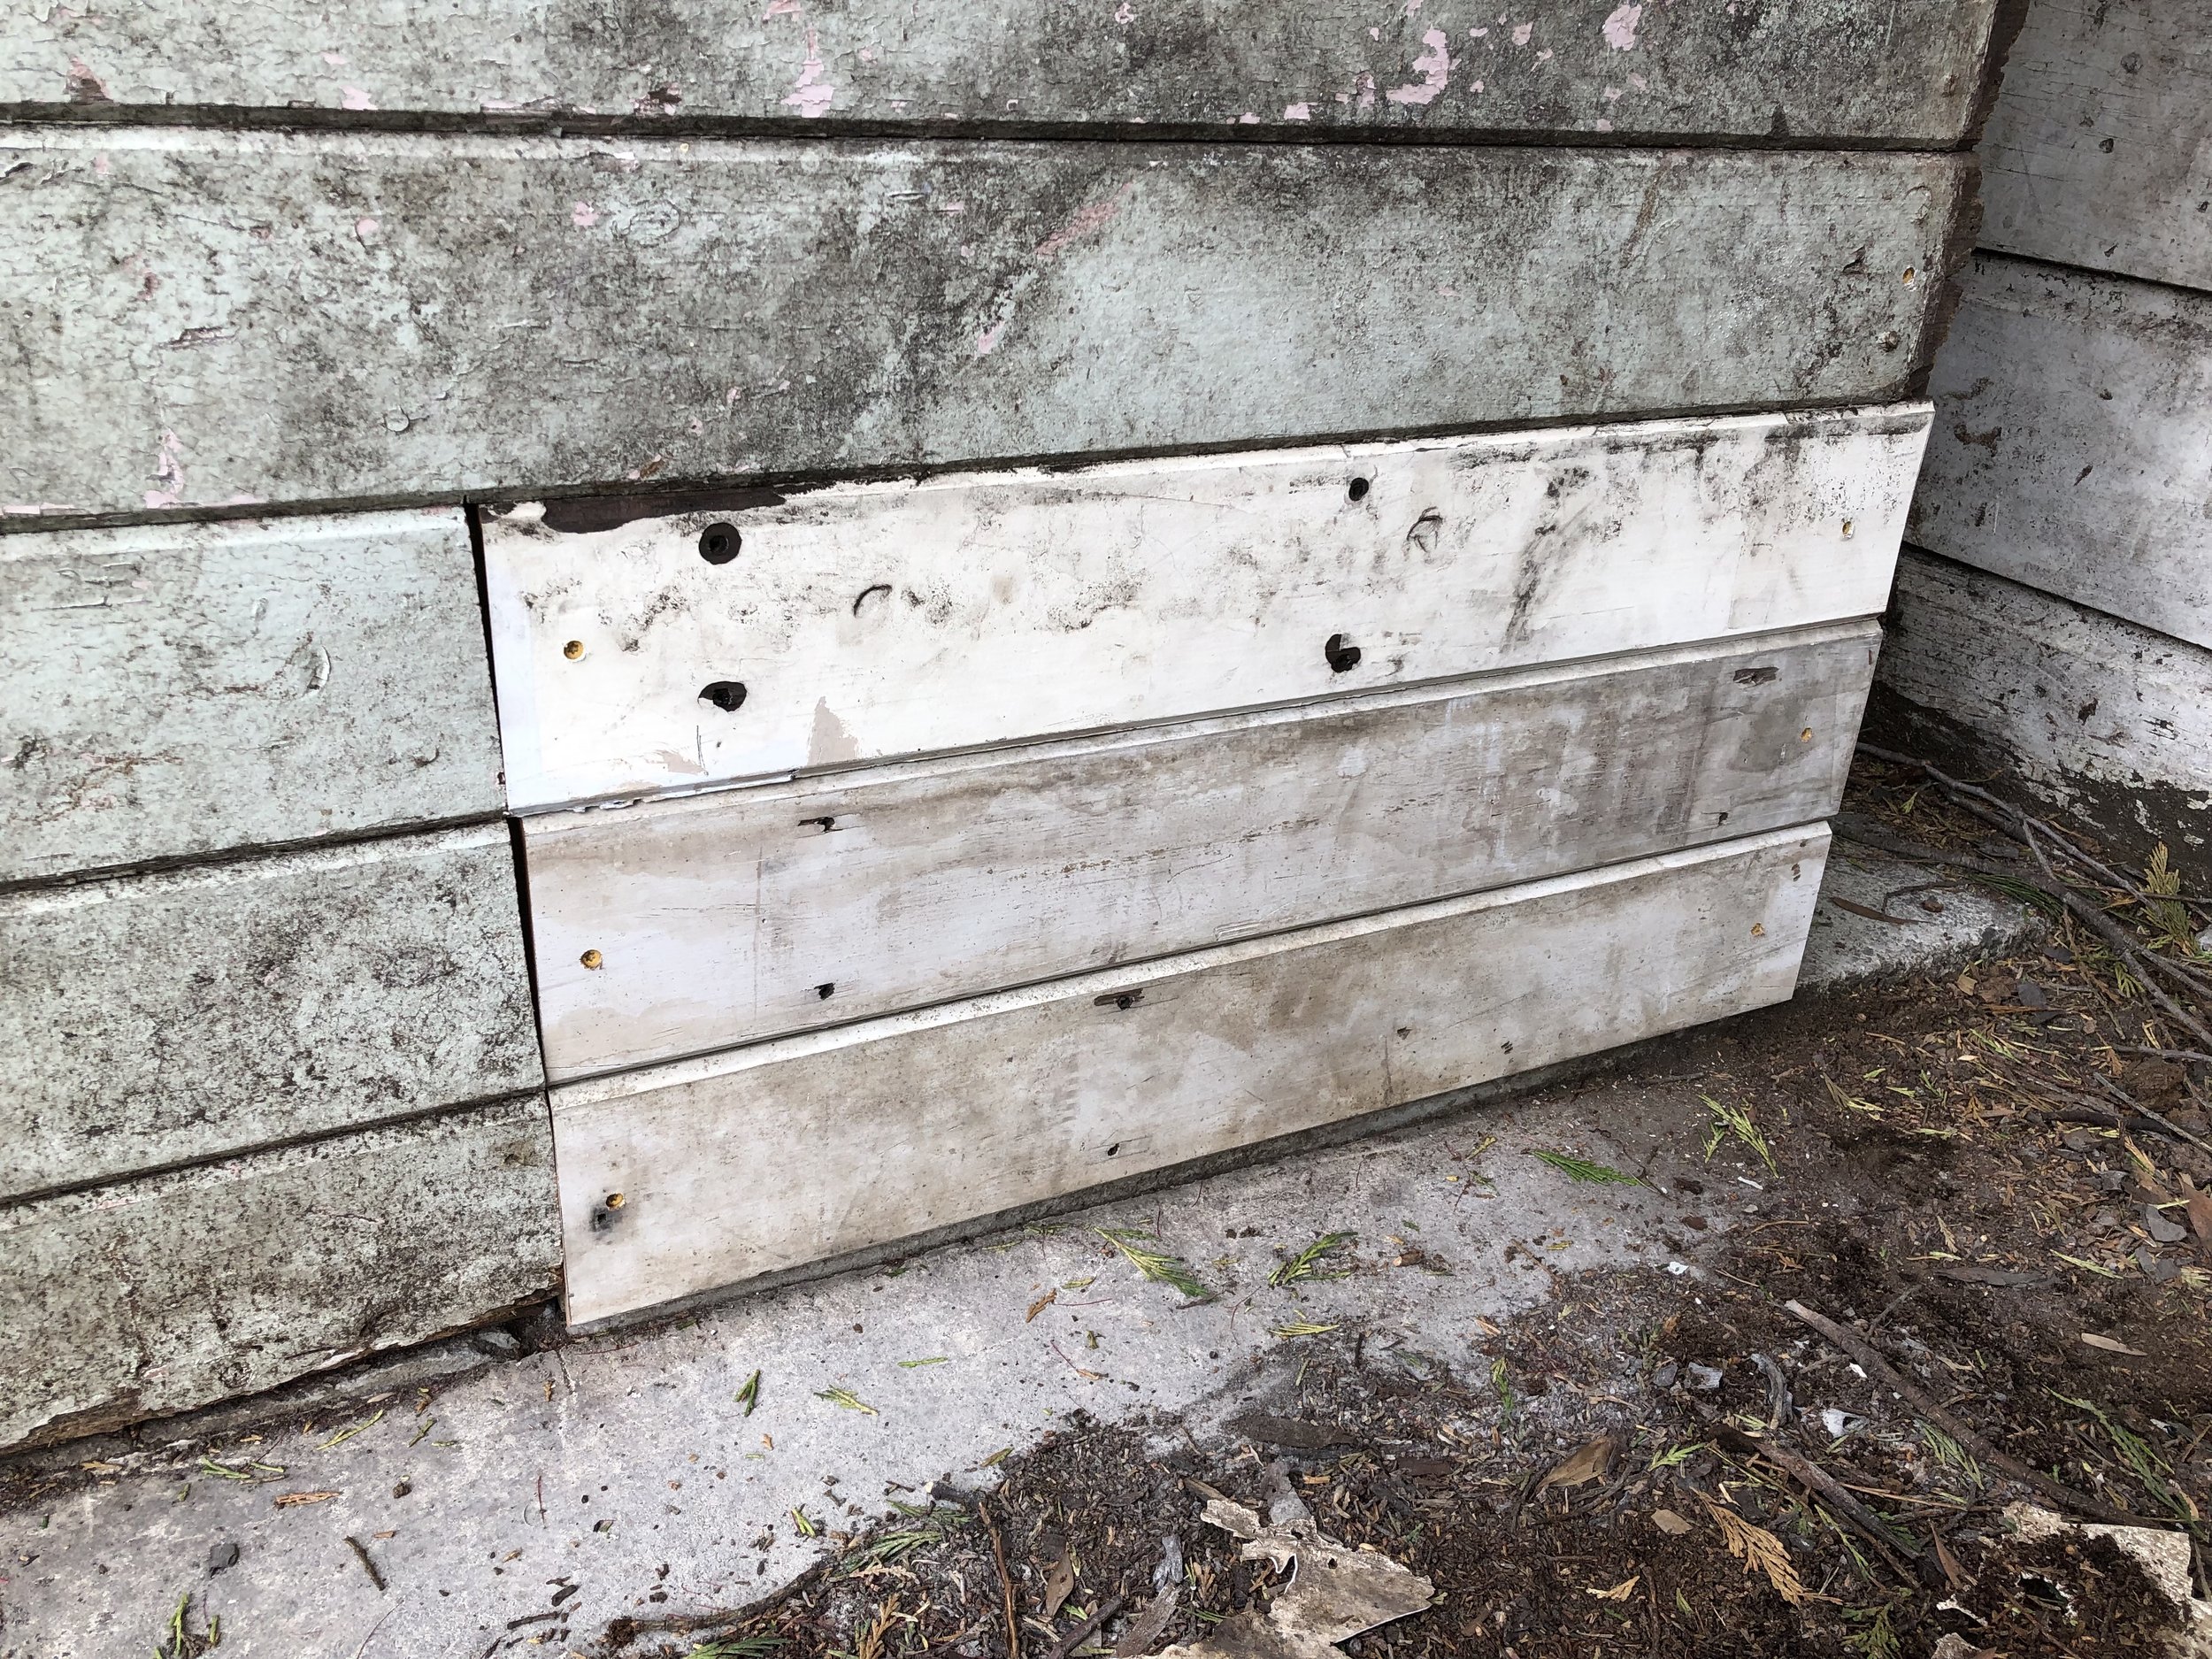
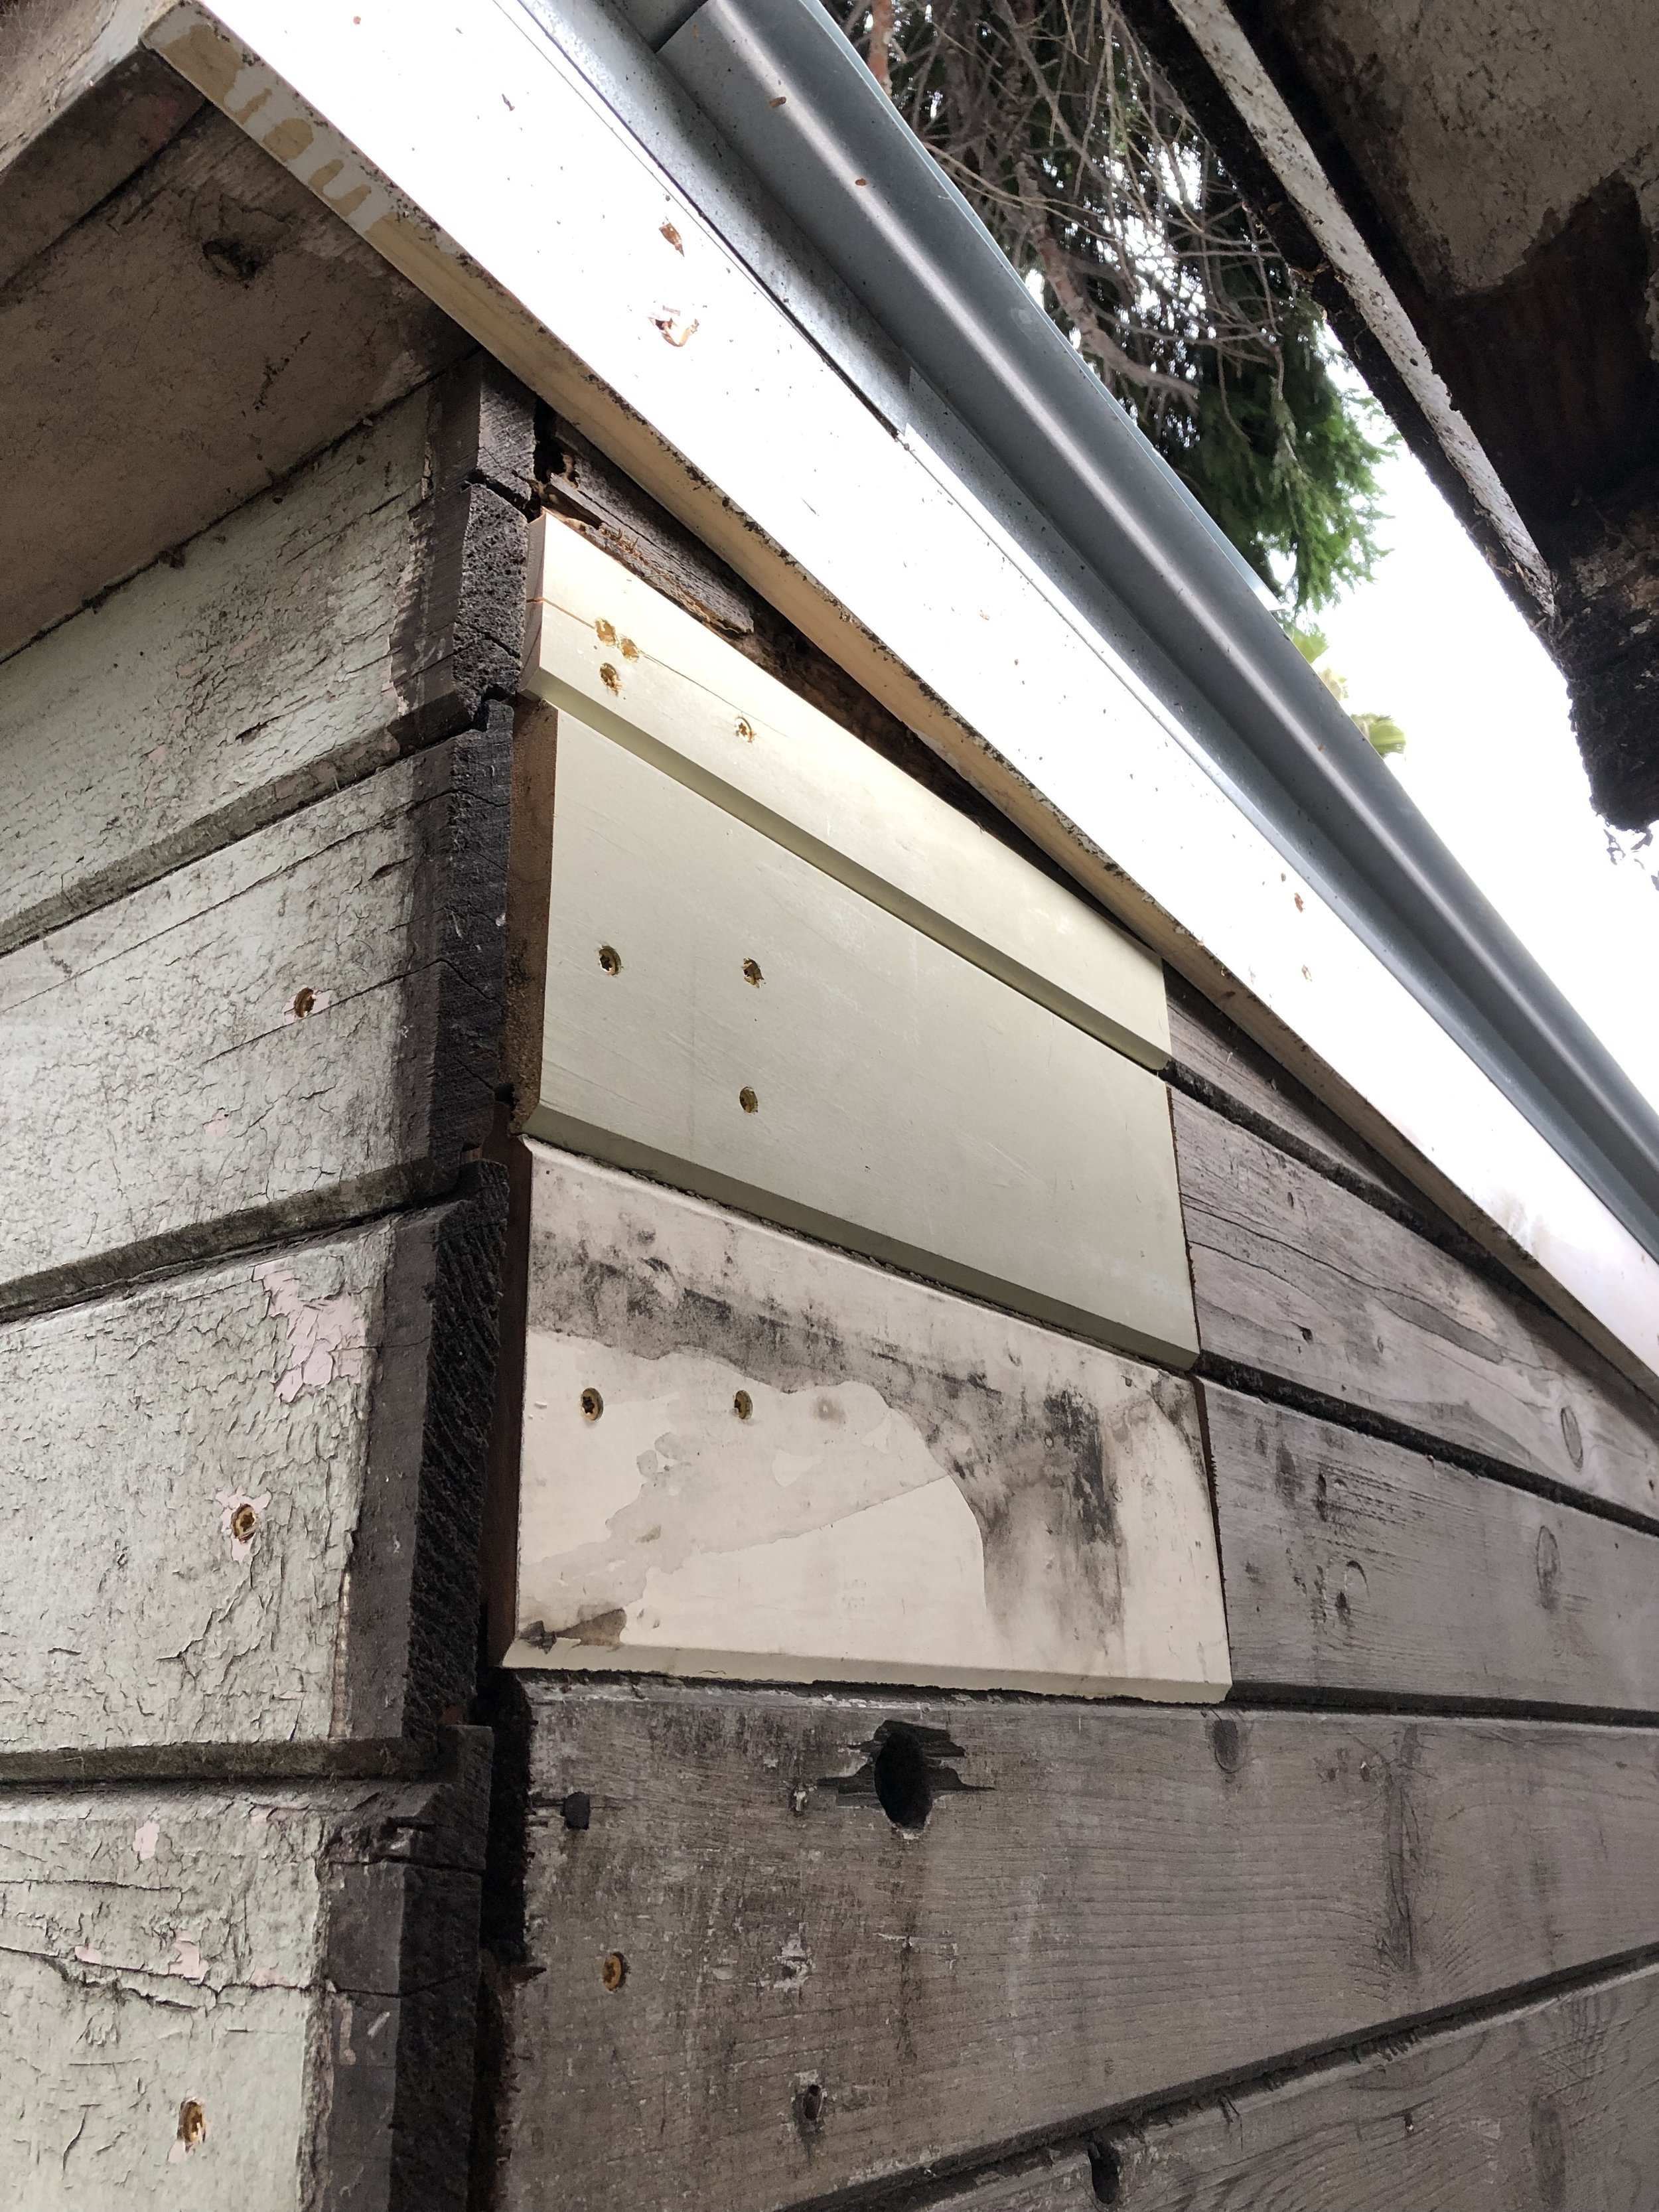
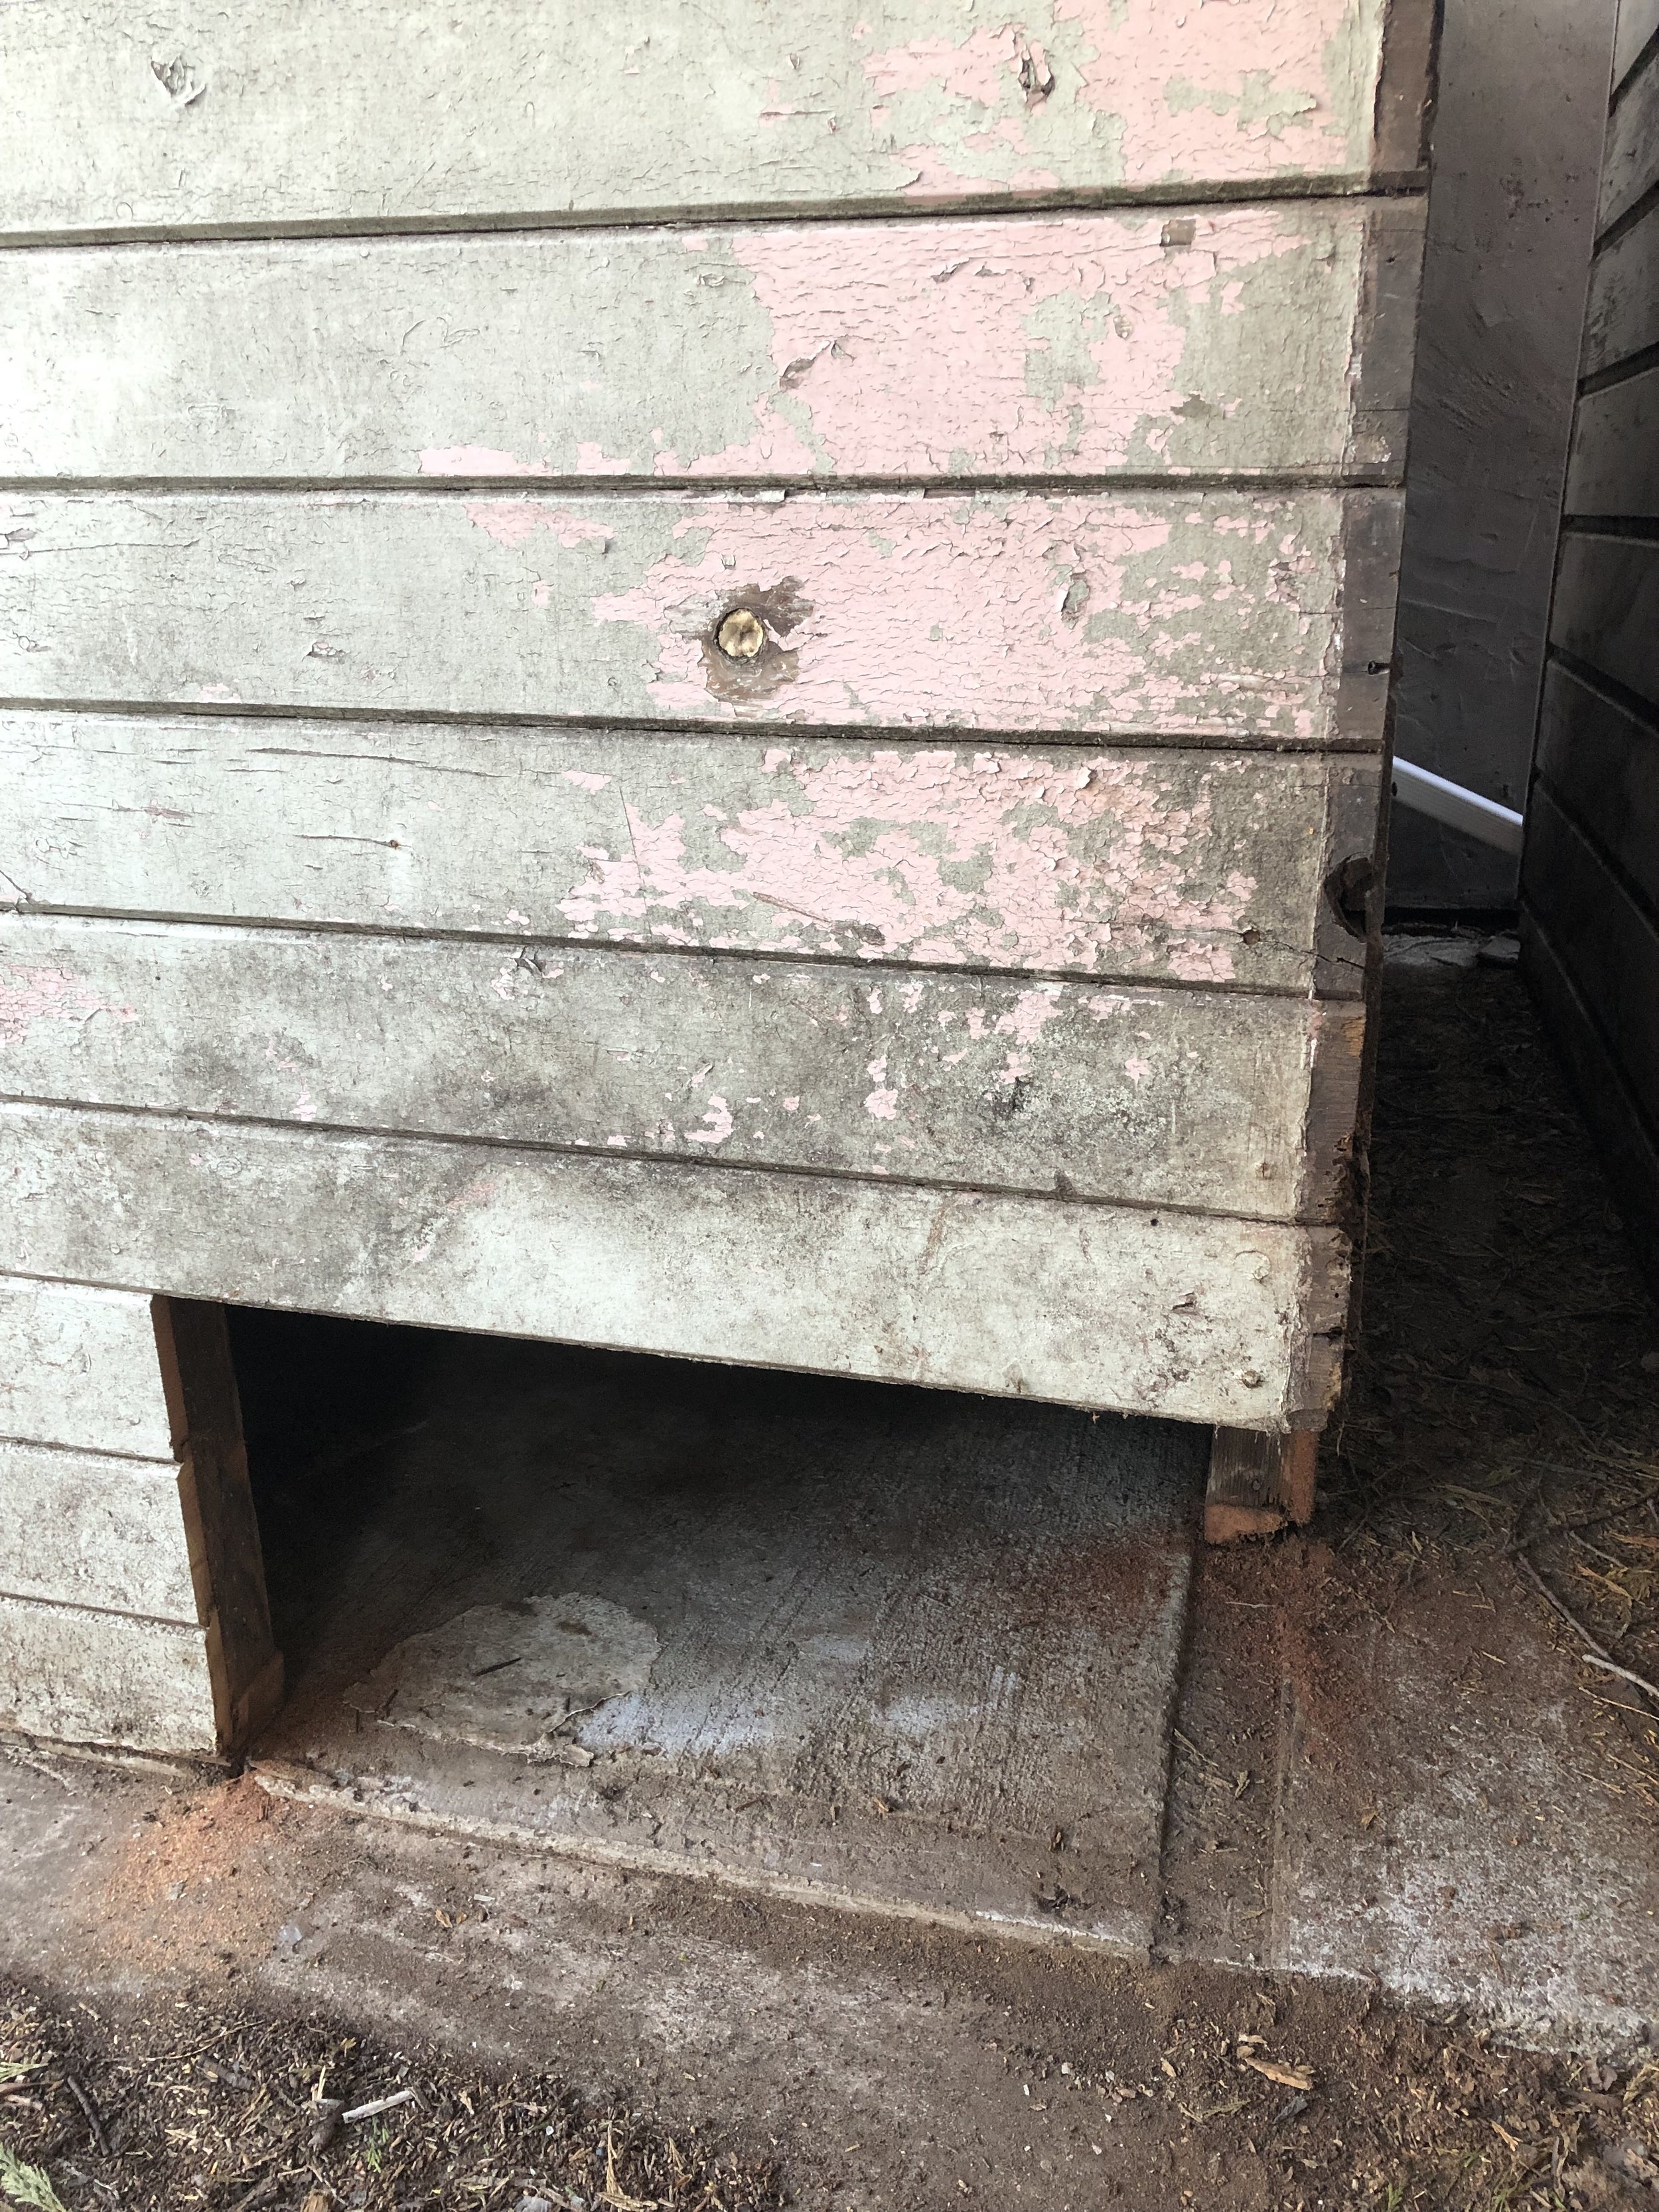
We used pressure-treated 2x4’s at the bottom, since they would frequently come into contact with water. Notice I had to trim them down to 2x3 here, which is why I was relieved to find the reclaimed 2x3’s for the rest of this bit! I was able to use leftover siding scraps from the back wall, so there was very little new lumber purchased for all of this. That’s a bonus from both a budget and an environmental standpoint! Everything looks a little patchwork in these photos, but once everything got sealed and painted, you couldn’t even tell.
Thanks for following along on my shed renovation journey! I’m writing this all in retrospect. At the time I was working on and living in my shed, it was technically an illegal dwelling, so I was inclined to keep it on the DL. I am not in any way endorsing building or living in a less than legal ADU, but since laws vary in different states and cities, I thought I’d share my story in hopes that it inspires and informs folks who are able to do this in a way that complies with local ordinances.