Shelfie Shtick: Reclaimed Open Shelving
Thanks for following along on my shed renovation journey! I’m writing this all in retrospect. At the time I was working on and living in my shed, it was technically an illegal dwelling, so I was inclined to keep it on the DL. I am not in any way endorsing building or living in a less than legal ADU, but since laws vary in different states and cities, I thought I’d share my story in hopes that it inspires and informs folks who are able to do this in a way that complies with local ordinances.

“Have nothing in your houses that you do not know to be beautiful or believe to be useful.” - William Morris
I am someone who wholeheartedly subscribes to the above rule of thumb. Indeed, I often try to ensure that everything that I bring into my home is both beautiful and useful. I much prefer handwoven baskets or wheel-thrown bowls to functionless trinkets, and lean toward minimalism in general. Since I so enjoy curating functional and visually pleasing objects, I’m also quite fond of open shelving. If you’re gonna have all that nice stuff, you might as well show it off!
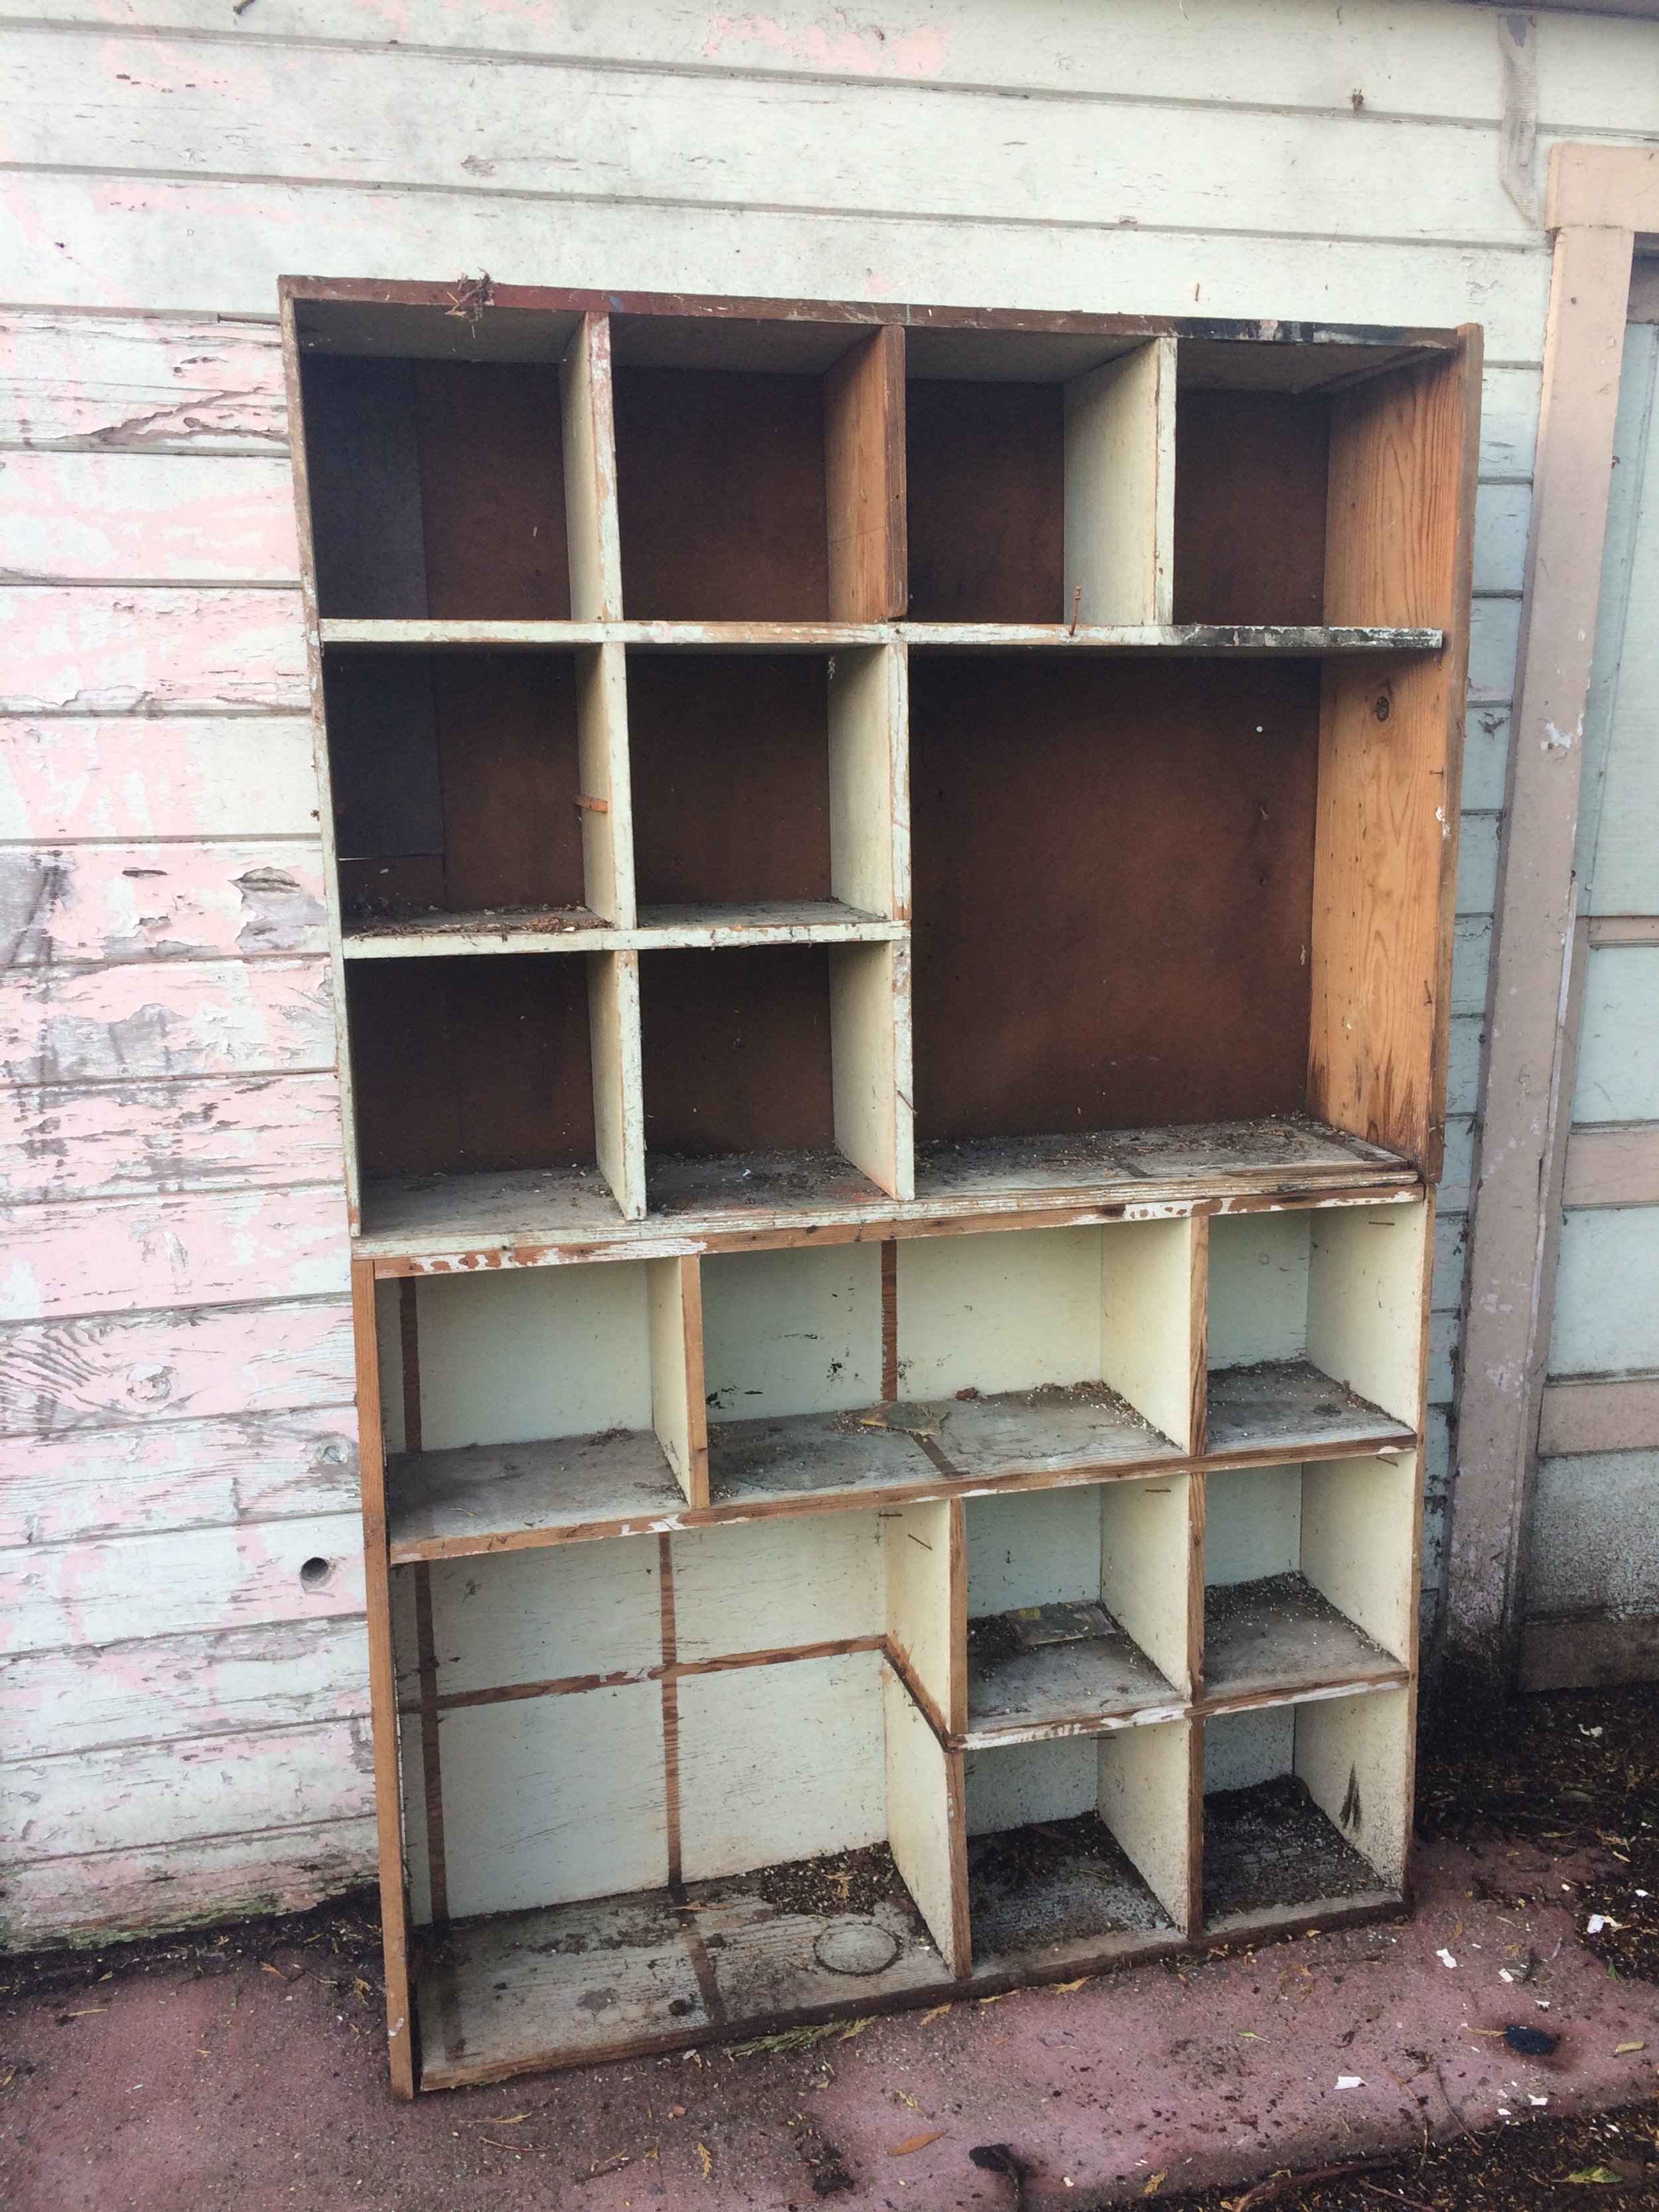
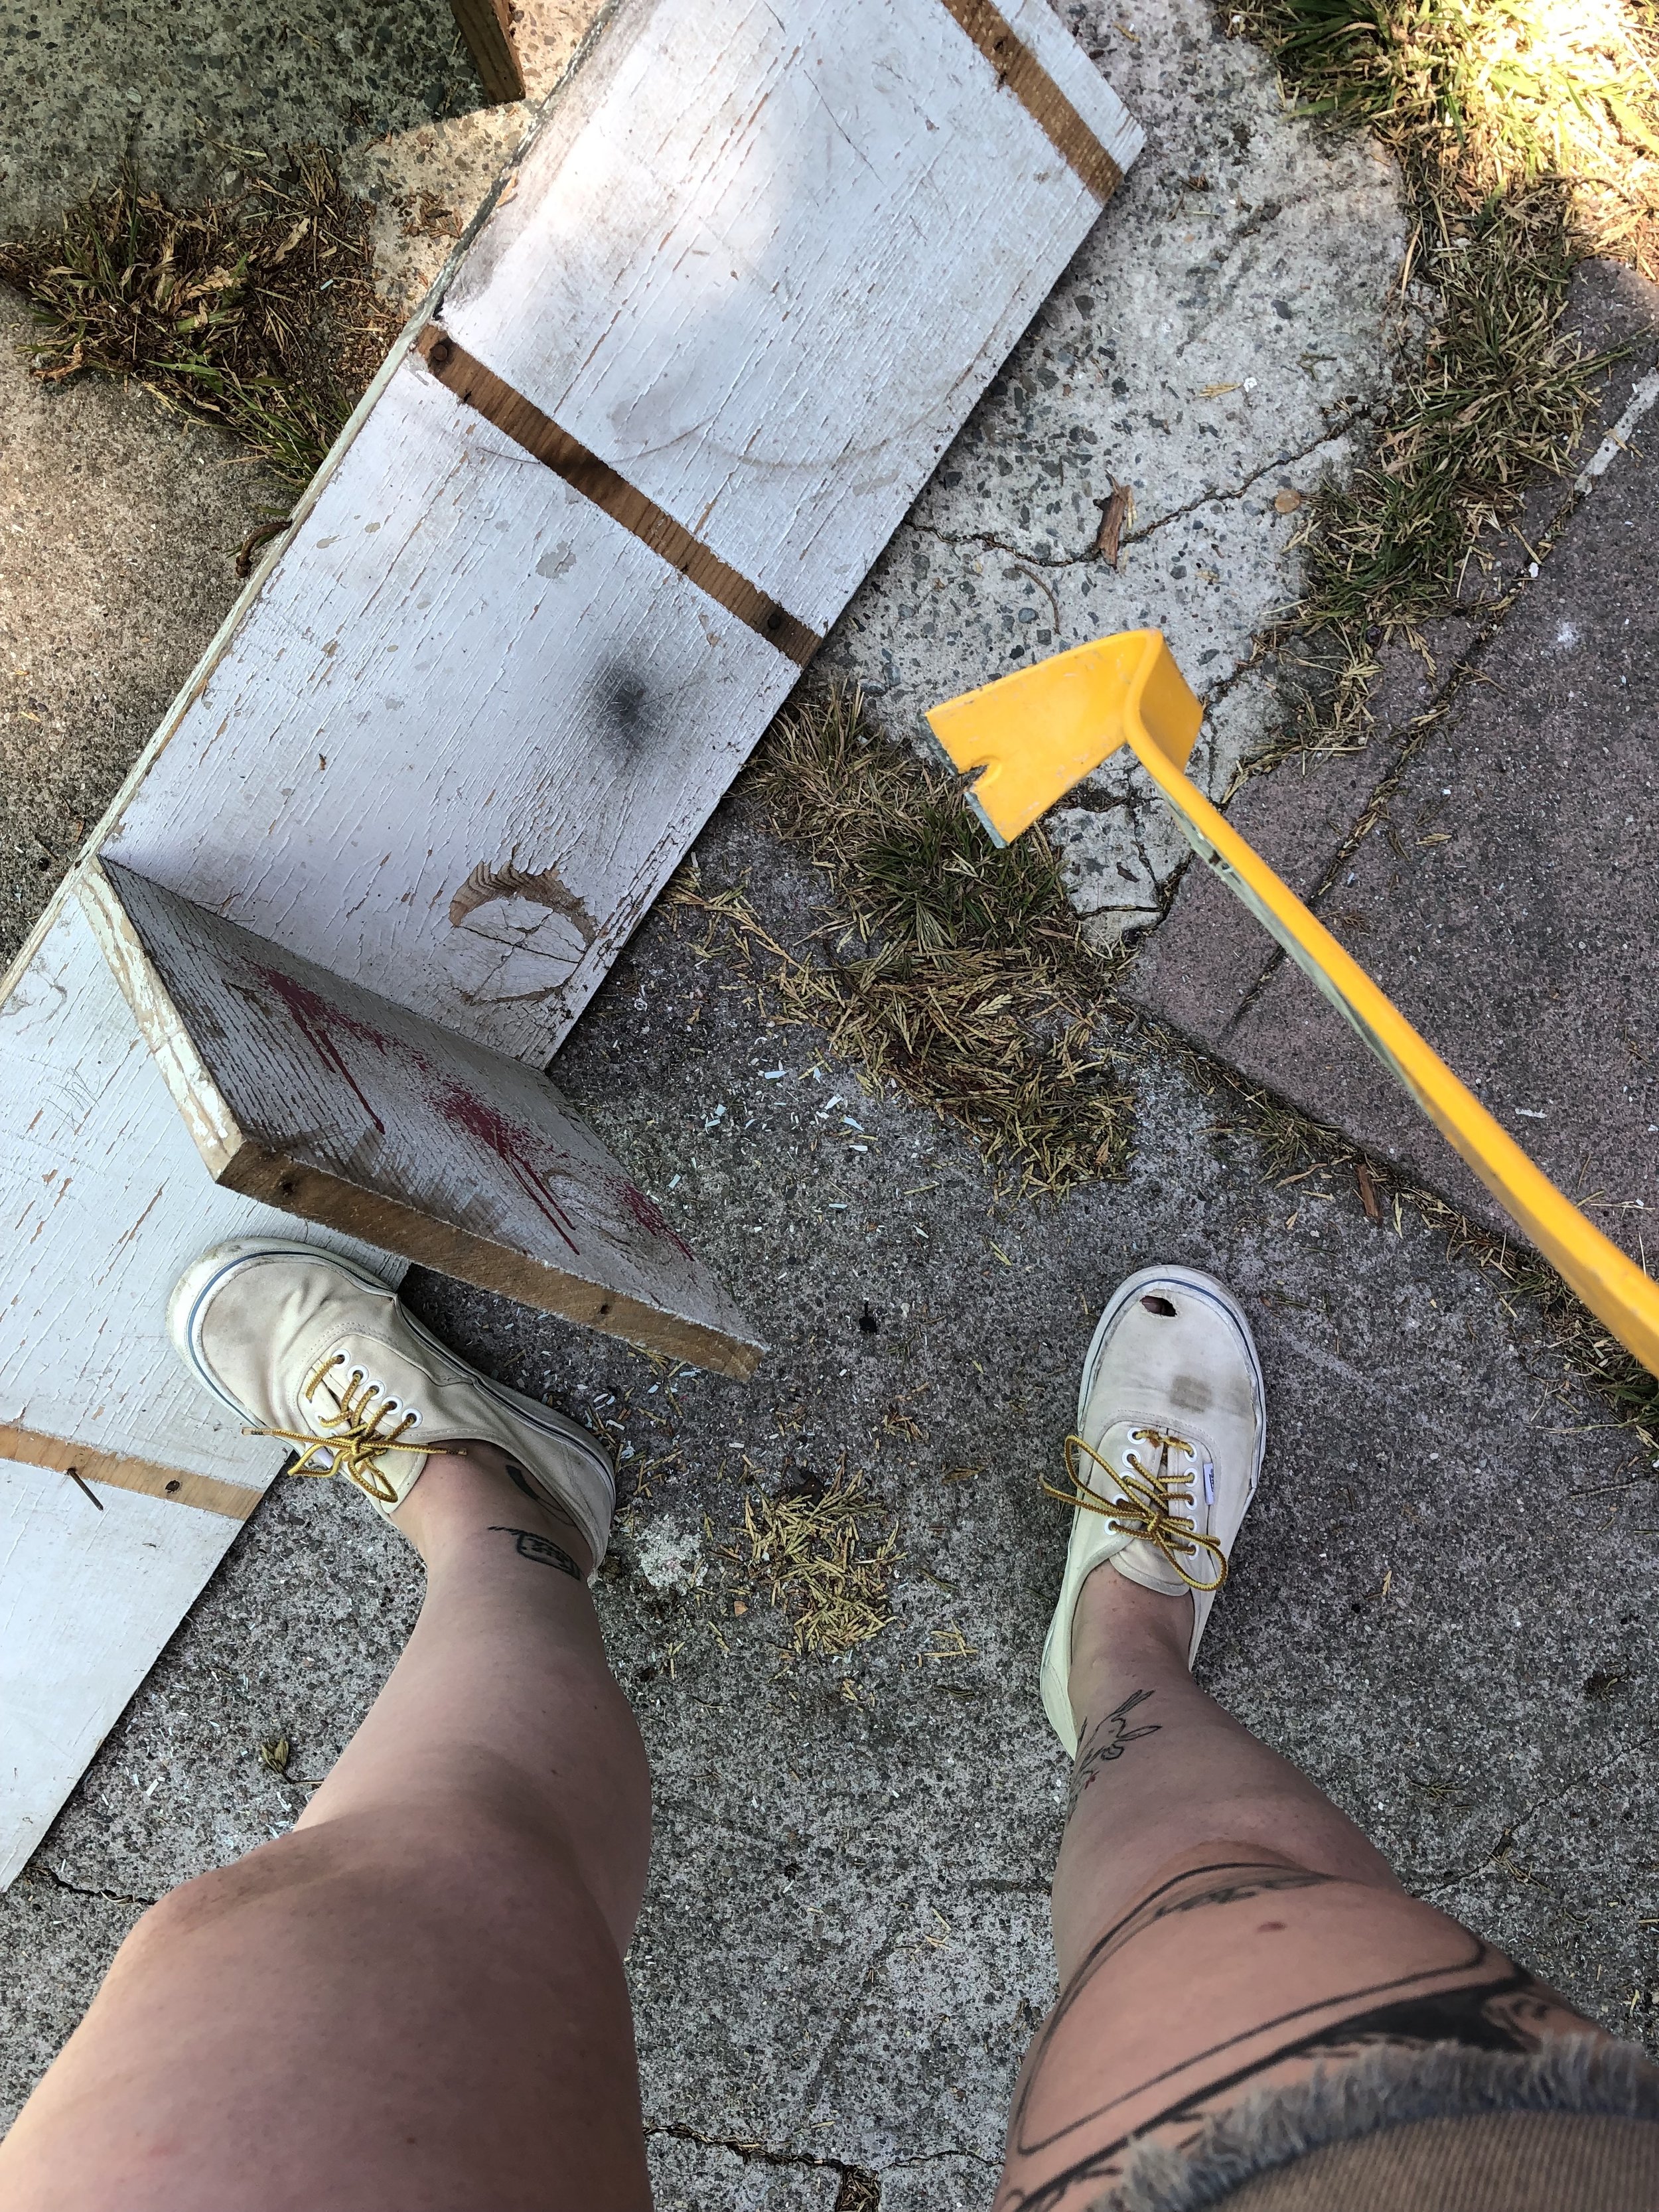
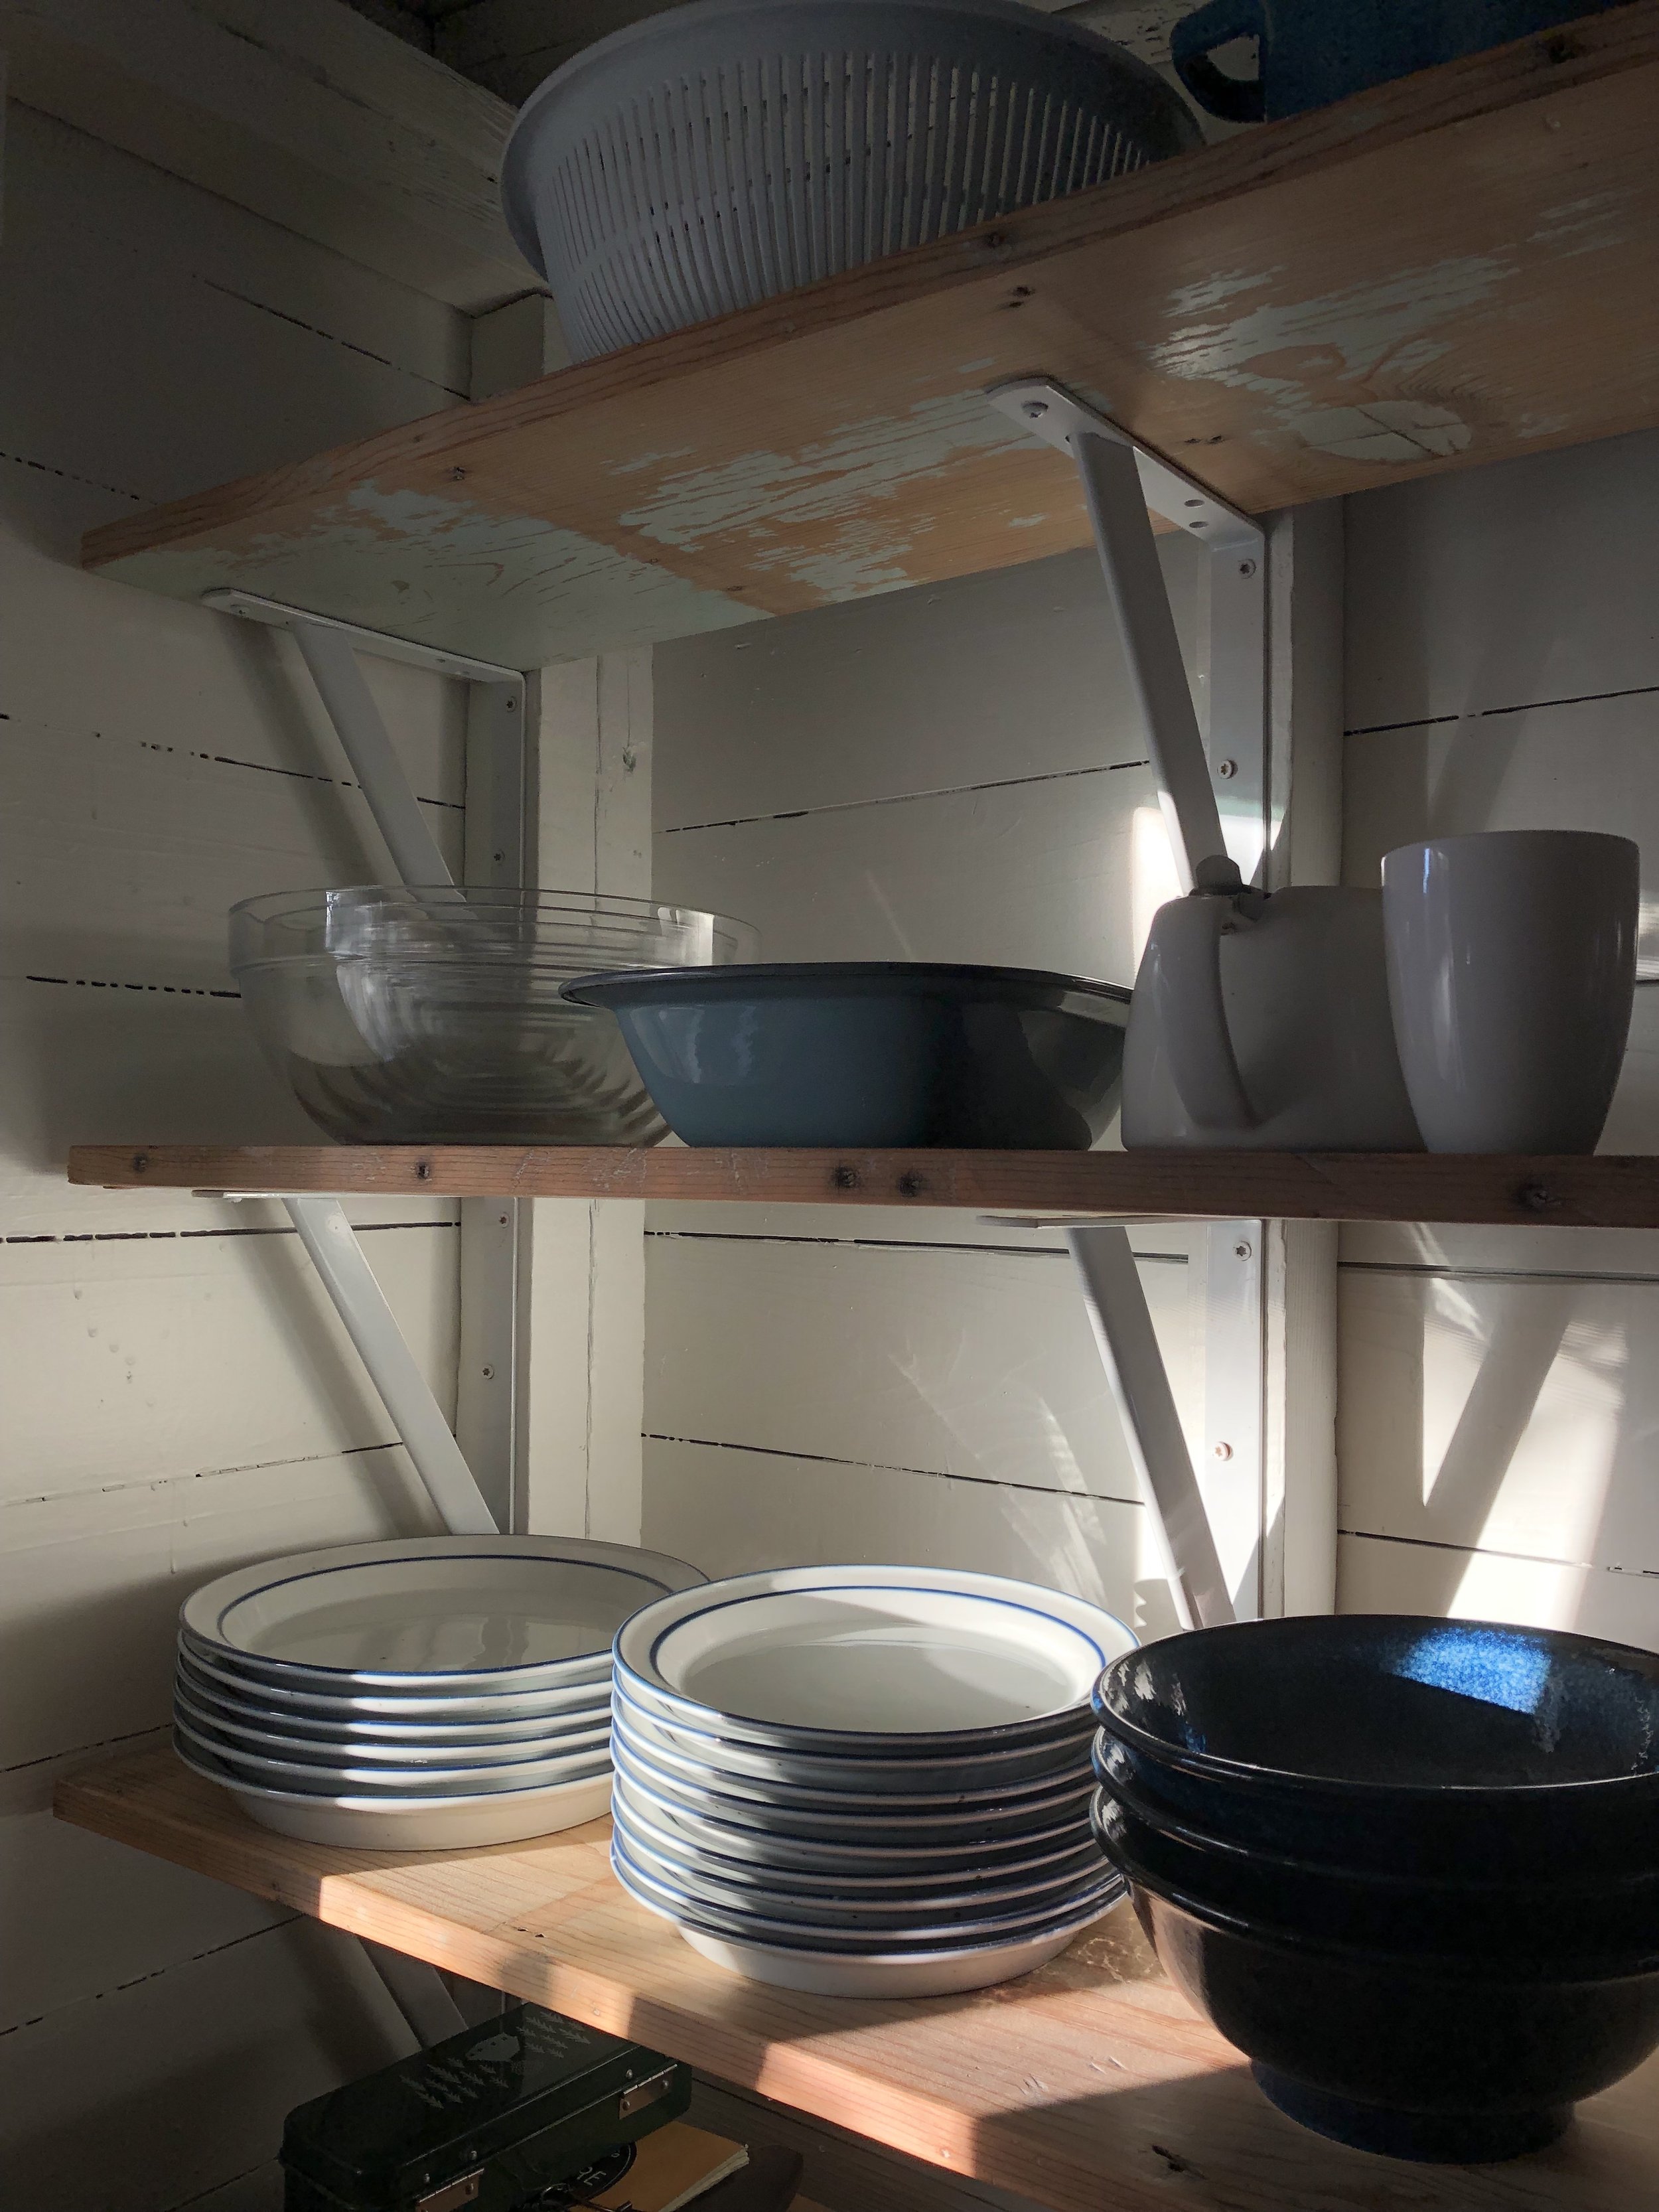
During my Demo Day, I came across a pretty decrepit old shelving unit that apparently once had some specific purpose, though I have not idea what that purpose was. I set it aside, knowing that I wanted to repurpose the charming “shabby chic” lumber for a new set of shelves later on in the renovation. Eventually, while I was waiting for paint to dry, I used a crow bar to break them down into useable boards. I also used a a hammer and a pair of vice grips to pull out the rusty old nails.
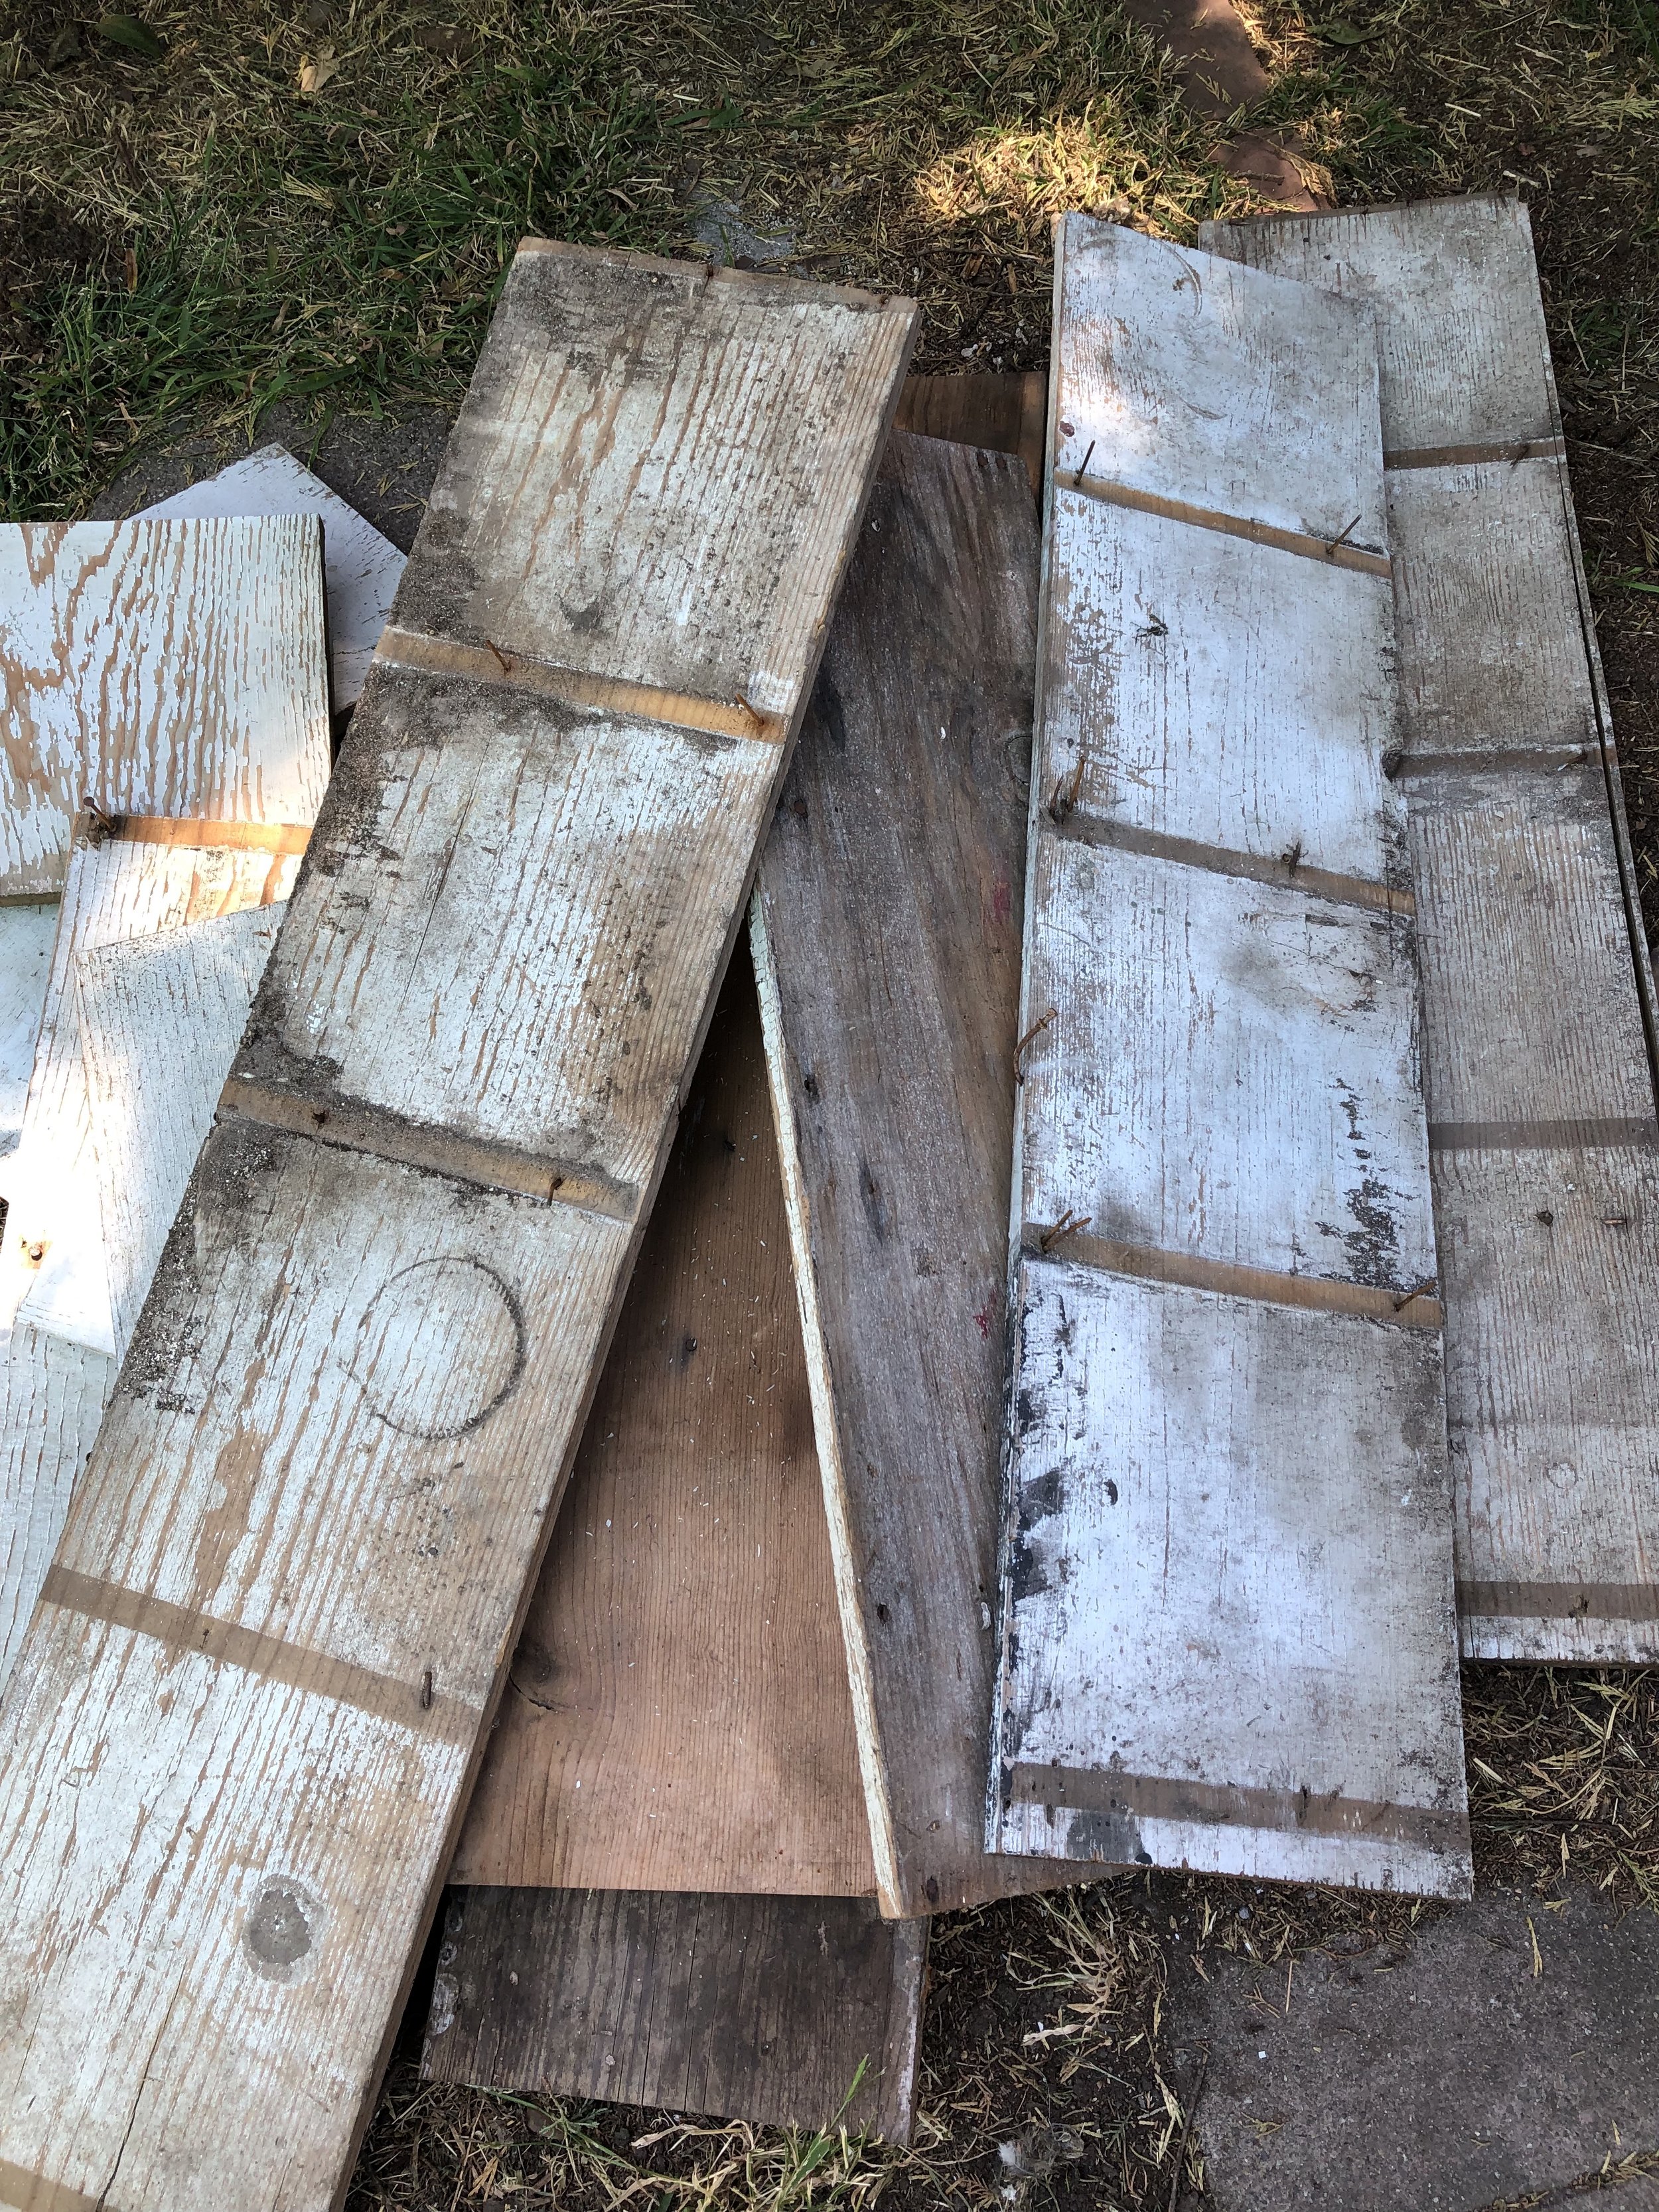
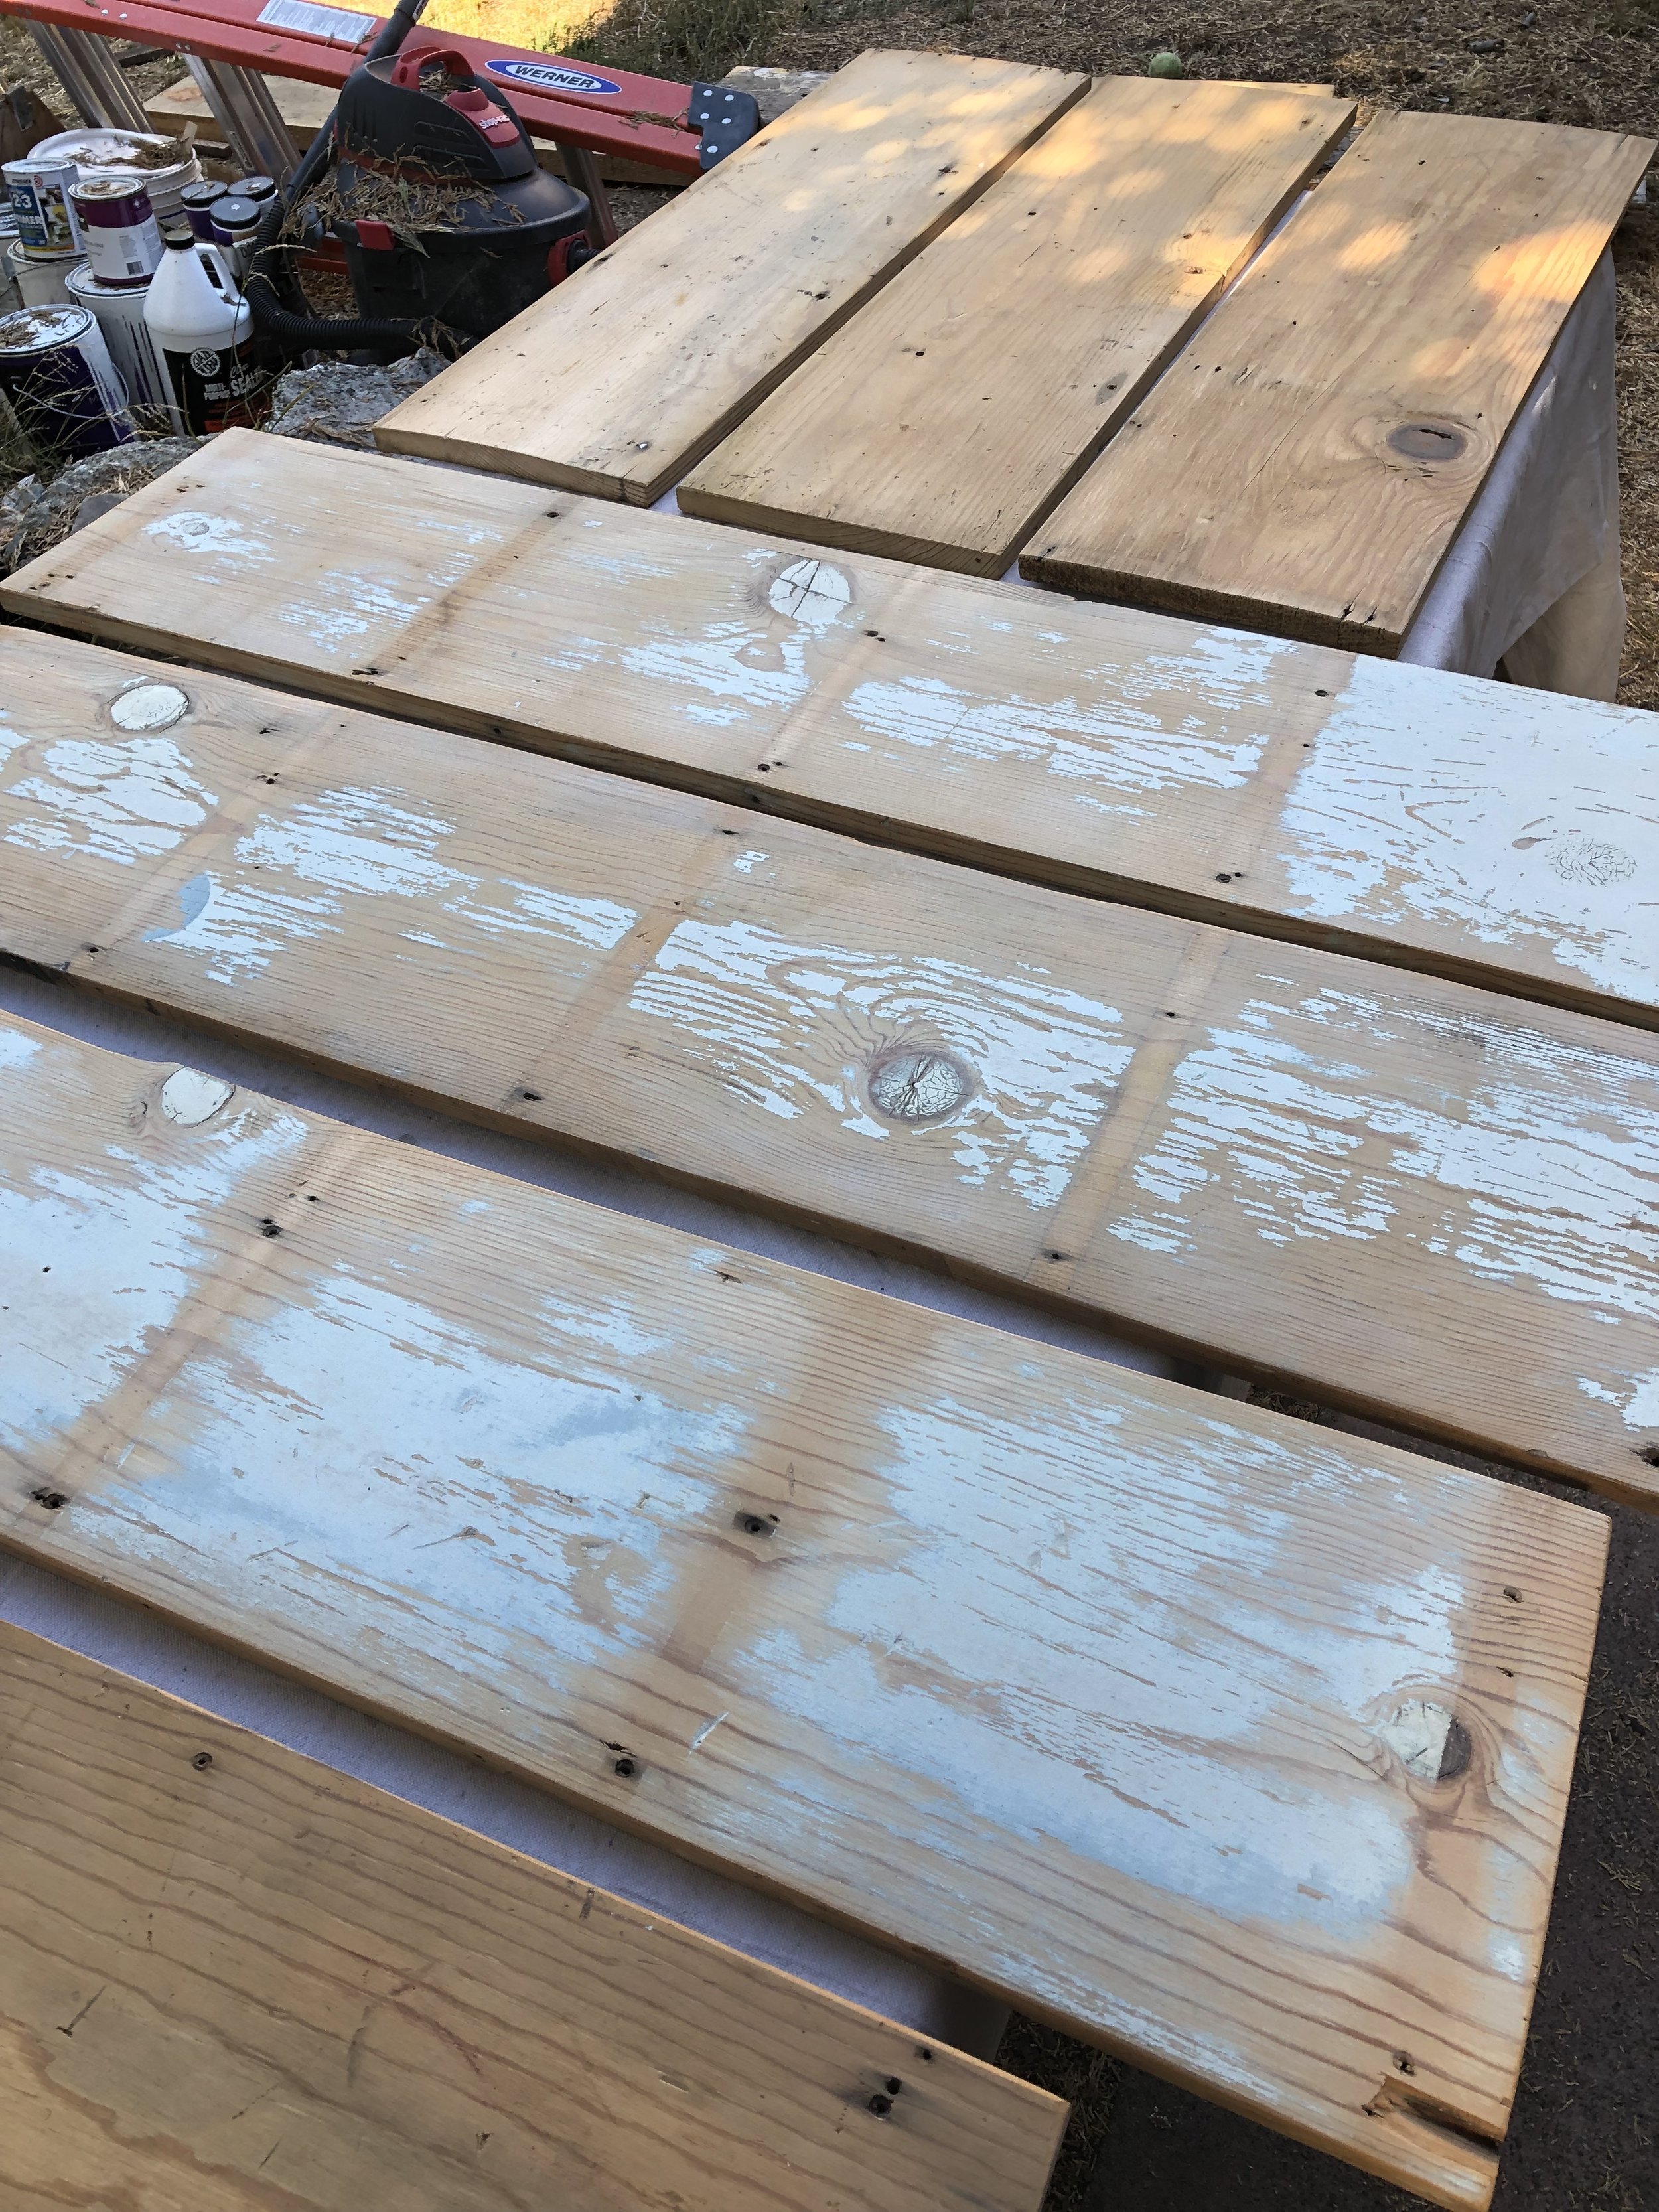
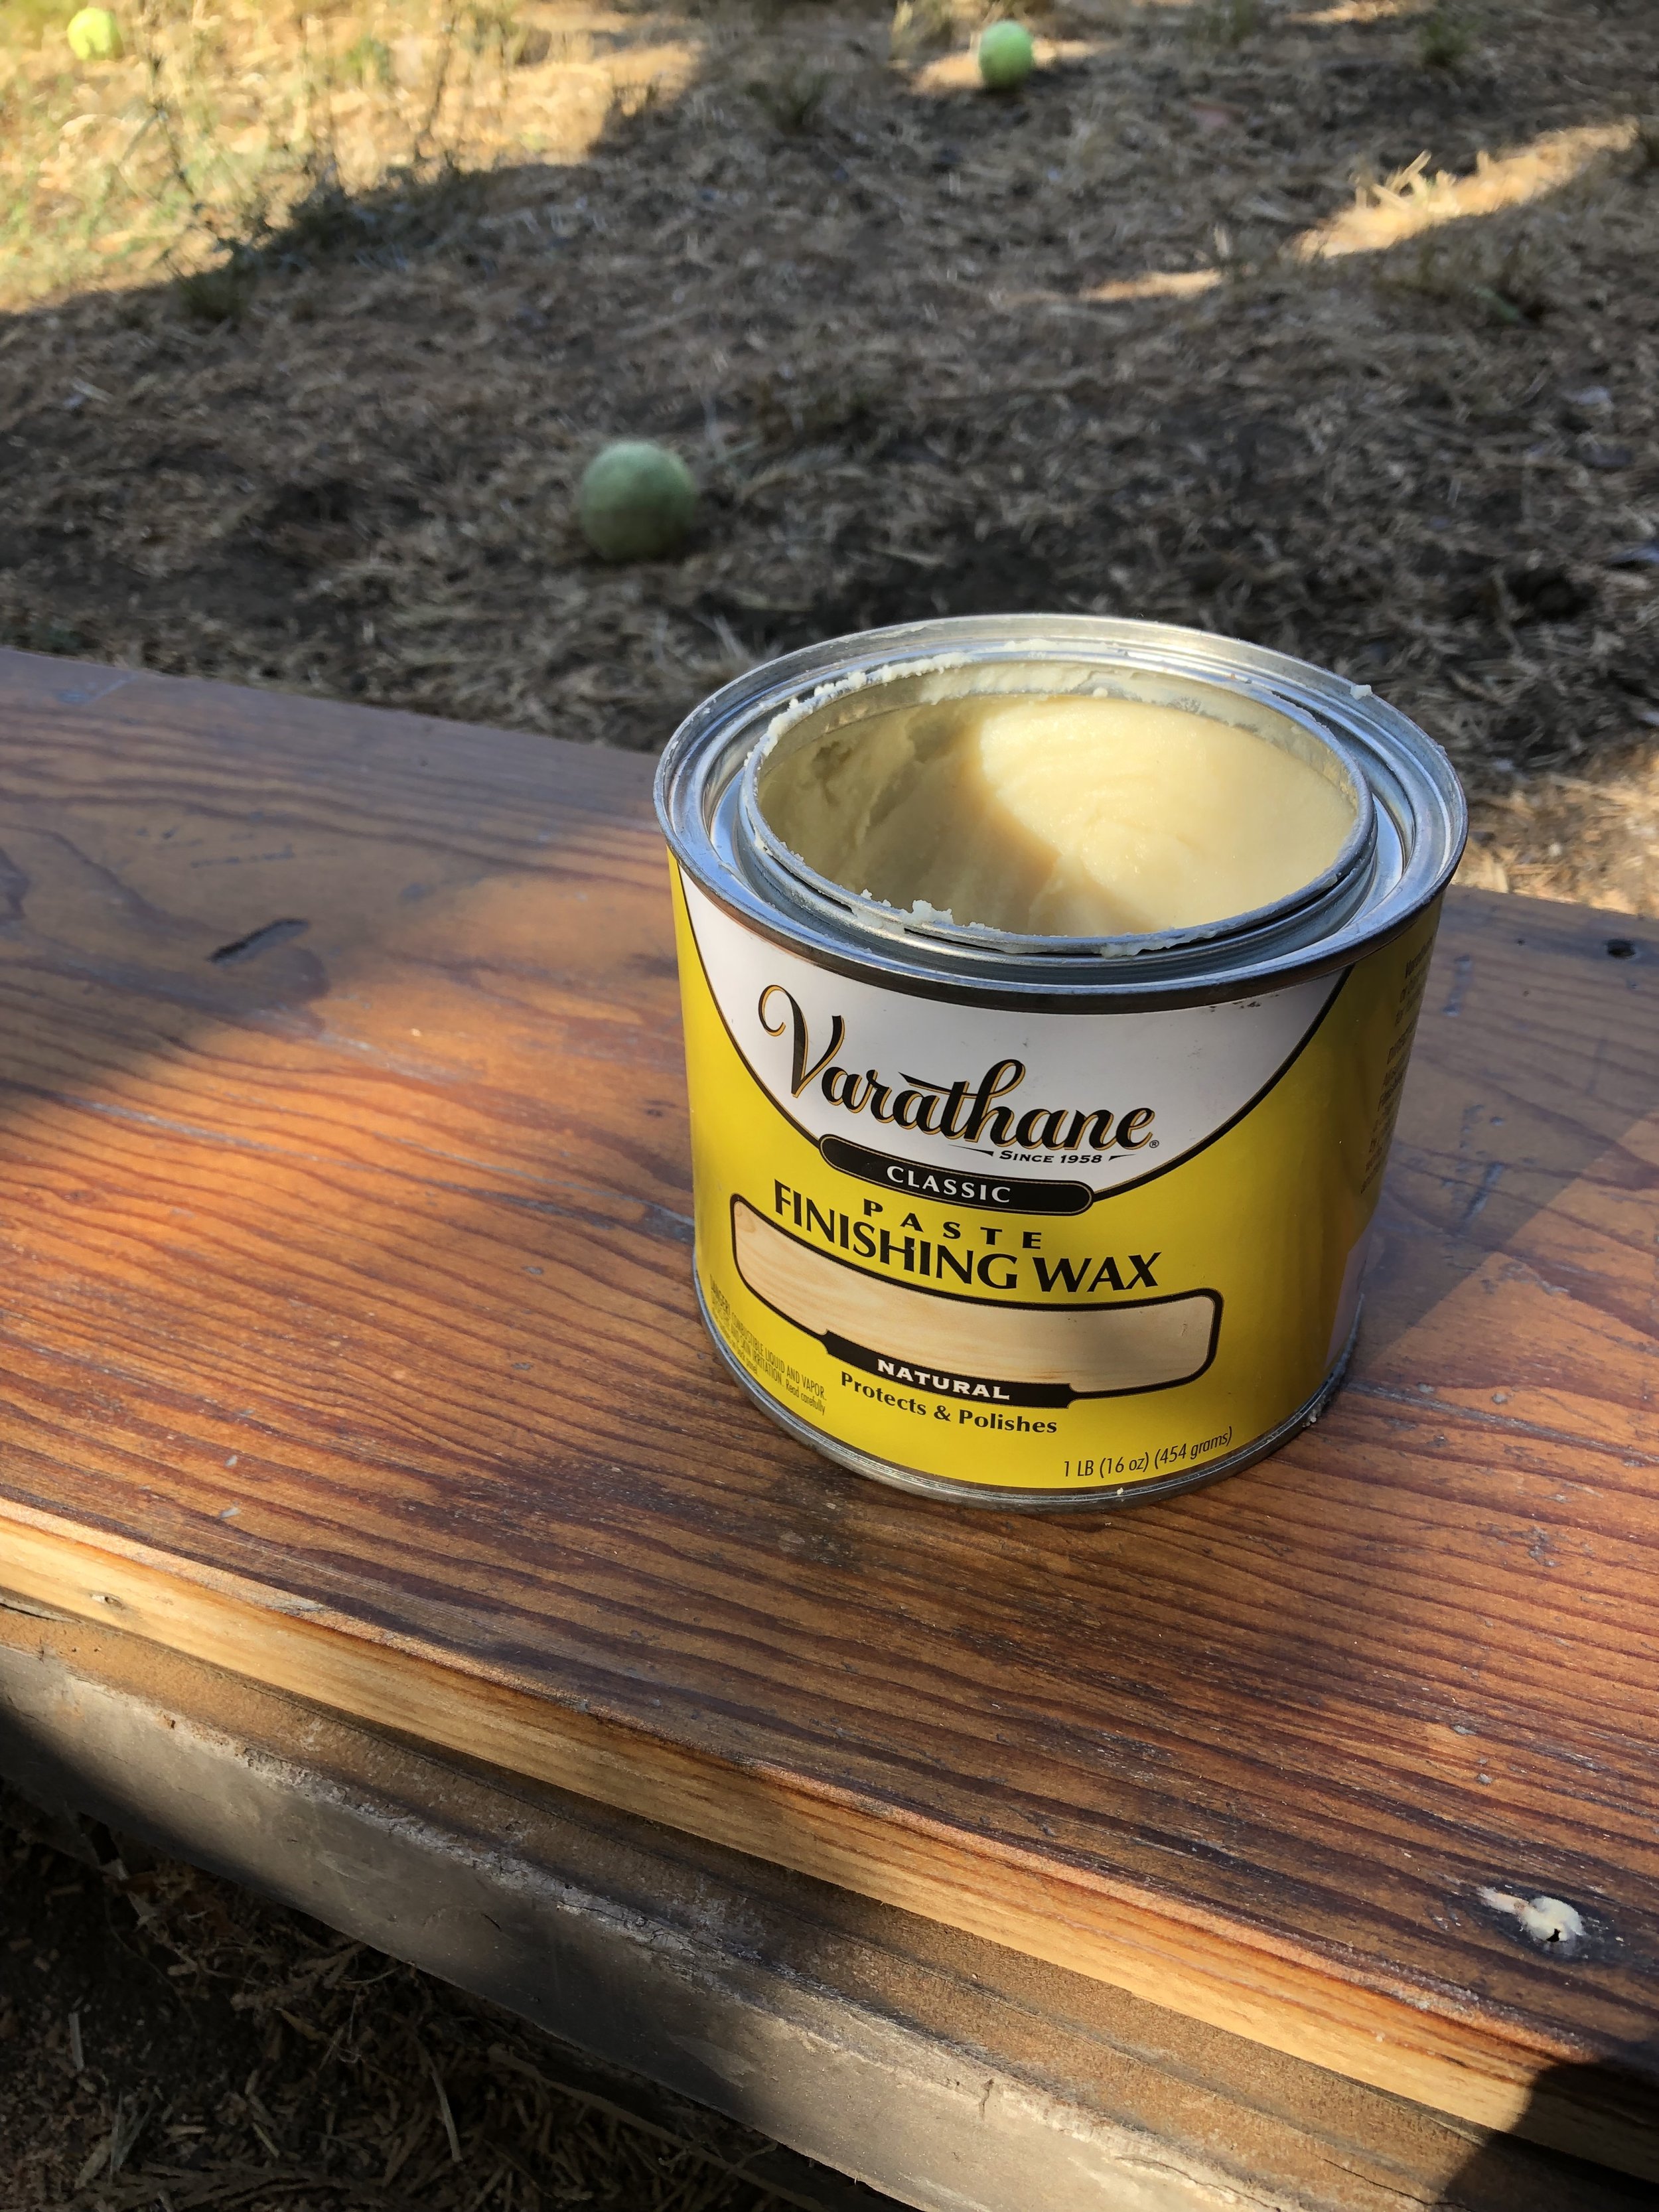
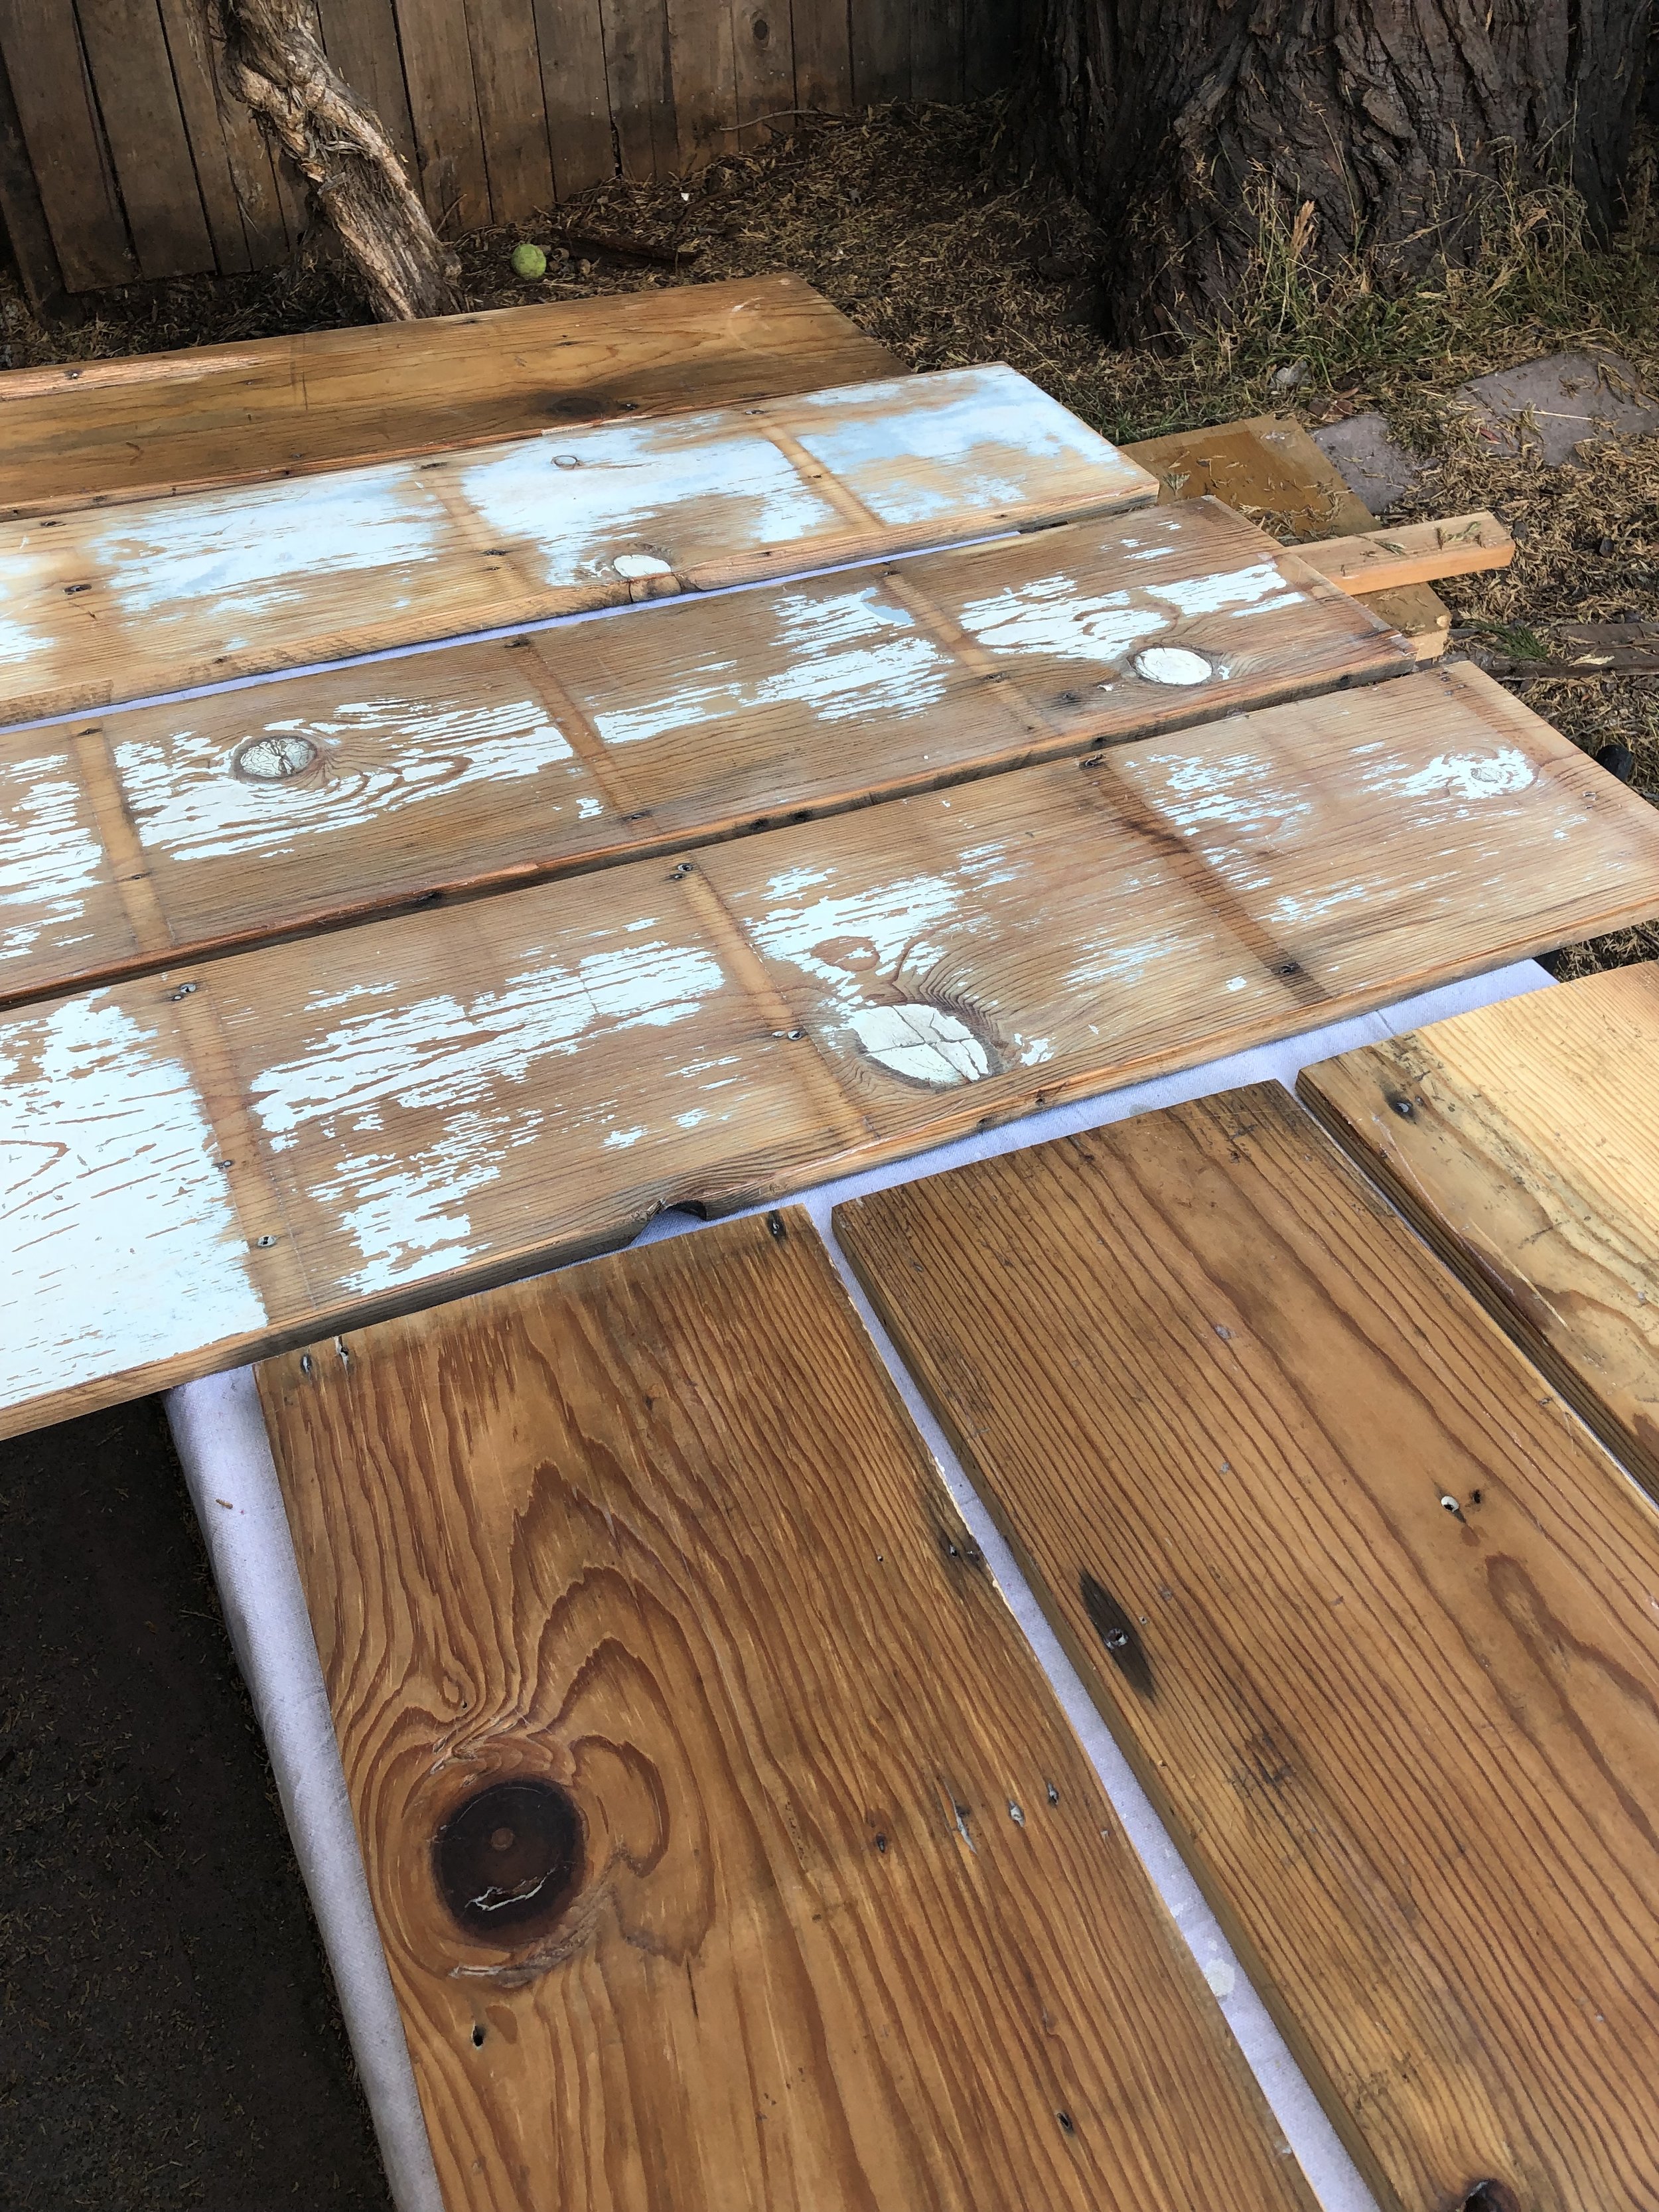
After trimming the boards to size, I used an orbital sander to get rid of any gunk and rough edges. I intentionally didn’t sand off all the old sea-foam green paint because I liked the look of it. The next step was applying a couple coats of Varathane Finishing Wax, which is one of my favorite clear coats. It adds protection to the wood while maintaining a lovely matte sheen, which was perfect for the vintage vibe I was trying to achieve.
Once the wax was dry, it was time to hang the shelves! I used these brackets from, you guessed it, Home Depot. Pro tip: Punch all your screws half-way into an old cardboard box and spray-paint the heads to match the brackets! You’ll be glad you did.
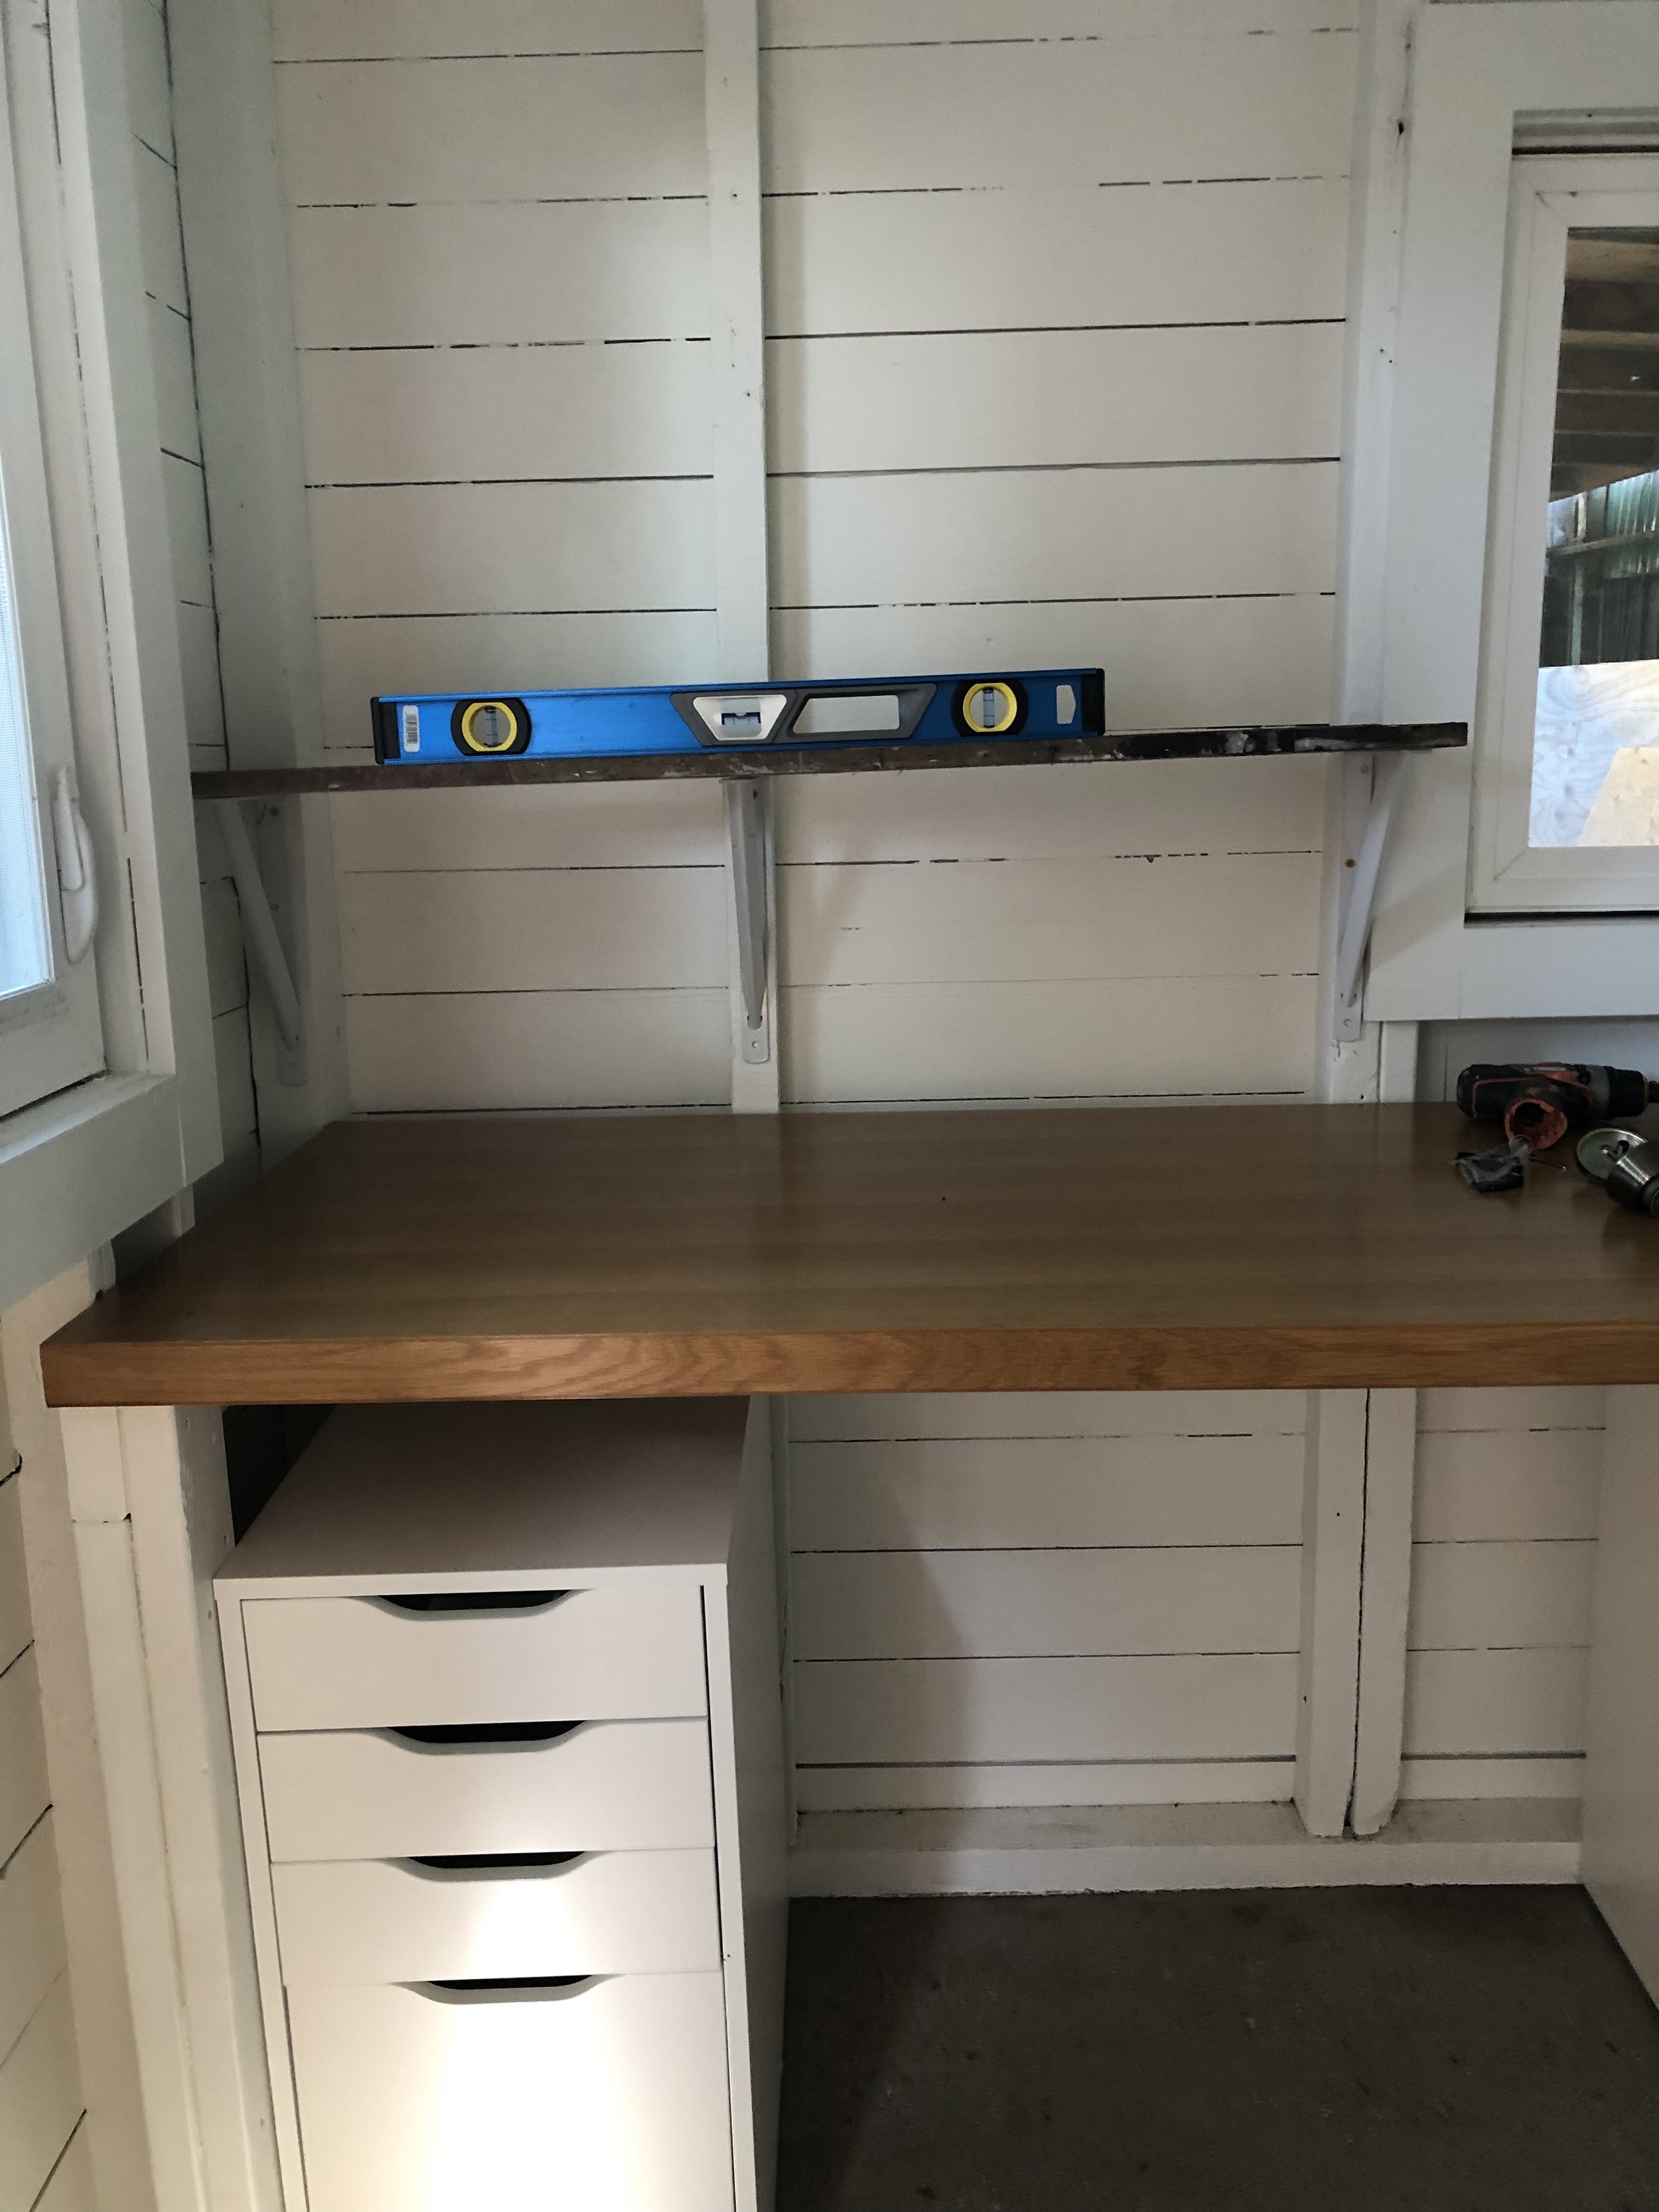
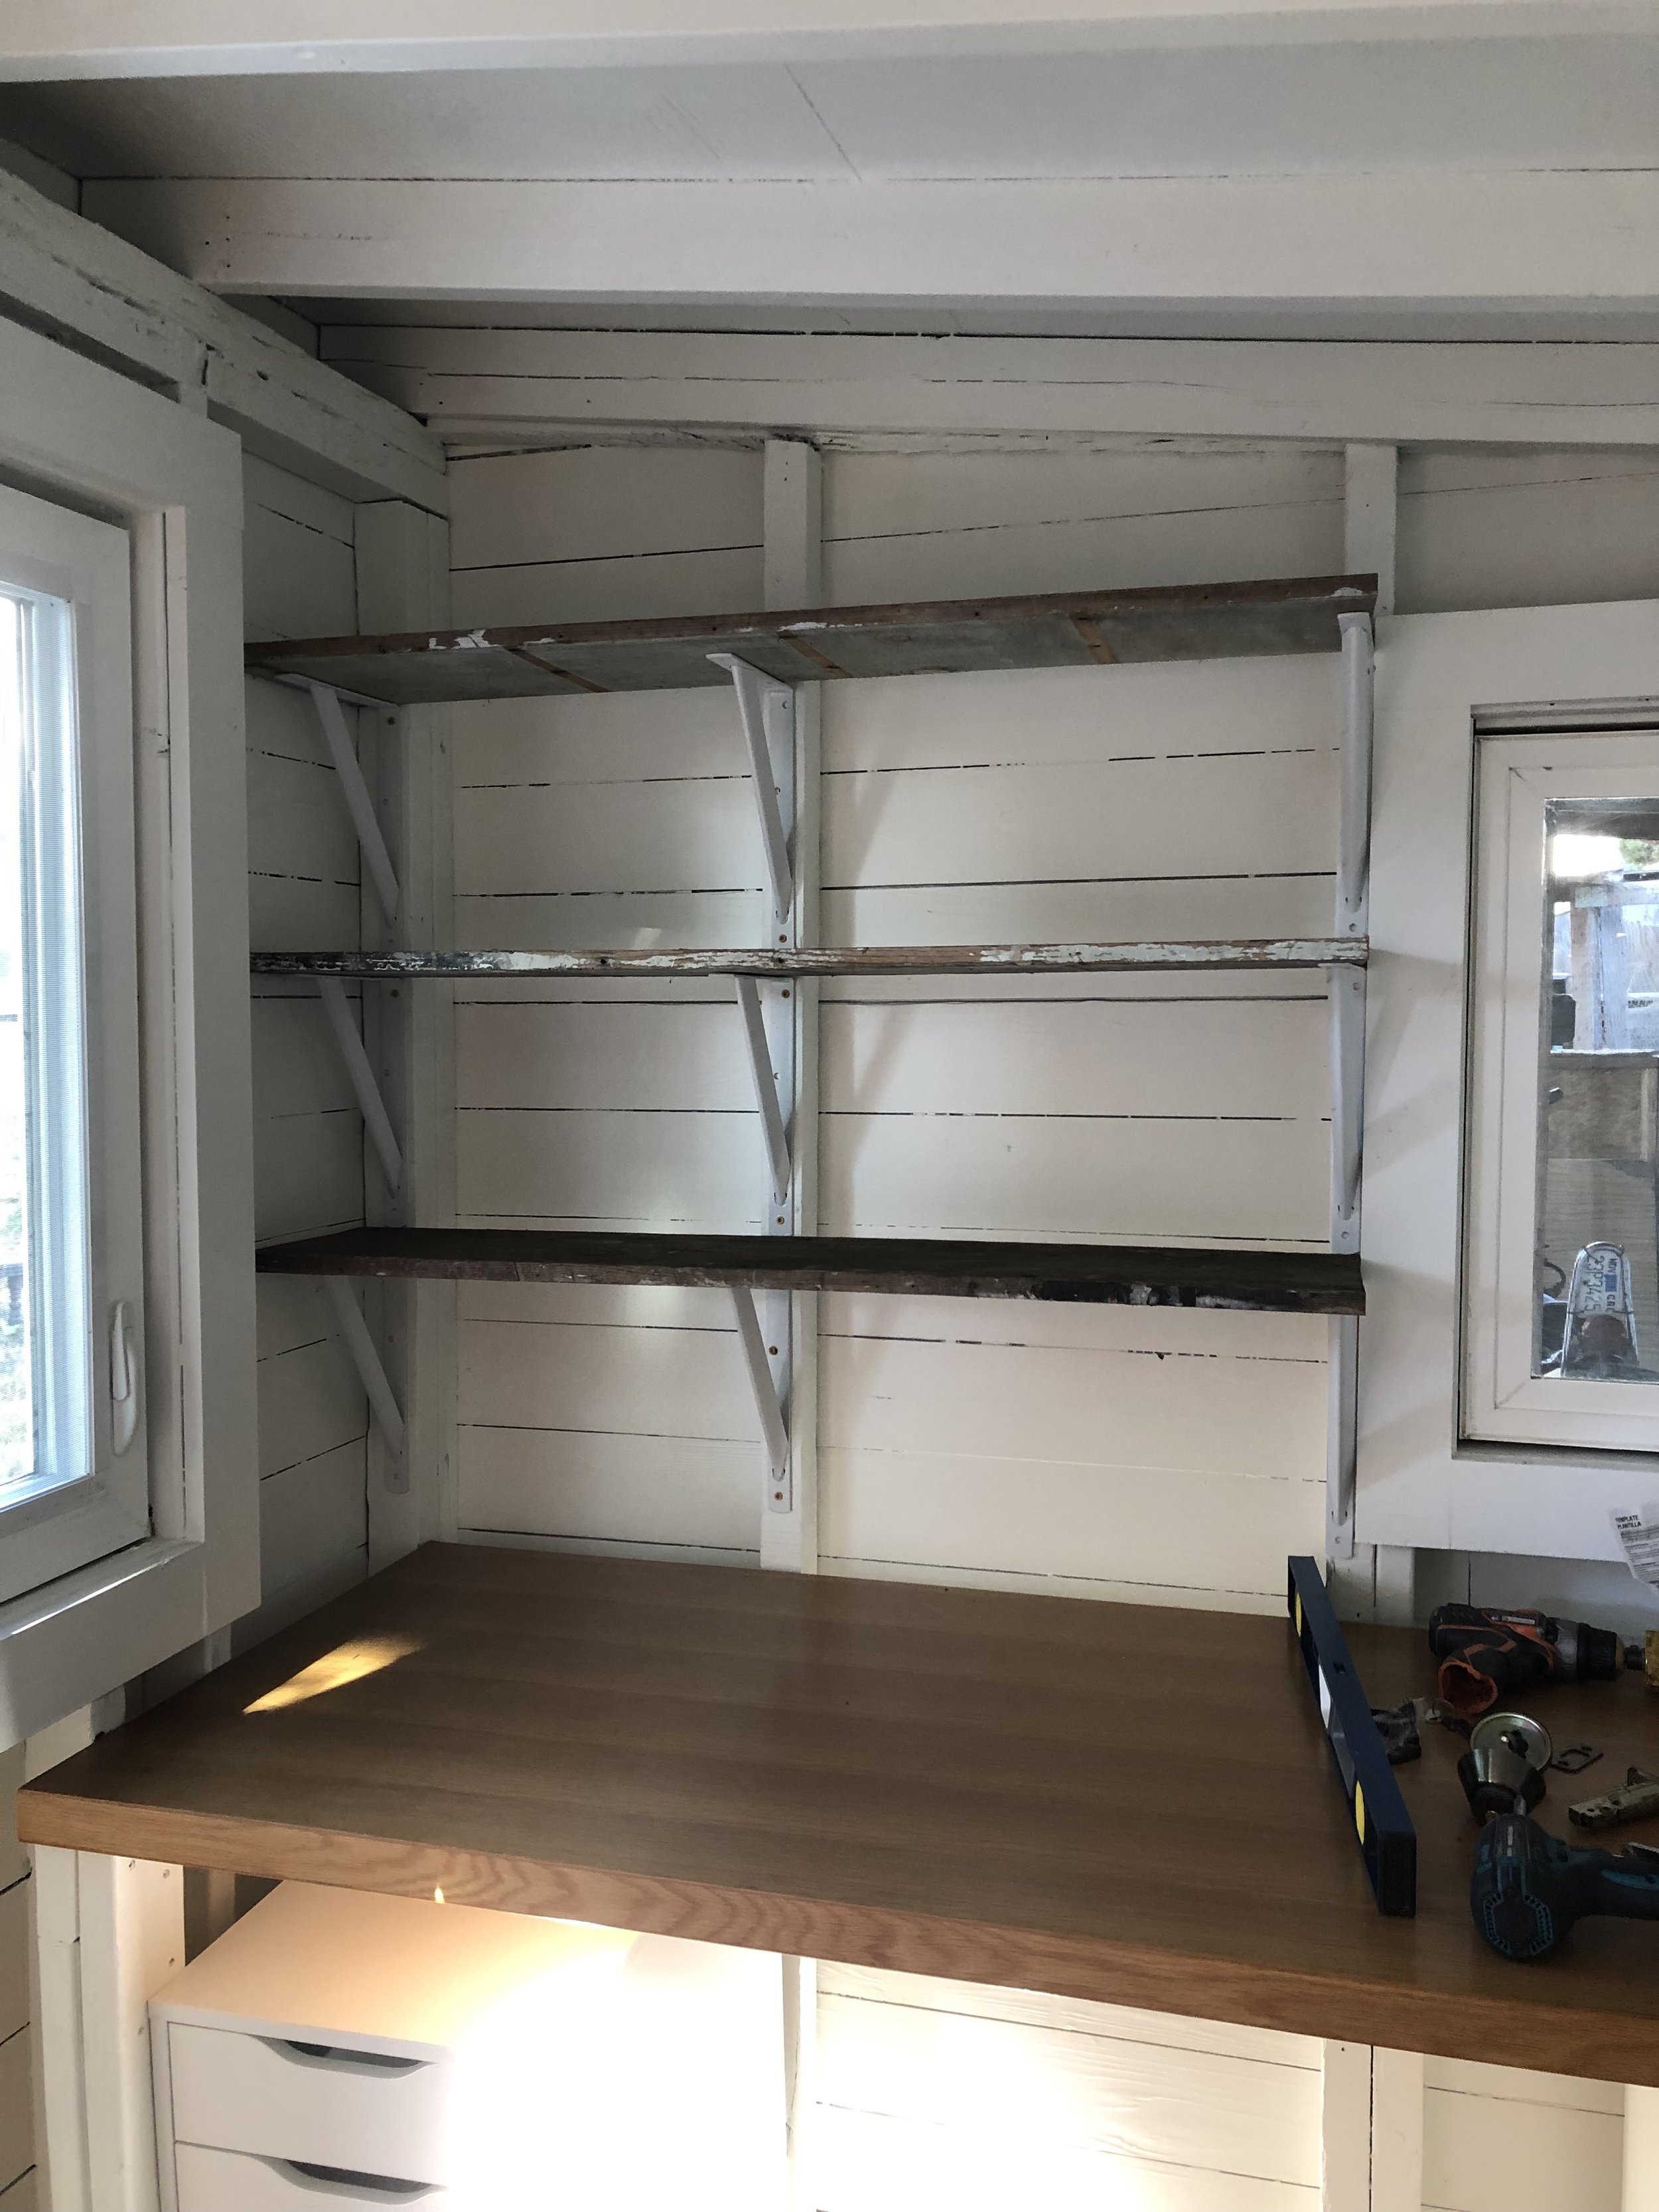
Of course nothing in that wonky old shack was actually level, so I played the game of splitting the difference between true-level and eye-level. If you live in an old building, you’ll know what I’m talking about! The shelves turned out exactly how I wanted them to, and I was so pleased with the results that I replicated the process for my pantry.
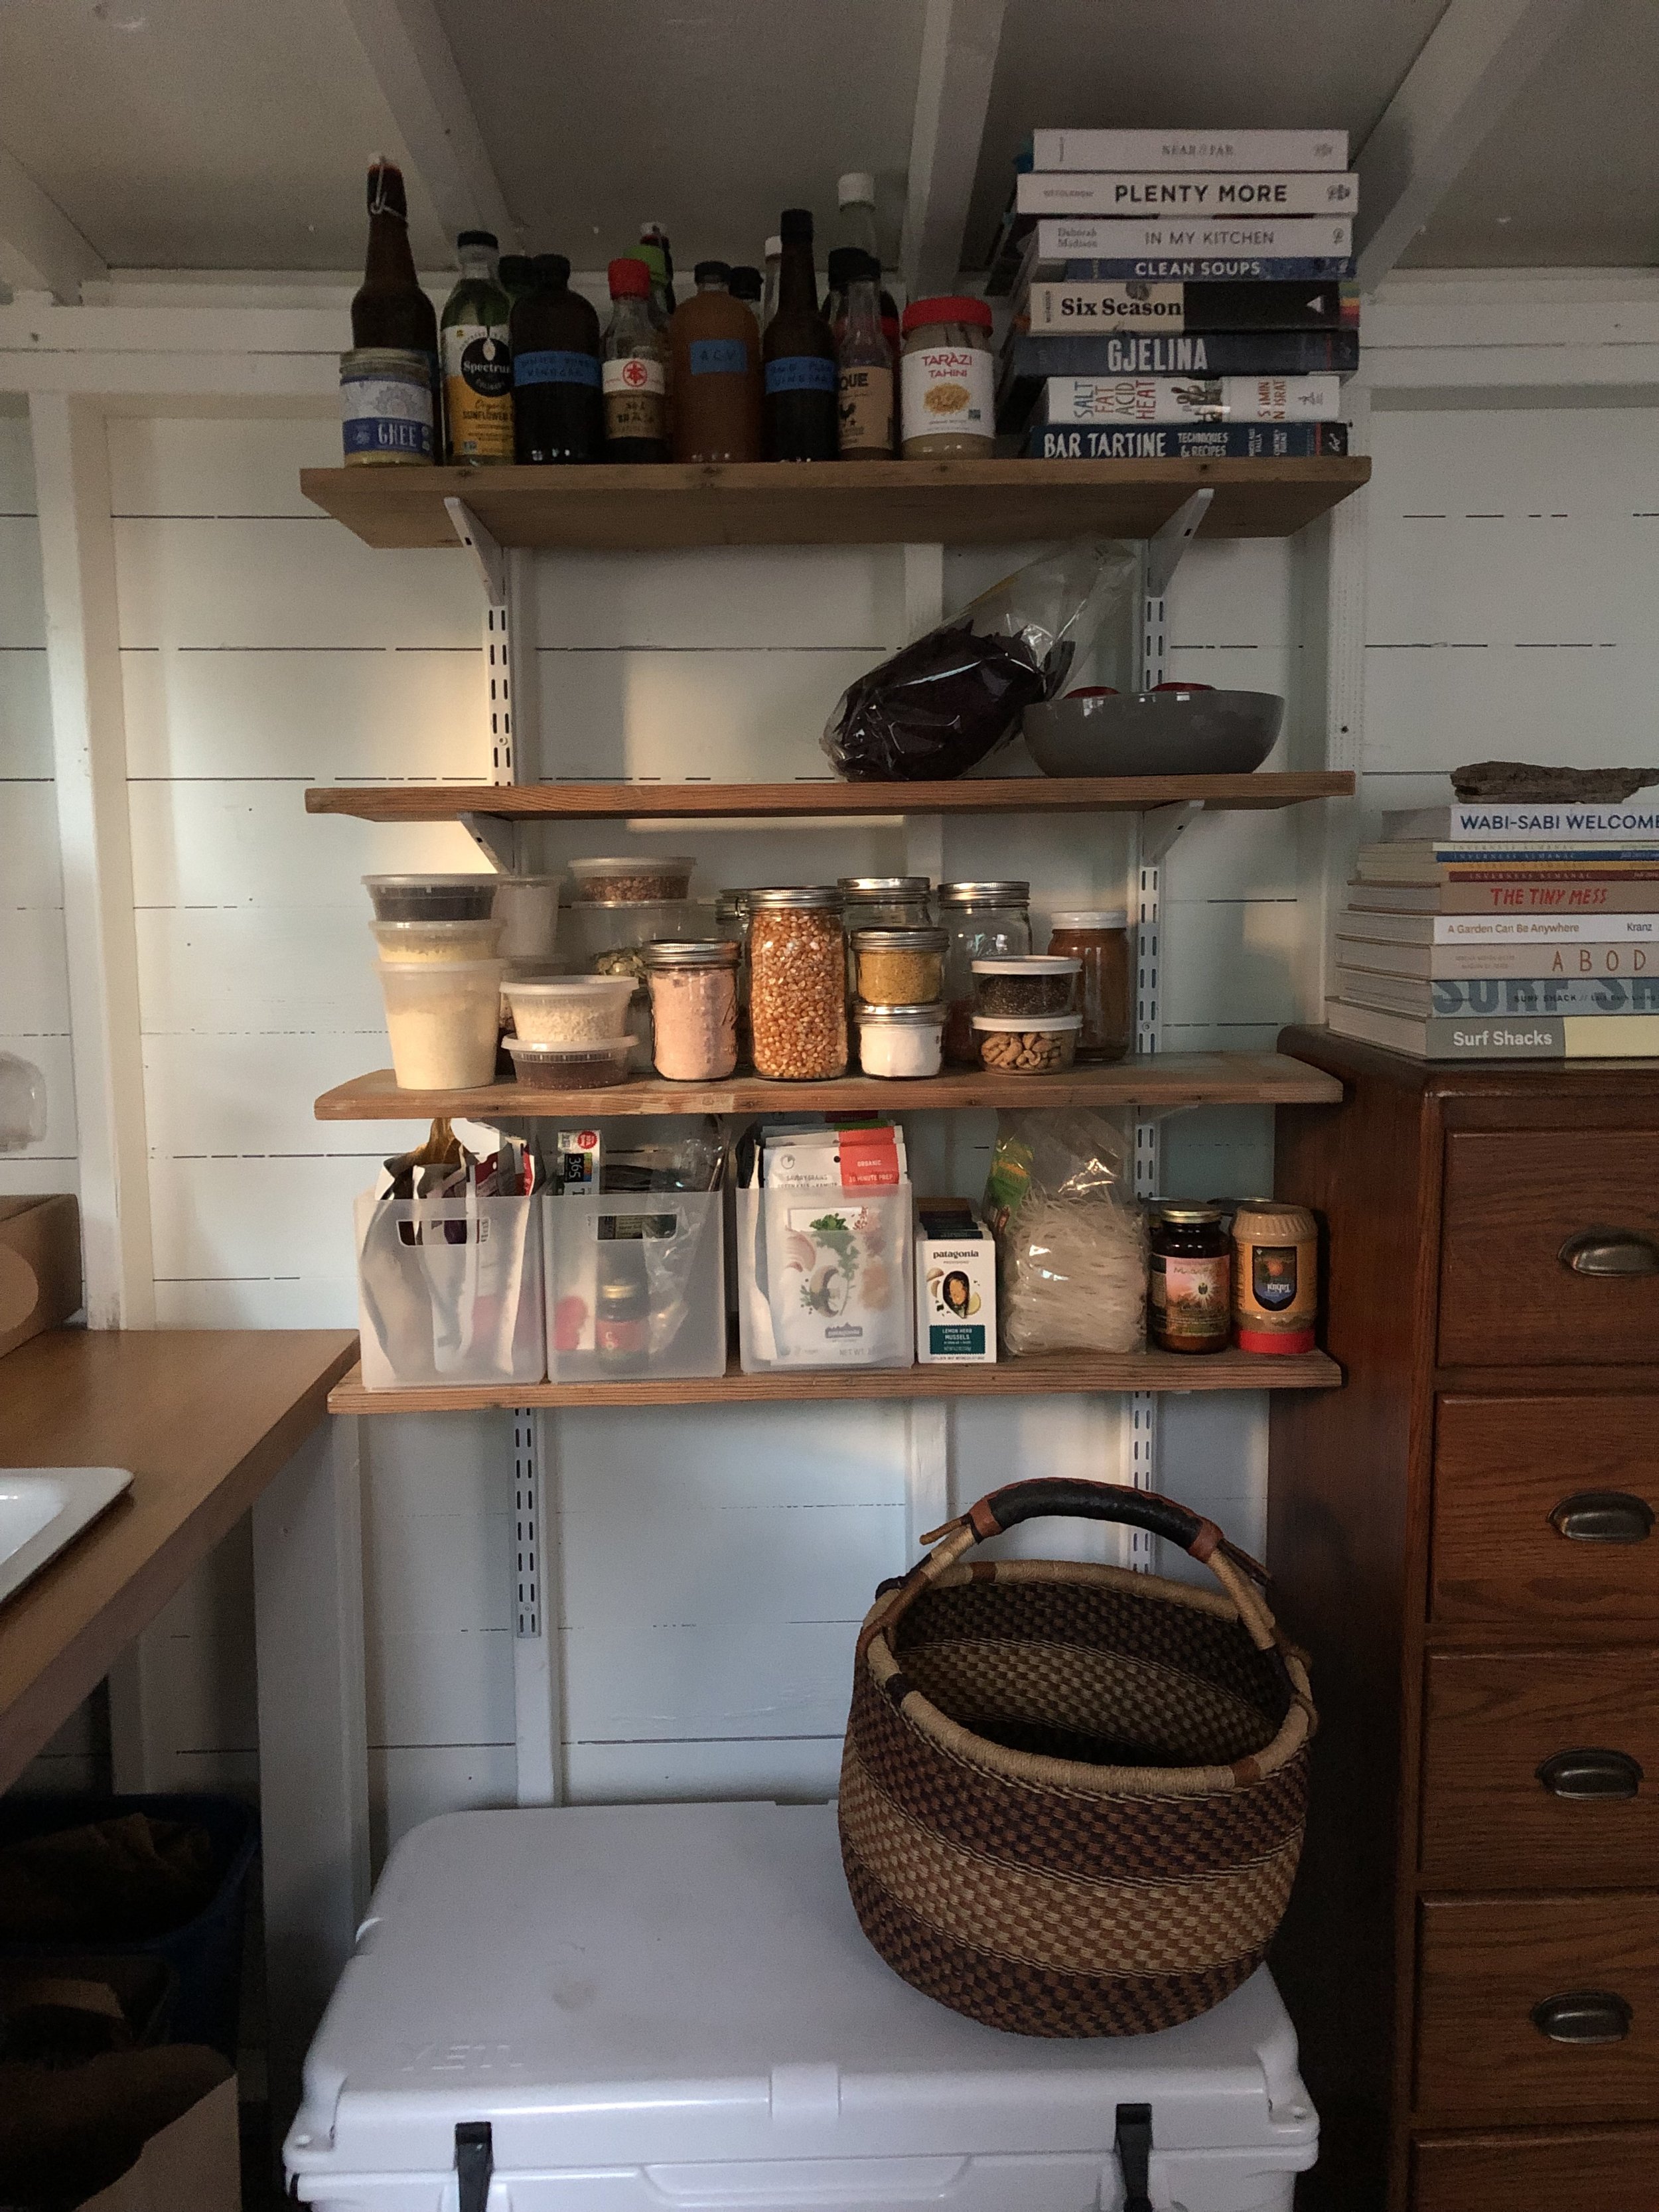
I love giving old materials a new life, both for environmental sustainability reasons and for the ineffable character that it lends to spaces and objects. I eventually put in a cabinet for the pantry, since I adopted my dog Emmy and didn’t want her to get into the food while I was away. But I saved all of the wood and have even repurposed it again in my new home! Hopefully someday I’ll get to use some of it in my tiny house on wheels, as a reminder of the shed that started it all.