Counter Culture: Everything and the Kitchen Sink
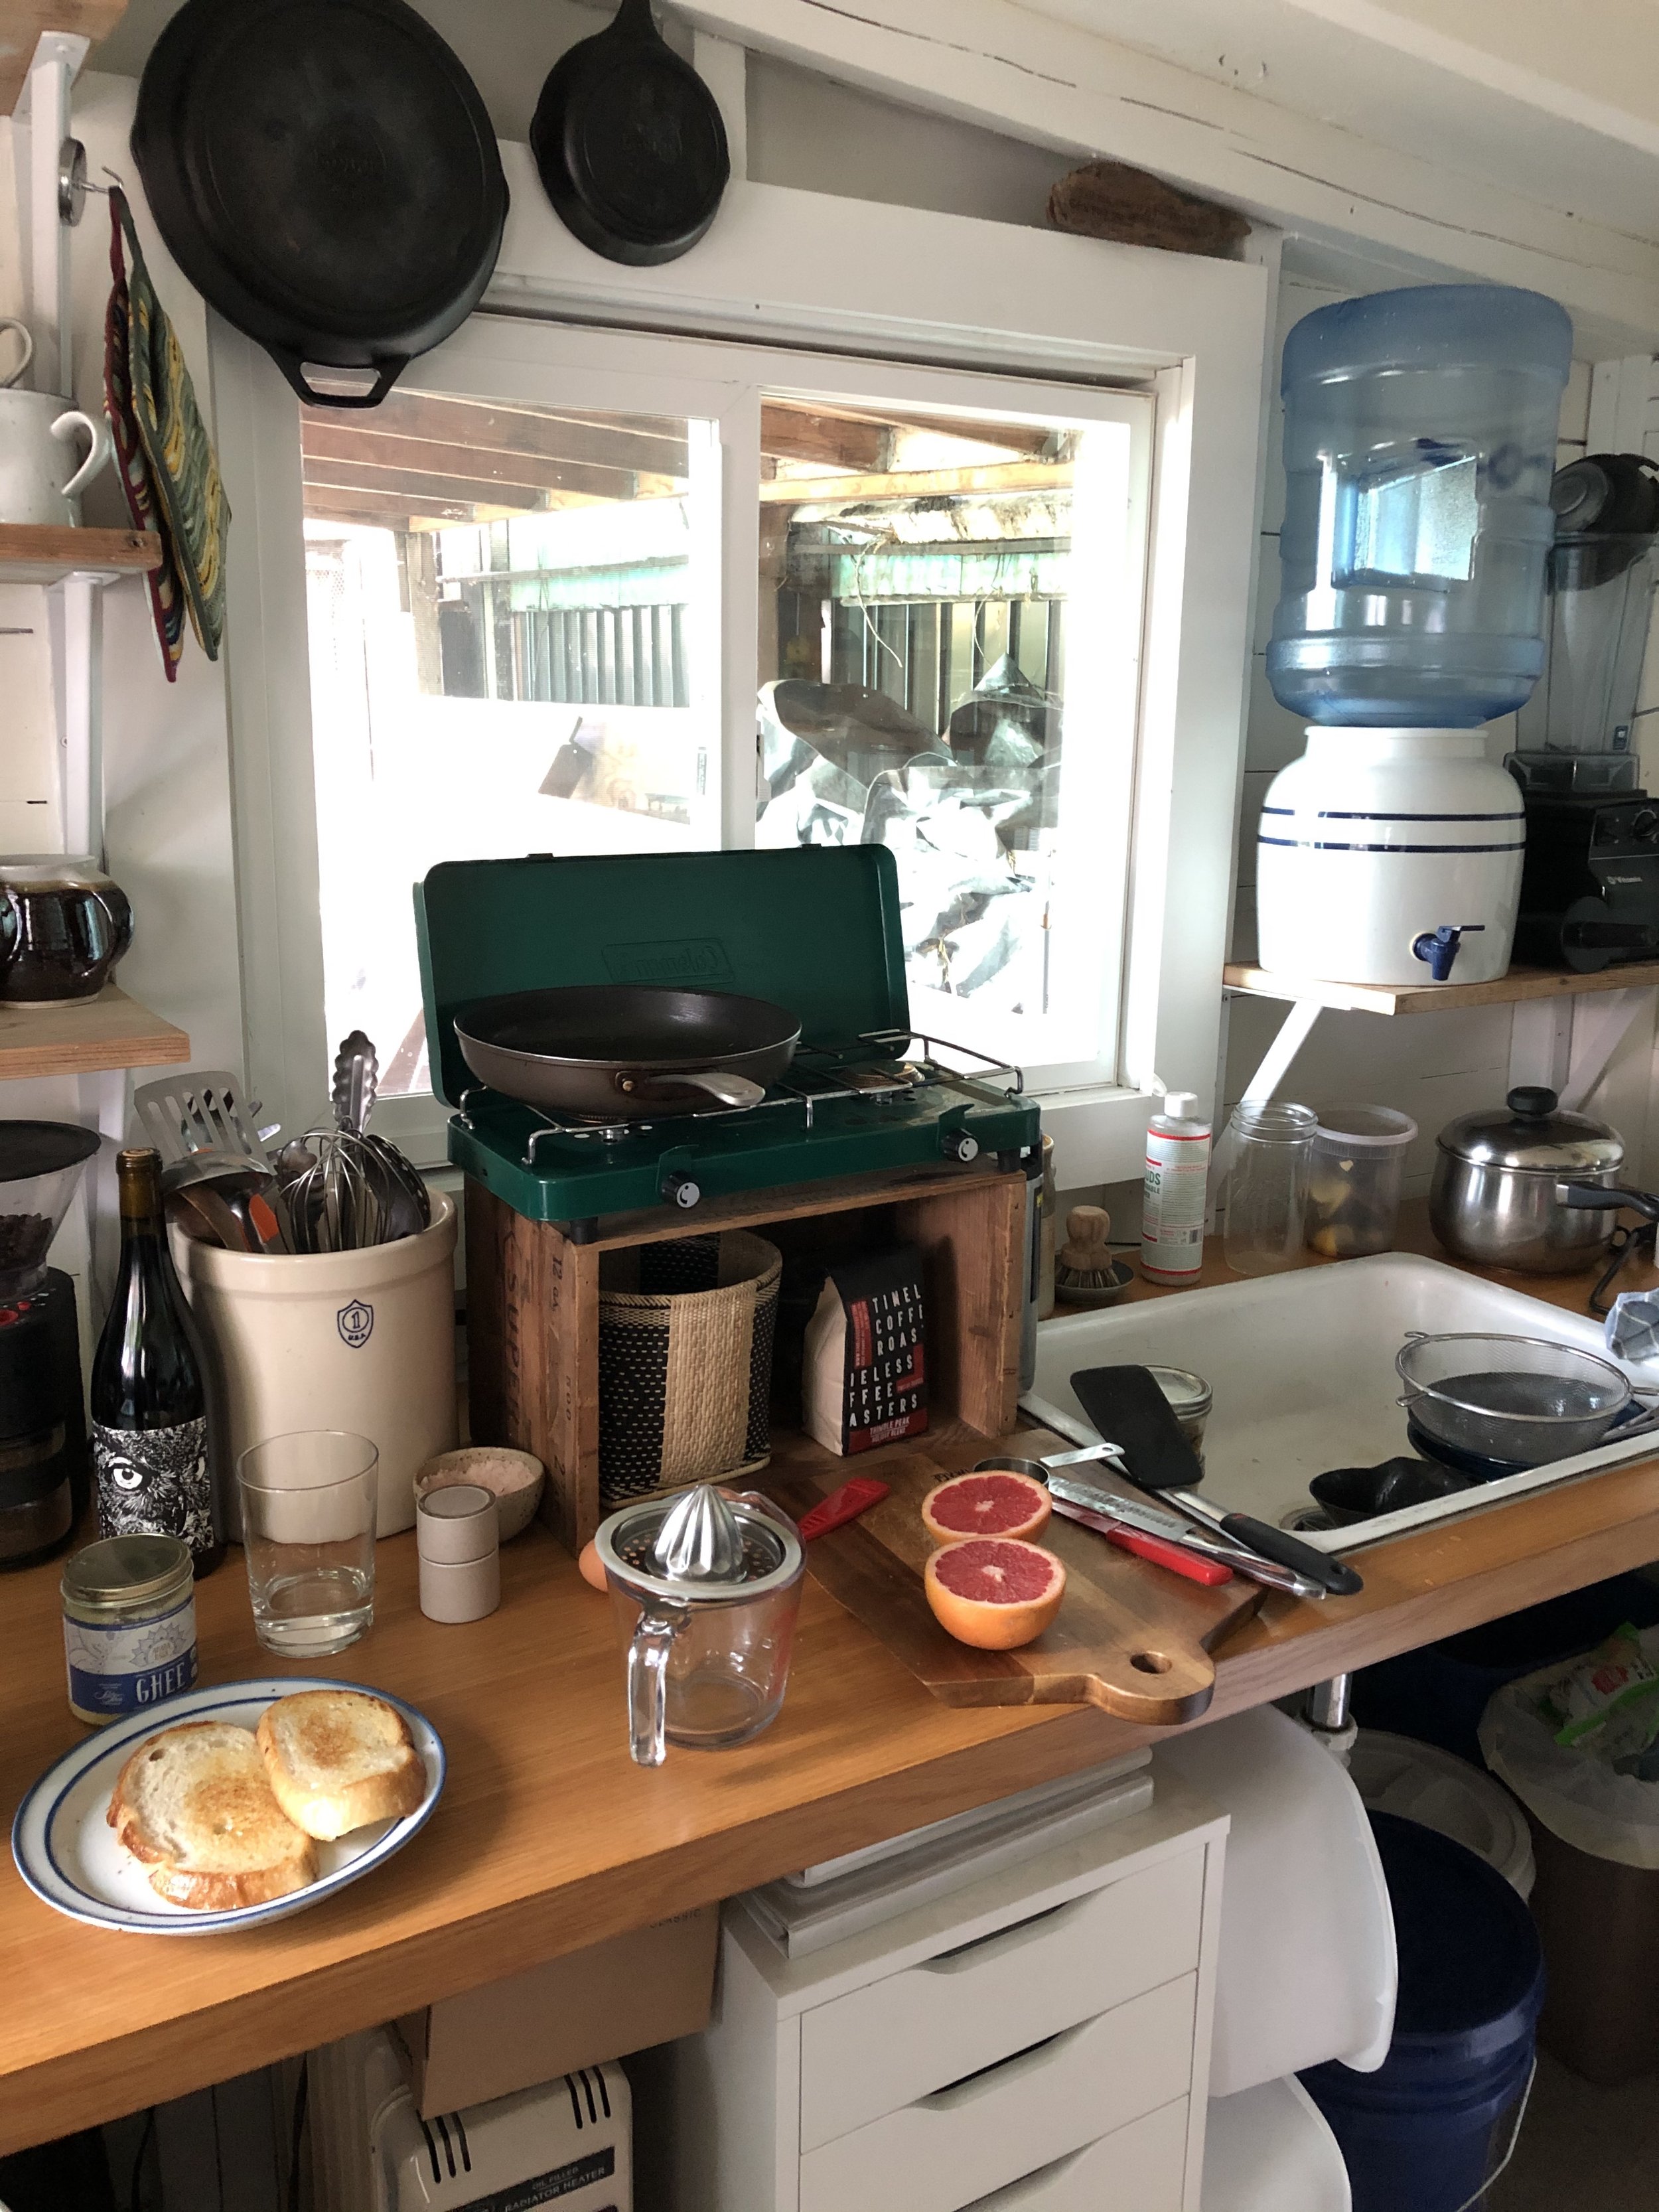
Once the interior and exterior paint was done, it was time to build out the inside of my future home! Since I’m such a foodie, my first priority was to get the kitchen up and running. When I was a little kid, I remember my dad using old doors to make desktop and workbenches. It’s a trick I’ve used before, and it seemed like the perfect solution for the countertop in my shed. I knew the counter space needed be a durable and multi-functional, since it would function as my food prep area, my dining table, and my desk space for working from home.
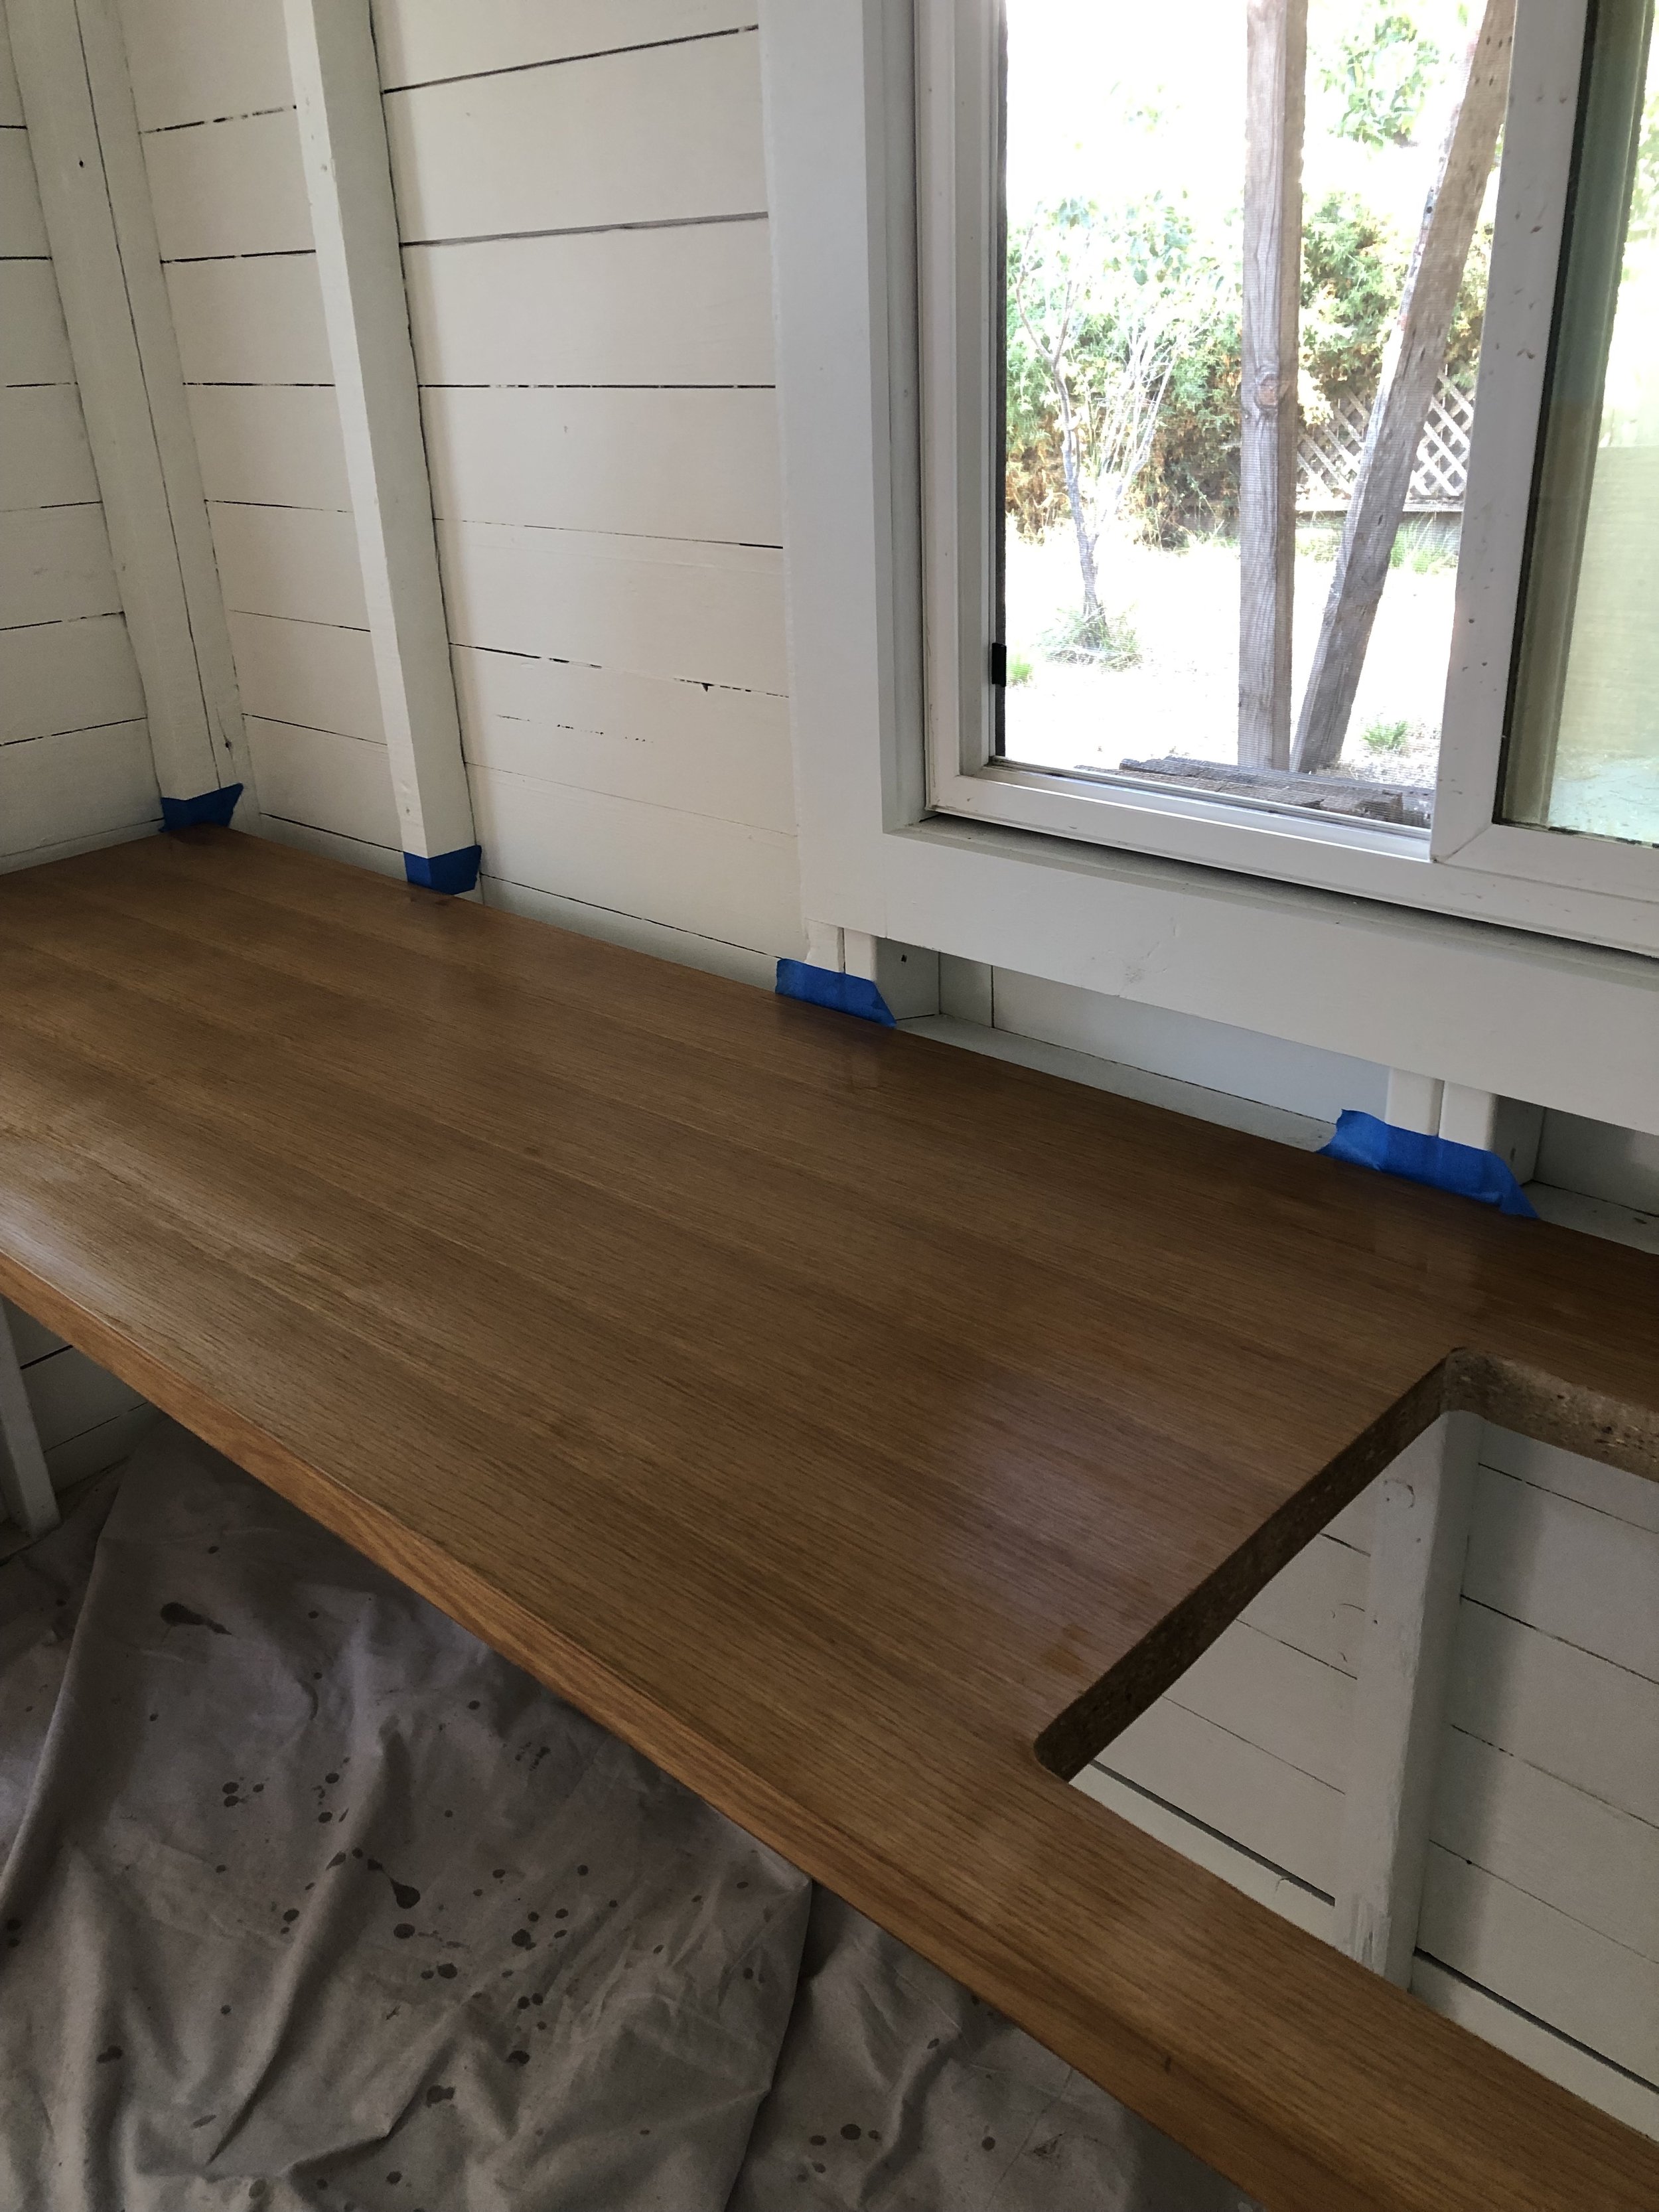
Finding the right door to use was a little challenging since the length it needed to span was 9 feet, but I eventually found an old fire door at Urban Ore that was just right. I cut off the excess so it would fit snuggly on top of the 2x4 supports that I had screwed to the studs, and slid it into place.

If you decide to use a reclaimed door as a work surface, look for a “solid-core” one. Many newer door are hollow inside, which makes them less sturdy and also unable to be trimmed to size.
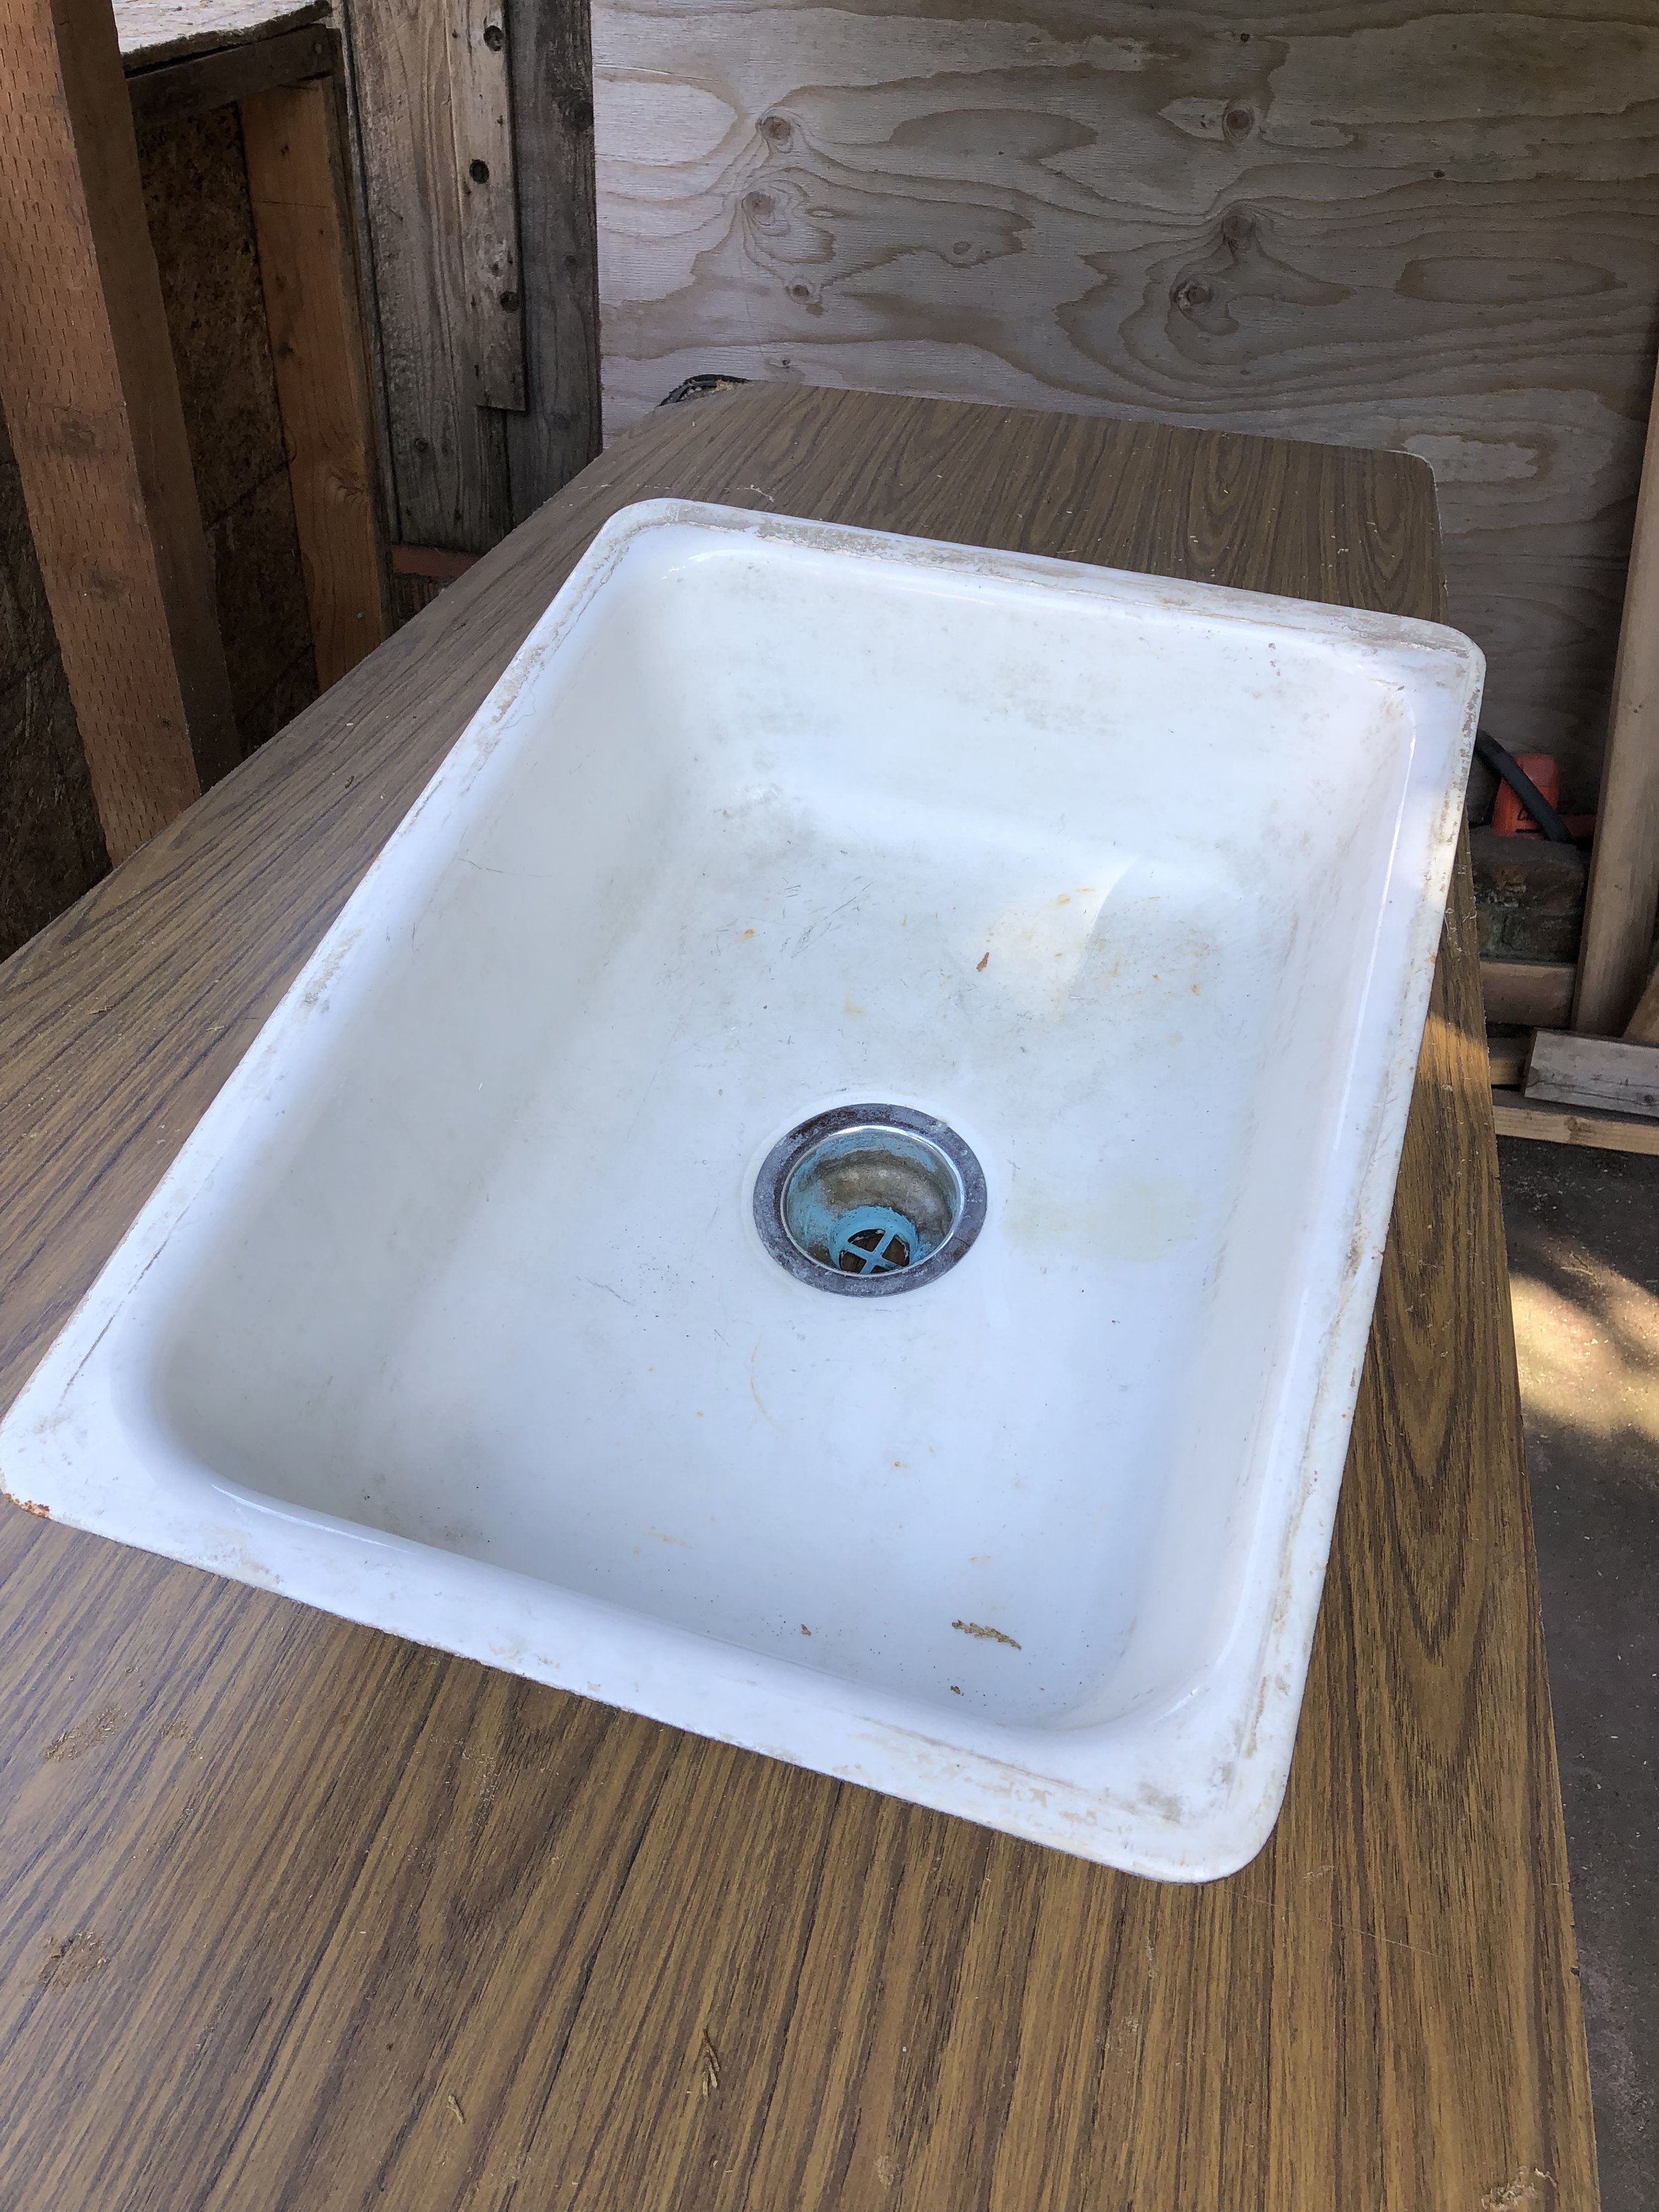
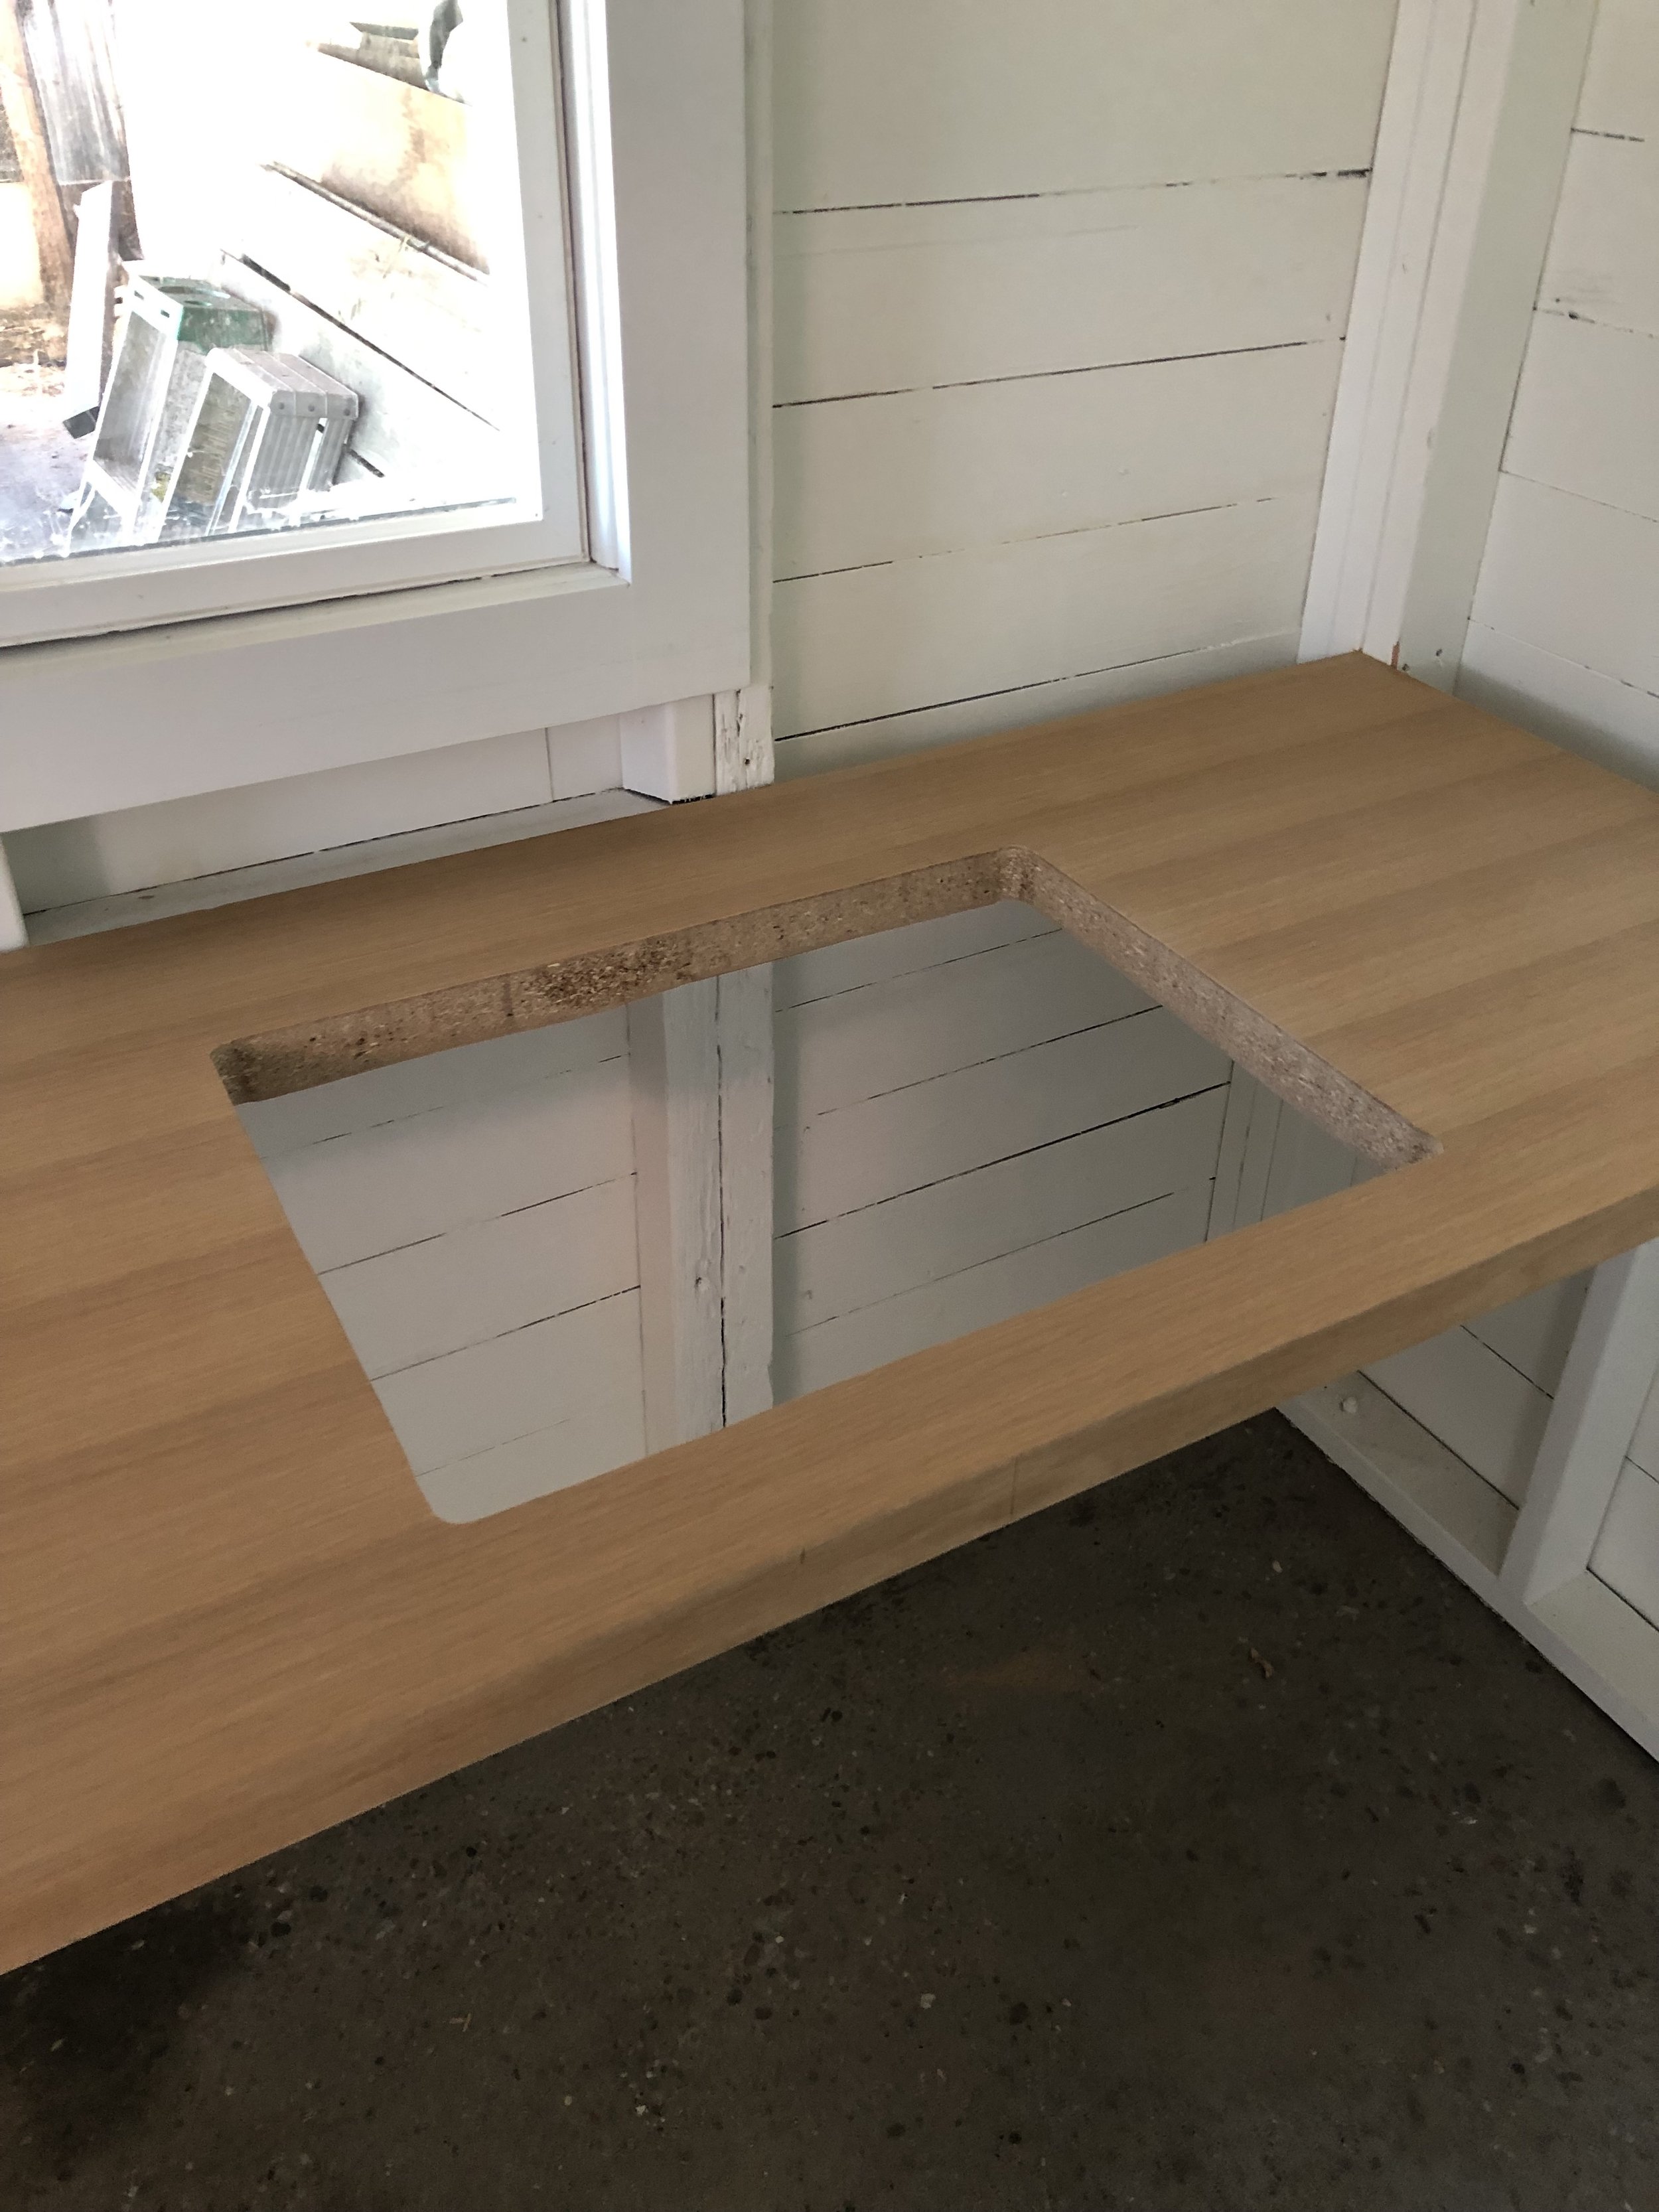
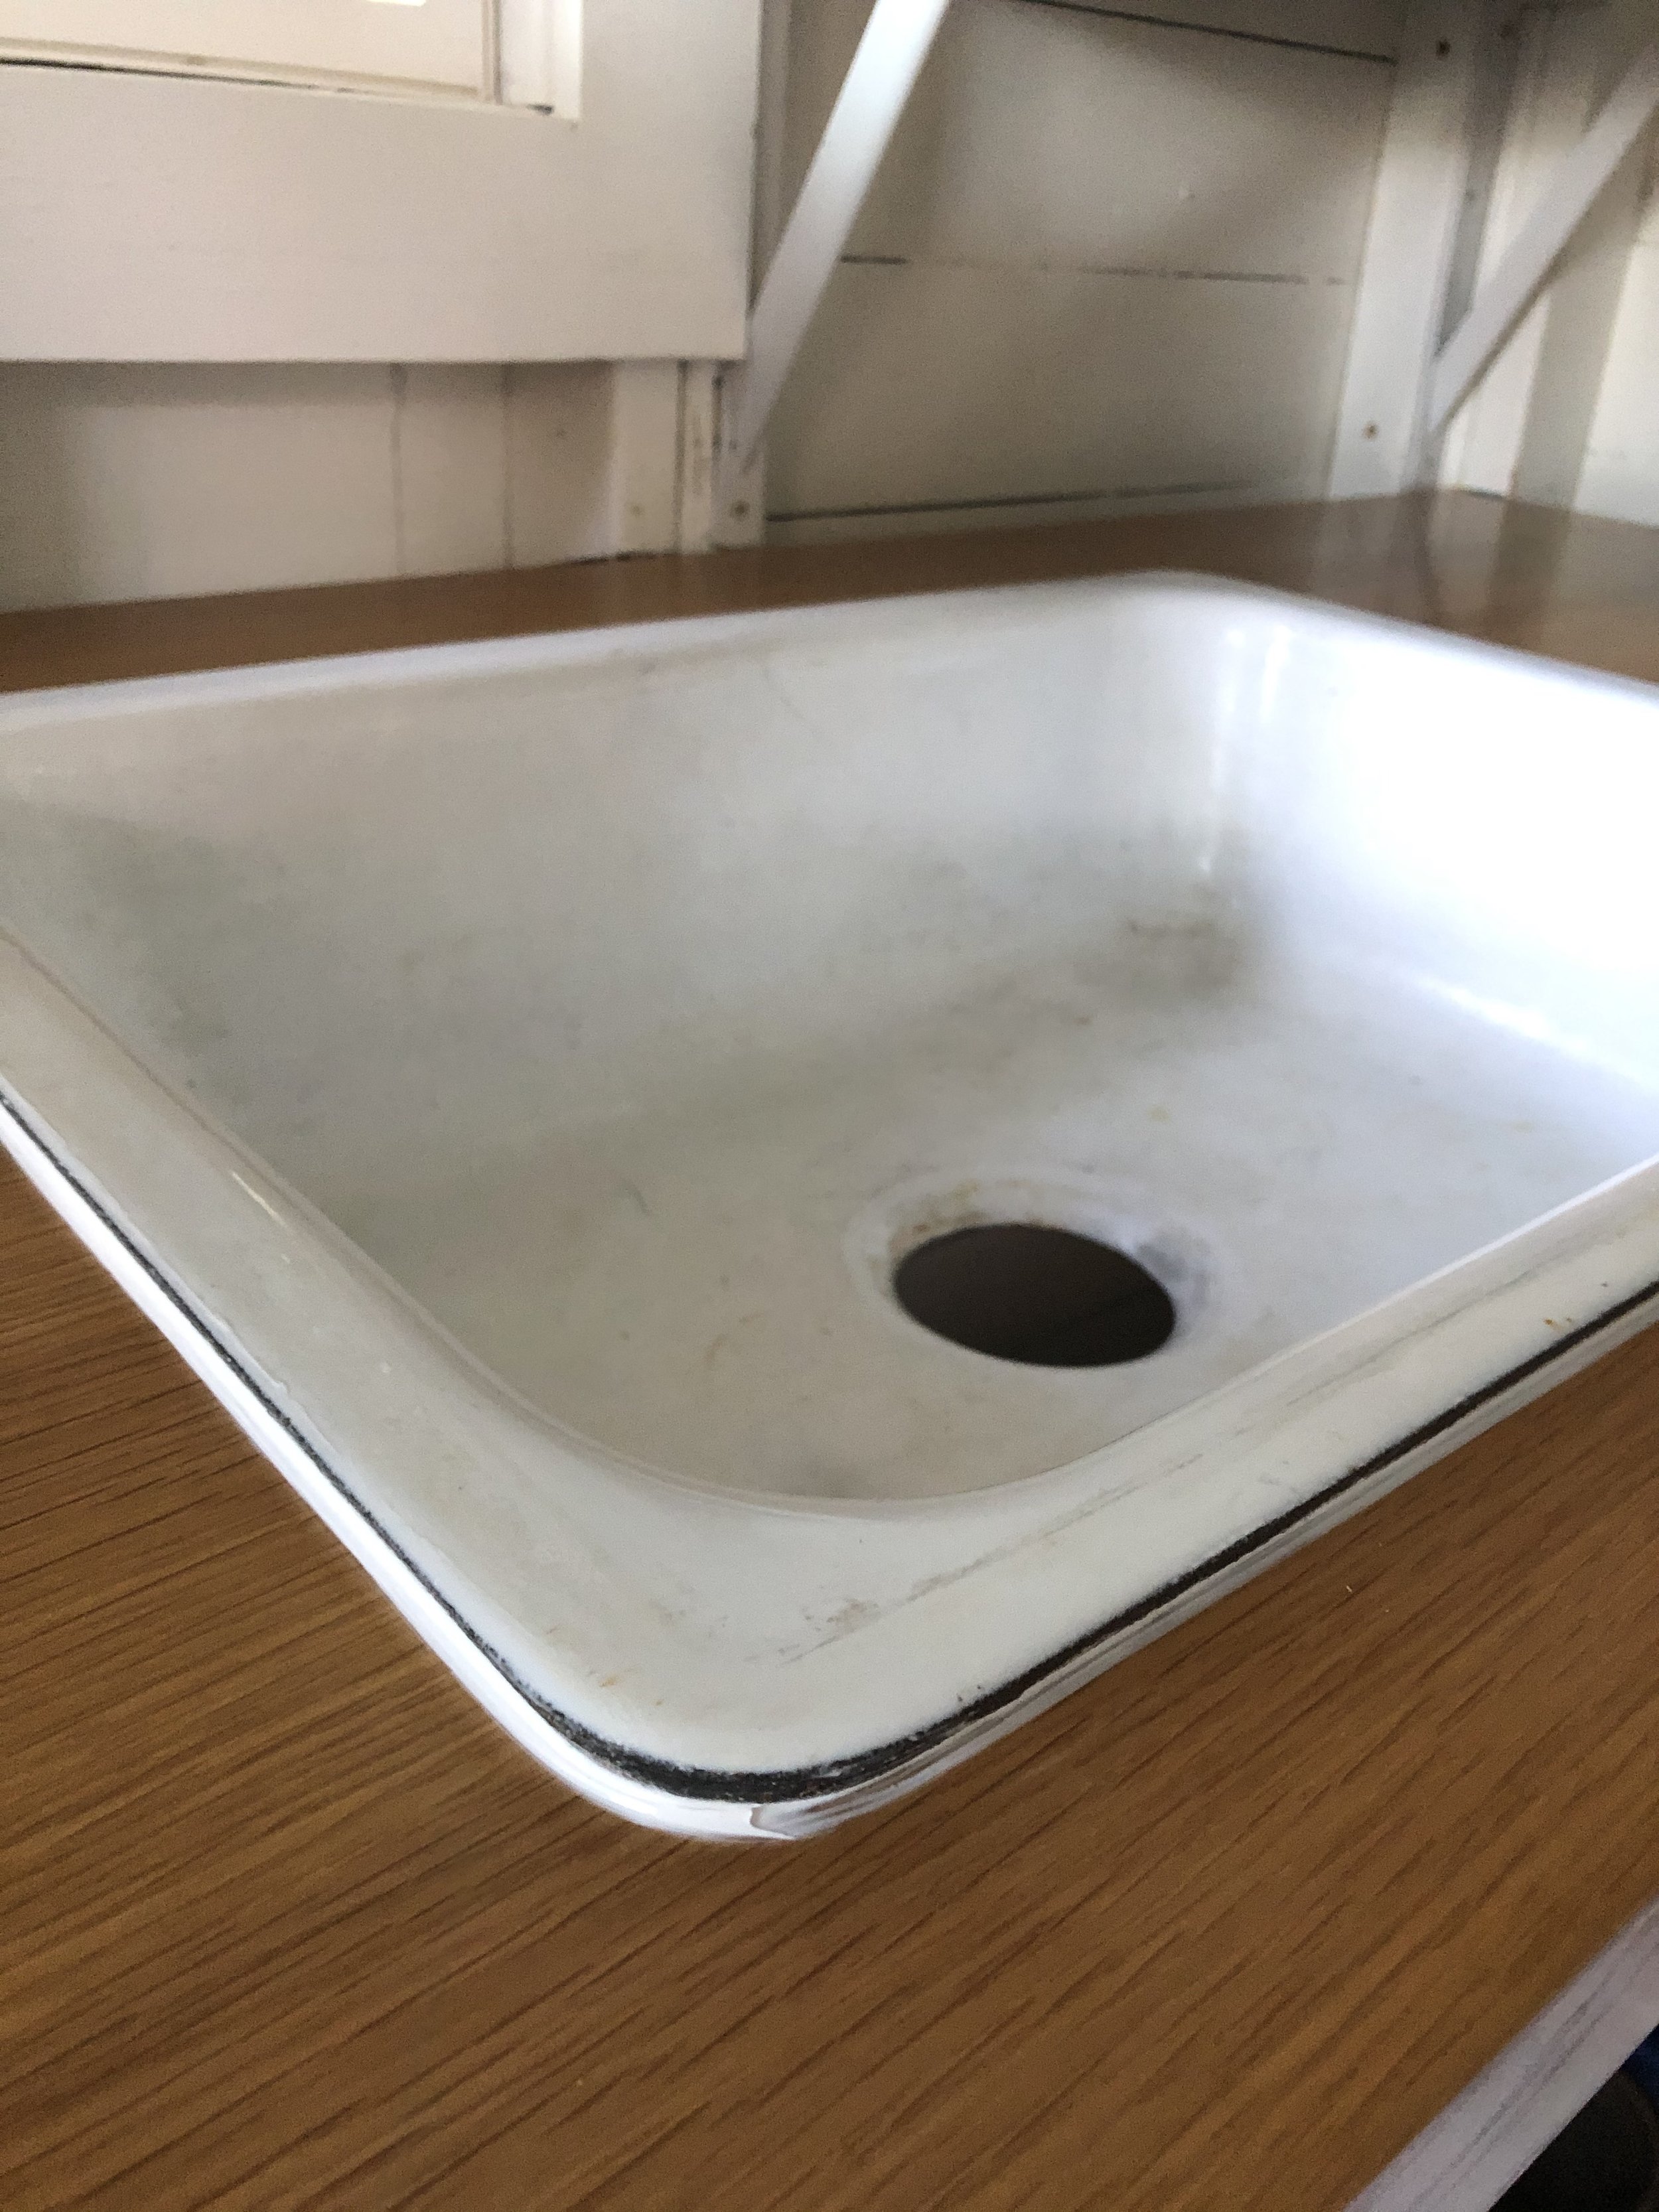
Once the my counter was installed, it was time to cut out a hole for my sink. I had purchased an old cast iron/porcelain sink on Craigslist for $25, which I knew would fit perfectly since I had spent the time to draw up such detailed plans. I flipped the sink upside down and traced around the edge, then subtracted about an inch so that the lip would rest on the edge of the wood. In retrospect, I think this may have been an under-mount sink model, but it worked just fine this way. Using a jigsaw from the tool library, I carefully cut the rounded rectangle shape and popped out the center. This is definitely a measure twice (or even three times) and cut once moment!
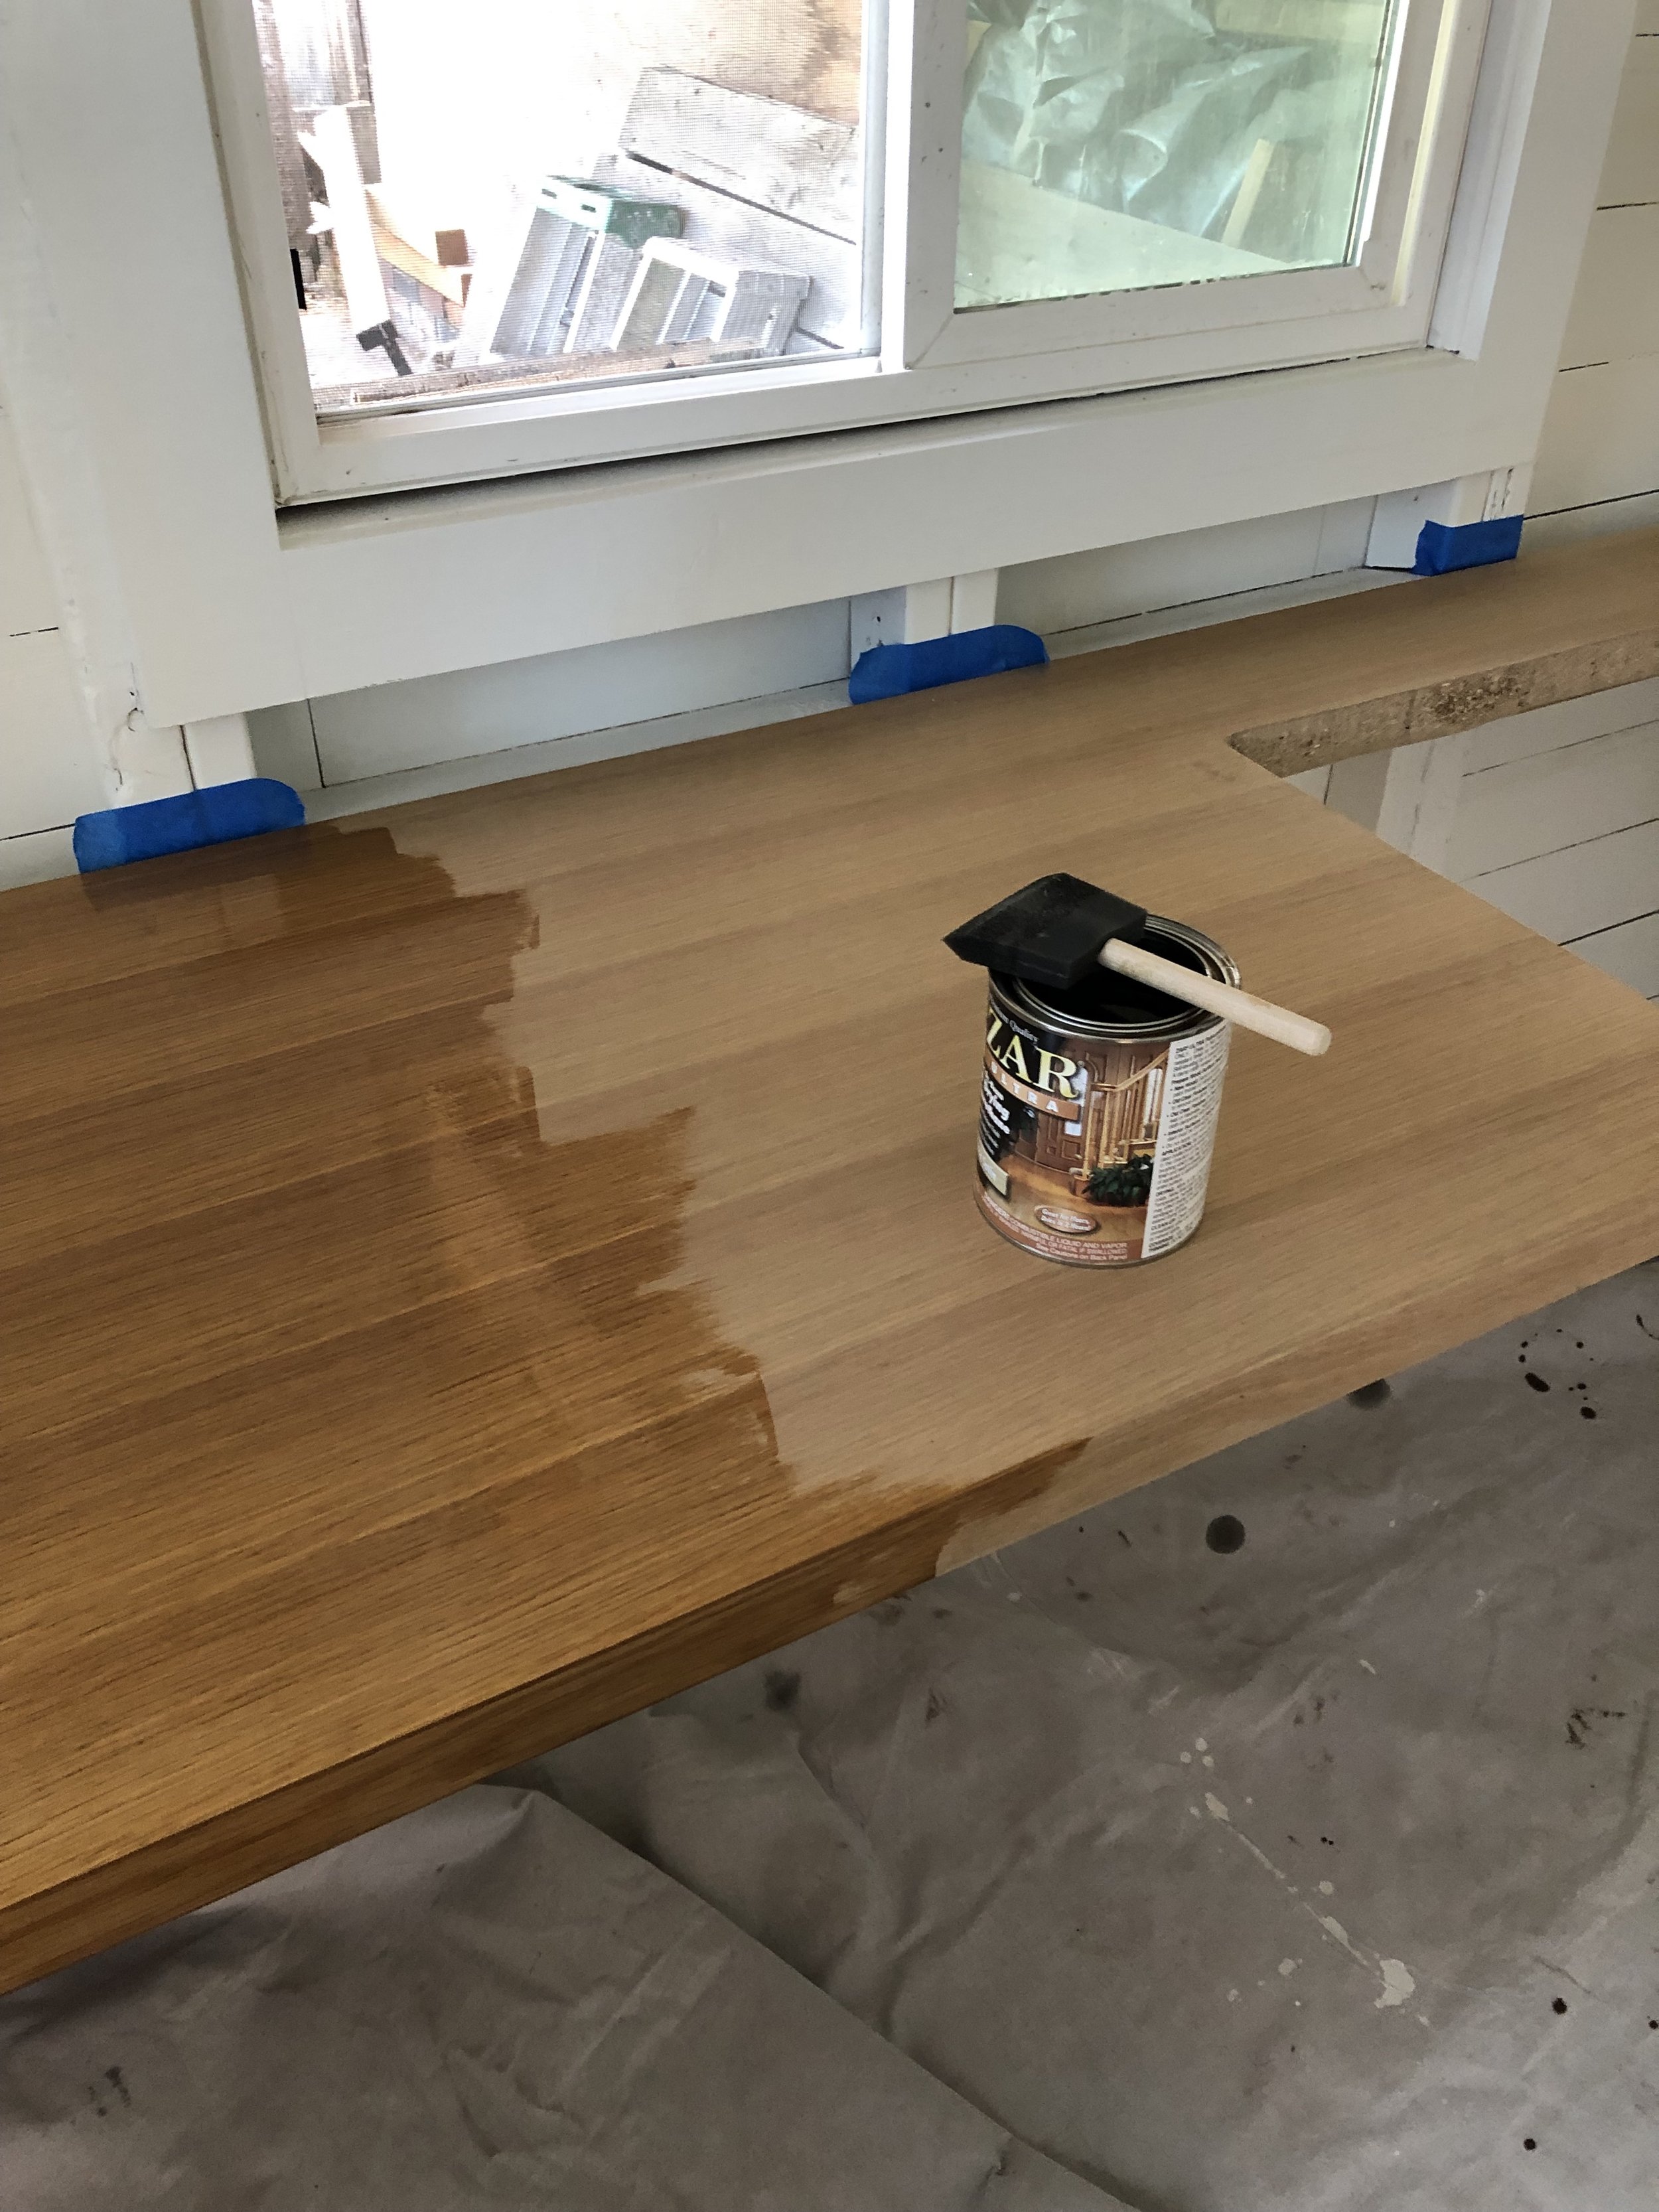
Once the hole for the sink had been cut, it was time to finish the wood! I went with an oil-based matte polyurethane. I applied 3 coats of it according to the manufacturer’s instructions. The finish has held up incredibly well. A year after moving out, I am still using this surface as a desk in my new home. I am literally typing this out on the very same counter that I am writing about! In the same way that it was satisfying to give that old door a new life, it feels good to repurpose it yet again.
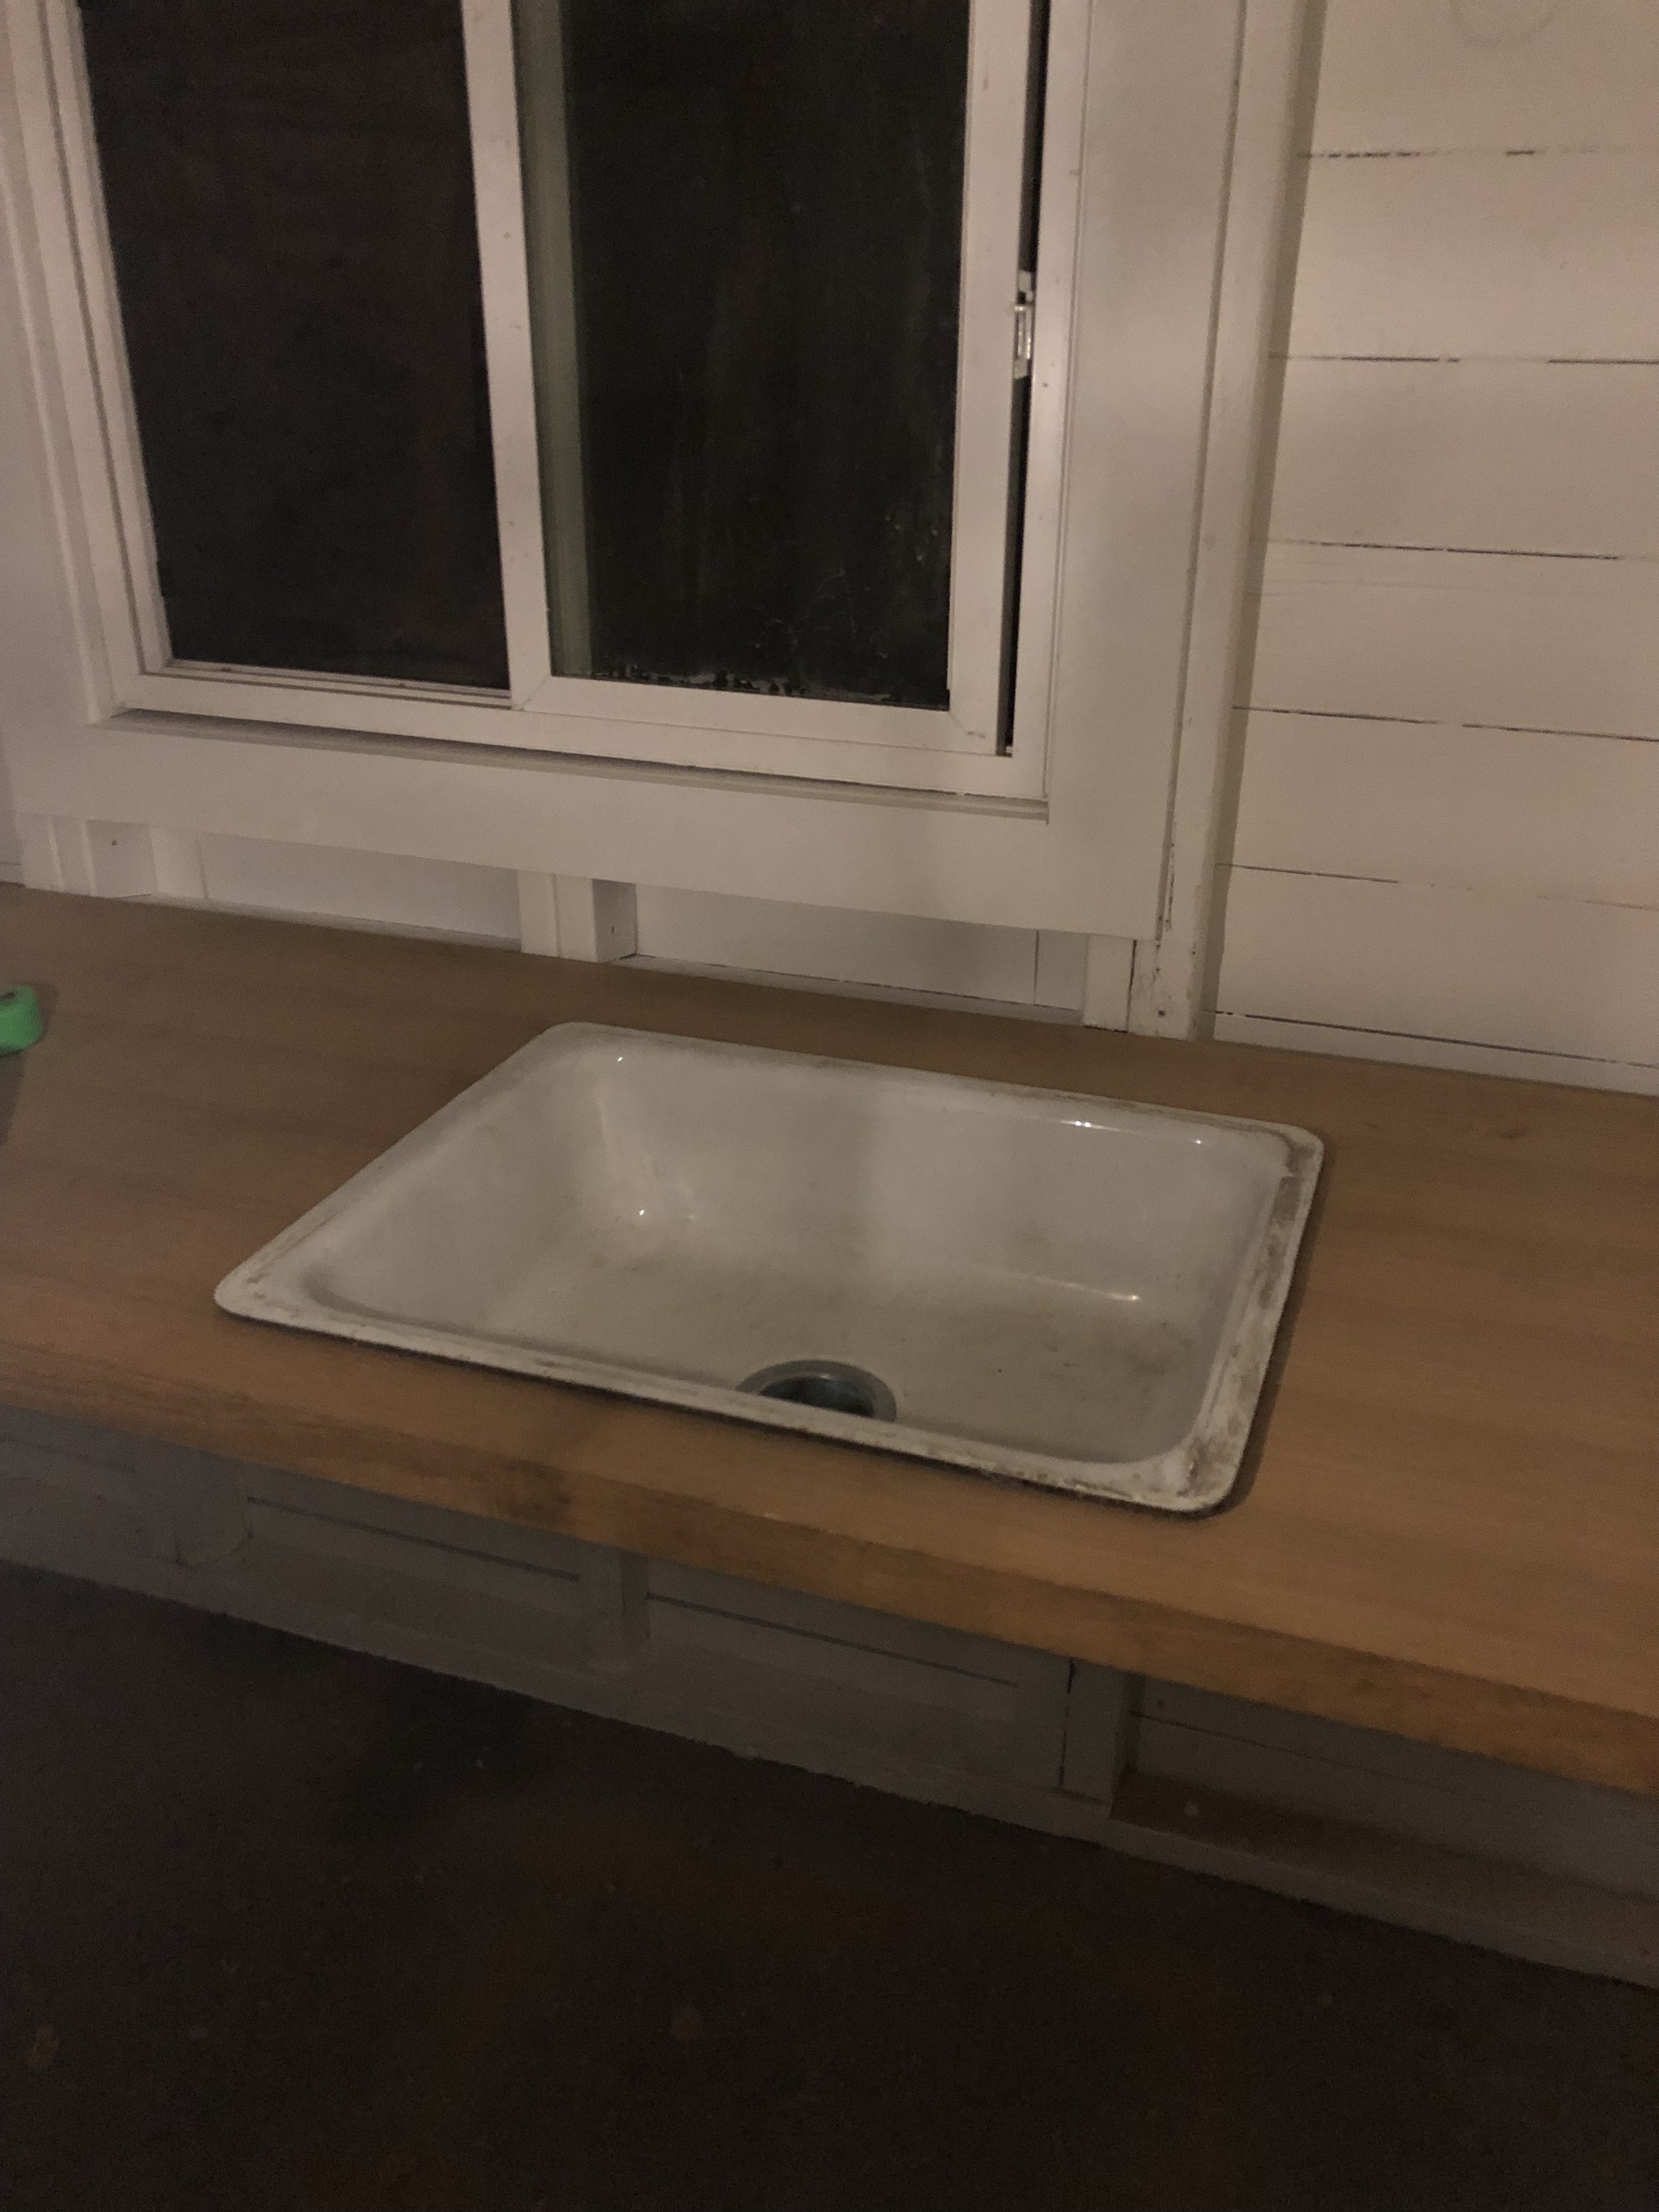
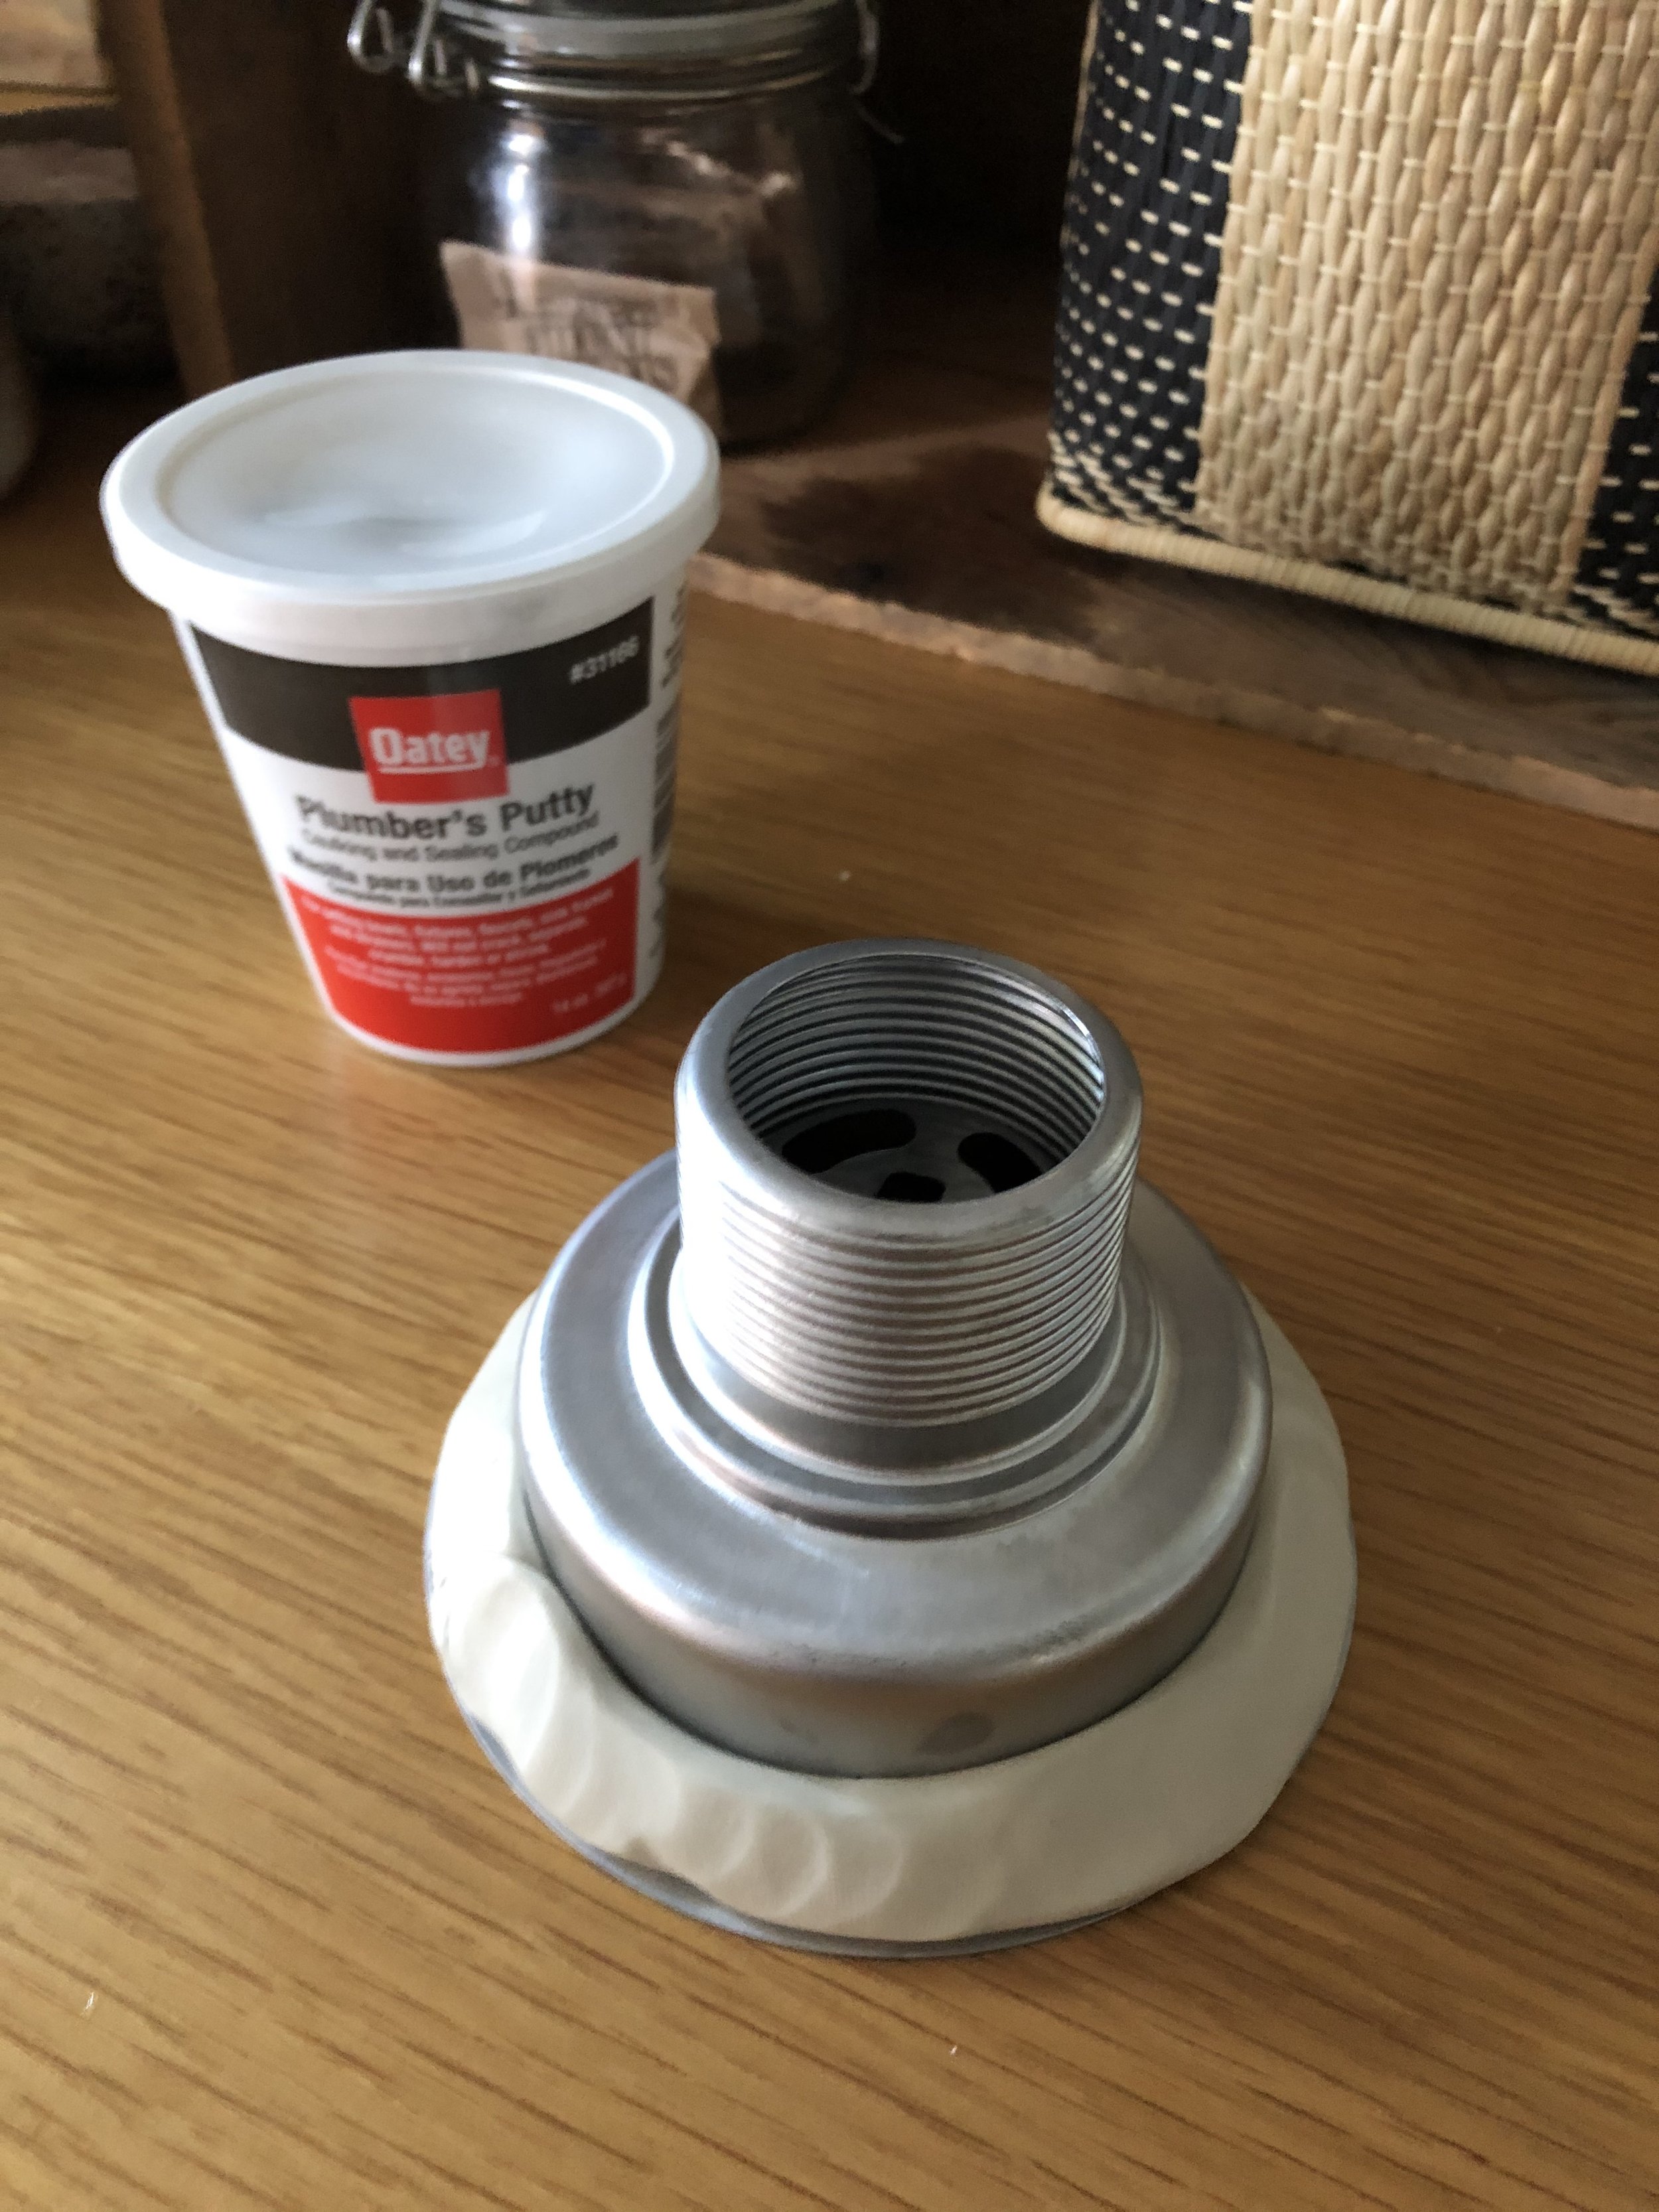
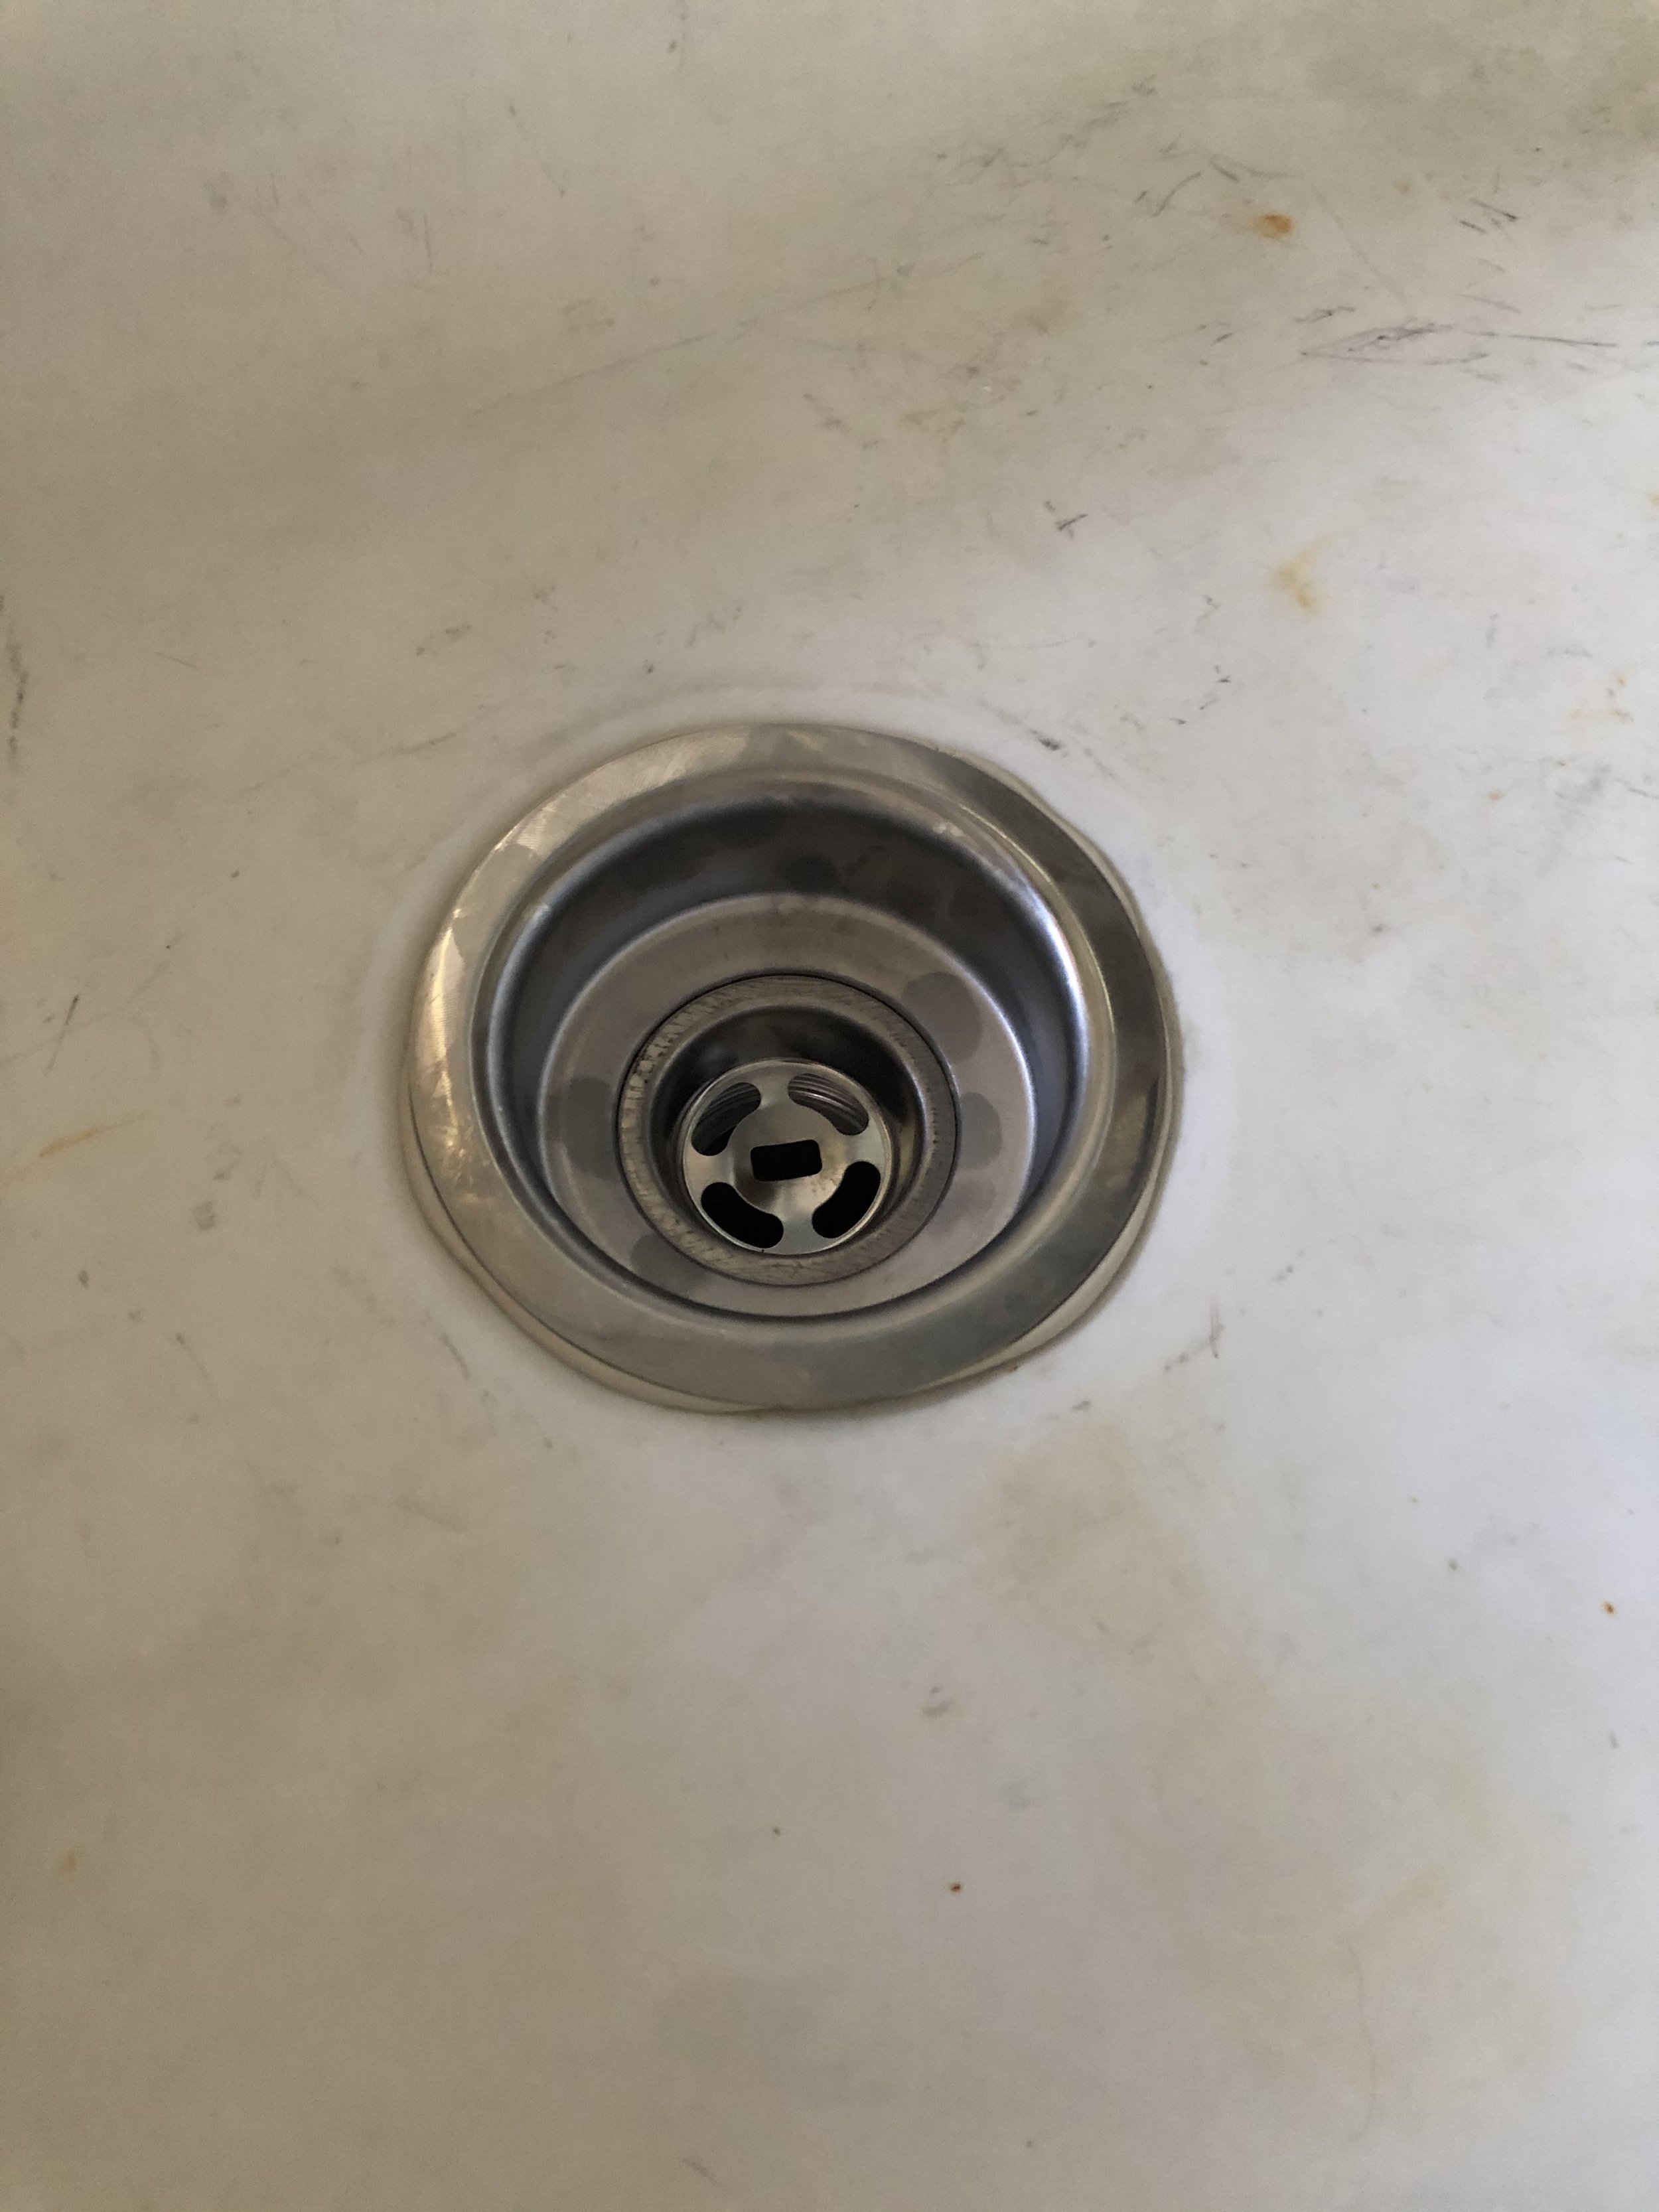
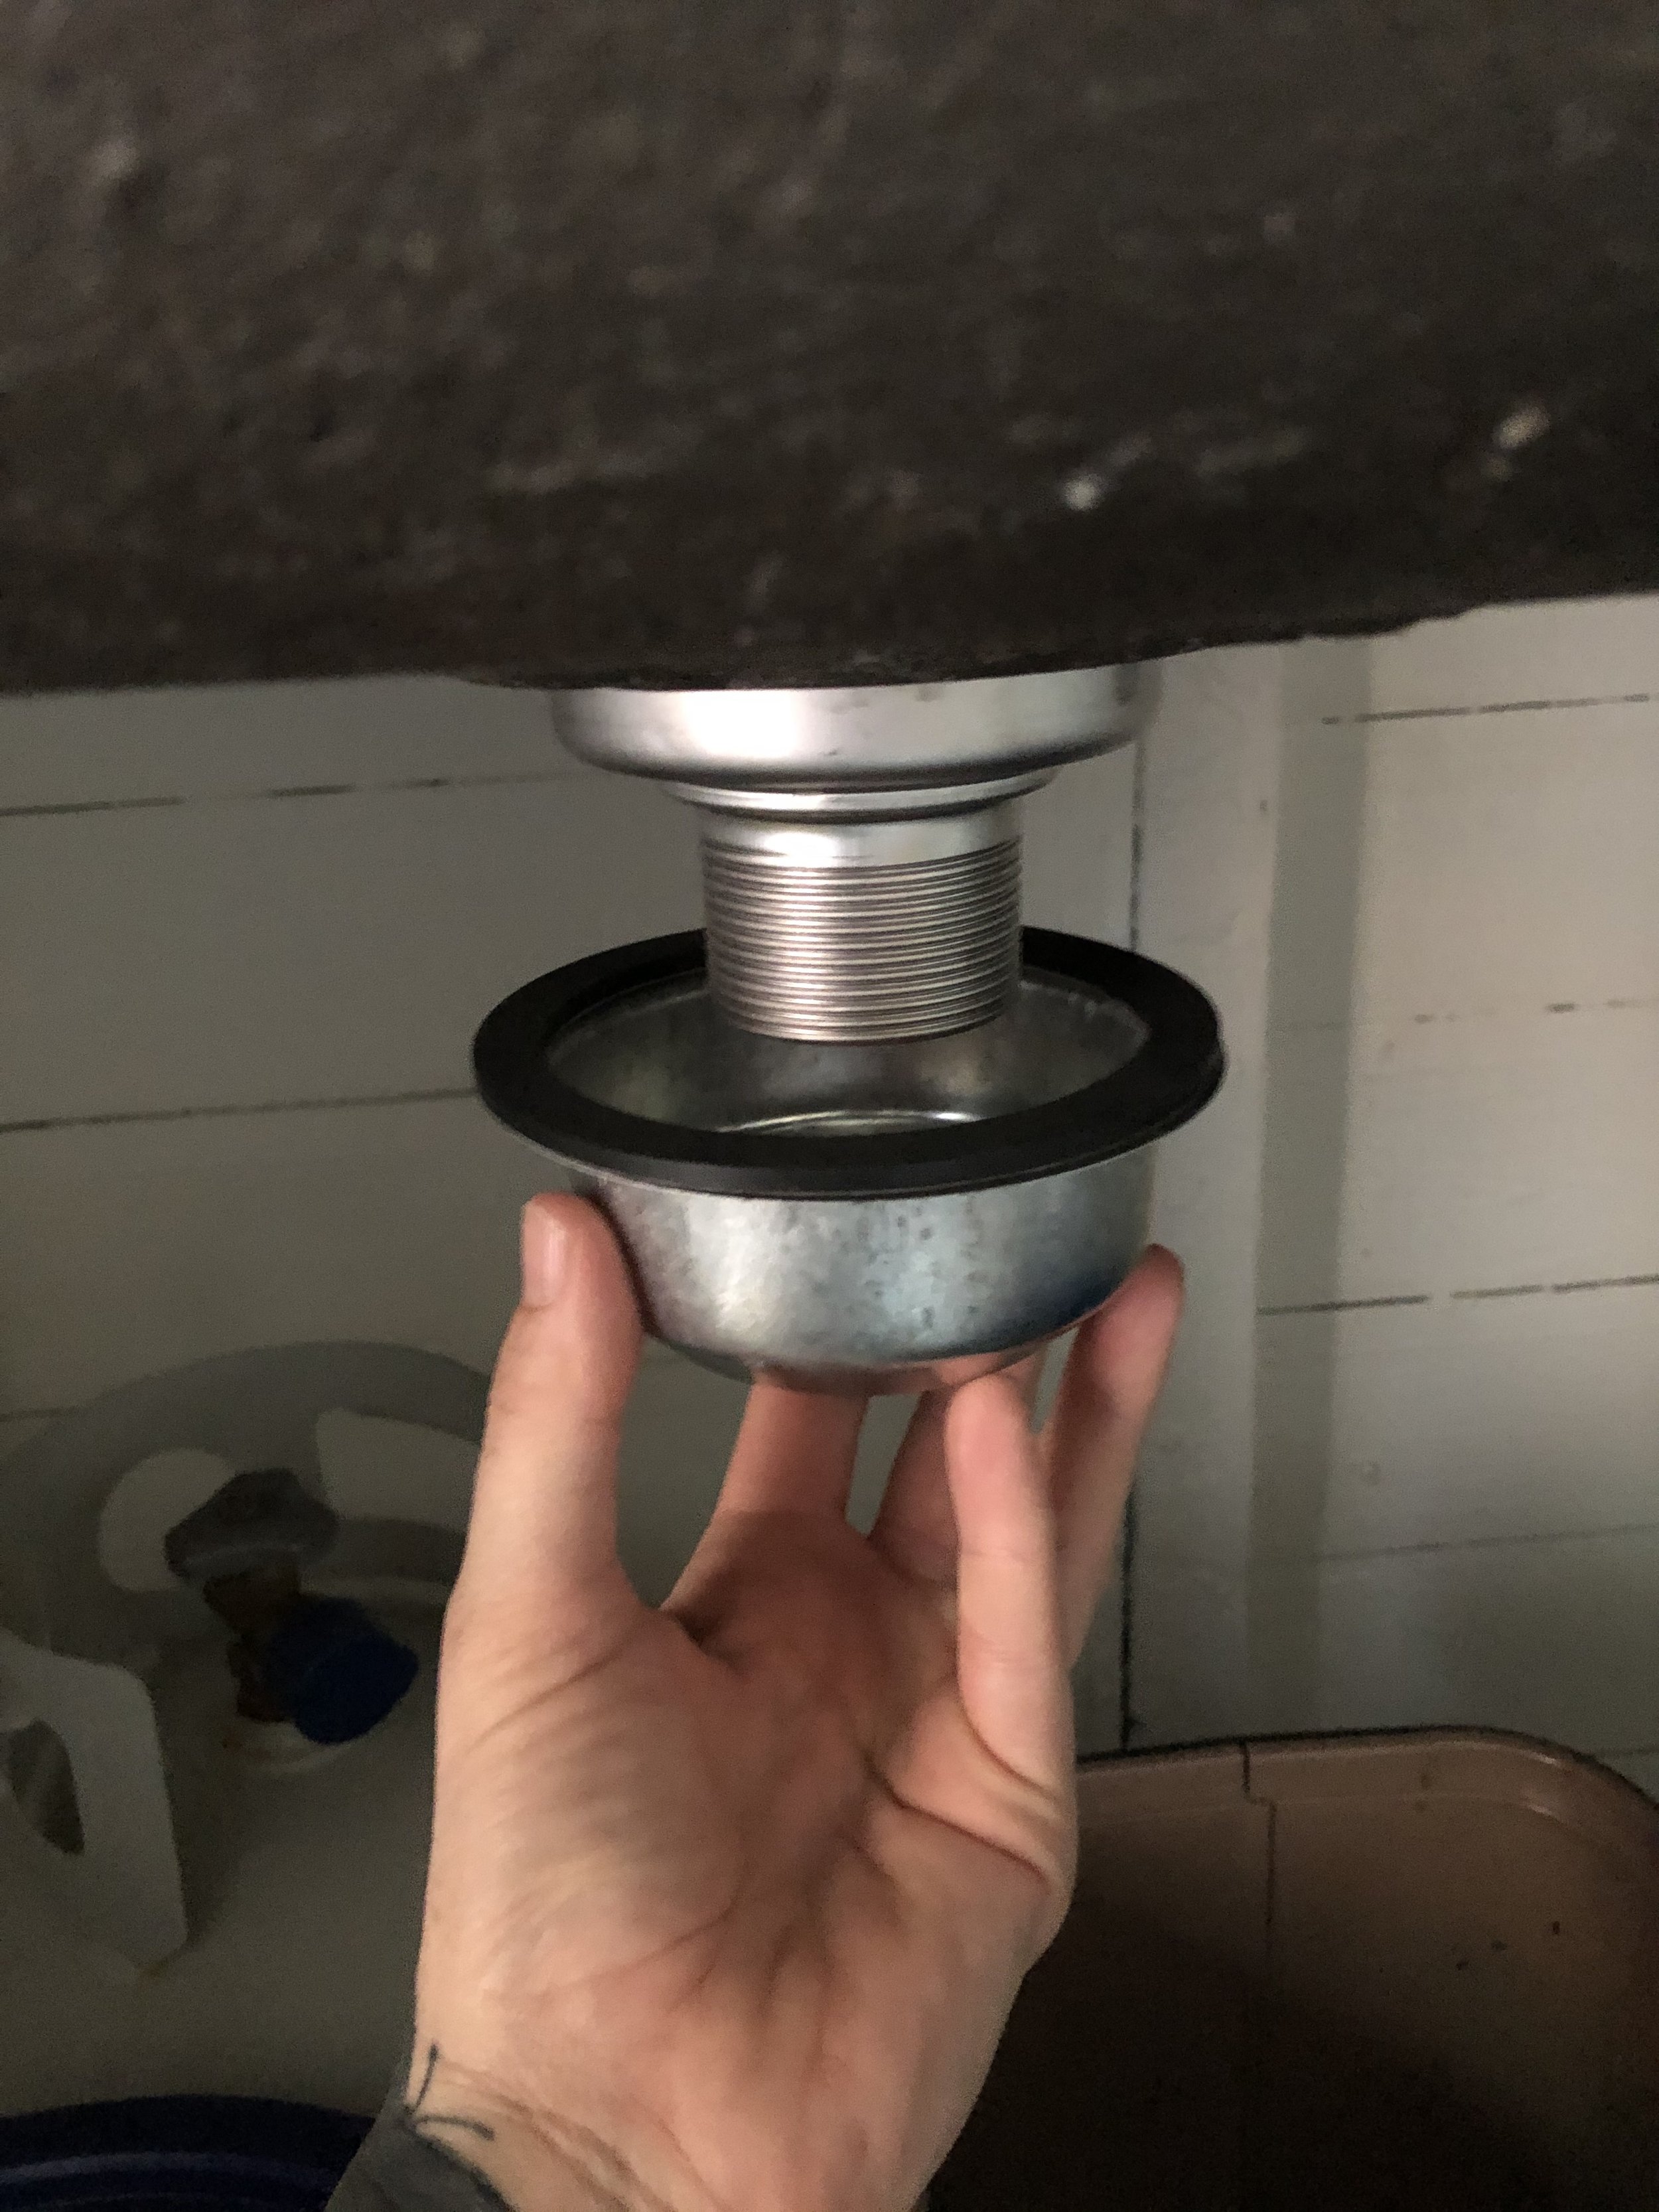
After the clear coat had dried, it was time to plumb the sink. I’m not sure what I did would be called “plumbing” since it was just a gravity-fed, greywater bucket setup, but I did use “plumber’s putty” so I’m gonna say it counts. The first step was to remove the old sink basket and scrub the literal crap out of my Craiglist find. Another Craigslist find, was the free ceramic water dispenser that I scored. It was missing the 5 gallon jug, but I picked one up at a local grocery store for $10-$15. In addition to Casey’s tent kitchen, my sink design was also inspired by Tim and Hannah Eddy’s cabin in Tahoe, which utilized the same simple gravity system.

I borrowed a drain wrench from the tool library to get the old sink strainer off (and the new one on). It’s a very specific tool, but a very handy one!
After cleaning the sink, I watched way too many YouTube videos on how to install a sink drain and wandered around the plumbing aisle at Ace Hardware for a little too long. The photos make it look like I knew what I was doing, but I assure you, I did not. I had a hell of a time getting the pipe pieces to fit together and definitely cried on the floor at least once, but ultimately I came up with something that was at least functional. The parts I used are as follows:
1-1/2 in. rubber gasket
5 gallon bucket with spout (got for free from a friend)
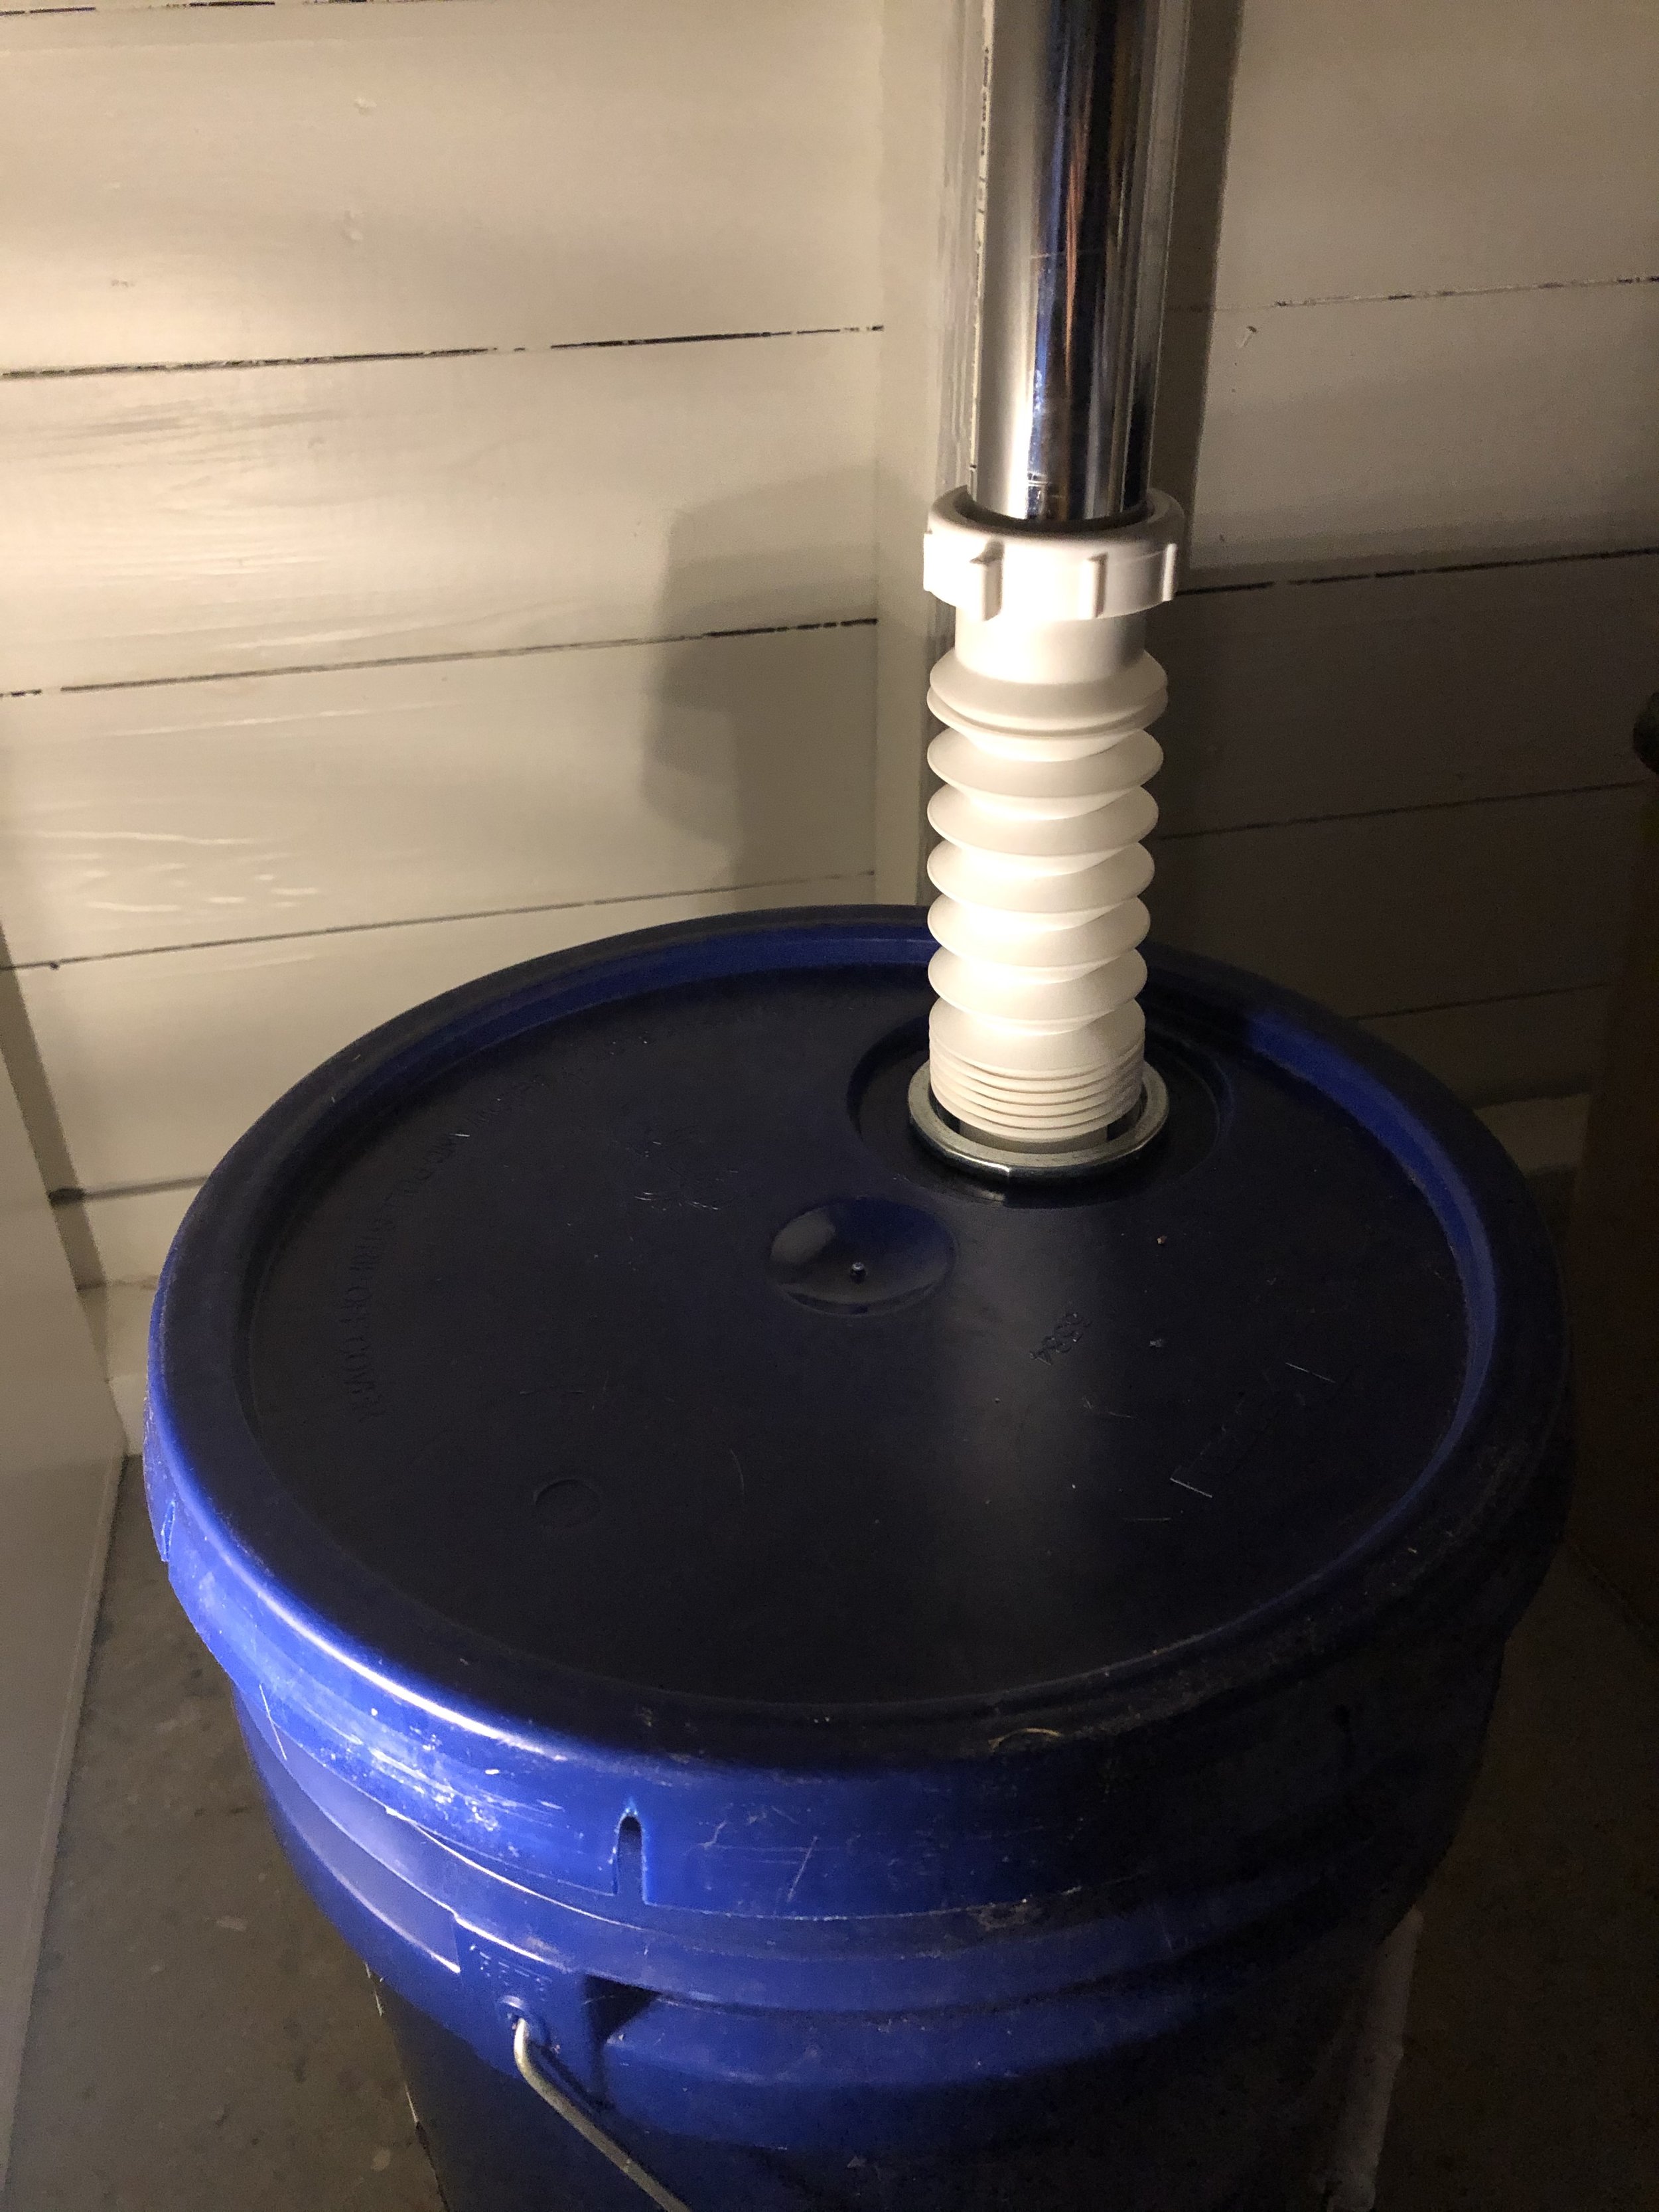
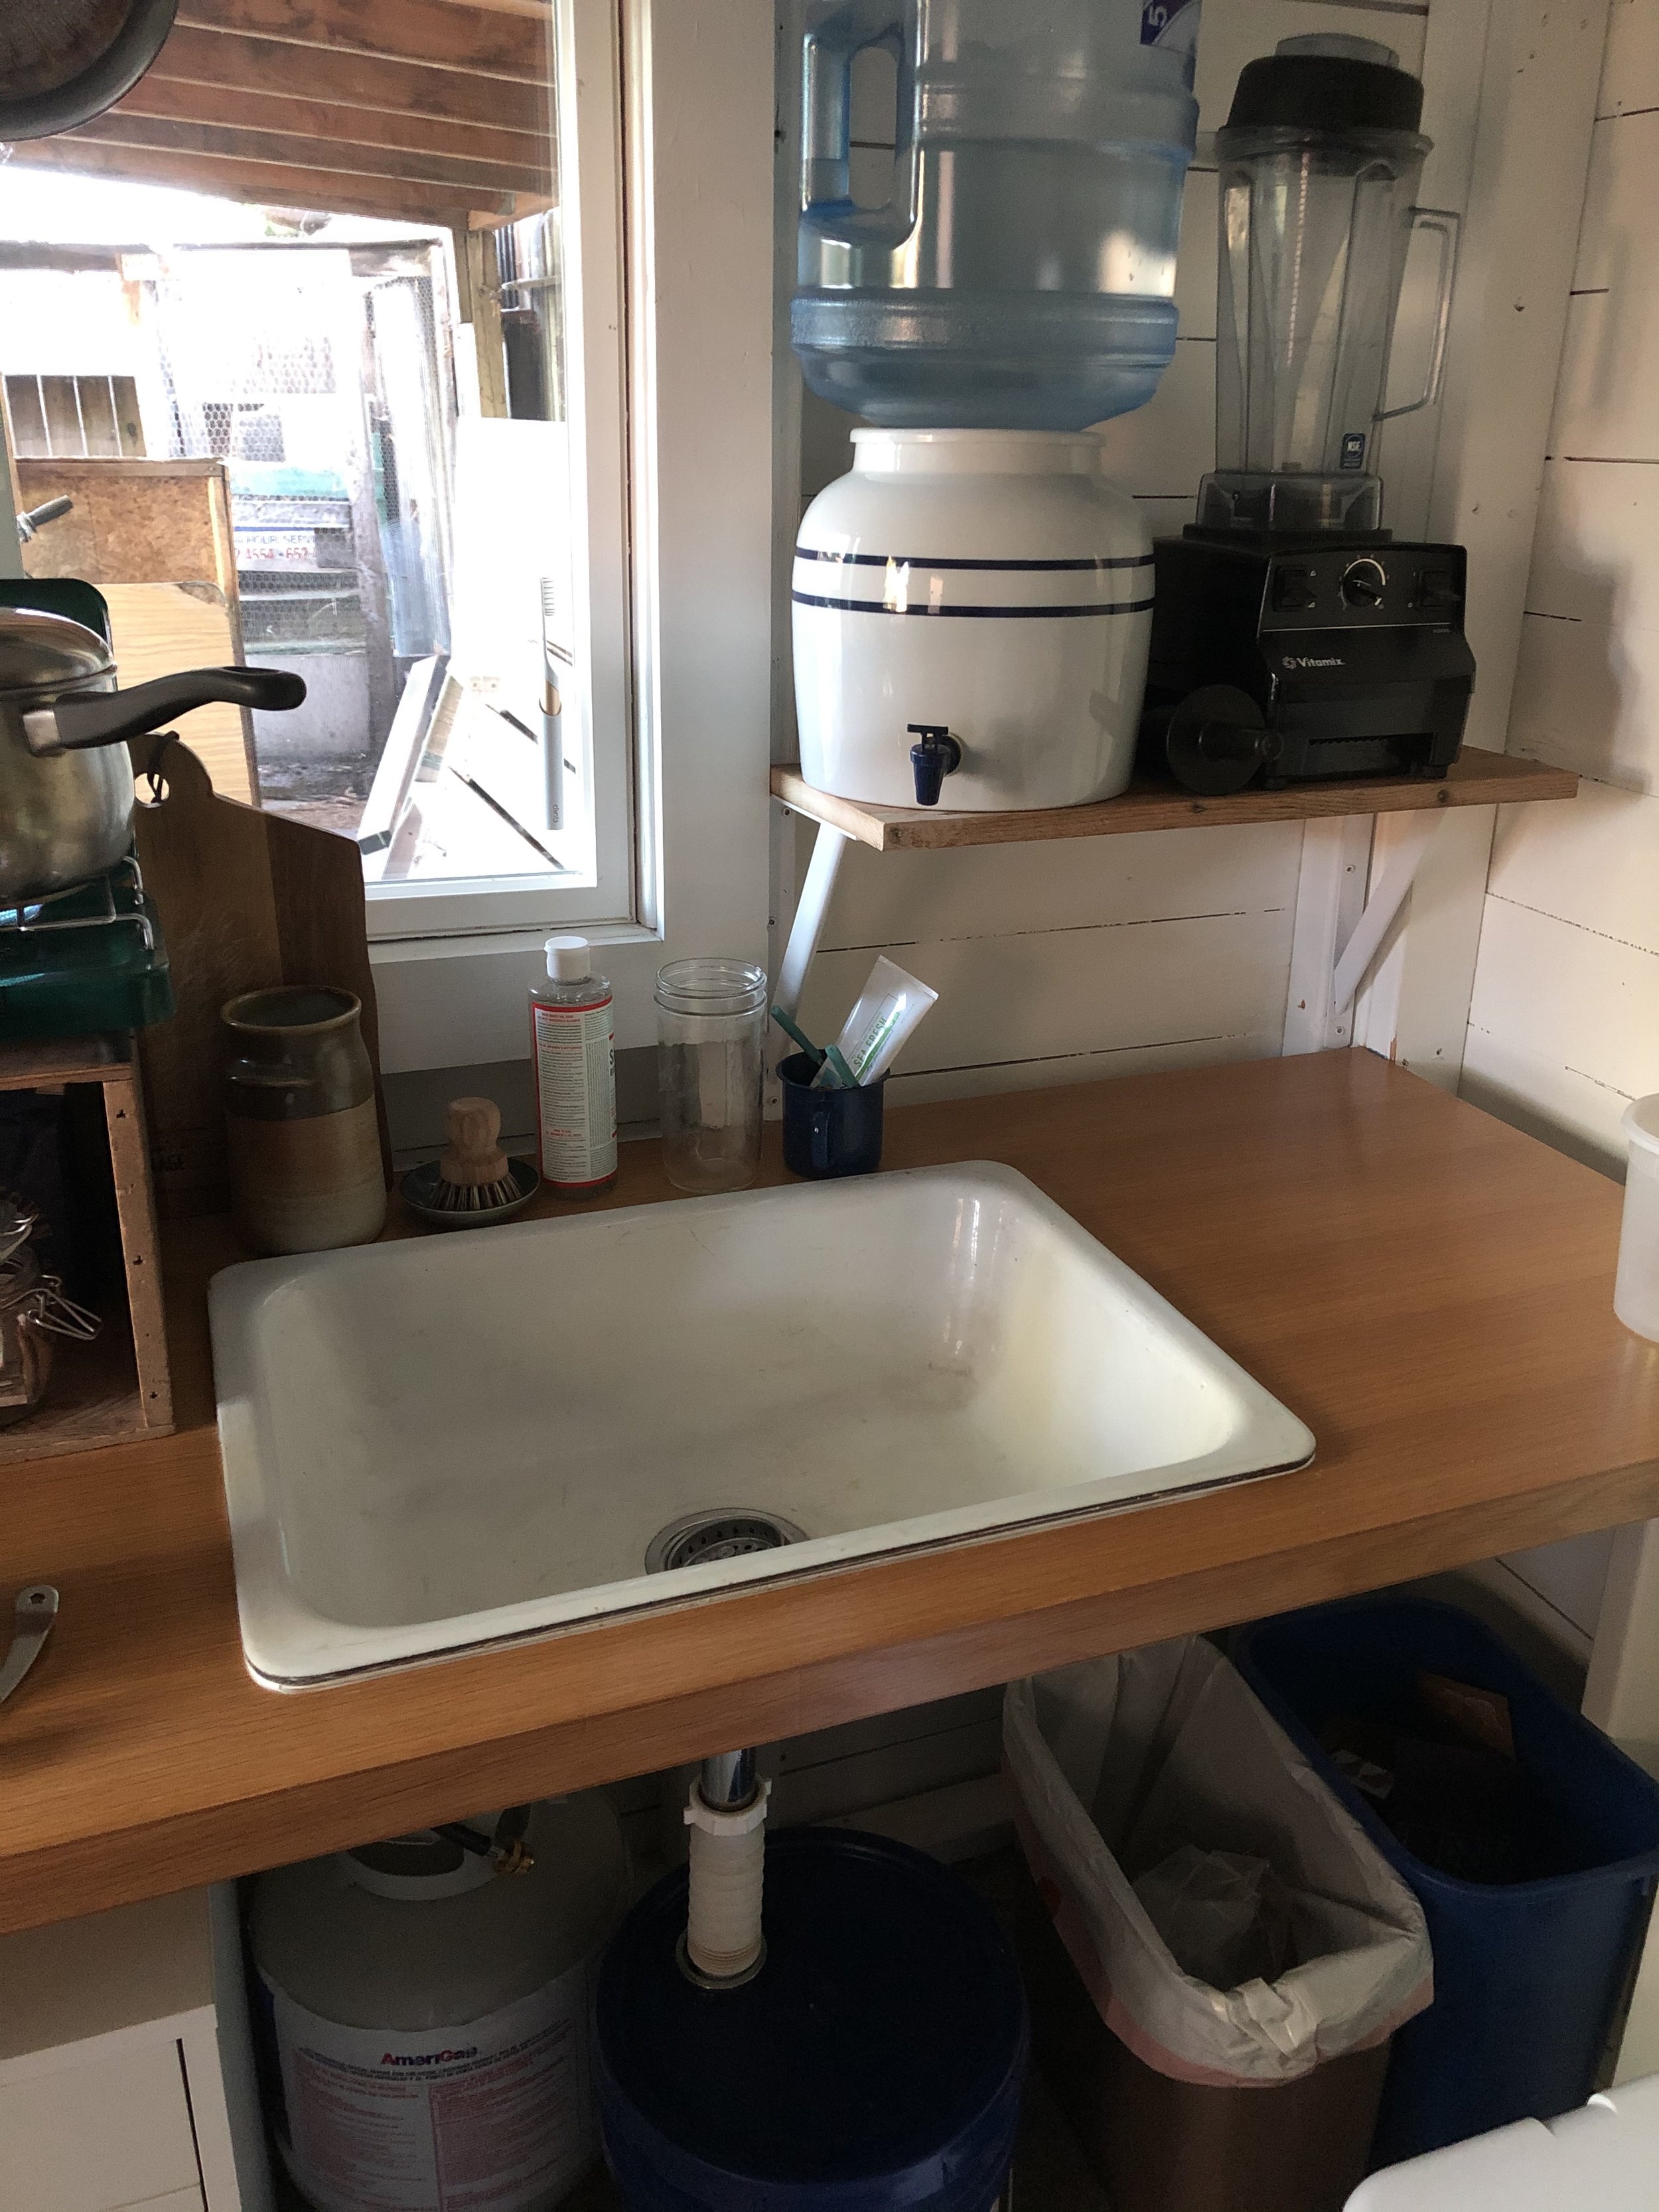
The flexible plastic tailpiece fit perfectly in the lid’s spout, and was easily removable when dumping the greywater. The ridges definitely trapped a lot of gunk over time, which got kinda gross, but overall I was happy with this set up during the year or so that I used it. If I had stayed there longer, I would have extended the drain into a DIY greywater filter/planter in the yard.
I’m not gonna lie, hauling all of my water in and out each day was a pain in the ass. It was especially unpleasant during inclement weather or when I was in a hurry. But it did help me understand both the volume of water that I use on a daily basis, as well us the value of clean, potable water that just comes out of a faucet on demand. I also just happened to listen to the audiobook version of Chop Wood Carry Water during that time in my life, and it helped me to see this daily labor as a meditative gratitude practice rather than a tiresome task.
Warm running water is something that I no longer take for granted, after having to heat all my dishwater on the stove before washing. While I don’t miss it, there was something grounding about having to be more intentional about resource usage. It’s also important to note that I only used non-toxic and biodegradable soap, since they would ultimately end up in our yard.
The only other thing that I might have changed about my kitchen setup was the height of the water dispenser relative to the sink. The water had a tendency to splatter all over the place, so I always kept some kind of vessel (jar, cup, or plastic deli container) close by to use for rinsing.
Thanks for following along on my shed renovation journey! I’m writing this all in retrospect. At the time I was working on and living in my shed, it was technically an illegal dwelling, so I was inclined to keep it on the DL. I am not in any way endorsing building or living in a less than legal ADU, but since laws vary in different states and cities, I thought I’d share my story in hopes that it inspires and informs folks who are able to do this in a way that complies with local ordinances.