The Color of Many Coats: Interior Paint
Now that I had spent a night sleeping in my shed, it was time to send this project the rest of the way home. The next step was painting! First, of course was the painstaking process of taping everything off. Prep work always takes longer than you think it will. But I have learned the hard way that an ounce of prevention is worth a pound of cure, so I did my best to be diligent about covering any and all surfaces that I didn’t want to be painted white. When that was finished, I started off the old fashioned way, with a brush and roller. The first coat of primer took for-ever, so I snapped and rented a cordless paint sprayer from the ol’ Home Depot.
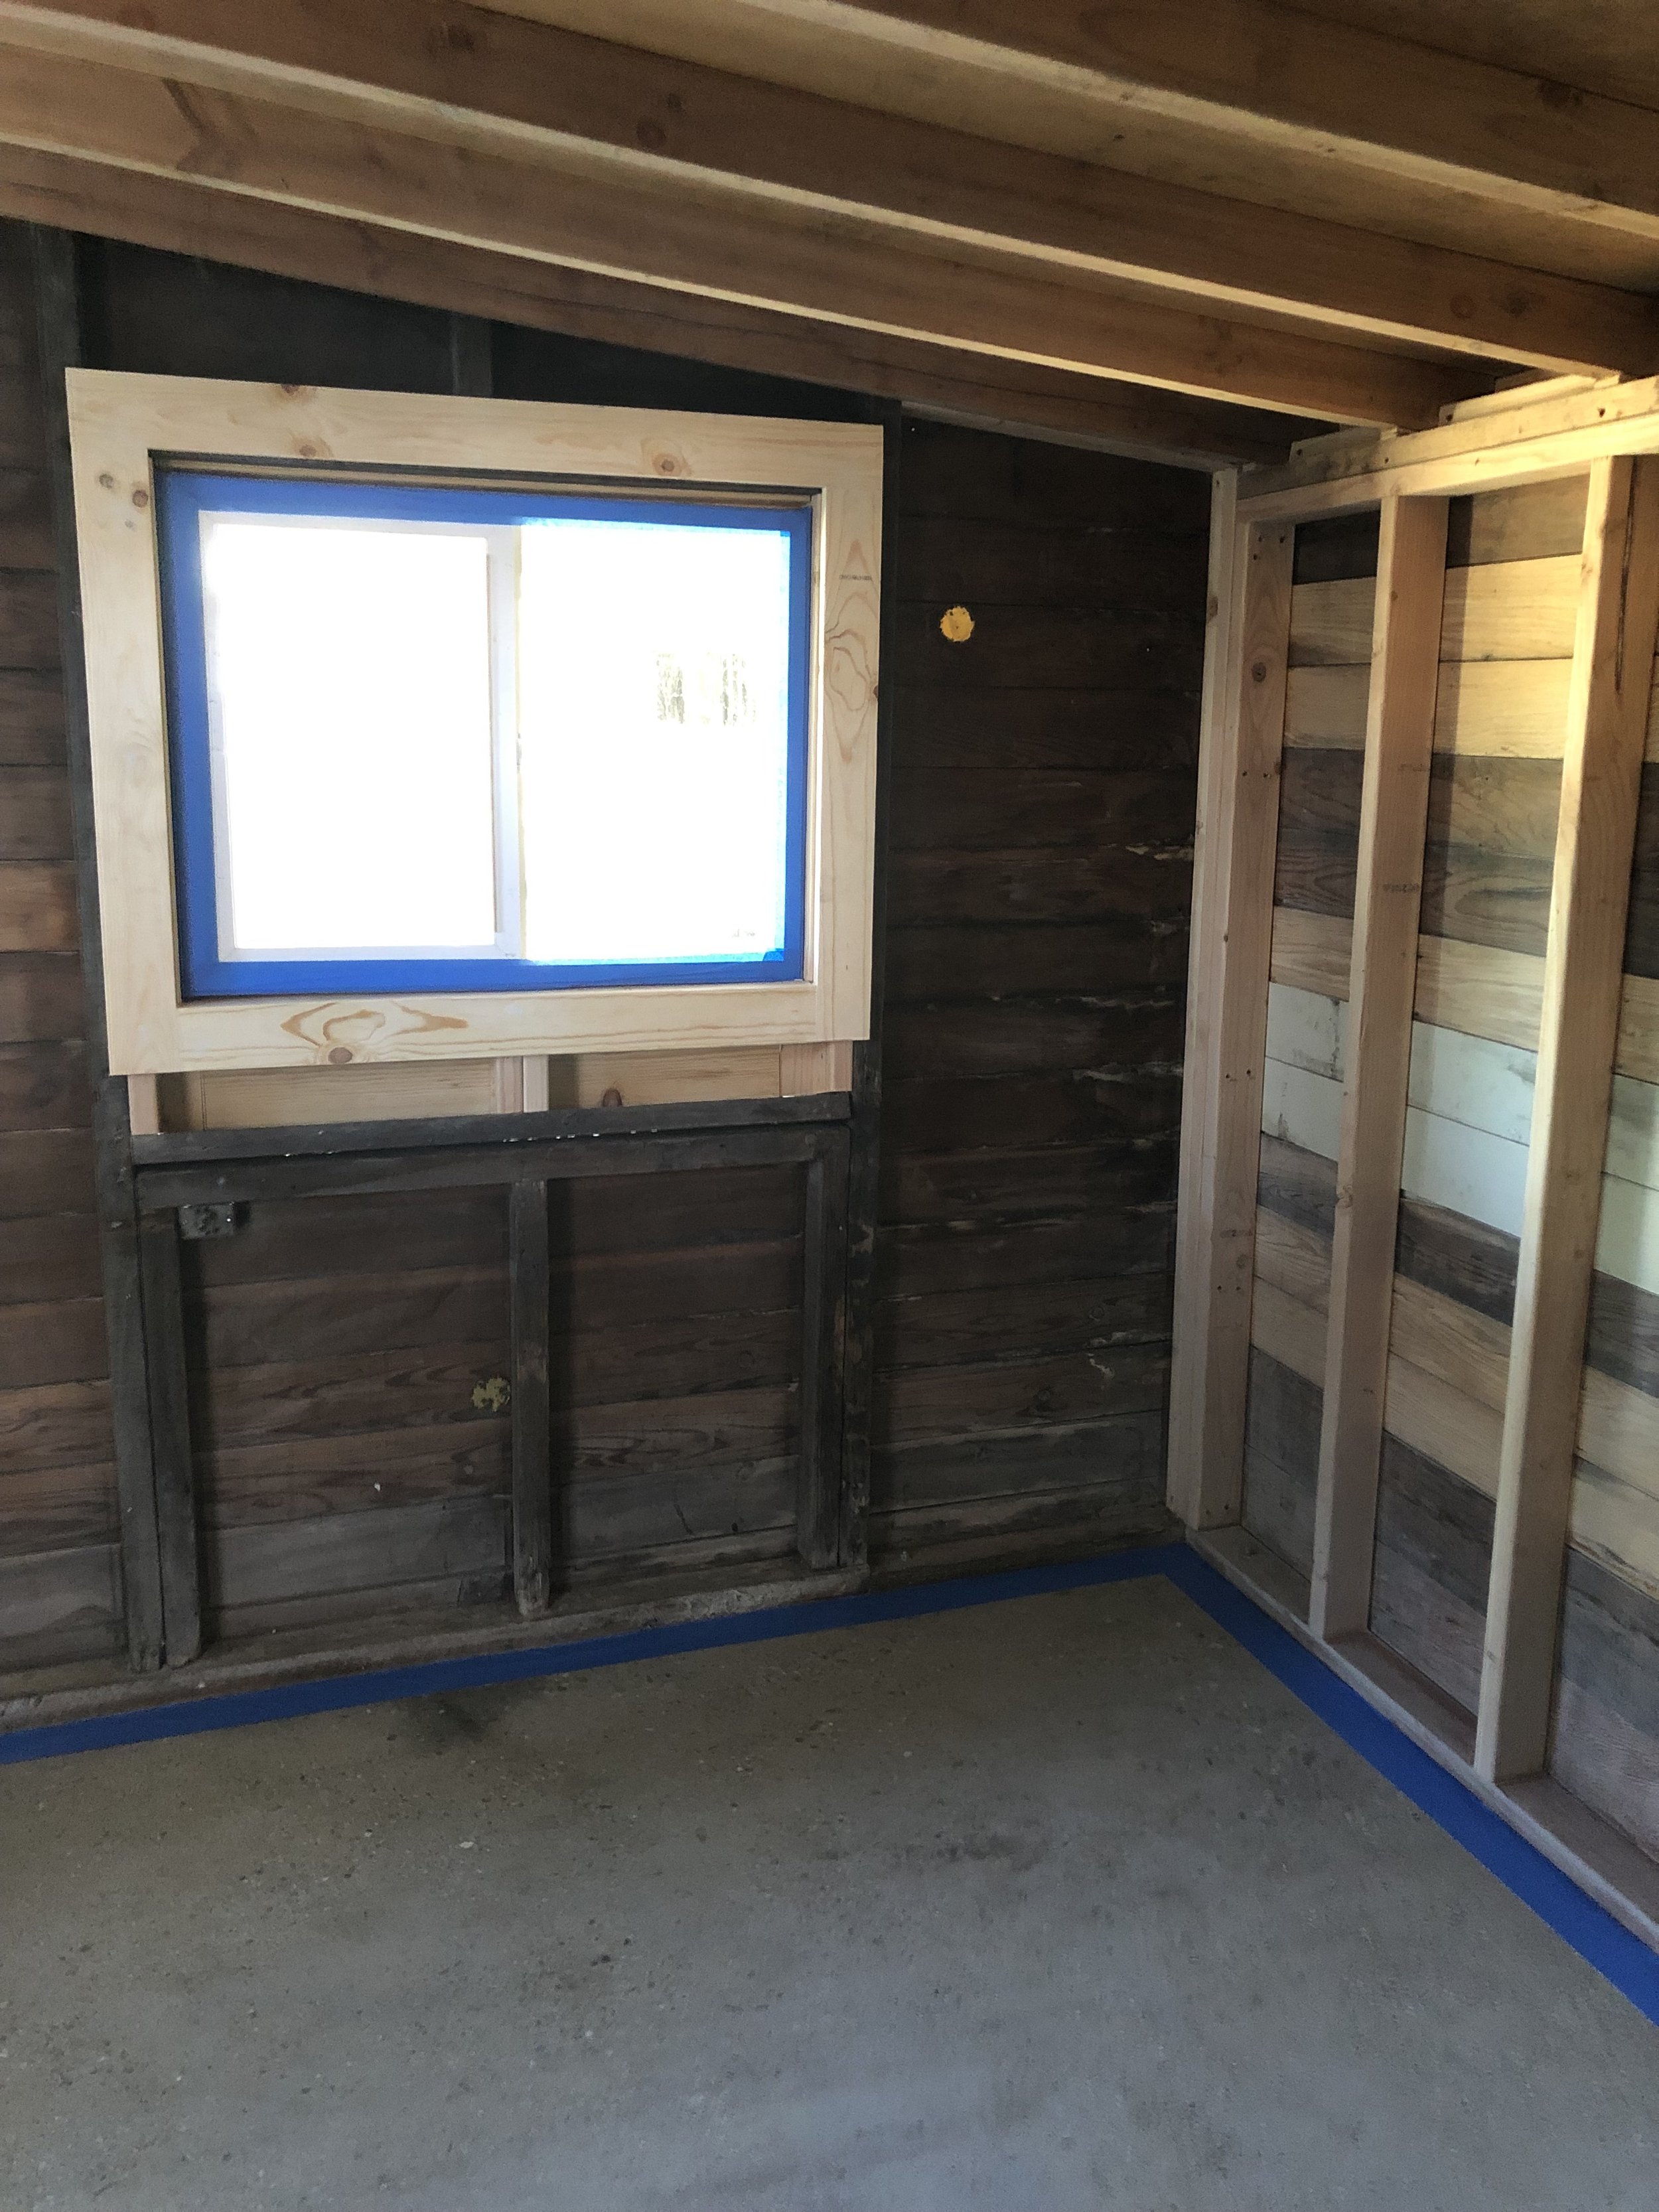

It ended up being a really good decision, because it took me a ridiculous number of coats to get a solid white. I want to say it was something like 10 or 11 coats, including primer. I don’t really understand why, but some of the older siding kept leaching brown stains through the white. Anyway, let’s just say I got really good at using that paint gun by the end of it, and it really sped things up. I would definitely rent/buy one again in the future!
A word on white paint: Picking the right swatch of white is way more challenging that you might think! Many people are like, “What’s the big deal? White is white, right?” Not so, dear reader! There is a lovely guide to choosing the perfect tint of white on page 84 of Abode, which I referenced when choosing a few of my potential candidates. After lots of staring and brow furrowing (and a brief Instagram poll), I went with Falling Snow by Behr. It turned out to be just right for that space, perfectly balanced between warm and cool, timeless and modern.


1) Ultra Pure White 2) Falling Snow 3) Swiss Coffee 4) Polar Bear
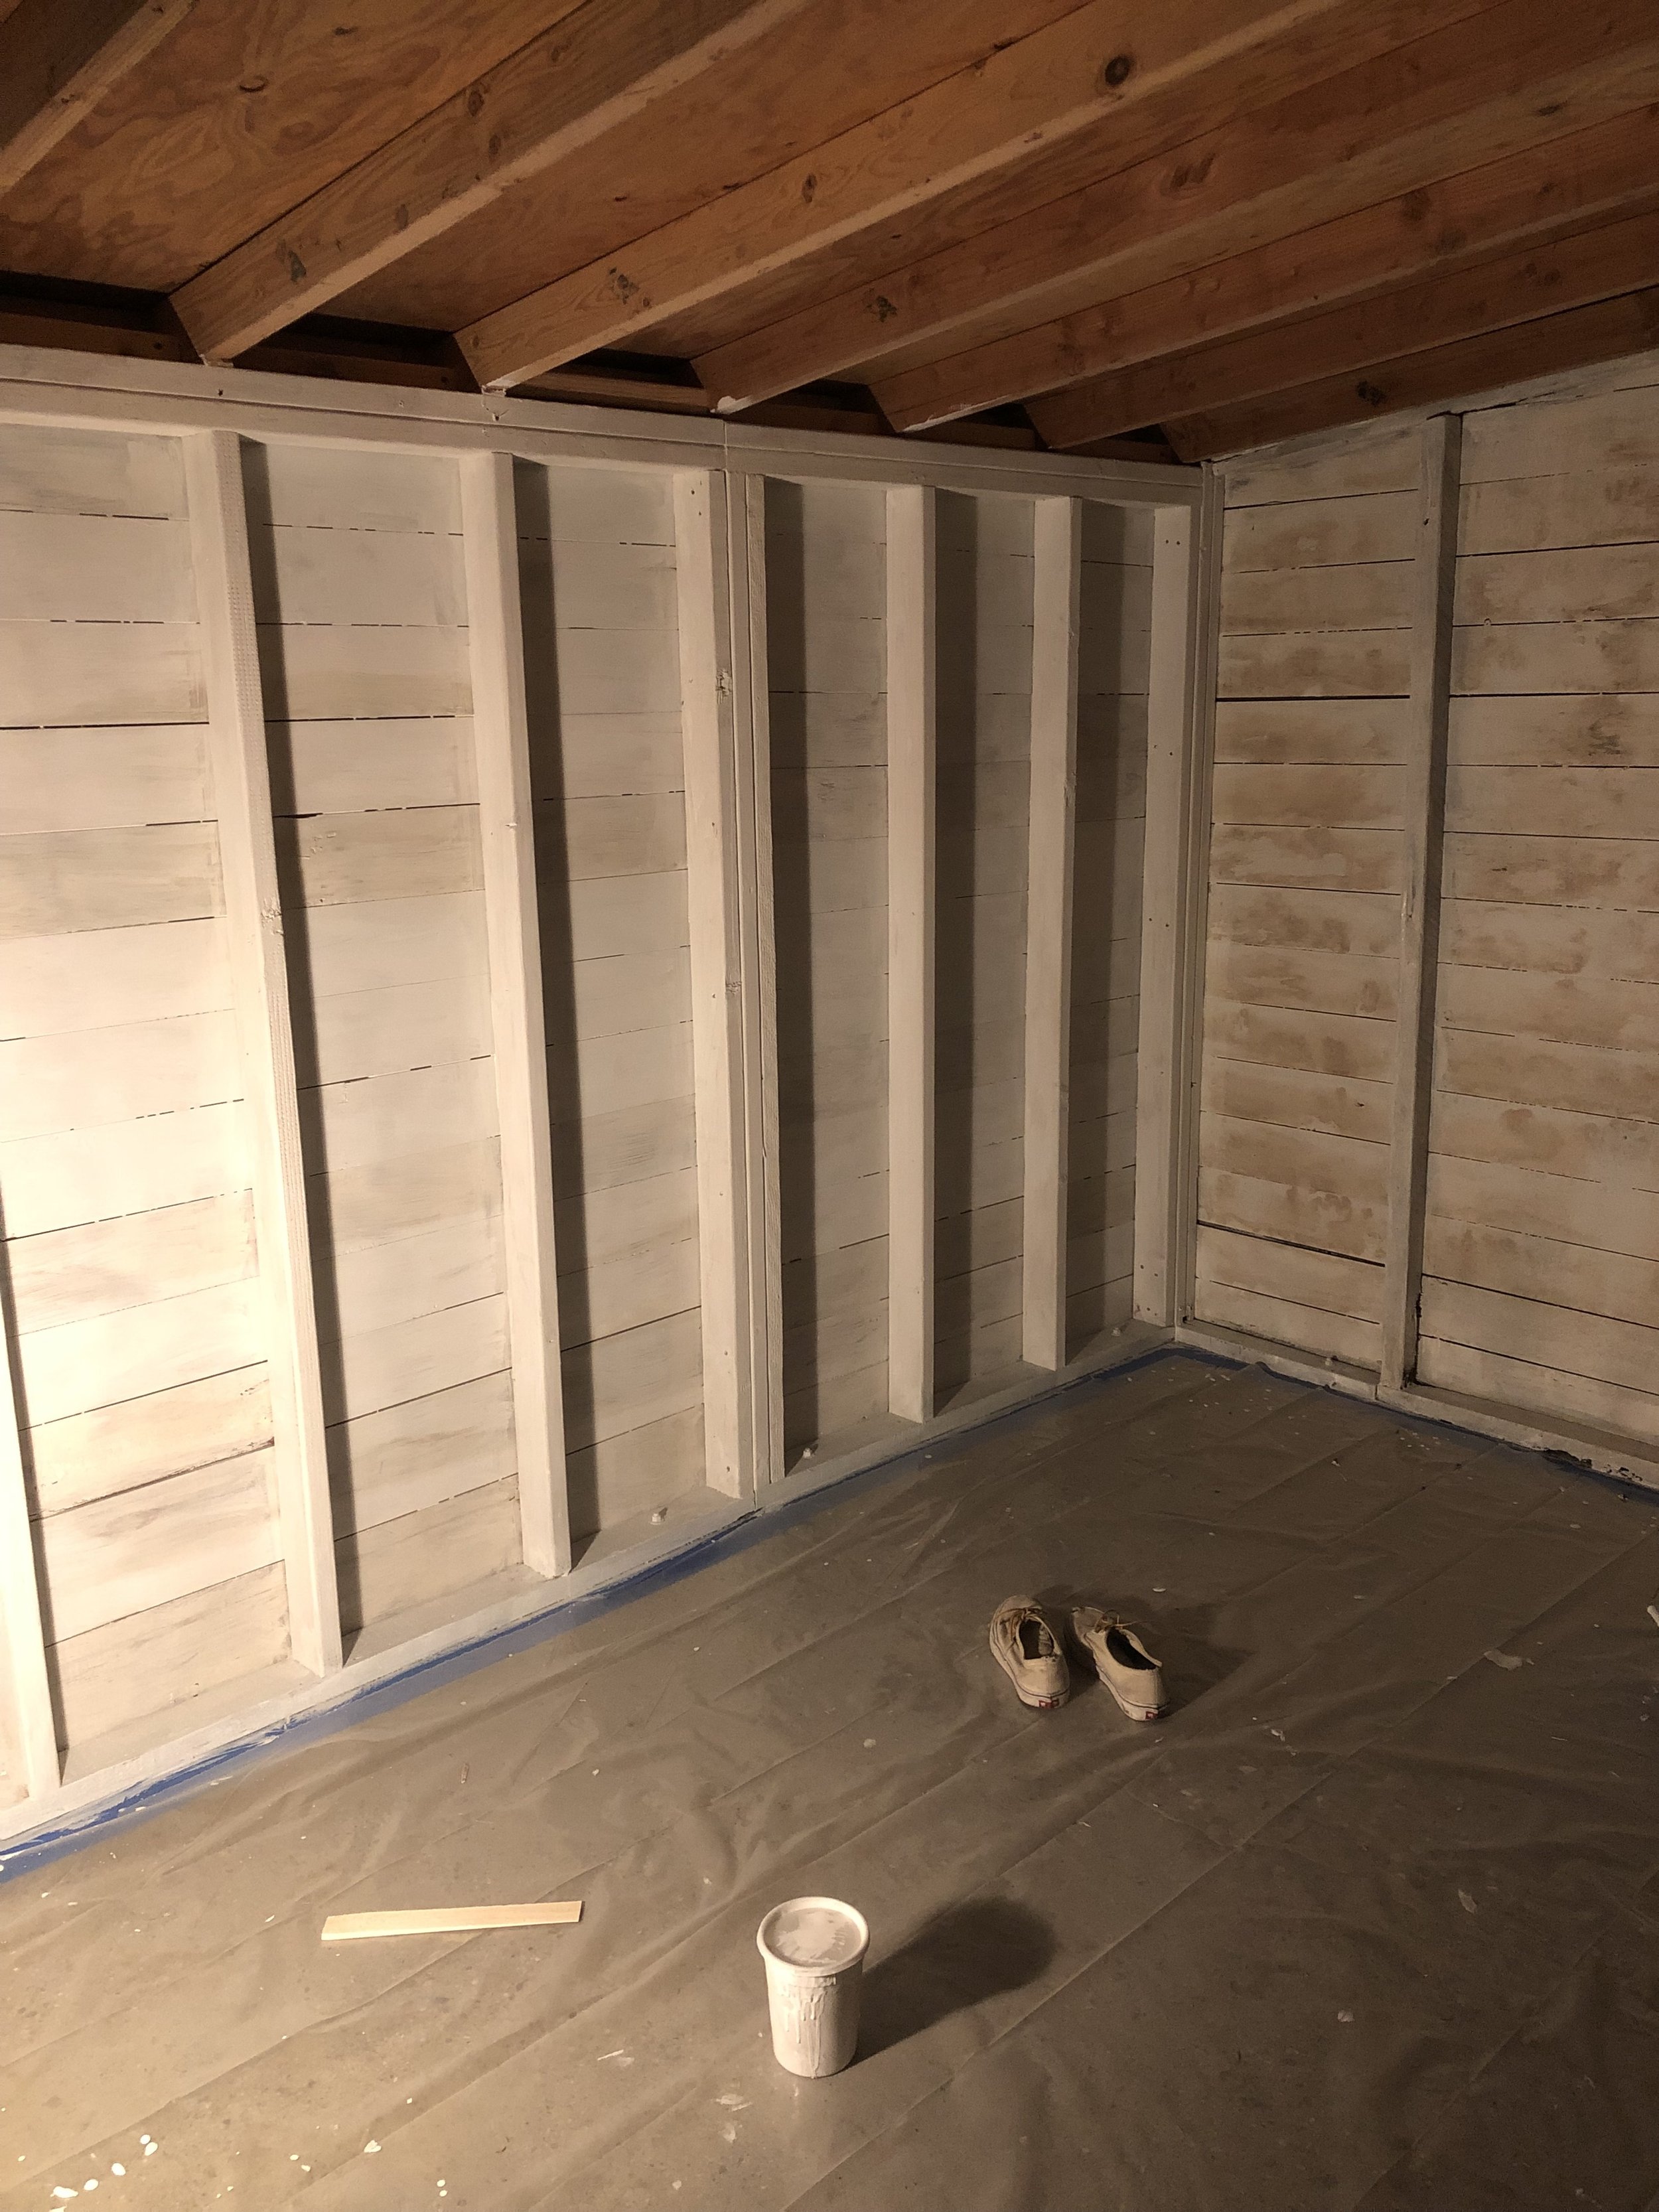
As I mentioned in an earlier post, I decided to hold off on insulation until I was sure I wanted to stay there. I chose to paint the inside regardless, knowing that it might someday be covered up. It brightened things up, and sealed the wood, providing an extra layer of protection between me and the elements. I figured it would also cut down on the potential for mold. Bonus points for looking a bit like shiplap!


There were a couple knot holes that had been covered up with tin can lids over the years. I found this to be a charming nod to the shed’s history, and decided to replicate it to cover a few more holes in the siding. It was also a good excuse to make a big pot of chili!
As you can see, the white paint really transformed the space. Since I already had the sprayer rented, I decided to make the most of it and paint the exterior while I was at it. (More about that in the next post!) It was a deeply exhausting week but also a very satisfying stage of the build.
Thanks for following along on my shed renovation journey! I’m writing this all in retrospect. At the time I was working on and living in my shed, it was technically an illegal dwelling, so I was inclined to keep it on the DL. I am not in any way endorsing building or living in a less than legal ADU, but since laws vary in different states and cities, I thought I’d share my story in hopes that it inspires and informs folks who are able to do this in a way that complies with local ordinances.